

Page 1

Quick Installation Guide
TK-217i
1.02
Page 2

Table of Contents
English 1
1. Before You Start
2. How to Install 2
3. Operation 3
4. Using the KVM Utility 4
Technical Specifications 10
Troubleshooting 11
1
Version 02.15.2011
Page 3
1. Before You Start
Supported Operating Systems CPU Memory
Windows 7 (32/64-bit)
Windows Vista (32/64-bit)
Mac OS X (10.6)
Mac OS X (10.4)
Windows XP (32/64-bit)
Mac OS X (10.5)
1GHz or above
800MHz or above
Intel Processor
333MHz or above
300MHz or above
867MHz or above
1GB RAM or above
512MB RAM or above
1GB RAM or above
256MB RAM or above
256MB RAM or above
512MB RAM or above
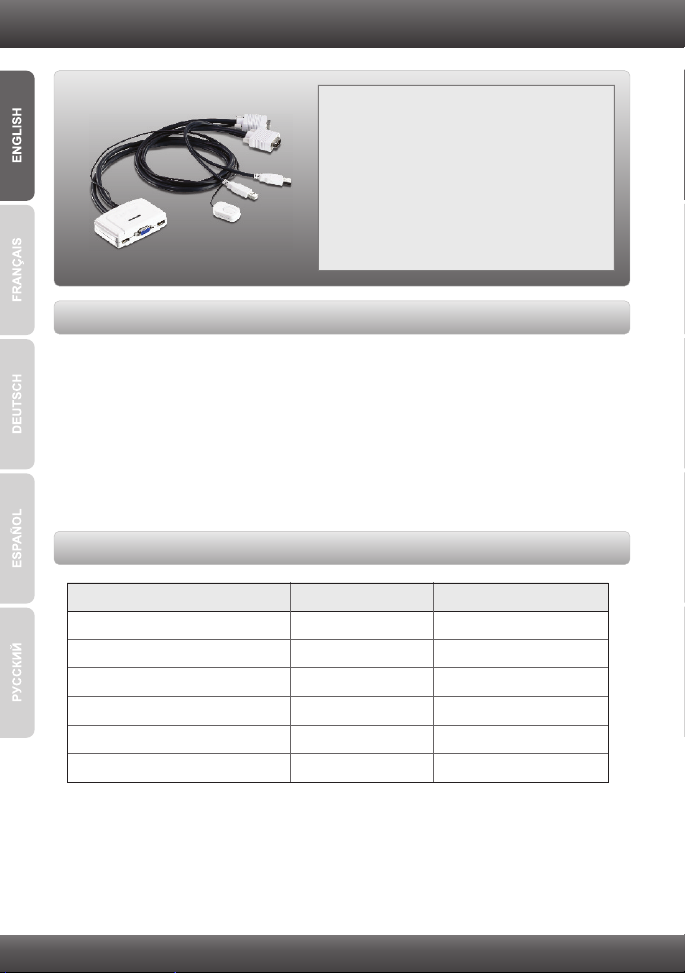
Package Contents
TK-217i
Ÿ
ŸMulti-Language Quick Installation Guide
ŸCD-ROM (Utility)
System Requirements
USB Keyboard
Ÿ
ŸUSB Mouse
ŸVGA Compatible Monitor
ŸComputers with a VGA port
ŸComputers with a USB Port
ŸWindows 7(32/64-bit)/Vista(32/64-bit)/XP(32/64-bit)/2000/2003 Server/Me/98SE,
Linux, and Mac OS
Software Utility Requirements
1
Page 4
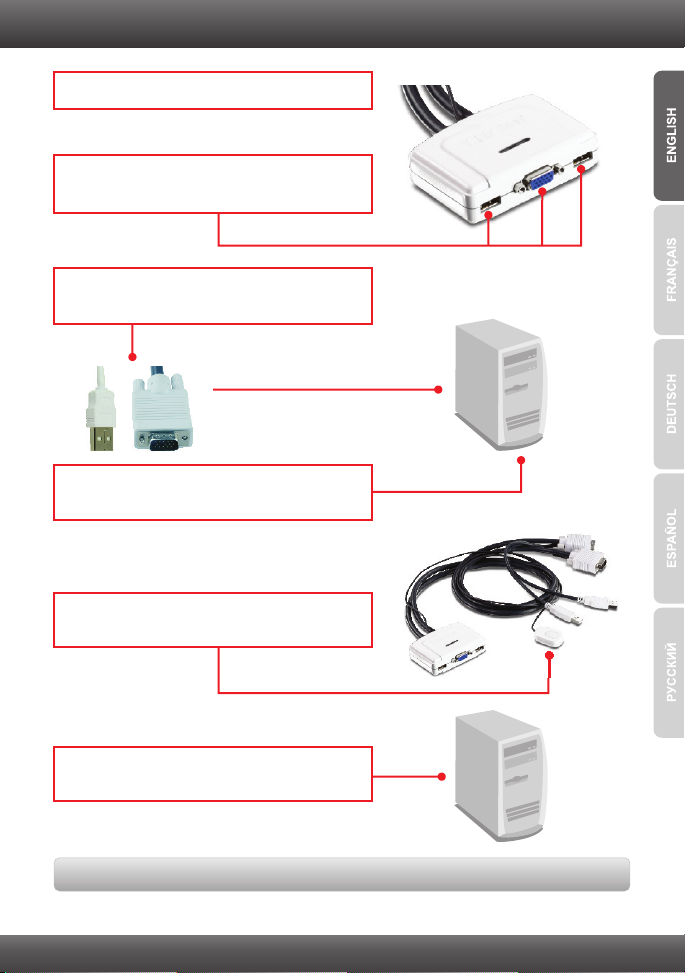
2. How to Install
1. Properly turn OFF your computers and monitors.
2. Connect the shared keyboard, monitor and
mouse to the KVM Switch's console ports.
3. Use the integrated KVM cables to connect
both of your computers to the KVM Switch.
To Computer
To Computer
4. Turn ON the first computer and wait until
startup completes.
Computer 1
5. Press the push button toggle switch to select
the second computer (Optional).
6. Turn ON the second computer and wait until
startup completes.
Your installation is now complete
Computer 2
2
Page 5
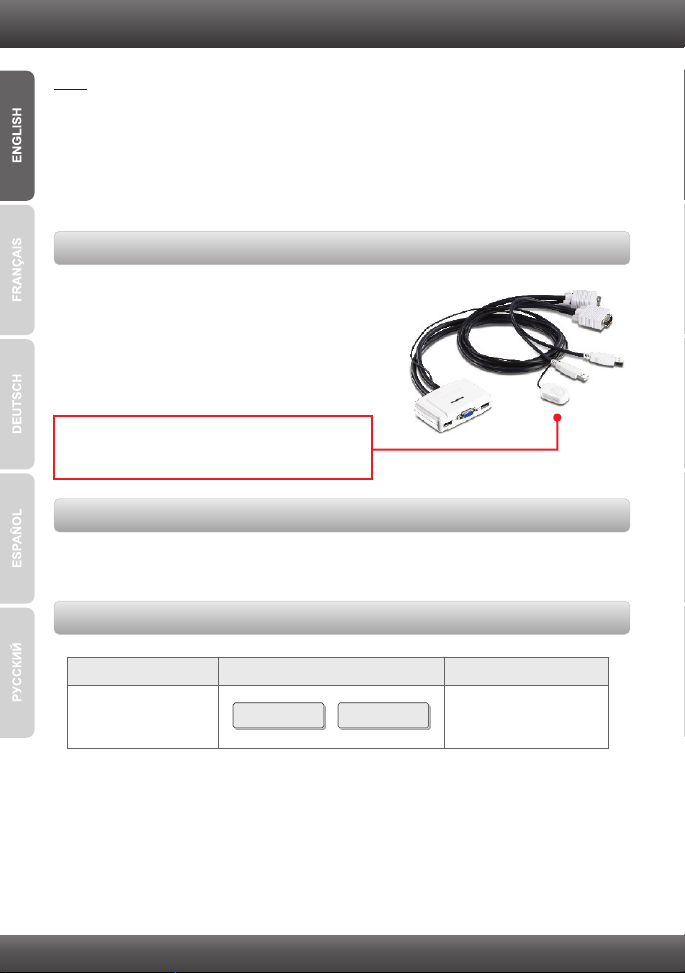
3. Operation
Command
Hot-Key Description
Select Computer
Switch to the
other computer
Scroll Lock Scroll Lock
+
Note:
1. The TK-217i KVM Switch does not require any drivers or software (optional).
2. For Computer switching, you can use the KVM Switch's push button switch, a
Hot-Key command sequence via keyboard, or the KVM Utility (Windows / MAC OS X
(10.4~10.6) only). For more information on the KVM utility, please see section 4,
Using the KVM Utility. Installing and using the KVM utility is optional.
Push button switch
Press the push button switch to swich to the other
computer.
Hot-Key Command Sequence
After pressing the Scroll Lock key, you have 2 seconds to press the Scroll Lock key
again. If you do not press a key within 2 seconds, the switch will exit hot-key mode.
Universal Hot-Key Command
3
Page 6

4. Using the KVM Utility
For Windows Users
1. Insert the Utility CD-ROM into your CD-ROM
Drive.
2. Click Run AUTORUN.EXE
(Windows 7/Vista Only)
3. Click Install Utility.
4. Click Next. Then follow the Setup Wizard
instructions.
5. Click Finish.
4
Page 7

6. Double click on the USB KVM Switcher icon.
7. If you would like to modify the hot key, type in a
character. You can enter any number, letter or
symbol. Control keys such as Alt, Ctrl, Shift,
CAPS LOCK, Tab, Esc, and Num Lock and
function keys cannot be used.
Example: CTRL + ALT + A.
8. Select a desired Auto Scan period (10~60).
Options are in increments of 5 seconds.
9. Once you made all desired changes, then click
OK.
10. Right click on the KVM utility icon in the
system tray. If your computer is connect to
computer 1 port, you should see an icon with
the number 1. If your computer is connected
to computer 2, you should see an icon with
the number 2.
11. Select the computer that you want to switch to.
12. Click Start Auto-Scan to start Auto-Scan.
Right click the KVM Utility icon and select
Stop Auto-Scan to stop Auto-Scan.
5
Page 8

For Mac OS X (10.4~10.6) Users
1. Insert the Utility CD-ROM into your CD-ROM
Drive.
2. Double-click on the TK-217i CD-ROM icon on
your desktop.
3. Double-click on the Macintosh folder.
4. Double-click on TrendnetUSBKVMSwitcher.pkg.
5. Click Continue.
6. Select a destination and then click Continue.
6
Page 9

7. Click Install.
8. When the Authenticate screen appears, enter
the Name and Password for your computer
and then click OK.
9. Click Close.
10. Double click on the Macintosh HD icon.
11. Double click on the Applications icon.
12. Click on Trendnet USB-KVM Switcher.
7
Page 10

13. Double click on the USB-KVM Switcher icon in
the Dock. If your computer is connect to
computer 1 port, you should see an icon with
the number 1. If your computer is connected
to computer 2, you should see an icon with
the number 2.
14. If you would like to modify the hot key, type in
a character. You can enter any number, letter
or symbol. Control keys such as Alt, Ctrl, Shift,
CAPS LOCK, Tab, Esc, and Num Lock and
function keys can not be used.
Example: CTRL + ALT + A.
15. Select a desired Auto Scan period (10~60).
Options are in increments of 5 seconds.
16. Once you made all desired changes, then
click OK.
17. Right click on the the USB-KVM Switcher icon
in the dock. If your computer is connect to
computer 1 port, you should see an icon with
the number 1. If your computer is connected
to computer 2, you should see an icon with
the number 2.
8
Page 11

18. Select the computer that you want to switch
to.
19. Click Start Auto-Scan to start Auto-Scan.
Right click the KVM Utility icon and select
Stop Auto-Scan to stop Auto-Scan.
Your installation is now complete
For detailed information regarding the TK-217i, configuration and advanced settings, please
refer to the Troubleshooting section, User's Guide on the Utility CD-ROM, or TRENDnet's
website at http://www.trendnet.com.
Register Your Product
To ensure the highest level of customer service and support, please take a moment to
register your product Online at: www.trendnet.com/register
Thank you for choosing TRENDnet
9
Page 12

Technical Specifictions
Hardware
Controls
Cable
Computer Connectors
Console Connectors
Video Resolution
Port Selection
Power Type
Dimensions
Weight
Temperature
Humidity
Certifications
2 Computers
2 sets of VGA and USB combination cables
( length: 77 cm, 31 in.)
2 x USB Type A ports (male)
2 x 15-pin VGA ports (female)
1 x 15-pin VGA (male)
2 x USB Type A ports (female)
(mouse and keyboard connections)
Up to 2048 x 1536
Push Button switch (with 1.45 m, (57 in.)
cable length
Hot Key commands and Auto Scan
USB Bus Powered
89x 64x 25 mm (3.5 x 2.5 x 1.0 in.)
315g (11.2 oz)
Operating: 0° ~ 40° C (32° ~ 104° F)
° ° ° °Storage: -20 C ~ 60 C (-4 F ~140 F)
Max. 90%, (non-Condensing)
CE, FCC
10
Page 13

Troubleshooting
Where is the power supply? I did not find one in the box.
1.
The TK-217i does not require a power supply. It draws power from your computer's
USB connections. As long as your KVM switch is connected to the USB port, it will
receive the necessary power to function.
2. I have the TK-217i connected properly, but my keyboard and mouse don't work.
Make sure your USB ports are working properly by connecting your mouse and
1.
keyboard directly to the USB ports on your computers.
2. Once you confirm that your computer's USB port is functional, please reboot all
computers, and try to use the KVM switch again.
3. Can I connect and disconnect the USB cables while the computers are turned
on?
Yes, you can connect or disconnect the USB cables while the computers are
turned on, because the USB interface is Plug-and-Play and Hot-Pluggable.
4. Will the KVM switch remember the keyboard settings between computers?
Yes, the KVM switch will remember the keyboard settings when switching between
your computers. (i.e.: Caps Lock, Num Lock, etc.)
5. How do I switch from one computer to another with the KVM switch?
PC User: Push button switch, Universal Hot-Key Commands, or USB KVM
Switcher Software
Mac User: Push button switch or USB KVM Switcher Software (Mac OS X
10.4~10.6)
Linux User: Push button switch or Universal Hot-Key Commands
If you still encounter problems or have any questions regarding the TK-217i, please
contact TRENDnet's Technical Support Department.
11
Page 14

12
Page 15

Page 16

Copyright ©2011. All Rights Reserved. TRENDnet.
 Loading...