

Anleitung zur Schnellinstallation
TEW-648UB
1.03

Table of Contents
Deutsch
Bevor Sie anfangen
1.
Installation du matériel
2. 2
Verwendung des drahtlosen Adapters
3. 6
Troubleshooting 7
1
1
Version 07.13.2010
1. Bevor Sie anfangen
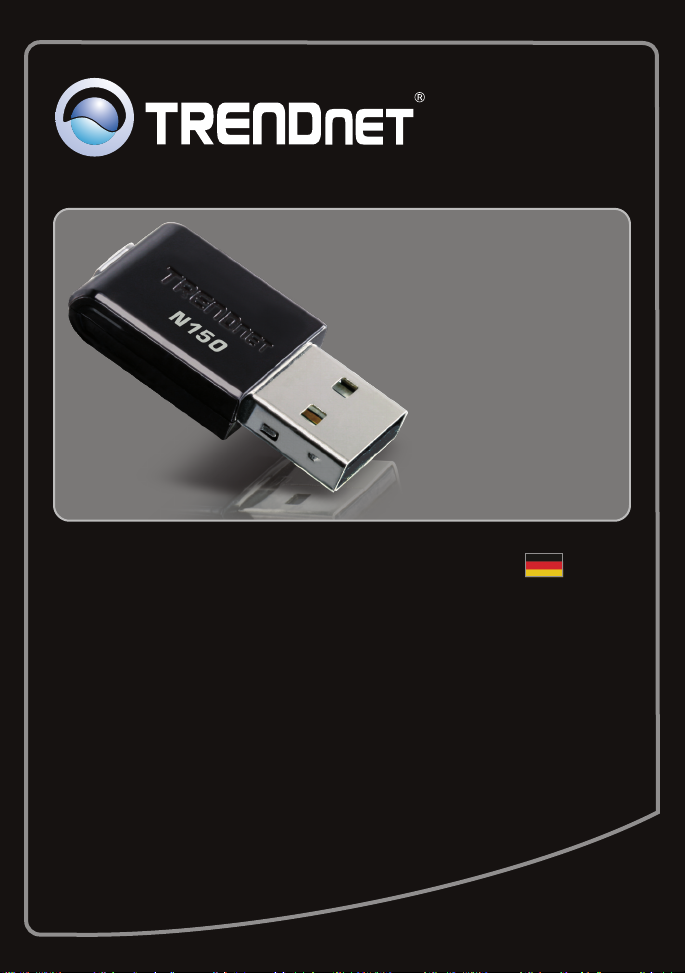
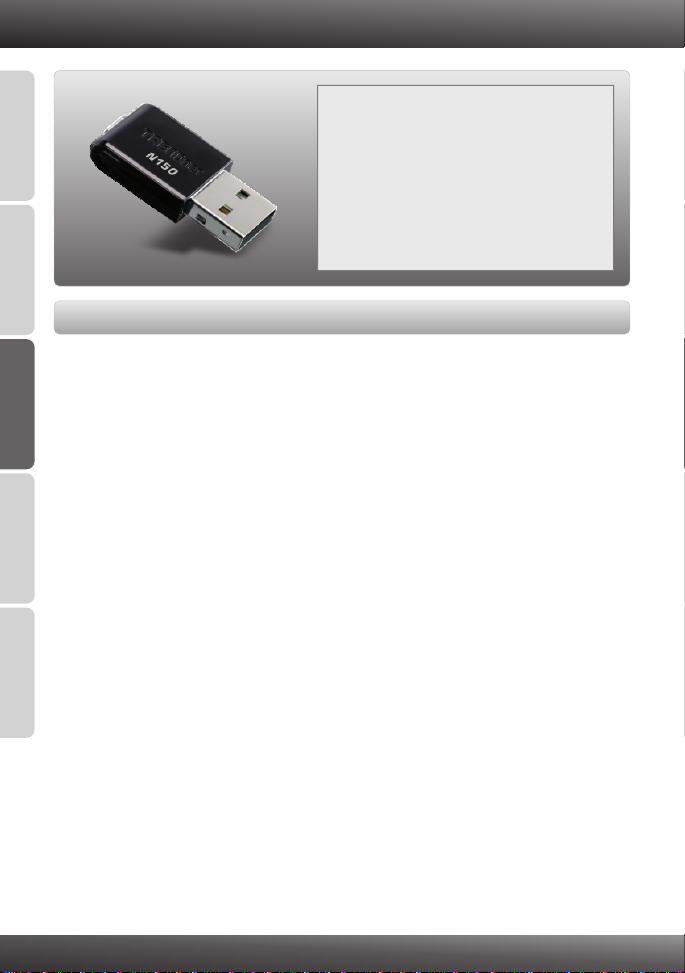
Packungsinhalt
?
TEW-648UB
ENGLISHFRANÇAISDEUTSCHESPAÑOL
?Treiber-und Dienstprogramm-CD
?
Mehrsprachige Installationsanleitung
Systemanforderungen
USB-Port: 1.1 oder 2.0
?
?CD-ROM-Laufwerk
?Prozessor: 300 MHz oder schnellere / 800MHz oder schnellere (Windows Vista) /
1GHz oder schnellere (Windows 7)
Speicher: 256 MB oder mehr / oder mehr / 1 GB
? 512MB RAM (Windows Vista)
RAM oder mehr
?Windows 2000/XP/Vista/7
(Windows 7)
РУССКИЙ
1

2. Installation der Hardware
Wichtig! Verbinden Sie den drahtlosen USB-Adapter NICHT mit dem Computer, bevor
Sie dazu aufgefordert werden.
1. Legen Sie die Treiber- und
Dienstprogramm-CD in das CD- ROM-
Laufwerk Ihres Computers ein.
2. Klicken Sie auf Run autorun.exe
(autorun.exe ausführen) (nur Windows Vista/7).
3. Klicken Sie dann auf Install Utility
(Programm installieren).
4. Klicken Sie dann auf Next (Weiter). Und
Folgen Sie den Anweisungen des
Installationsassistenten.
ENGLISHFRANÇAISDEUTSCHESPAÑOL
РУССКИЙ
2

ENGLISHFRANÇAISDEUTSCHESPAÑOL
5. Klicken Sie auf Yes (Ja).
(Windows 2000).
6. Klicken Sie auf Finish (Fertigstellen).
(Windows XP/Vista).
7. Nehmen Sie die Treiber- und Dienstprogramm-
CD-ROM aus dem CD-ROM-Laufwerk Ihres
Computers.
РУССКИЙ
8. Verbinden Sie den Funkadapter mit einem
verfügbaren USB-Anschluss Ihres Computers.
5. Klicken Sie auf Continue
Anyway (Vorgang dennoch
fortsetzen). (Windows XP).
3

Hinweis: Bei Windows Vista/7 werden die Treiber automatisch installiert. Gehen Sie zu
Abschnitt 3 „Verwendung des drahtlosen Adapters“. Benutzer von Windows 2000 und
XP fahren bitte mit Schritt 9 fort.
Windows XP
9. Jetzt erscheint der Found
New Hardware Wizard
(Assistent „Neue
Hardwarekomponente
gefunden“). Markieren Sie
No (Nein) und klicken Sie
dann auf Next (Weiter).
Windows 2000
9. Klicken Sie auf Yes (Ja).
10. Die Installation ist jetzt
abgeschlossen. Gehen Sie
zu Abschnitt 3 „Verwendung
des drahtlosen Adapters“.
ENGLISHFRANÇAISDEUTSCHESPAÑOL
РУССКИЙ
10. Markieren Sie Install
the software
automatically (software
automatisch installieren)
(empfohlen)
auf Next (Weiter).
und klicken Sie
4

ENGLISHFRANÇAISDEUTSCHESPAÑOL
Windows XP
11. Klicken Sie auf Continue
Anyway (Vorgang dennoch
fortsetzen).
12. Klicken Sie auf Finish
(Fertigstellen).
Ihre Installation ist beendet
РУССКИЙ
5

3. Verwendung des drahtlosen Adapters
1. Doppelklicken Sie auf das Symbol wireless
configuration utilityin der rechten unteren
Bildschirmecke.
2. Klicken Sie auf Site Survey (StandortÜbersicht), wählen Sie die SSID aus und
klicken Sie dann auf Connect (Verbinden).
3. Wenn an Ihrem Access Point die
Verschlüsselung aktiviert ist, wählen Sie die
Authentifizierungsart und den
Verschlüsselungsmodus aus, geben den
Verschlüsselungsschlüssel ein und klicken
dann auf Apply (Übernehmen).
ENGLISHFRANÇAISDEUTSCHESPAÑOL
Die drahtlose Verbindung ist jetzt vollständig konfiguriert.
Hinweis: Weitere Informationen zu den Konfigurations- und erweiterten Einstellungen
derTEW-648UB finden Sie im Abschnitt „Problembehandlung“ der Bedienungsanleitung auf
der beiliegenden Dienstprogramm-CD oder auf der Website von TRENDnet unter
www.trendnet.com.
Registrieren Sie Ihr Produkt
Nehmen Sie sich bitte einen Moment Zeit und registrieren Sie Ihr Produkt online, so
dass Sie unsere umfassenden Support- und Kundendienstleistungen in Anspruch
nehmen können: www.trendnet.com/register
Vielen Dank für den Kauf eines TRENDnet-Produkts
6
РУССКИЙ

Trouble Shooting
I inserted the Utility & Driver CD-ROM into my computer's CD-ROM Drive and the installation
menu does not appear automatically. What should I do?
1. For Windows 2000/XP, if the installation menu does not appear automatically, click Start,
click Run, and type D:\autorun where "D" in "D:\autorun.exe" is the letter assigned to your
CD-ROM Drive, and then press the ENTER key on your keyboard.
2. For Windows Vista, if the installation menu does not appear automatically, click on the
Windows Icon on the bottom left hand corner of the screen, click on the “Start Search”
box, and type D:\autorun.exe, where “D” in “D:\autorun.exe” is the letter assigned to your
CD-ROM Driver, and then press the ENTER key on your keyboard.
3. For Windows 7, if the installation menu does not appear automatically, click on the
Windows Icon on the bottom left hand corner of the screen,, click the “Search programs
and files” box, and type D:\autorun.exe, where “D” in “D:\autorun.exe” is the letter
assigned to your CD-ROM Driver, and then press the ENTER key on your keyboard.
I completed all the steps in the quick installation guide, but my Wireless USB Adapter is not
connecting to my access point. What should I do?
1. Verify that the SSID matches your wireless router or access point's SSID.
2. Please check with your network administrator for the security key in order to access a
secured wireless access point or router. Refer to the User's Guide for more information
regarding wireless network security.
3. Check your TCP/IP properties to ensure that Obtain an IP address automatically is
selected.
4. Double-click the Wireless Configuration Utility icon, click Site Survey and then click
Refresh to check and see if there are any available wireless networks listed.
Windows is unable to recognize my hardware. What should I do?
1. Make sure your computer meets the minimum requirements as specified in Section 1 of
this quick installation guide.
2. You must complete the installation of the Wireless Configuration Utility (as described in
Section 2) before connecting the Wireless USB Adapter to your computer.
3. Connect the Wireless USB Adapter to a different USB port on your computer.
I cannot open the Wireless Configuration Utility. What should I do?
Access your device manager to make sure the adapter is installed properly. If you see a
networking device with a yellow question mark or exclamation point, you will need to reinstall
the device and/or the drivers.
1. To access the device manager on Windows 2000/XP, right-click My Computer,
click Properties, click the Hardware tab, and then click Device Manager.
2. To access the device manager on Windows Vista, right-click Computer, click
Properties and then click Device Manager.
3. To access the device manager on Windows 7, click on the Windows icon on the
bottom left-hand corner, click Computer, click System Properties and then
click Device Manager.
If you still encounter problems or have any questions regarding the TEW-648UB, please refer to
the User's Guide included on the Utility & Driver CD-ROM or contact TRENDnet's Technical
Support Department.
7

Wireless Tips
The following are some general wireless tips to help minimize the impact of interference within an
environment.
Assign your network a unique SSID
Do not use anything that would be identifying like “Smith Family Network”. Choose
something that you would easily identify when searching for available wireless networks.
Do not turn off the SSID broadcast
The SSID broadcast is intended to be on and turning it off can cause connectivity issues.
The preferred method of securing a wireless network is to choose a strong form of encryption
with a strong and varied encryption key.
Note: after setting up the SSID, encryption type and encryption key/passphrase, please
make a note of them for future reference. You will need this information to connect your
wireless computers to the wireless router/access point.
Change the channel
Most wireless access points and routers are defaulted to channel 6. If you have a site survey
tool that will display the channels you can plan your channel selection around neighboring
access points to minimize interference from them. If your site survey tool does not display
the channel try using channels 1 or 11.
Change the channel bandwidth
If you are using an 802.11n router or access point you can also make the following changes.
Change the channel bandwidth to 20/40MHz. This will provide the highest possible
performance using an 802.11n device. Also, if using 802.11n you should be securing the
network with WPA2 security.
Note: Due to Wi-Fi certification considerations if you choose WEP, WPA or WPA2-TKIP
encryption this device may operate in legacy wireless mode (802.11b/g). You may not get
802.11n performance as these forms of encryption are not supported by the 802.11n
specification.
Avoid stacking hardware on top of each other to prevent overheating issues
Maintain enough free space around the hardware for good ventilation and airflow. There
should also be plenty of free space around the antennas to allow the wireless signal to
propagate. Please also make sure that the wireless hardware is not placed in any type of
shelving or enclosures.
There are a number of other environmental factors that can impact the range of wireless
devices.
1. Adjust your wireless devices so that the signal is traveling in a straight path, rather than at
an angle. The more material the signal has to pass through the more signal you will lose.
8

2.Keep the number of obstructions to a minimum. Each obstruction can reduce the range of
a wireless device. Position the wireless devices in a manner that will minimize the amount
of obstructions between them.
3.Building materials can have a large impact on your wireless signal. In an indoor
environment, try to position the wireless devices so that the signal passes through less
dense material such as dry wall. Dense materials like metal, solid wood, glass or even
furniture may block or degrade the signal.
4.Antenna orientation can also have a large impact on your wireless signal. Use the wireless
adapter's site survey tool to determine the best antenna orientation for your wireless
devices.
5.Interference from devices that produce RF (radio frequency) noise can also impact your
signal. Position your wireless devices away from anything that generates RF noise, such
as microwaves, HAM radios, Walkie-Talkies and baby monitors.
6.Any device operating on the 2.4GHz frequency will cause interference. Devices such as
2.4GHz cordless phones or other wireless remotes operating on the 2.4GHz frequency
can potentially drop the wireless signal. Although the phone may not be in use, the base
can still transmit wireless signals. Move the phone's base station as far away as possible
from your wireless devices.
If you are still experiencing low or no signal consider repositioning the wireless devices or installing
additional access points. The use of higher gain antennas may also provide the necessary
coverage depending on the environment.
9

Certifications
017898431240668
This equipment has been tested and found to comply with FCC and CE Rules.
Operation is subject to the following two conditions:
(1) This device may not cause harmful interference.
(2) This device must accept any interference received. Including interference that may
cause undesired operation.
0556-10-2375
Waste electrical and electronic products must not
be disposed of with household waste. Please
recycle where facilities exist. Check with you Local
Authority or Retailer for recycling advice.
NOTE: THE MANUFACTURER IS NOT RESPONSIBLE FOR ANY RADIO OR TV
INTERFERENCE CAUSED BY UNAUTHORIZED MODIFICATIONS TO THIS
EQUIPMENT. SUCH MODIFICATIONS COULD VOID THE USER’S AUTHORITY TO
OPERATE THE EQUIPMENT.
ADVERTENCIA
En todos nuestros equipos se mencionan claramente las caracteristicas del adaptador de alimentacón
necesario para su funcionamiento. El uso de un adaptador distinto al mencionado puede producir
daños fisicos y/o daños al equipo conectado. El adaptador de alimentación debe operar con voltaje y
frecuencia de la energia electrica domiciliaria existente en el pais o zona de instalación.

Product Warranty Registration
Please take a moment to register your product online.
Go to TRENDnet’s website at http://www.trendnet.com/register
Copyright ©2010. All Rights Reserved. TRENDnet.
 Loading...