

Page 1
Page 2

Table of Content
Introduction ............................................................................................................. 3
Package Contents .................................................................................................. 3
Unpacking ............................................................................................................. 3
System Requirements ........................................................................................... 3
Wireless Performance Considerations ..................................................................... 4
Software Installation................................................................................................ 5
Wireless Utility ........................................................................................................ 6
Mode ..................................................................................................................... 6
Refresh .................................................................................................................. 7
About .................................................................................................................... 7
Station Mode ........................................................................................................... 7
General .................................................................................................................. 7
Profile .................................................................................................................... 8
Available Network ............................................................................................... 10
Status .................................................................................................................. 11
Statistics .............................................................................................................. 11
Wi-Fi Protected Setup (WPS) ............................................................................... 12
Access Point Mode ................................................................................................ 14
General ................................................................................................................ 14
Advance .............................................................................................................. 16
Statistics .............................................................................................................. 16
ICS ....................................................................................................................... 17
Mac OS x Software Installation .............................................................................. 18
Mac OS x Utility ..................................................................................................... 21
Link Status ........................................................................................................... 21
Profiles ................................................................................................................ 22
Available Network ............................................................................................... 22
Advance Setting .................................................................................................. 23
About .................................................................................................................. 23
Specifications ......................................................................................................... 24
Limited Warranty ................................................................................................... 25
2
Page 3

INTRODUCTION
The High Power 150Mbps Wireless N USB Adapter (model TEW-646UBH) connects a laptop or
desktop computer to a high speed wireless n network.
An adjustable external antenna and a 200% increase** in power output maximizes wireless
throughput and coverage.
Setup is a breeze with one-touch Wi-Fi Protected Setup (WPS) technology. Advanced wireless
encryption protects your valuable data. Wi-Fi Multimedia (WMM) Quality of Service prioritizes
important video, audio and gaming traffic. Stream video, download files, play games, and talk
online with this high power adapter.
Package Contents
This section provides unpacking and setup information for the Micro Wireless N USB Adapter.
Unpacking
The box should contain the following items:
- TEW-646UBH Micro Wireless N USB Adapter
- CD-ROM (Utility & User’s Guide)
- Multi-Language Quick Installation Guide
If any item is found missing or damaged, please contact your local reseller for replacement.
System Requirements
Before installation, check the following:
- Make sure your computer is running at least a 300MHz or above processor with 256MB
RAM or above
- Make sure the USB ports are is USB 2.0 port
- The operating system on your computer must be the following: XP (Service Pack 2),
Windows Vista, Windows 7
- 802.11n or 802.11b/g access point or router.
- Make sure the environment has minimal interference and obstructions.
3
Page 4

WIRELESS PERFORMANCE CONSIDERATIONS
There are a number of factors that can impact the range of wireless devices.
1. Adjust your wireless devices so that the signal is traveling in a straight path, rather than at
an angle. The more material the signal has to pass through the more signal you will lose.
2. Keep the number of obstructions to a minimum. Each obstruction can reduce the range of
a wireless device. Position the wireless devices in a manner that will minimize the amount
of obstructions between them.
3. Building materials can have a large impact on your wireless signal. In an indoor
environment, try to position the wireless devices so that the signal passes through less
dense material such as dry wall. Dense materials like metal, solid wood, glass or even
furniture may block or degrade the signal.
4. Antenna orientation can also have a large impact on your wireless signal. Use the wireless
adapter’s site survey tool to determine the best antenna orientation for your wireless
devices.
5. Interference from devices that produce RF (radio frequency) noise can also impact your
signal. Position your wireless devices away from anything that generates RF noise, such as
microwaves, radios and baby monitors.
6. Any device operating on the 2.4GHz frequency will cause interference. Devices such as
2.4GHz cordless phones or other wireless remotes operating on the 2.4GHz frequency can
potentially drop the wireless signal. Although the phone may not be in use, the base can
still transmit wireless signal. Move the phone’s base station as far away as possible from
your wireless devices.
If you are still experiencing low or no signal consider repositioning the wireless devices or
installing additional access points. The use of higher gain antennas may also provide the
necessary coverage depending on the environment.
4
Page 5
SOFTWARE INSTALLATION
This section describes how to install the driver and utility for the High Power 150Mbps
Wireless N USB Adapter.
1) Insert the Utility and Driver CD-ROM into your computer’s CD-ROM drive and then click
Install Utility.
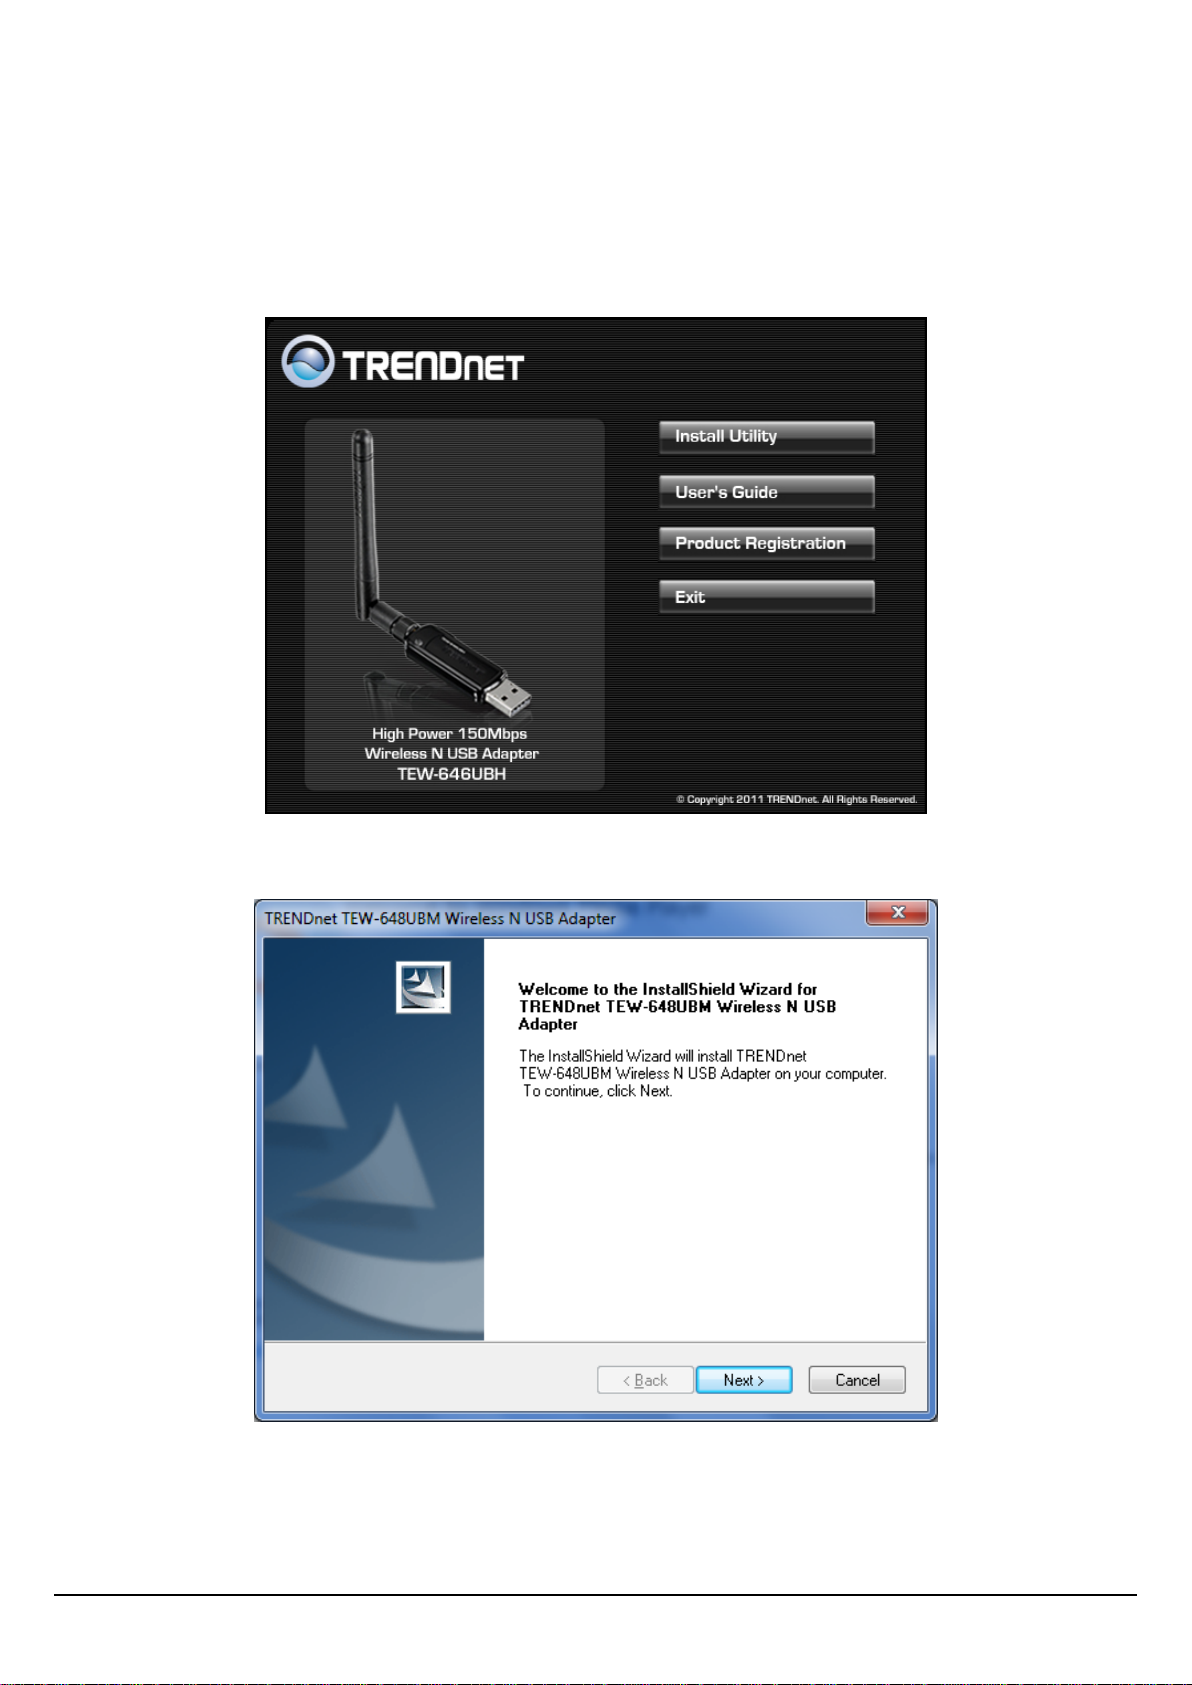
2) Follow the InstallShield Wizard Instructions
5
Page 6
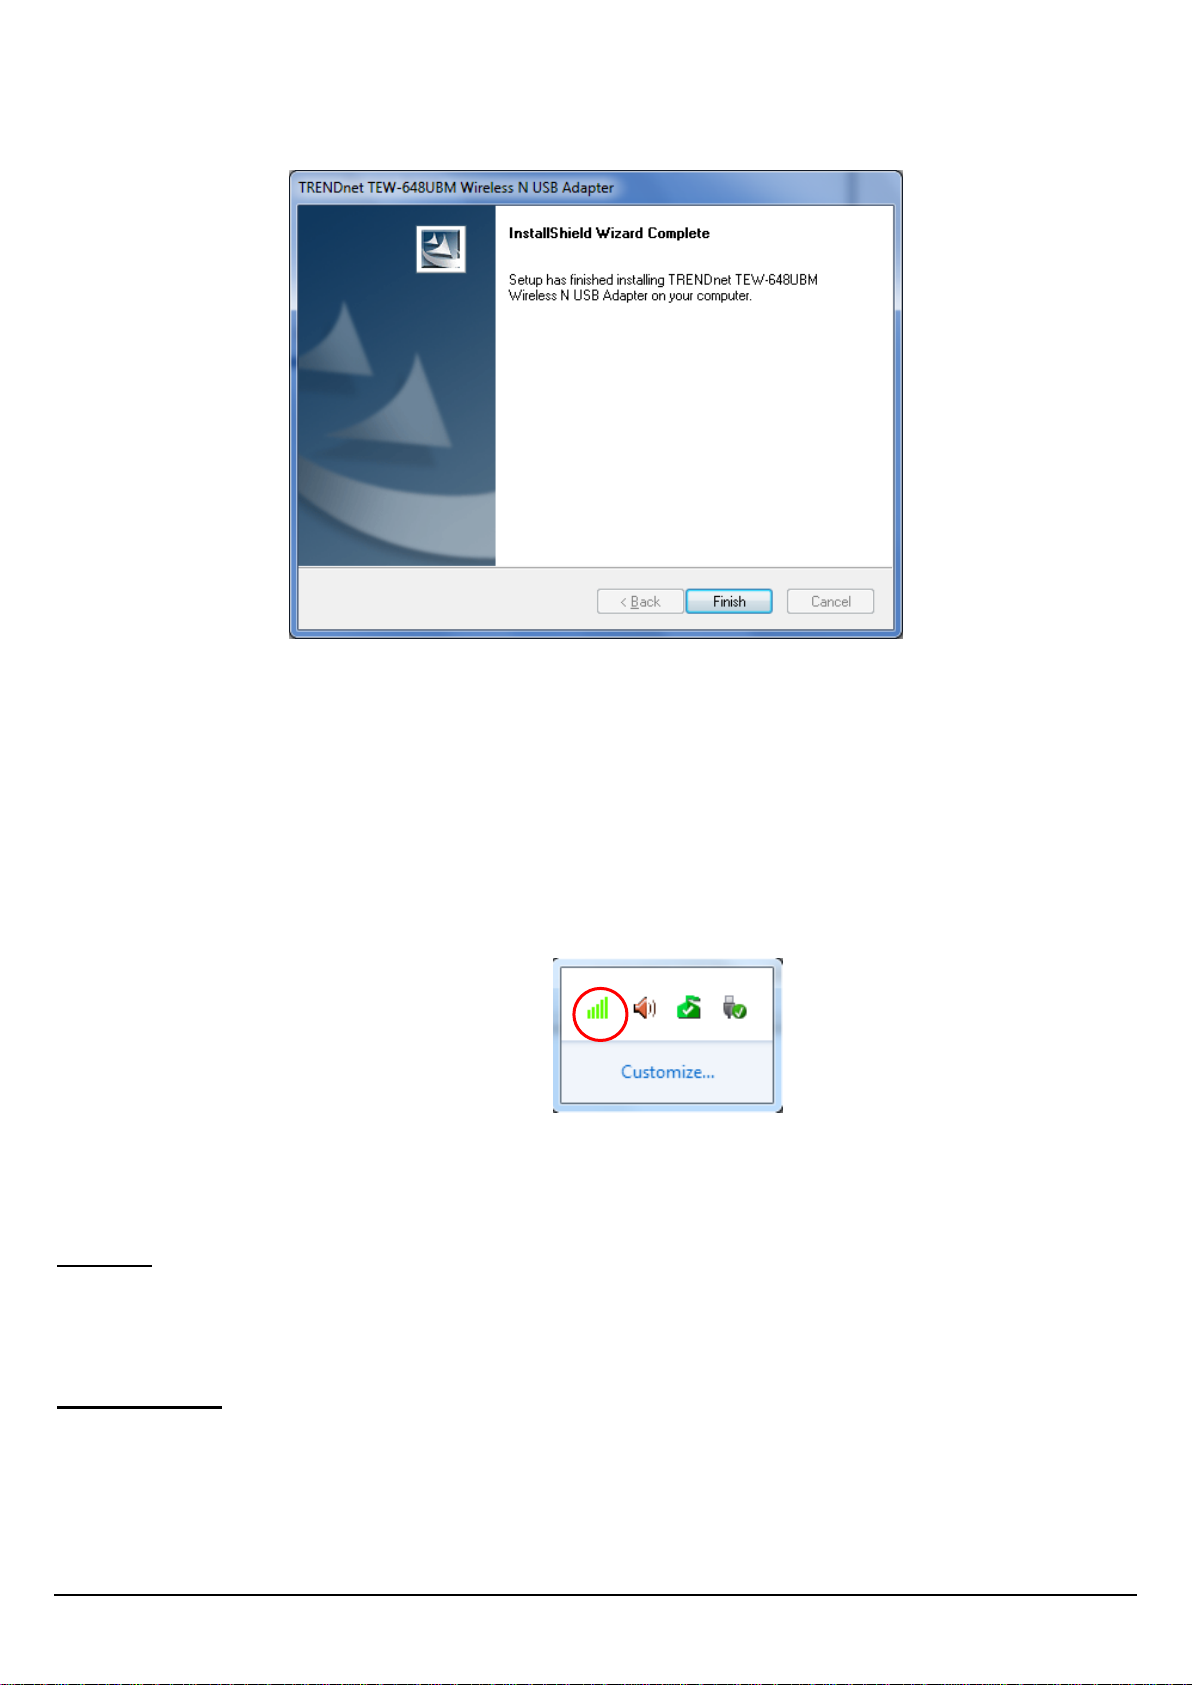
3) Click Finish to restart the computer.
4) After the computer is rebooted, plug the High Power 150Mbps Wireless N USB Adapter
into an available USB slot on your computer.
WIRELESS UTILITY
The user can configure the wireless settings using the Wireless Adapter Configuration Utility.
Double-click the utility icon that appears in the taskbar.
Mode
The Micro Wireless N USB Adapter has 2 operating modes Station and Access Point.
Station
This mode is the default mode for the wireless adapter. When this mode is selected the
wireless adapter functions as a wireless client.
Access Point
Select this mode when to have the wireless adapter function as a wireless access point. This
feature is similar to “tethering” and will allow you to share an Internet connection to other
wireless clients. Please note that to share internet connection the computer with the Micro
Wireless N USB Adapter must have a valid Internet connection using a wired connection.
6
Page 7
Refresh
Click this option to refresh the utility for any changes.
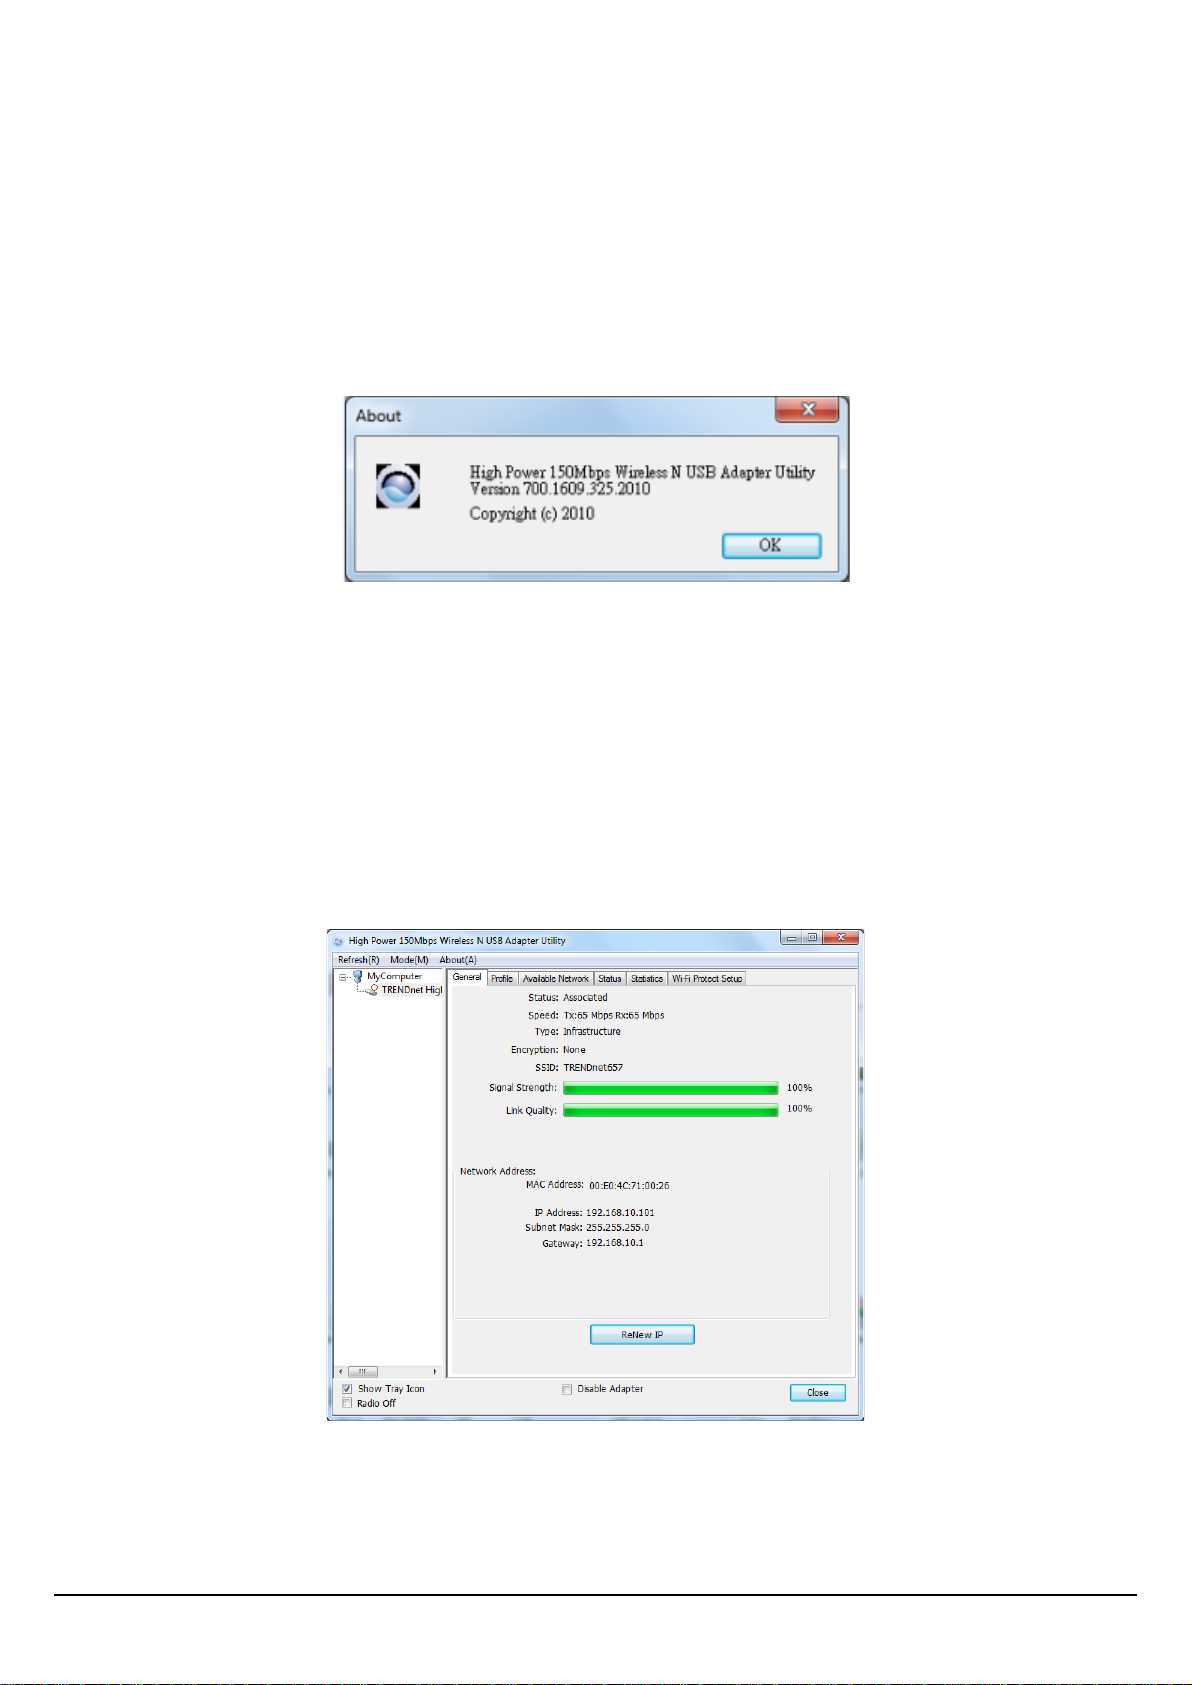
About
This screen displays information about the Micro Wireless N USB Adapter, such as the Driver
and Utility version. When a new version of the utility becomes available for upgrade, users
will be able to identify by version numbers.
STATION MODE
This mode is the default mode for the wireless adapter. When this mode is selected the
wireless adapter functions as a wireless client.
General
This is the default screen after launching the Utility program.
Status: Shows if the associated status of the wireless adapter
SSID: Shows the current SSID, which must be the same as your wireless access point or router
in order to establish the connection correctly.
7
Page 8
Speed: Shows the current connection speed.
Type: Shows the connection type of Infrastructure of Ad-Hoc.
Encryption: Shows the current encryption mode used.
SSID: Shows the SSID the adapter is associated with.
Signal Strength: Shows the wireless signal strength of the connection between the adapter
with the Access Point.
pink Quality: Shows the wireless link quality between the adapter and access point.
MAC Address: Shows the MAC address information of the adapter
IP Address: Shows the IP address the adapter obtained from the access point.
Subnet Mask: Shows the subnet mask the adapter obtained
Gateway: Shows the gateway information obtained be the adapter.
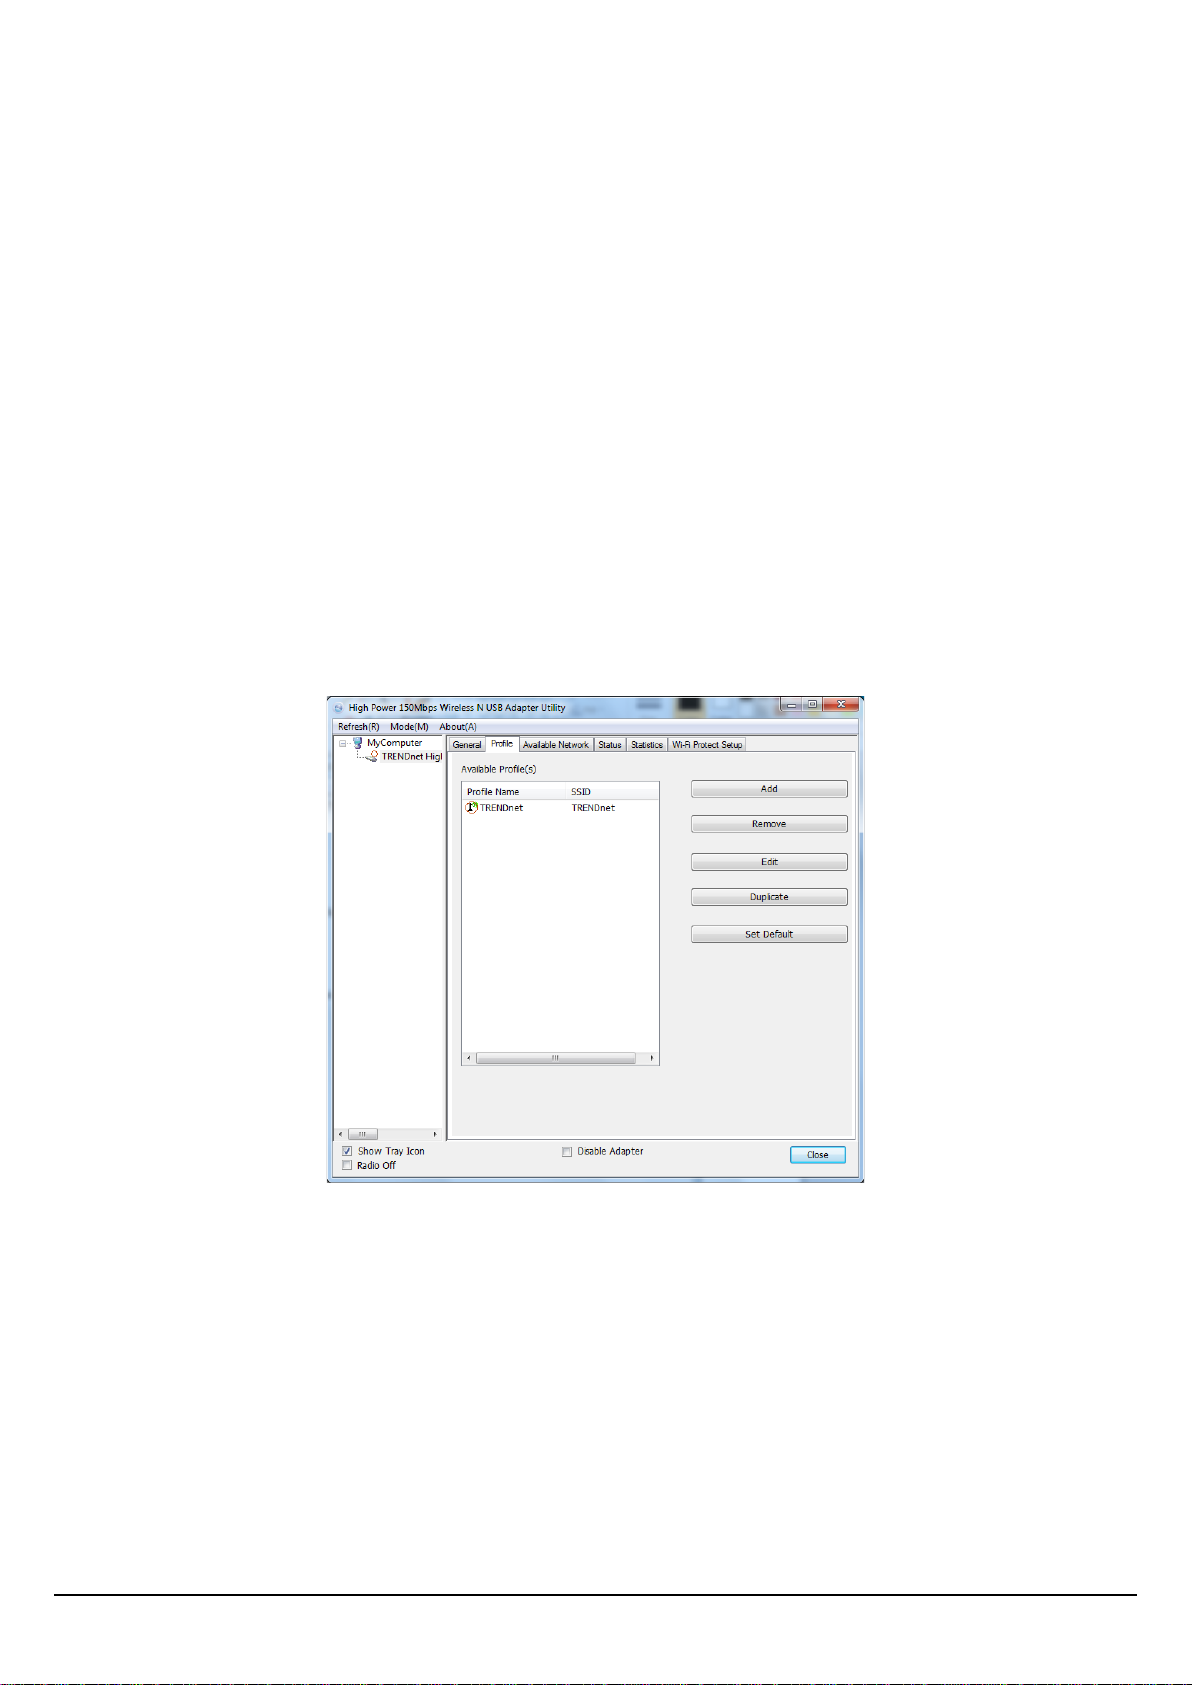
Profile
This screen is where you set the basic wireless settings of the wireless adapter.
Profile Name: You can modify the Profile Name to anything you would like, for example Home,
Office, Play Room and etc.
SSID: Service Set Identifier, which is a unique name shared among all wireless clients in a
wireless network. The SSID must match the wireless access point or router’s SSID that you are
connecting to.
Add: Adds a profile. The user can enter the necessary information required for accessing the
particular Access Point or Wireless Router.
Remove: Deletes the selected profile
8
Page 9
Edit: Edit an exist profile. The screen will back to profile. Edit the SSID and select the Wireless
Mode, Authentication and Encryption then click Apply to save the profile. When the Profile
name was changed, a new profile will be added in the list.
Duplicate: Duplicate the settings of the selected profile.
Set Default: Selected a profile from list then click the Connect to connecting to the wireless
network with the profile setting.
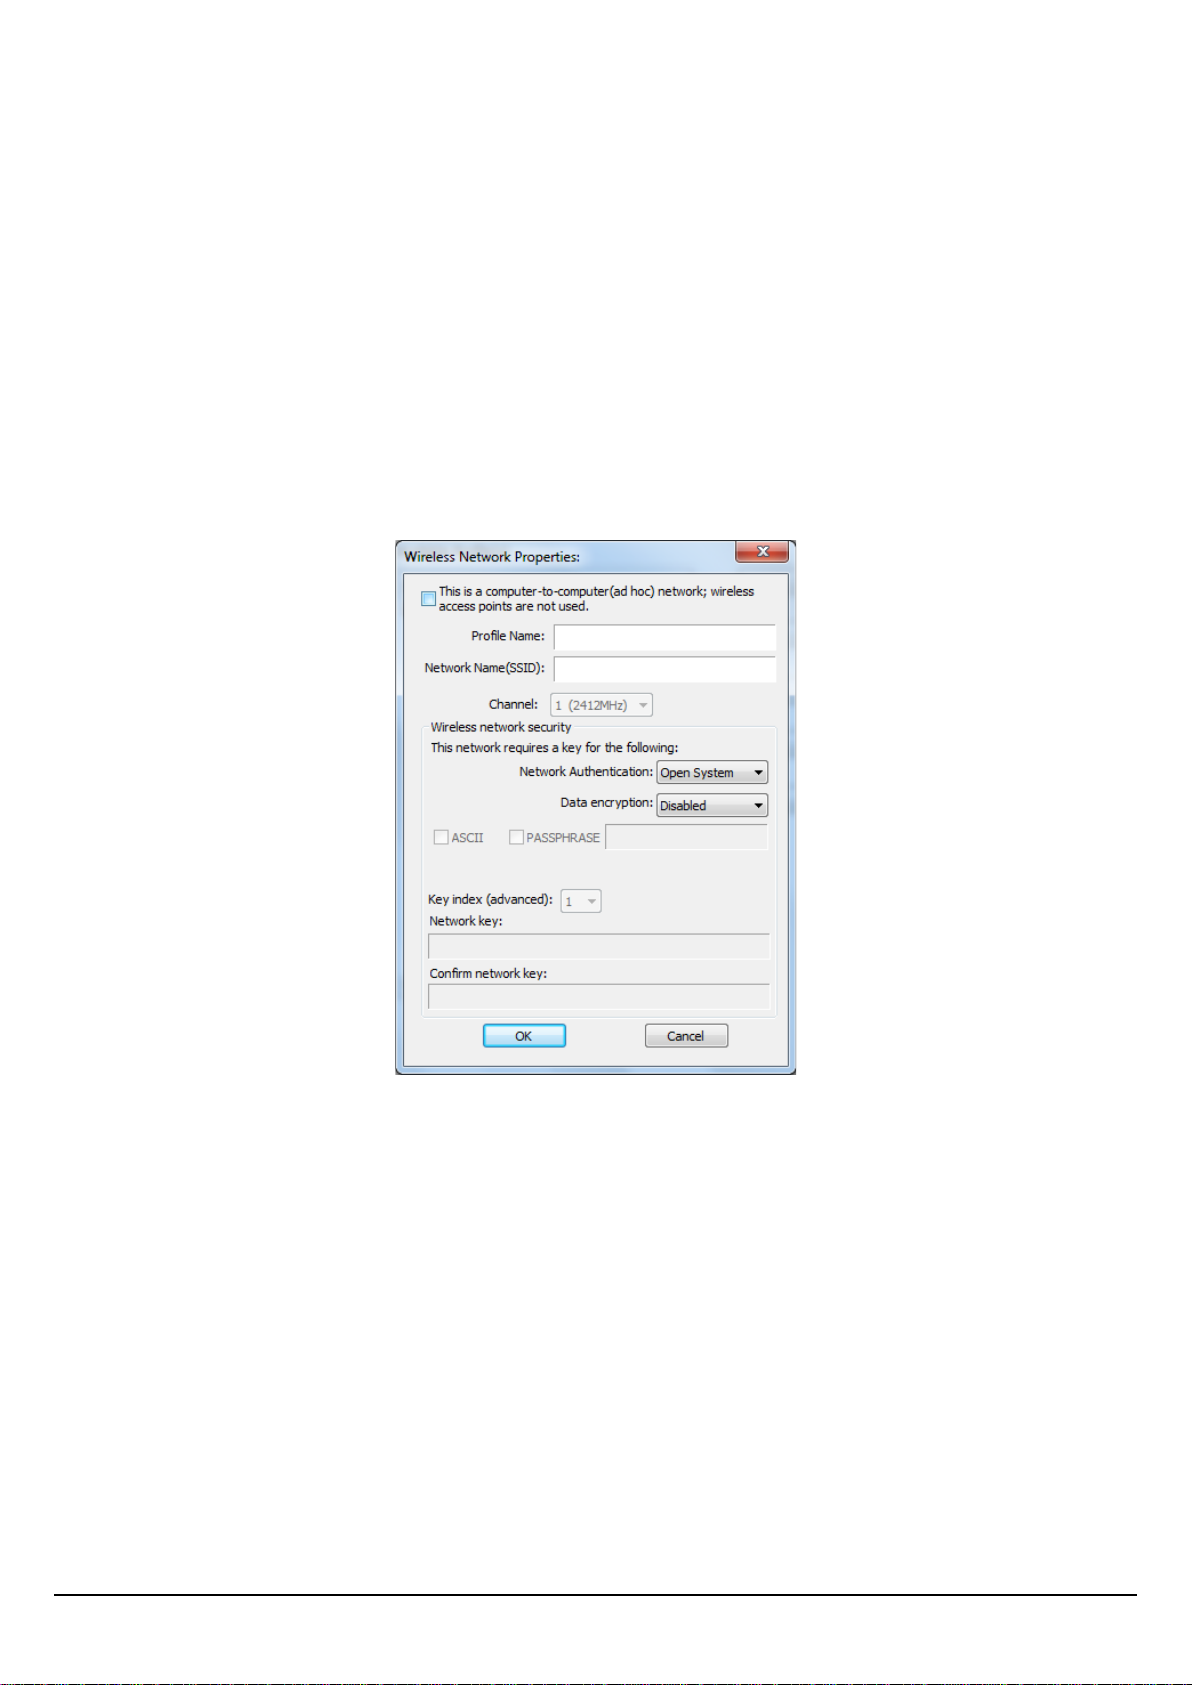
Adding Profile – The user can create and manage the created profiles for home, work or
public areas. By double-clicking on Add user can adjust to the specific setting such as SSID,
channel, and encryption as saved by that particular profile.
Ad-Hoc: Check this option to establish a point-to-point wireless communication directly with
other wireless client devices.
Profile Name: User can create a profile name to distinguish each wireless networks created.
SSID: Enter the SSID or wireless network name of the access point.
Wireless Network Security
Authentication: The following options are available: Open System, Shared Key, WPA-PSK,
WPA2-PSK, WPA EAP-TLS, WPA2 EPA-TLS . Select Open System, Shared Key for WEP data
encryption feature.
9
Page 10

Open or Shared Key
Open System and Shared Key require the user to set a WEP key to exchange data with other
wireless clients that have the same WEP key. WEP is considered basic level of wireless
encryption, if you would like higher security connection, WPA2 encryption is recommended.
• Default Key: select one of the 4 keys to use.
• Network Key: choose the encryption way, either in HEX or ASCII formats, and enter
the password in the blank space.
• Key Length: select 64 or 128 bits as the length of the keys
Key Format: HEX or ASCII
Key Length Hex ASCII
Type characters 0-9, A-F, a-f alphanumeric format
64-bit 10 characters 5 characters
128-bit 26 characters 13 characters
WPA-PSK / WPA2 -PSK
If using the WPA-PSK/WPA2-PSK authentication method, please select the Encryption type
for TKIP or AES then enter the Passphrase key. The minimum length is 8 characters.
WPA EAP-TLS
If using the WPA/WPA2 EAP-TLS authentication method, please select the Encryption type for
TKIP or AES then select the WPA/WPA2 Certificate from drop down list.
Available Network
This screen allows the user to scan for available wireless network. It also allows the user to
establish wireless communications with an target device.
10
Page 11

Select any one of the wireless networks by double-clicking on it or select the SSID then click
the “Add to Profile” button.
Click the “Refresh” button to scan for available networks.
Status
The status tab shows user the current status of the wireless adapter.
Statistics
The statistics tab shows the current packet statistics of the wireless adapter.
11
Page 12

Wi-Fi Protected Setup (WPS)
Wi-Fi Protected Setup (WPS) is designed to ease the task of setting up and configuring security
on a wireless network. There are two methods used in the WPS as below instruction.
Push Button Config (PBC)
There are 2 ways on how to initialize WPS Push Button Config (PBC), follow the steps below :
Wireless utility:
-Open the utility and select “Wi-Fi Protected Setup” tab.
-Click on “Push Button Config (PBC) button
-Log into your wireless access point’s user interface and start the access point’s WPS push
button configuration. Please refer to the wireless access point’s manual on how to initialize
WPS Push Button Config.
Note: Most wireless access points have a physical WPS button. Pressing the button will
initialize WPS Push Button Config.
Physical button:
-Press the WPS button on the wireless adapter for 3 seconds and let go.
12
Page 13

-Log into your wireless access point’s user interface and start the access point’s WPS push
button configuration. Please refer to the wireless access point’s manual on how to initialize
WPS Push Button Config.
The LED will begin to blink during authentication. Once the connection has been successfully
establish the LED will remain solid.
Note: Most wireless access points have a physical WPS button. Pressing the button will
initialize WPS Push Button Config.
PIN Code
For PIN Code configuration the user is required to log into the wireless access point’s user
interface and follow the steps below. Please refer to the wireless access point’s manual on
how to initialize WPS Push Button Config.
-Open the wireless utility and select “Wi-Fi Protected Setup” tab.
-Click on “Pin Input Config (PIN)” button. You will be prompted to select your wireless access
point’s SSID. Click yes if you are aware of the access point’s SSID.
-Log into the wireless access point’s user interface and input the PIN Code information
provided on the wireless utility
-Initialize the wireless access point’s WPS PIN configuration.
13
Page 14

ACCESS POINT MODE
Select this mode when to have the wireless adapter function as a wireless access point. This
feature is similar to “tethering” and will allow you to share an Internet connection to other
wireless clients. Please note that to share internet connection the computer with the Micro
Wireless N USB Adapter must have a valid Internet connection using a wired connection.
General
This section allows user to configure the access point settings.
SSID: Shows the SSID if the wireless adapter’s network.
BSSID: Shows the MAC information of the wireless adapter.
Association Table: Shows all wireless clients connected to your adapter’s wireless network.
which must be the same as your wireless access point or router in order to establish the
connection correctly.
Config: Click this button to configure the access point settings.
14
Page 15

Network Name (SSID): Enter the SSID or wireless network name of the access point
Channel: Set the channel that you want the access point to operate on.
BSSID: Shows the MAC information of the wireless adapter.
Wireless Network Security
Authentication: The following options are available: Open System, Shared Key, WPA-PSK,
WPA2-PSK, WPA EAP-TLS, WPA2 EPA-TLS . Select Open System, Shared Key for WEP data
encryption feature.
Open or Shared Key
Open System and Shared Key require the user to set a WEP key to exchange data with other
wireless clients that have the same WEP key. WEP is considered basic level of wireless
encryption, if you would like higher security connection, WPA2 encryption is recommended.
• Default Key: select one of the 4 keys to use.
• Network Key: choose the encryption way, either in HEX or ASCII formats, and enter
the password in the blank space.
• Key Length: select 64 or 128 bits as the length of the keys
Key Format: HEX or ASCII
Key Length Hex ASCII
Type characters 0-9, A-F, a-f alphanumeric format
64-bit 10 characters 5 characters
128-bit 26 characters 13 characters
WPA-PSK / WPA2 -PSK
If using the WPA-PSK/WPA2-PSK authentication method, please select the Encryption type
for TKIP or AES then enter the Passphrase key. The minimum length is 8 characters.
15
Page 16

WPA EAP-TLS
If using the WPA/WPA2 EAP-TLS authentication method, please select the Encryption type for
TKIP or AES then select the WPA/WPA2 Certificate from drop down list.
Advance
This section allows user to configure access point mode’s advance settings.
Statistics
The statistics tab shows the current packet statistics of the wireless adapter.
16
Page 17

ICS
The section shows user the status of the computer’s network adapters.
17
Page 18

MAC OS X SOFTWARE INSTALLATION
This section describes how to install the driver and utility for the High Power 150Mbps
Wireless N USB Adapter with MAC OS X operating system
1) Insert the Utility and Driver CD-ROM into your computer’s CD-ROM.
Browse the TEW-646UBH CD-ROM and go to MAC OS X folder
2)
3)
Select the correct Mac OS X version drivers to install and click “Installer.mpkg”
4)
Click on “Continue” to continue with the installtion
5)
When prompted for license agreement, click “Agree” to continue
6) If prompted, select the destination volume to install the utility and click
“Continue”.
18
Page 19

7) Click “Install” or “Upgrade to continue.
8) Input your password then click “OK” password.
9) Click “Continue Installation”
19
Page 20

10) When installation is complete click on “Restart”
11) Once restart is completed insert the TEW-646UBH on your Mac. The
wireless utility will automatically appear. IF the utility does not appear you
will find the utility icon in the Dock menu. Click on the icong to start the
TEW-646UBH configuration.
20
Page 21

MAC OS X UTILITY
This section describes how to install the driver and utility for the High Power 150Mbps
Wireless N USB Adapter with MAC OS X operating system
Link Status
MAC Address: Shows the MAC address of the wireless USB adapter
SSID/BSSID: Shows the SSID that USB wireless adapter is connected to
Security: Shows the type of security used
Connection: Shows the connection status of the wireless USB adapter
Network Type: Shows the type of network the wireless USB adapter is set on
Channel: Shows the current channel being used on the connection
Link Speed: Shows the current linking speed both transmission and receive
HT Info: Shows the HT information including bandwidth 20 or 40MHz, GI (Grand
Interval) short of long, MCS index when connected in 802.11n mode
Signal Strength: Shows the current wireless signal strength
21
Page 22

Profiles
Add: Select this option to add a new profile, user can enter the necessary
information required for access the access point or wireless router
Edit: View and edit the selected profile
Remove: Select this option to delete the selected profile
Duplicate: Select this option to copy the selected profile
Apply: Click this option to apply/activate the selected profile
Available Network
This tab allows users to scan for available wireless networks .
Refresh: Click this option to refresh the available network list
Connect: Click this option to establish connection to a select available network.
22
Page 23

Add to Profile: Select an available network and click this option to save the
network as a profile.
Advance Setting
802.11b preamble mode: To set the preamble mode
QOS Mode: This option allows users to enable or disable QoS feature
PSP Xlink Mode: This option allows users to enable or disable PSP mode
Fragment Threshold: This option allows users to set the fragment threshold of the
wireless adapter:
RTS Threshold: This option allows users to set the RTS threshold of the wireless
adapter:
About
This tab shows the wireless adapter’s utility information
23
Page 24

Date Rate (auto
SPECIFICATIONS
Hardware
Interface USB 2.0
Standards IEEE 802.11b, IEEE 802.11g, based on IEEE 802.11n draft 2.0 technology
LED Indicator Power, Link
WPS Button Enables WPS connection
Power Consumption 2.5 W
Antenna Connector SMA
Supported OS Windows: 7 (32/64-bit), Vista (32/64-bit), XP(32/64-bit)
Mac: OS 10.4-10.6
Dimensions (LxWxH) 60 x 16 x 8 mm (2.3 x 0.6 x 0.3 in.)
Weight 5.7 g (0.2 oz)
Temperature
Operating: 0° ~ 55° C (32° ~ 131° F); Storage: -20° ~ 70° C (-4 ~ 158° F)
Humidity Max. 90% (non-condensing)
Certifications CE, FCC
Wireless
Modulation OFDM, DSSS
Antenna 1 x 2dBi omni-directional detachable antenna (Reverse SMA)
Frequency 2.4 ~ 2.497 GHz
Quality of Service 802.11e, WMM
802.11b: 11Mbps
fallback)
802.11g: 54Mbps
802.11n: 150Mbps
Output Power 802.11b: 15dBm
802.11g: 14dBm
802.11n: 12dBm
Receiving Sensitivity 802.11b: -78dBm at 11mpbs
Encryption 64/128-bit WEP, WPA/WPA2-RADIUS, WPA /WPA2-PSK
Channels 1~11 (FCC), 1~13 (ETSI)
802.11g: -65dBm at 54Mbps
802.11n: -93dBm at 150Mbps
24
Page 25

LIMITED WARRANTY
TRENDnet warrants its products against defects in material and workmanship, under normal use and service,
for the following lengths of time from the date of purchase.
TEW-646UBH – 3 Years Warranty
AC/DC Power Adapter, Cooling Fan, and Power Supply carry 1 year warranty.
If a product does not operate as warranted during the applicable warranty period, TRENDnet shall reserve the
right, at its expense, to repair or replace the defective product or part and deliver an equivalent product or
part to the customer. The repair/replacement unit’s warranty continues from the original date of purchase. All
products that are replaced become the property of TRENDnet. Replacement products may be new or
reconditioned. TRENDnet does not issue refunds or credit. Please contact the point-of-purchase for their
return policies.
TRENDnet shall not be responsible for any software, firmware, information, or memory data of customer
contained in, stored on, or integrated with any products returned to TRENDnet pursuant to any warranty.
There are no user serviceable parts inside the product. Do not remove or attempt to service the product by
any unauthorized service center. This warranty is voided if (i) the product has been modified or repaired by
any unauthorized service center, (ii) the product was subject to accident, abuse, or improper use (iii) the
product was subject to conditions more severe than those specified in the manual.
Warranty service may be obtained by contacting TRENDnet within the applicable warranty period and
providing a copy of the dated proof of the purchase. Upon proper submission of required documentation a
Return Material Authorization (RMA) number will be issued. An RMA number is required in order to initiate
warranty service support for all TRENDnet products. Products that are sent to TRENDnet for RMA service must
have the RMA number marked on the outside of return packages and sent to TRENDnet prepaid, insured and
packaged appropriately for safe shipment. Customers shipping from outside of the USA and Canada are
responsible for return shipping fees. Customers shipping from outside of the USA are responsible for custom
charges, including but not limited to, duty, tax, and other fees.
WARRANTIES EXCLUSIVE: IF THE TRENDNET PRODUCT DOES NOT OPERATE AS WARRANTED ABOVE, THE
CUSTOMER’S SOLE REMEDY SHALL BE, AT TRENDNET’S OPTION, REPAIR OR REPLACE. THE FOREGOING
WARRANTIES AND REMEDIES ARE EXCLUSIVE AND ARE IN LIEU OF ALL OTHER WARRANTIES, EXPRESSED OR
IMPLIED, EITHER IN FACT OR BY OPERATION OF LAW, STATUTORY OR OTHERWISE, INCLUDING WARRANTIES
OF MERCHANTABILITY AND FITNESS FOR A PARTICULAR PURPOSE. TRENDNET NEITHER ASSUMES NOR
AUTHORIZES ANY OTHER PERSON TO ASSUME FOR IT ANY OTHER LIABILITY IN CONNECTION WITH THE SALE,
INSTALLATION MAINTENANCE OR USE OF TRENDNET’S PRODUCTS.
TRENDNET SHALL NOT BE LIABLE UNDER THIS WARRANTY IF ITS TESTING AND EXAMINATION DISCLOSE THAT
THE ALLEGED DEFECT IN THE PRODUCT DOES NOT EXIST OR WAS CAUSED BY CUSTOMER’S OR ANY THIRD
PERSON’S MISUSE, NEGLECT, IMPROPER INSTALLATION OR TESTING, UNAUTHORIZED ATTEMPTS TO REPAIR
OR MODIFY, OR ANY OTHER CAUSE BEYOND THE RANGE OF THE INTENDED USE, OR BY ACCIDENT, FIRE,
LIGHTNING, OR OTHER HAZARD.
25
Page 26

LIMITATION OF LIABILITY: TO THE FULL EXTENT ALLOWED BY LAW TRENDNET ALSO EXCLUDES FOR ITSELF
AND ITS SUPPLIERS ANY LIABILITY, WHETHER BASED IN CONTRACT OR TORT (INCLUDING NEGLIGENCE), FOR
INCIDENTAL, CONSEQUENTIAL, INDIRECT, SPECIAL, OR PUNITIVE DAMAGES OF ANY KIND, OR FOR LOSS OF
REVENUE OR PROFITS, LOSS OF BUSINESS, LOSS OF INFORMATION OR DATE, OR OTHER FINANCIAL LOSS
ARISING OUT OF OR IN CONNECTION WITH THE SALE, INSTALLATION, MAINTENANCE, USE, PERFORMANCE,
FAILURE, OR INTERRUPTION OF THE POSSIBILITY OF SUCH DAMAGES, AND LIMITS ITS LIABILITY TO REPAIR,
REPLACEMENT, OR REFUND OF THE PURCHASE PRICE PAID, AT TRENDNET’S OPTION. THIS DISCLAIMER OF
LIABILITY FOR DAMAGES WILL NOT BE AFFECTED IF ANY REMEDY PROVIDED HEREIN SHALL FAIL OF ITS
ESSENTIAL PURPOSE.
Governing Law: This Limited Warranty shall be governed by the laws of the state of California.
Some TRENDnet products include software code written by third party developers. These codes are subject to
the GNU General Public License ("GPL") or GNU Lesser General Public License ("LGPL").
Go to http://www.trendnet.com/gpl or http://www.trendnet.com Download section and look for the desired
TRENDnet product to access to the GPL Code or LGPL Code. These codes are distributed WITHOUT WARRANTY
and are subject to the copyrights of the developers. TRENDnet does not provide technical support for these
codes. Please go to http://www.gnu.org/licenses/gpl.txt or http://www.gnu.org/licenses/lgpl.txt for specific
terms of each license.
26
Page 27

27
 Loading...