

TEW-501PC/TEW-503PI
108Mbps 802.11a/g Wireless PC Card/108Mbps Wireless PCI Ada pter
Adaptateur PCI sans fil 108Mbps/carte PC sans fil 902.11a/g 108 Mbps
Drahtlose 108 MBit/s 902.11a/g PC-Karte / Drahtloser 108 MBit/s PCI-Adapter
Tarjeta PC inalámbrica 902.11a/g a 108 Mbps/Adaptador PCI inalámbrico a 108Mbps
PC-карта 108 Мбит в сек 902.11a/беспроводный PCI-адаптер 108 Мбит в сек
Quick Installation Guide
Guide d'installation rapide
Kurzanleitung zur Installation
Guía de instalación rápida del
Руководство по быстрой установке
Version 05.04.2005
TRENDnet
TRENDware, USA
What's Next in Networking
Copyright ©2005. All Rights Reserved. TRENDware International, Inc.

Table of Contents
Español ......................................................................................................
1. Preparación para la instalación .........................................................
2. Instalación de la herramienta de configuración inalámbrica ..............
3. Instalación del Hardware ...................................................................
4. Instalación de las unidades ...............................................................
5. Configuración inalámbrica .................................................................
Troubleshooting...........................................................................................
1
1
2
4
6
8
10
Español QIG
1. Preparación para la instalación
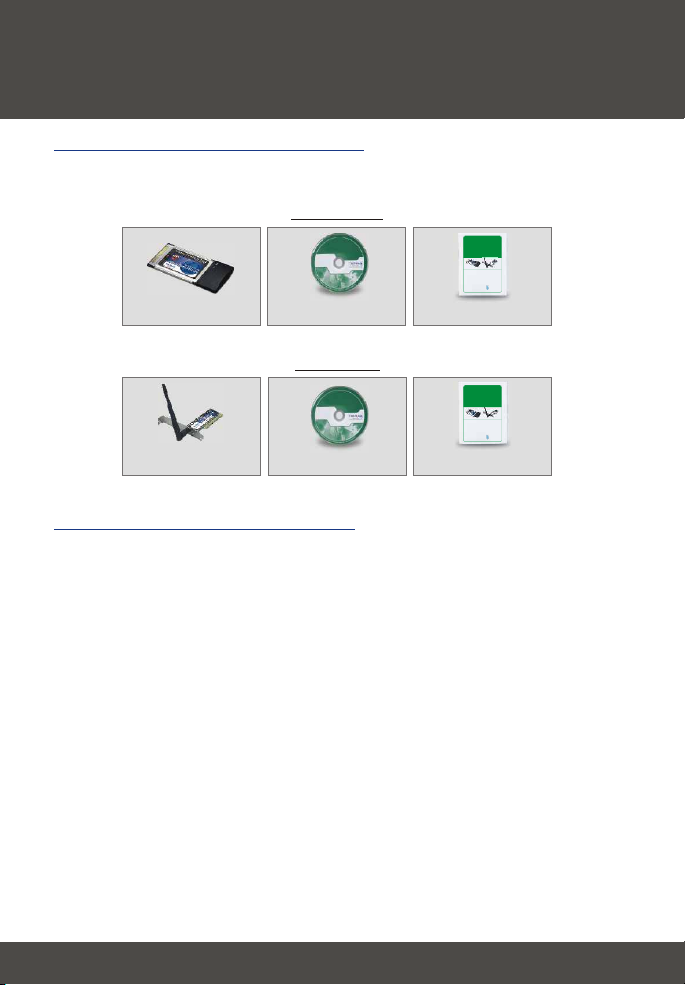
Contenidos del paquete
Verifique que su caja contiene todo lo que incluimos en ella:
TEW-501PC
TEW-501PC/TEW-503PI
108Mbps 802.11a/g Wireless PC Card/108Mbps Wireless PCI Adapter
Quick Installation Guide
Guide d'installation rapide
Adaptateur PCI sans fil 108Mbps/carte PC sans fil 902.11a/g 108 Mbps
Kurzanleitung zur Installation
Drahtlose 108 MBit/s 902.11a/g PC-Karte / Drahtloser 108 MBit/s PCI-Adapter
Guía de instalación rápida del
Tarjeta PC inalámbrica 902.11a/g a 108 Mbps/Adaptador PCI inalámbrico a 108Mbps
PC-карта 108 Мбит в сек 902.11a/беспроводный PCI-адаптер 108 Мбит в сек
Руководство по быстрой установке
Version 05.04.2005
TRENDnet
TRENDware, USA
What's Next in Networking
Copyright ©2005. All Rights Reserved. TRENDware International, Inc.
TEW-501PC
Guía del usuario en CD-ROM
TEW-503PI
TEW-503PI
Guía del usuario en CD-ROM
Verificación del equipo
Antes de instalar esta tarjeta PCI o PC, deberá tener:
1. Un PC con CardBus modelo (TEW-501PC) de 32 bits disponible o una
ranura modelo PCI (TEW-503PI)
2. Un procesador de 300 MHz y 32 MB de memoria (Recomendado)
3. Una unidad de CD-ROM
4. Un controlador CardBus (sólo TEW-501PC ) correctamente instalado
5. Un Punto de Acceso 802.11a/802.11g/802.11b (para Modo de
Infraestructura) u otro adaptador inalámbrico 802.11a/802.11g/802.11b (para
un modo de red Ad-Hoc o Usuario a Usuario)
Guía de instalación rápida
TEW-501PC/TEW-503PI
108Mbps 802.11a/g Wireless PC Card/108Mbps Wireless PCI Adapter
Quick Installation Guide
Guide d'installation rapide
Adaptateur PCI sans fil 108Mbps/carte PC sans fil 902.11a/g 108 Mbps
Kurzanleitung zur Installation
Drahtlose 108 MBit/s 902.11a/g PC-Karte / Drahtloser 108 MBit/s PCI-Adapter
Guía de instalación rápida del
Tarjeta PC inalámbrica 902.11a/g a 108 Mbps/Adaptador PCI inalámbrico a 108Mbps
PC-карта 108 Мбит в сек 902.11a/беспроводный PCI-адаптер 108 Мбит в сек
Руководство по быстрой установке
Version 05.04.2005
TRENDnet
TRENDware, USA
What's Next in Networking
Copyright ©2005. All Rights Reserved. TRENDware International, Inc.
Guía de instalación rápida
¡Importante! NO instale el adaptador PCI o la Tarjeta PC en su ordenador
hasta que no se le indique. Por favor siga las instrucciones de la Sección 2
antes de instalar el adaptador en su PC.
1
Español
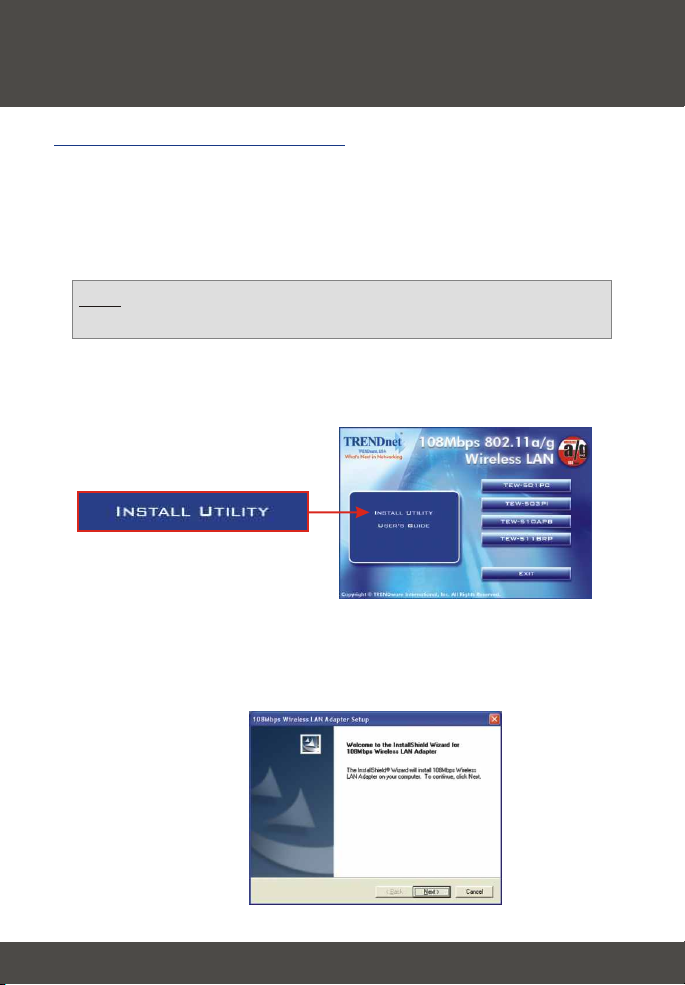
2. Instalación de la herramienta de
configuración inalámbrica
Windows 2000/XP SP2
1. Introduzca el CD-ROM modelo TEW-501PC/TEW-503PI en la unidad de
CD-ROM de su PC; aparecerá la ventana del menú de instalación
automáticamente. Si la ventana no aparece automáticamente, haga clic en
Start (Inicio), luego haga clic en Run (Ejecutar) y escriba E:\Autorun.exe
en el campo de texto. Haga clic en OK para iniciar la instalación.
Nota: Reemplace la letra “E”en “E:\Autorun.exe” con cualquier letra que
haya sido asignada a su unidad de CD-ROM.
2. En el Menú de Instalación, haga clic en Install Utility (Instalación de la
herramienta).
3. Siga las instrucciones del Install Shield Wizard (Asistente Instalador) para
instalar las herramientas de configuración inalámbrica.
2
Español
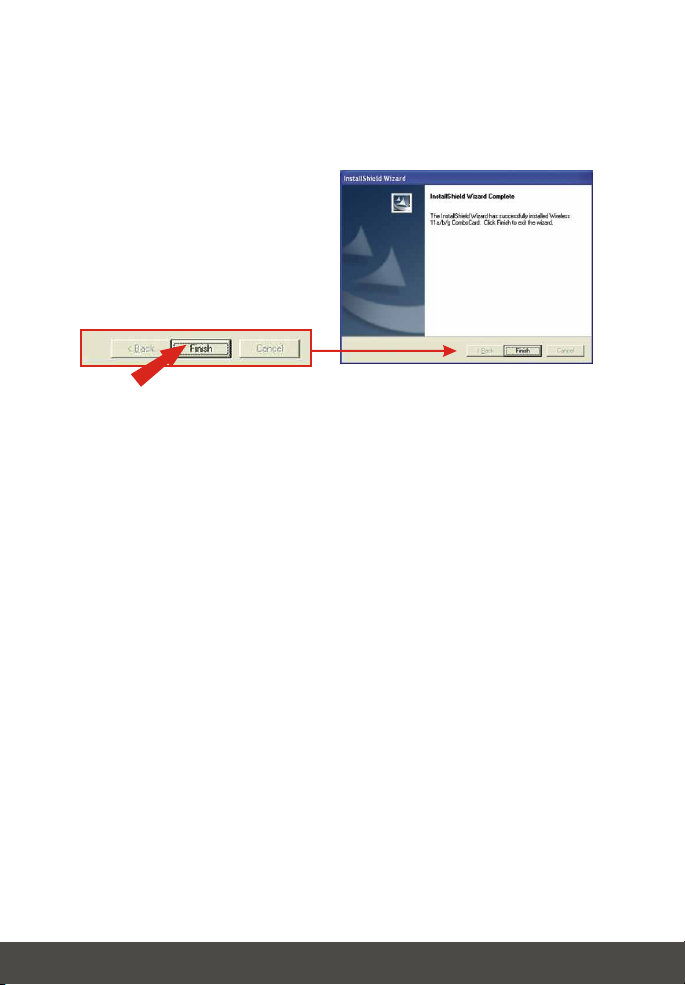
4. Haga clic en Finish (Finalizar) y apague manualmente su PC para iniciar la
instalación del hardware.
3
Español

3. Instalación del Hardware
Si está instalando la tarjeta PC inalámbrica TEW-501PC:
Proceda sólo si ha completado los pasos de la Sección 2
1. Apague su PC.
2. Inserte la Tarjeta PC firmemente en la ranura para la Tarjeta PC de su PC
de escritorio. Sólo debe dejar fuera de la ranura la parte final de plástico.
3. Reinicie su PC.
4
Español

Si está instalando la tarjeta PC inalámbrica TEW-503PI:
Proceda sólo si ha completado los pasos de la Sección 2
1. Apague su PC.
2. Abra la caja de su PC para que pueda ver la placa madre y las ranuras de
extensión. (Consulte el manual de usuario de su PC si necesita ayuda para
abrir la caja)
3. Introduzca la tarjeta inalámbrica en una de las ranuras PCI libres de la placa
madre. Apriete uniformente la tarjeta hasta que encaje perfectamente.
4. Ajuste el soporte de metal de la tarjeta PCI en su caja con un tornillo de
soporte estándar. Conecte la antena adjunta al conectador en la parte
posterior de su tarjeta.
5. Cierre la caja de su PC y proceda a reiniciar su PC.
5
Español

4. Instalación de las unidades
Para Windows 2000
1. Tras reiniciar su PC, un mensaje le comunicará que el controlador que está
a punto de instalar "no contiene una firma digital" y le preguntará si desea
continuar con la instalación. Haga clic en Yes (Sí).
2. Pase a la Wireless Configuration (Configuración inalámbrica) de esta Guía
de Instalación Rápida para seguir con la configuración de su tarjeta
inalámbrica.
Windows XP
1. Después de reiniciar su PC, le aparecerá “Add New Hardware Wizard”
(Asistente para Añadir Nuevo Hardware). Seleccione Install the software
automatically (Instalar el software automáticamente) y luego pulse Next
(Siguiente).
6
Español

2. Un mensaje de advertencia le dirá que el dispositivo que está instalando no
ha sido certificado para la compatibilidad con Windows XP. Haga clic en
Continue Anyway (Continuar de todas formas).
3. Haga clic en Finish (Finalizar).
Pase a la Sección 5 de esta Guía de Instalación Rápida para seguir con la
configuración de su tarjeta inalámbrica.
7
Español

5. Configuración inalámbrica
1. Para los usuarios de Windows XP, desactive la herramienta Wireless Zero
Configuration (Configuración cero inalámbrica) antes de ir al paso 2.
Después haga clic derecho en el monitor inalámbrico ubicado en la esquina
derecha inferior, y luego seleccione la herramienta Disable Windows Zero
Configuration (Desactivar Configuración cero de Windows).
2. Haga doble clic en el icono del PC inalámbrico en la bandeja de su sistema
(próximo al reloj en la esquina derecha inferior de su pantalla).
8
Español

3. Haga clic en la pestaña AP List (Lista AP), después seleccione el SSID al
que desee conectarse y pulse Connect (Conectar).
4. Haga clic en Link Information (Información de enlace) y compruebe que
está conectado a Internet.
5. Tanto la TEW-501PC como el TEW-503PI se conectarán de forma
inalámbrica a su punto de acceso. Si su punto de acceso ha sido
configurado para los propósitos de seguridad, por favor consulte la Guía del
Usuario en el CD-ROM suministrado para conexiones inalámbricas más
avanzadas.
9
Español

Troubleshooting
I completed all the steps in the quick installation guide, but my card isn't
Q1:
connecting to my access point. What should I do?
You should first verify that the Network card’s SSID matches your wireless
A1:
router or access point's SSID. If they already match, you should check your TCP/IP
properties to ensure that Obtain an IP address automatically is selected. Refer to
your Windows User's Manual if you are unable to locate your TCP/IP properties.
Windows is unable to recognize my hardware. What should I do?
Q2:
Make sure your computer meets the minimum requirements as specified in
A2:
Section 1 of this quick installation guide. Also, you must install the wireless
configuration utility (as described in Section 2) BEFORE you physically install your
network card. Lastly, you may consider moving the card to a different PCI/PC Card
Slot.
I cannot open the wireless configuration utility. What should I do?
Q3:
Go to your device manager (control panel > system) to make sure the adapter
A3:
is installed properly. If you see a networking device with a yellow question mark or
exclamation point, you will need to reinstall the device and/or the drivers.
If you still encounter problems, please refer to the User's Guide CD-ROM or contact
technical support.
This equipment has been tested and found to comply with FCC and CE Rules. Operation is
subject to the following two conditions:
(1) This device may not cause harmful interference.
(2) This device must accept any interference received including interference that may cause
undesired operation.
10

Federal Communication Commission Interference Statement
This equipment has been tested and found to comply with the limits for a Class B digital
device, pursuant to Part 15 of the FCC Rules. These limits are designed to provide
reasonable protection against harmful interference in a residential installation. This
equipment generates, uses and can radiate radio frequency energy and, if not installed
and used in accordance with the instructions, may cause harmful interference to radio
communications. However, there is no guarantee that interference will not occur in a
particular installation. If this equipment does cause harmful interference to radio or
television reception, which can be determined by turning the equipment off and on, the
user is encouraged to try to correct the interference by one of the following measures:
– Reorient or relocate the receiving antenna.
– Increase the separation between the equipment and receiver.
– Connect the equipment into an outlet on a circuit different from that
to which the receiver is connected.
– Consult the dealer or an experienced radio/TV technician for help.
This device complies with Part 15 of the FCC Rules. Operation is subject to the
following two conditions: (1) This device may not cause harmful interference, and (2)
this device must accept any interference received, including interference that may cause
undesired operation.
FCC Caution: Any changes or modifications not expressly approved by the party
responsible for compliance could void the user's authority to operate this equipment.
IMPORTANT NOTE:
FCC Radiation Exposure Statement:
This equipment complies with FCC radiation exposure limits set forth for an uncontrolled
environment. This equipment should be installed and operated with minimum distance
20cm between the radiator & your body.
If this device is going to be operated in 5.15 ~ 5.25GHz frequency range, then it is
restricted in indoor environment only.
This transmitter must not be co-located or operating in conjunction with any other
antenna or transmitter.
TRENDware declares that TEW-501PC and TEW-503PI ( FCC ID: RYK-WL711A and
RYK-WL760A ) are limited in CH1~CH11 for 2.4 GHz by specified firmware controlled in
U.S.A.
48

@
TRENDnet
TRENDware, USA
What's Next in Networking
Product Warranty Registration
Please take a moment to register your product online.
Go to TRENDware’s website at http://www.TRENDNET.com
TRENDnet Technical Support
US/Canada Support Center European Support Center
Contact
Telephone:
Fax:
Email:
Tech Support Hours
7:30am - 6:00pm Pacific Standard Time
Monday - Friday
1(310) 626-6252
1(310) 626-6267
support@trendnet.com
TRENDware International, Inc.
3135 Kashiwa Street. Torrance, CA 90505
Contact
Telephone
Deutsch : +49 (0) 6331 / 268-460
Français : +49 (0) 6331 / 268-461
Español : +49 (0) 6331 / 268-462
English : +49 (0) 6331 / 268-463
Italiano : +49 (0) 6331 / 268-464
Dutch : +49 (0) 6331 / 268-465
+49 (0) 6331 / 268-466
Fax:
Tech Support Hours
8:00am - 6:00pm Middle European Time
Monday - Friday
http://www.TRENDNET.com
Copyright ©2005. All Rights Reserved. TRENDware International, Inc.
 Loading...