

Page 1

USB-MusicStick 100
All manuals and user guides at all-guides.com
all-guides.com
Page 2

All manuals and user guides at all-guides.com
Page 3

Inhaltsverzeichnis
1 Introduction 1
1.1 Preface . . . . . . . . . . . . . . . . . . . . . . . . . . . . . . . . . . . . . . . . . . . . 1
1.2 Features . . . . . . . . . . . . . . . . . . . . . . . . . . . . . . . . . . . . . . . . . . . 1
1.3 Specifications . . . . . . . . . . . . . . . . . . . . . . . . . . . . . . . . . . . . . . . . 1
1.4 Minimum System Requirement . . . . . . . . . . . . . . . . . . . . . . . . . . . . . . . 2
1.5 Driver Installation . . . . . . . . . . . . . . . . . . . . . . . . . . . . . . . . . . . . . . 2
1.5.1 Installation Procedure for Windows 98 / 98SE . . . . . . . . . . . . . . . . . . . 2
1.5.2 Installation Procedure for Windows ME / 2000 / XP . . . . . . . . . . . . . . . 2
2 Getting started 3
2.1 Product Illustration: . . . . . . . . . . . . . . . . . . . . . . . . . . . . . . . . . . . . . 3
2.1.1 LCD screen . . . . . . . . . . . . . . . . . . . . . . . . . . . . . . . . . . . . . 3
2.2 Operation . . . . . . . . . . . . . . . . . . . . . . . . . . . . . . . . . . . . . . . . . . 3
2.2.1 Play Menu . . . . . . . . . . . . . . . . . . . . . . . . . . . . . . . . . . . . . . 3
2.2.2 Repeat Mode . . . . . . . . . . . . . . . . . . . . . . . . . . . . . . . . . . . . 4
2.2.3 Equalizer . . . . . . . . . . . . . . . . . . . . . . . . . . . . . . . . . . . . . . . 4
2.2.4 Tempo Rate . . . . . . . . . . . . . . . . . . . . . . . . . . . . . . . . . . . . . 4
2.2.5 Replay . . . . . . . . . . . . . . . . . . . . . . . . . . . . . . . . . . . . . . . . 4
2.2.6 Replay Time . . . . . . . . . . . . . . . . . . . . . . . . . . . . . . . . . . . . . 5
2.2.7 Replay Gap . . . . . . . . . . . . . . . . . . . . . . . . . . . . . . . . . . . . . 5
2.2.8 Lyric Display . . . . . . . . . . . . . . . . . . . . . . . . . . . . . . . . . . . . . 5
2.3 Menu . . . . . . . . . . . . . . . . . . . . . . . . . . . . . . . . . . . . . . . . . . . . . 6
2.3.1 Record Mode . . . . . . . . . . . . . . . . . . . . . . . . . . . . . . . . . . . . 6
2.3.2 Voice Mode . . . . . . . . . . . . . . . . . . . . . . . . . . . . . . . . . . . . . 7
2.3.3 Phone Book . . . . . . . . . . . . . . . . . . . . . . . . . . . . . . . . . . . . . 8
2.3.4 System Setting . . . . . . . . . . . . . . . . . . . . . . . . . . . . . . . . . . . 8
2.3.5 Other Settings . . . . . . . . . . . . . . . . . . . . . . . . . . . . . . . . . . . . 11
A Important Notice 15
A.1 Trouble Shooting . . . . . . . . . . . . . . . . . . . . . . . . . . . . . . . . . . . . . . 15
A.2 Precautions . . . . . . . . . . . . . . . . . . . . . . . . . . . . . . . . . . . . . . . . . 16
A.3 Safety precautions . . . . . . . . . . . . . . . . . . . . . . . . . . . . . . . . . . . . . . 16
A.4 Trademark Acknowledgment . . . . . . . . . . . . . . . . . . . . . . . . . . . . . . . . 17
A.5 Liability . . . . . . . . . . . . . . . . . . . . . . . . . . . . . . . . . . . . . . . . . . . 17
A.6 Copyright . . . . . . . . . . . . . . . . . . . . . . . . . . . . . . . . . . . . . . . . . . 17
B Warranty and service 19
B.1 Warranty Conditions . . . . . . . . . . . . . . . . . . . . . . . . . . . . . . . . . . . . . 19
I
All manuals and user guides at all-guides.com
Page 4

All manuals and user guides at all-guides.com
Page 5

1 Introduction
1.1 Preface
Thank you for using the USB-MusicStick 100 . This User’s Manual provides detailed instructions and
illustrations to help you enjoy your new player. To ensure proper operation, please read the manual
carefully.
1.2 Features
Support MP3 and WMA Audio Files
Equalizer with 7 Presets
Selectable Play Modes
7 Colors LCD Display
One Touch Recording Button
Support Multiple Music Folders
Support Public/Security Partitions
Bootable in Win98/SE/ME
1.3 Specifications
Music Format : MP3, WMA
Bit Rate : 8K bps - 320K bps
Equalizer : Natural/ Rock/ Pop/ Classic/ Soft/ Jazz/ Bass
Play Mode : Normal/ Folder/ Repeat One/ Repeat All/ Repeat from Folder/ Random/ Intro
Voice Recording : 10 hours on 128MB of high quality voice recording
Display : 7 colors LCD PC
Interface : USB 1.1
Power Supply : Single AAA alkaline battery for 10 hours continuous playtime
Earphone : Stereo headphones
Signal to Noise Ratio : > 85dB
Power Output : 5mW + 5mW
Frequency Range : 20Hz - 20KHz
Dimensions : 100mm (L) x 35mm (W) x 22mm (H)
1
All manuals and user guides at all-guides.com
Page 6

1 Introduction
Weight : 40g (without battery)
Language : Multi-Language
Operating System : Win98/98SE/ME/2000/XP/Mac OS 8.6+
All specifications are subject to change without notice.
1.4 Minimum System Requirement
Windows 98/ 98SE, Windows ME, Windows 2000 and Windows XP One available USB Port CD ROM
drive required for driver installation (Windows 98/ 98SE only)
1.5 Driver Installation
1.5.1 Installation Procedure for Windows 98 / 98SE
Do not connect the USB-MusicStick 100 to the computer before software installation. Insert CD ROM
driver and run ’Setup.exe’ from ”Macerv3/Application”folder. Connect the USB-MusicStick 100 to the
computer with provided USB cable. After installation, you will see ”Removable Disk¨ıcon in ’My Compu-
ter’ .
1.5.2 Installation Procedure for Windows ME / 2000 / XP
Windows ME / 2000 / XP already has driver built-in. support. Connect the USB-MusicStick 100 to
the computer with provided USB cable and power on. Computers will automatically detect the USB-
MusicStick 100 and install necessary driver. After installation, you will see ’Removable Disk’ icon in ’My
Computer’ .
2 TrekStor
All manuals and user guides at all-guides.com
all-guides.com
Page 7

2 Getting started
2.1 Product Illustration:
1 USB Connection Jack
2 LCD Display
3a Volume Control ’-’
3b Volume Control ’+’
4 ’’ Backward Button
5 ’’ Forward Button
6 ’B’ Play / Pause Button
7 Earphone Jack
8 Microphone
9 Battery Box
10 ’Mode’ Button
11 ’Record’ Button
12 ’Hold’-Switch
2.1.1 LCD screen
2.2 Operation
Press and hold ’B’ to turn on the player. Press again to start playing music. If you are not in the Music
mode, press MODE for 2 seconds to enter Music Mode
Press ’’ or ’’ select MSC and press MODE to enter.
2.2.1 Play Menu
During music playing, press MODE for 1 second to access Play Menu. You will see the Repeat Mode, EQ
Mode, Tempo Rate and A-B Replay Mode, Replay Time and Replay Gap below. Press ’’ or ’’ and
press MODE to select.
3
All manuals and user guides at all-guides.com
Page 8

2 Getting started
2.2.2 Repeat Mode
Press ’’ or ’’ to select the desired option and press MODE to confirm.
Normal : play all files in sequence
Repeat One : repeatedly play a single file
Folder : play all files of a folder
Repeat Folder : repeatedly play all files of a folder
Repeat All : repeatedly play all files in the player
Random : randomly play all files in the player
Intro : first 10 seconds of each file will be played one by one as a title preview
2.2.3 Equalizer
Press ’’ or ’’ to select the desired option and press MODE to confirm.
Natural
Rock
Pop
Classical
Soft
Jazz
Bass
2.2.4 Tempo Rate
To select quick or slow speed of playing files: Press ’’ or ’’ to adjust the play speed.
2.2.5 Replay
It includes: A-B segment repeat, follow and read.
4 TrekStor
All manuals and user guides at all-guides.com
Page 9

2.2 Operation
A-B Segment Repeat Mode
Select the A-B replay
When ’A-’ start blinking, press ’’ once while playing a track to mark the beginning of section
where you want to start (A).
When ’B-’ start blinking, press ’’ again to where you want the section to end (B). It will repeat
the marked section (A=>B) continuously.
To cancel the operation, press EXIT
2.2.6 Replay Time
To set how many times the file replays.
2.2.7 Replay Gap
To set how many seconds two files are separated.
2.2.8 Lyric Display
It supports LRC VO.2 format file to display lyric on the LCD screen while music plays. Displaying Lyric:
Copy your lyric file to the player (make sure lyric file has the same file name with music file)
During music playing, press MODE for 1 second to view the lyric display.
Lyric will automatically display
Or you can press ’+/-’ to read lyric page by page.
Press MODE to go back music mode
Note:
If lyric exists, the icon will change to
If there is no lyric file, ID3 tag information will appear.
If the music file has no tag information, music file name will be displayed.
Do not exceed 1000 bytes words in Lyric file.
USB-MusicStick 100 5
All manuals and user guides at all-guides.com
Page 10

2 Getting started
2.3 Menu
Press MODE for 2 seconds to access the Main Menu.
Note: You can access the Main Menu by press in the MODE for 2 seconds from anywhere in the submenu
or during music playing.
2.3.1 Record Mode
It records voice through internal microphone. There are three states of recording: Record, Pause and
Stop.
Recording Voice
Press to start recording.
Press ’B’ to pause.
Press ’B’ for 2 seconds to stop and save the recording.
In the Record Mode, you can access submenu by pressing the MODE for 1 second. You will see the FINE
REC, LONG REC, FINE VOR and LONG VOR. Press ’’ or ’’ and press MODE to select.
Note:
Fine mode uses 32k bit rate that will have better recording quality but shorter recording time. Long
mode uses 8k bit rate that will have longer recording time but not as good quality as in Fine mode.
In VOR mode, if there is effective sound, record will continue; if no effective sound, the player will
be in the pause state of recording and show waiting icon.
If the recording time exceeds 60 minutes, time will display as hh:mm.
If the low power situation appears (including low battery power in LCD), the player will stop
recording and save the record file. Then you should change the battery at this moment
Recording file will be saved in the root folder generally. But if recording file exists under a folder,
you can select that folder to save recording file.
6 TrekStor
All manuals and user guides at all-guides.com
Page 11

2.3 Menu
Playing Record File
Access Voice Mode.
Select the voice playing record mode.
Press ’’ or ’’ to select the record file.
Press ’B’ to play.
2.3.2 Voice Mode
When playing recorded file, you can press MODE for 1 second to access Voice Mode. Press ’’ or ’’
to select Repeat Mode, Tempo Rate, or A-B Replay while music plays.
Repeat Mode
Press MODE to access the repeat mode sub-menu.
A-B Replay
It only has A-B segment repeat, but no follow and read.
Note: The record voice file is in ACT format.You need to install the Sound Convert Tool 2.0 into your
computer for converting ACT File to WAV File.
USB-MusicStick 100 7
All manuals and user guides at all-guides.com
all-guides.com
Page 12

2 Getting started
2.3.3 Phone Book
It allows you to store your personal phone data into the player.
Please find the Fairy Address program from our provided CD ROM driver disk, and click ’Phone-
Book_Setup.exe’ under ’PhoneBook’ folder to install.
Go to ’Start
!
Programs
!
Fairy Address
!
Fairy Address’ to run the program
’Go to File’ , and Click ’New’ to start
Grouping Name: [Enter Group Name] and press ’Append grouping’ to create group(s). If you want
to delete group(s), please go to Edit and choose ’Delete Group’ .
Name: [Enter Contact Name] and Tel:[Enter Telephone Number]. Click to highlight selected group.
Go to Edit and choose ’Insert Card’ to insert data card.
Editing data card: Select data card and press mouse right click and choose ’modify’ to edit,
’delete’ to clear the data card, ’move up’ and ’move down’ to re-arrange the position
Save: Go to File and click ’Save’ , the TelAddbk.DAT (default name) file will be saved at c:/program
files/Flary Address. You can also click ’Save As’ to save in your own file name, but the MP3 player
only recognizes the default ending DAT. File to execute.
Connect your player to your PC, you can simply copy the TelAddbk.DAT file to the root folder of
the MP3 player. Unplug the player and go to the main menu to enter the phone
book.
2.3.4 System Setting
It gives you options to change the way your player displays, records and plays the files stored. Press the
Forward Button or Backward Button to select the desired setting and press MODE to confirm.
8 TrekStor
All manuals and user guides at all-guides.com
Page 13
2.3 Menu
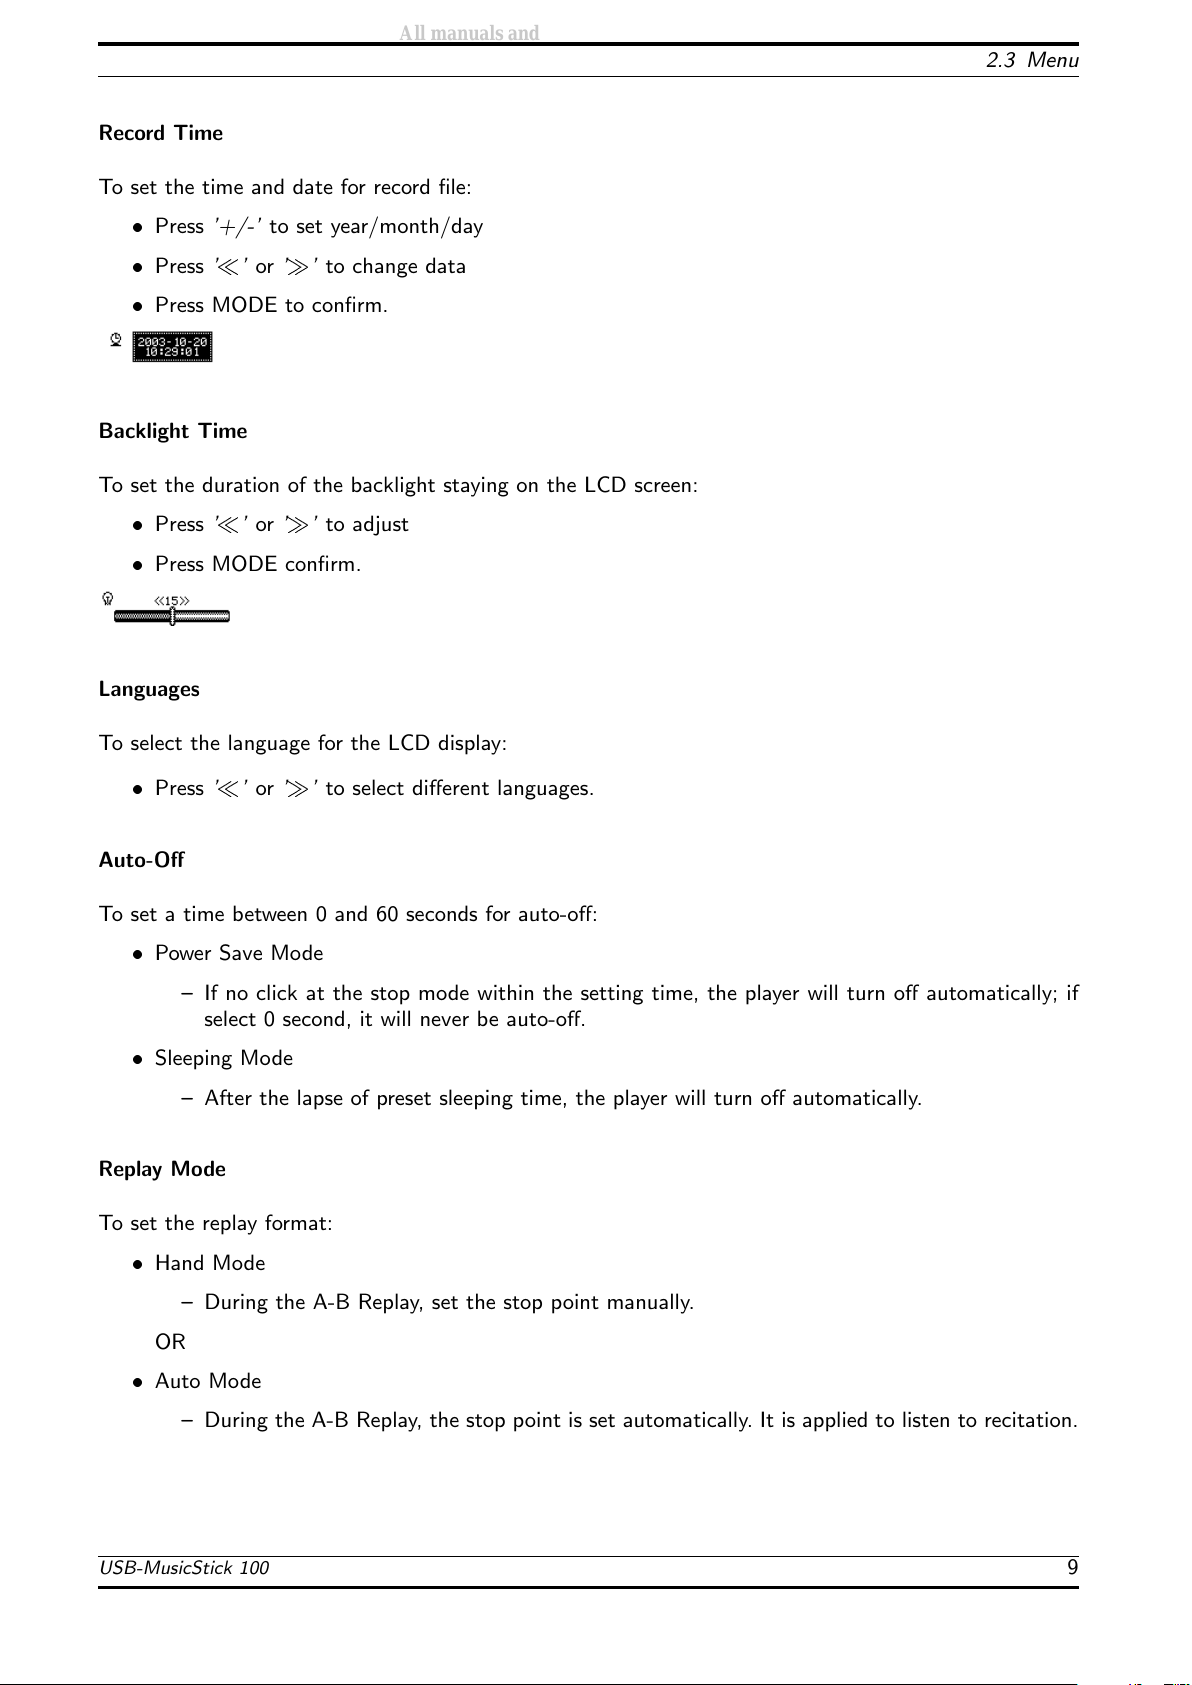
Record Time
To set the time and date for record file:
Press ’+/-’ to set year/month/day
Press ’’ or ’’ to change data
Press MODE to confirm.
Backlight Time
To set the duration of the backlight staying on the LCD screen:
Press ’’ or ’’ to adjust
Press MODE confirm.
Languages
To select the language for the LCD display:
Press ’’ or ’’ to select different languages.
Auto-Off
To set a time between 0 and 60 seconds for auto-off:
Power Save Mode
– If no click at the stop mode within the setting time, the player will turn off automatically; if
select 0 second, it will never be auto-off.
Sleeping Mode
– After the lapse of preset sleeping time, the player will turn off automatically.
Replay Mode
To set the replay format:
Hand Mode
– During the A-B Replay, set the stop point manually.
OR
Auto Mode
– During the A-B Replay, the stop point is set automatically. It is applied to listen to recitation.
USB-MusicStick 100 9
All manuals and user guides at all-guides.com
Page 14

2 Getting started
Contrast
Setting To adjust the LCD contrast level (1-20).
Online Mode
To select the player to show either Multi Drive, Normal Drive or Encrypted Drive in the computer.
Note: The player can be formatted with partitions. Please read the ’Partition and Encrypt’ section
below.
Memory Info
To check the total capacity of the disk.
Firmware Upgrade
To improve the function of the Player, you may do the firmware upgrade:
Access the Main Menu, then select System Setting.
Select Firmware Upgrade and press MODE to confirm.
Connect the Player to the computer with provided USB cable and power on.
Run the Firmware Upgrading Tool, then click ’select new firmware file’ button.
10 TrekStor
All manuals and user guides at all-guides.com
Page 15

2.3 Menu
Click ’Open’ button to select the new firmware program. (The firmware can be found in the installed
CD or downloaded from our website.)
Click ’Begin upgrading’ Button to start for upgrading the system.
When finishing the upgrade, the following diagram will be displayed on the LCD screen:
Quit
Quit the interface.
2.3.5 Other Settings
Programming Folder List
To manage all files easily, you can make and name individual folder to store different files. Plug the player
to your computer and create folders to the player. For example, you can create and name different Music
folders and Voice folders to store music files and voice files.
USB-MusicStick 100 11
All manuals and user guides at all-guides.com
Page 16

2 Getting started
During Music mode or Voice mode, you can access the folder list by pressing MODE for 1 second.
And you can enter folder submenu from there.
Use the ’’ or ’’ to select the desired folder, and press MODE to confirm.
Deleting File
To delete files in Music Mode and Voice Mode:
Press ’’ or ’’ to select ’Single File’ or ’All Files’ .
When the ’Delete File’ menu appears, use ’’ or ’’ to choose Yes or No.
Note: ’Delete All’ means all the files in the chosen List will be deleted.
You can use this MP3 player as normal USB Drive. It supports Pubic and Security partitions that allows
you to store your important data with password protection. In addition, you can also format it to be
bootable under Windows 98/98SE/ME.
Partition and Encrypt
To divide the USB disk into two parts:
Connect the Player with the computer with the USB cable.
Run the MP3 Player Disk Tool. After filling in all the items on the ’Format’ menu, click ’start’ .
12 TrekStor
All manuals and user guides at all-guides.com
all-guides.com
Page 17

2.3 Menu
Access the ’Partition and Encrypt’ menu. After input all the items, click ’start’ .
The setting has completed. Click ’OK’ .
There are two disks. Open the second one, which consists of 3 documents. (2 concealed and 1
carried on with its size 300K).
USB-MusicStick 100 13
All manuals and user guides at all-guides.com
Page 18

2 Getting started
6. Carry on the document ’RdiskDecry.exe’ , and input the username and password.
Note:
The operation of dividing one disk into two parts will delete data. Please store them before the
operation.
Don’t miss your username and password. Otherwise you can’t complete the removable disk decryp-
tion with the password and lose the data.
14 TrekStor
All manuals and user guides at all-guides.com
Page 19

A Important Notice
A.1 Trouble Shooting
Symptom: No Power!
Possible Reason: Check:
whether the battery is exhausted.
whether the battery has not been properly installed
Actions: Please:
replace with a new battery.
re-install it according to the polarity.
Symptom: No Sound from the Earphones!
Possible Reason: Check:
whether the jack is detached from the unit.
whether the VOLUME is set to ”0”.
whether the battery is exhausted.
whether the plug is contaminated / oxidized.
for corrupted MP3 or WMA file.
Actions: Please:
re-install the earphones again.
increase the volume.
replace with a new battery.
clean the jack.
download the files again.
Symptom: Invalid Character on LCD Screen!
Possible Reason:
The language isn’t supported.
Actions: Please:
visit our website to see whether a new revision firmware is released.
15
All manuals and user guides at all-guides.com
Page 20

A Important Notice
Symptom: Fail to download or upload of MP3 / WMA / WAV file!
Possible Reason: Check:
whether the battery is exhausted.
the connection of USB cable.
whether the USB cable is damaged
whether memory is full.
Actions: Please:
replace with a new battery.
re-plug the cable at both ends.
replace a new USB cable.
release some memory space by deleting some files.
Symptom: Cannot Record Voice!
Possible Reason:
Memory is full.
Actions: Please:
release some memory space by deleting some files.
A.2 Precautions
The MP3 player does not support NTFS and FAT32. It only supports FAT16.
When battery level is too low, it will power off automatically. You have to replace a new battery.
The USB Disk can be hot unplugged if no write action is being performed. However, if data has been moved to the USB Disk, then
Eject or Safe removal action is needed to prevent the data loss. Eject can be used to ensure the data integrity. Under Windows,
select the disk icon and click the right button of the mouse, then select ’eject’ . This will empty the write cache.
Below shows the file size that is required for each minute of CD audio converted to MP3 format. The higher the bit rate, the higher
the file size is needed.
– 32kbps)236KB/min
– 64kbps)471KB/min
– 128kbps)940KB/min
– 192kbps)1.37KB/min
– 256kbps)1.83KB/min
– 320kbps)2.29KB/min
Remark: All data for reference only.
A.3 Safety precautions
Make sure you do not use the unit with purpose which doesn’t exist on the manual.
Please read this manual carefully before using this product.
Do not convert, disassemble or repair the USB-MusicStick 100 at your discretion. Make sure that TrekStor support and repair service
is the only place in charge for repairs. Please also read section B and acknowledge the Warranty Conditions.
16 TrekStor
All manuals and user guides at all-guides.com
Page 21

A.4 Trademark Acknowledgment
A.4 Trademark Acknowledgment
Microsoft Windows, Windows 98, Windows ME, Windows 2000, and Windows XP are registered trademarks of Microsoft Corporation. Other
names and products not mentioned above may be registered trademarks of their respective companies.
A.5 Liability
Do not use the USB-MusicStick 100 in any other manner than specified in this manual. TrekStor has no liability for lost data, regardless of
the cause, recovery of lost data or the consequences from any loss of data. The specifications and features are subject to change without
notice or obligation.
A.6 Copyright
No part of this manual may be reproduced, translated or transmitted in any form or by any mean, electronic or mechanical, including
photocopying, recording or by any information storage and retrieval, without permission in writing from TrekStor GmbH & Co. KG
USB-MusicStick 100 17
All manuals and user guides at all-guides.com
all-guides.com
Page 22

All manuals and user guides at all-guides.com
Page 23

B Warranty and service
B.1 Warranty Conditions
Disclaimer and terms of the warranties:
1. If there is a faulty USB-MusicStick 100 which meets with our limited warranty TrekStor can either arrange the repair or replacement
of the USB-MusicStick 100 at our option. We have no responsibility to replace the USB-MusicStick 100 if it is damaged by accident,
abuse or misapplication.
2. TrekStor shall have no liability for lost data, regardless of the cause, recovery of lost data or the consequences from any loss of data.
Under no circumstance shall TrekStor or our dealers be liable for any incidental, special or consequential damages that result from
the use of the USB-MusicStick 100 or related documentation, including any kind of damage or loss of property, financial loss or loss
of data. In no event shall our total liability to you for all damages, losses, and causes of action exceed the amount paid by you for
the USB-MusicStick 100 .
3. The following cases are charged for service regardless of the term of guarantee:
Malfunction after exceeding the warranty period.
Malfunction due to misapplication or damage caused by careless handling. (Do not use the USB-MusicStick 100 in any other
manner than specified in this manual).
Malfunctions due to other devices.
Damage due to improper repairing services received from other service centers.
Disassembling or altering of the USB-MusicStick 100 for other purposes.
If you need to return or replace your USB-MusicStick 100 please contact your local dealer.
19
All manuals and user guides at all-guides.com
Page 24

TrekStor
TrekStor
TrekStor GmbH & Co. KG
USB-MusicStick 100 - Manual
MS100-ET-V3.0-EN-041110a
All manuals and user guides at all-guides.com
 Loading...