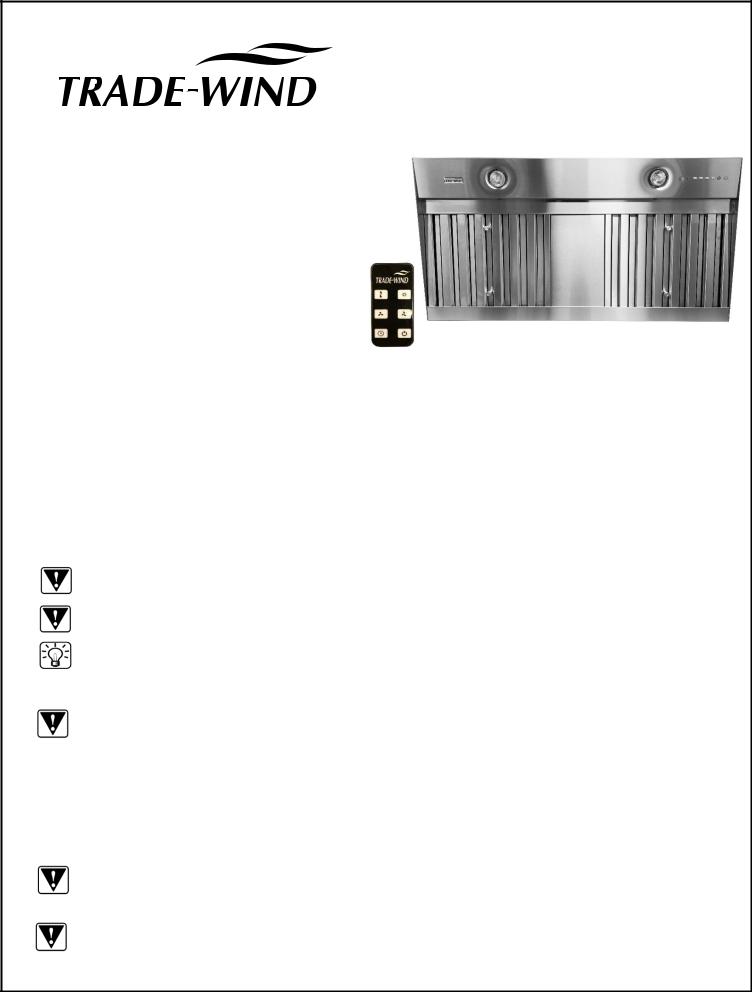
Trade-Wind VSL4423RC, VSL4486RC, VSL4424RC Installation Manual

***ATTENTION***
PLEASE REMOVE THE RIGHT SIDE BAFFLE FILTER TO LOCATE YOUR NEW REMOTE CONTROL.
Revised 6/11/18 |
Copyright © 2018 Trade-Wind Manufacturing, LLC |
Proverbs 22:29 |
Page 1 |
Revised 6/11/18 |
Copyright © 2018 Trade-Wind Manufacturing, LLC |
Proverbs 22:29 |
Page 2 |
|
|
|
|

` |
INSTALLATION INSTRUCTIONS & |
|
USE & CARE GUIDE |
|
Trade-Wind® VSL 400 Series Liners |
|
(For the 3, 4, 6, 12 Models) |
VSL 400 Series Liner Models
|
|
|
Type of |
Model |
Width |
CFM |
Motor & |
|
|
|
Blower |
VSL4303RC |
28 3/8‖ |
390 |
Internal |
VSL4363RC |
34 3/8‖ |
390 |
Internal |
VSL4423RC |
40 3/8‖ |
390 |
Internal |
VSL4304RC |
28 3/8‖ |
390 |
Internal |
VSL4364RC |
34 3/8‖ |
390 |
Internal |
VSL4424RC |
40 3/8‖ |
390 |
Internal |
VSL4306RC |
28 3/8‖ |
600 |
Internal |
VSL4366RC |
34 3/8‖ |
600 |
Internal |
VSL4426RC |
40 3/8‖ |
600 |
Internal |
VSL4486RC |
46 3/8‖ |
600 |
Internal |
VSL44212RC |
40 3/8‖ |
1200 |
Internal |
VSL44812RC |
46 3/8‖ |
1200 |
Internal |
VSL45412RC |
52 3/8‖ |
1200 |
Internal |
VSL46012RC |
58 3/8‖ |
1200 |
Internal |
All (3 and 4) Models
390CFM Code Compliant
Before beginning installation, please thoroughly read and become familiar with these instructions. Installation and service must be completed by a qualified installer. Failure to properly install this product may void the warranty.
Installer: Please leave Installation Instructions with the range hood liner.
Owner: Please keep Installation Instructions for local electrical inspector’s use and for future reference.
WARNINGS: Must be followed carefully to avoid personal injury.
IMPORTANT: Must be followed carefully to avoid damage or incorrect installation.
TIPS: Contain helpful information to facilitate installation.
READ AND SAVE THESE INSTRUCTIONS
WARNING! TO REDUCE THE RISK OF FIRE, ELECTRICAL SHOCK, OR INJURY TO PERSONS OBSERVE THE FOLLOWING:
a)Use this unit only in the manner intended by the manufacturer. If you have any questions, please contact the manufacturer at the address or telephone number listed in the warranty.
b)Before servicing or cleaning unit, switch power off at service panel, lock service panel, and lock the service disconnection means to prevent power from being switched on accidentally. When the service disconnecting means cannot be locked, securely fasten a prominent warning device, such as a tag, to the service panel.
CAUTION
-- For general ventilating use only. Do not use to exhaust hazardous or explosive materials and vapors.
WARNING – TO REDUCE THE RISK OF A RANGE TOP GREASE FIRE:
Revised 6/11/18 |
Copyright © 2018 Trade-Wind Manufacturing, LLC |
Proverbs 22:29 |
Page 3 |

a)Never leave surface units unattended at high settings. Boilovers cause smoking and greasy spillovers that may ignite. Heat oils slowly on low or medium settings.
b)Always turn hood ON when cooking at high heat or when flambeing food (i.e. Crepes Suzette, Cherries Jubilee,
Peppercorn Beef Flambe’).
c)Clean ventilating fans frequently. Grease should not be allowed to accumulate on fan or filter.
d)Use proper pan size. Always use cookware appropriate for the size of the surface element.
 WARNING! TO REDUCE THE RISK OF INJURY TO PERSONS IN THE EVENT OF A RANGE TOP GREASE FIRE, OBSERVE THE FOLLOWING:
a)SMOTHER FLAMES with a close-fitting lid, cookie sheet, or metal tray, then turn off the burner. BE CAREFUL TO PREVENT BURNS. If the flames do not go out immediately, EVACUATE AND CALL THE FIRE DEPARTMENT.
b)NEVER PICK UP A FLAMING PAN—YOU MAY BE BURNED.
c)DO NOT USE WATER, including wet dishcloths or towels. A violent steam explosion will result.
d)Use an extinguisher ONLY if:
1.You know you have a Class ABC extinguisher and you already know how to operate it.
2.The fire is small and contained in the area where it started.
3.The fire department is being called.
4.You can fight the fire with your back to an exit.
Recommendations:
1.Consult a licensed ventilation contractor or qualified technician for proper installation of exhaust ducting. Locate the cooking area for minimum cross drafts-away from doors and windows, when possible.
2.Ducts must be of adequate size and duct runs should be as short as possible. Where turns are necessary, keep turning radius as large and as smooth as possible.
3.The ducting must be air tight. Use a minimum of 2 sheet metal screws at every duct joint. Then, seal the duct joints with high quality duct tape.
4.Do not use this unit with any solid-state speed control device.
5.This unit must be grounded.
INSTALLATION INSTRUCTIONS
WARNING – TO REDUCE THE RISK OF FIRE, ELECTRIC SHOCK, OR INJURY TO PERSONS, OBSERVE THE FOLLOWING:
a)Installation work and electrical wiring must be done by qualified person(s) in accordance with all applicable codes and standards, including fire-rated construction codes and standards.
b)Sufficient air is needed for proper combustion and exhausting of gasses through the flue (chimney) of fuel burning equipment to prevent back drafting. Follow the heating equipment manufacturer's guidelines and safety standards such as those published by the National Fire Protection Association (NFPA) and the American Society for Heating, Refrigeration and Air Conditioning Engineers (ASHRAE) and the local code authorities.
c)When cutting or drilling into wall or ceiling, do not damage electrical wiring and other hidden utilities.
d)Ducted fans must always be vented to the outdoor.
WARNING -- TO REDUCE THE RISK OF FIRE, USE ONLY METAL DUCTWORK.
CAUTION –To reduce the risk of fire and to properly exhaust air, be sure to duct air outside –
Do not vent exhaust air into spaces within walls, ceilings, cabinets or into attics, crawl spaces, or garages.
Revised 6/11/18 Copyright © 2018 Trade-Wind Manufacturing, LLC Proverbs 22:29 Page 4

CAUTION – To reduce the risk of fire and electric shock, install this (range hood) only with Remote Blower models rated maximum 6 amps.
CONTENTS:
Part 1 |
- Planning The Installation |
Part 2 |
- Securing The Liner |
Part 3 |
- Use & Care |
Part 4 |
- Electrical Connection (Give copy of these 2 pages to electrician.) |
PART 1 Planning the Installation
Trade-Wind® Designer Series Liners are designed for installation inside custom hood canopies. Proper installation of the liner is directly related to the material from which the custom canopy is constructed. A qualified person must complete the installation of this unit. Because of the large size and weight of this hood / liner, two installers are recommended. Plan the installation so that all minimum clearances are met or exceeded. Dimensions shown provide minimum clearances, unless otherwise specified. Important: You must provide structural framing and tight backing in the areas in which you are securing the liner inside your custom canopy. Failure to do so could distort and damage the liner and void the warranty.
For best and quietest performance with In-Line Blower installations, the blower should be installed in the attic, near or slightly beyond the mid-point of the duct system. In installations requiring the blower be in a chase or wood-type hood over the range (e.g., no attic above the kitchen), the duct silencer will not be as effective in absorbing motor noise. In addition, there will likely be motor sound transmitted through the walls of the chase, bypassing the duct silencer.
Given the high performance of Trade-Wind® In-Line Blowers, it is highly recommended that the blower NOT be attached directly to the liner or in a chase immediately above the liner unless a Trade-Wind® brand duct silencer is installed between the blower and liner and neoprene lined FC Clamps are used. FC Clamps are available from Trade-Wind® (Trade-Wind Manufacturing, Inc.) through your Trade-Wind® supplier. Ask for model numbers FC6 (6‖), FC8 (8‖) or FC10 (10‖), 2 per box.
In-Line & Remote Ventilators, Duct Silencers, Dampers and Ducting
Trade-Wind® VSL Liners (non-internal motor models) are also designed for use with ―in-line‖ and ―remote-mount‖ ventilators. When planning for installations using these products, please refer to the Installation Instructions provided with the ventilator. Trade-Wind® Duct Silencers are available from your local Trade-Wind® dealer. When planning for installation using a duct silencer, please refer to the Installation Instructions provided with the duct silencer.
Given that most installations are different, a back-draft damper is not provided with this unit. Trade-Wind® back draft dampers are also available from your local Trade-Wind® dealer. Always install ventilation products with an approved wall or roof cap. Duct performance is improved by using round, smooth metal duct work instead of rectangular. Do not rely on duct tape alone to seal duct joints. Use sheet metal screws as required to support the duct.
WARNING! For maximum ventilation performance, the bottom of the hood or liner should be 30 - 36 inches (76.2 - 91.4 cm) above the cooking surface (minimum is 24”). This would typically result in the bottom of the hood being 66 - 72 inches (167.6 - 182.9 cm) above the floor. These dimensions provide for safe and efficient operation of the hood. Always observe local building codes.
Revised 6/11/18 |
Copyright © 2018 Trade-Wind Manufacturing, LLC |
Proverbs 22:29 |
Page 5 |
 Loading...