

Toyota Corolla E12-A, Corolla E12-D, Genuine Audio Installation Instructions Manual

**
E12**-A
AND
**
E12**-D
Toyota Genuine Audio
INSTALLATION INSTRUCTIONS
FOR
TOYOTA MOTOR CORPORATIONManual Ref. n° AIM 000 164-1
Corolla (RHD)
Corolla (E12-A + E12-D) TOYOTA GENUINE AUDIO
Corolla (RHD) - 205-04
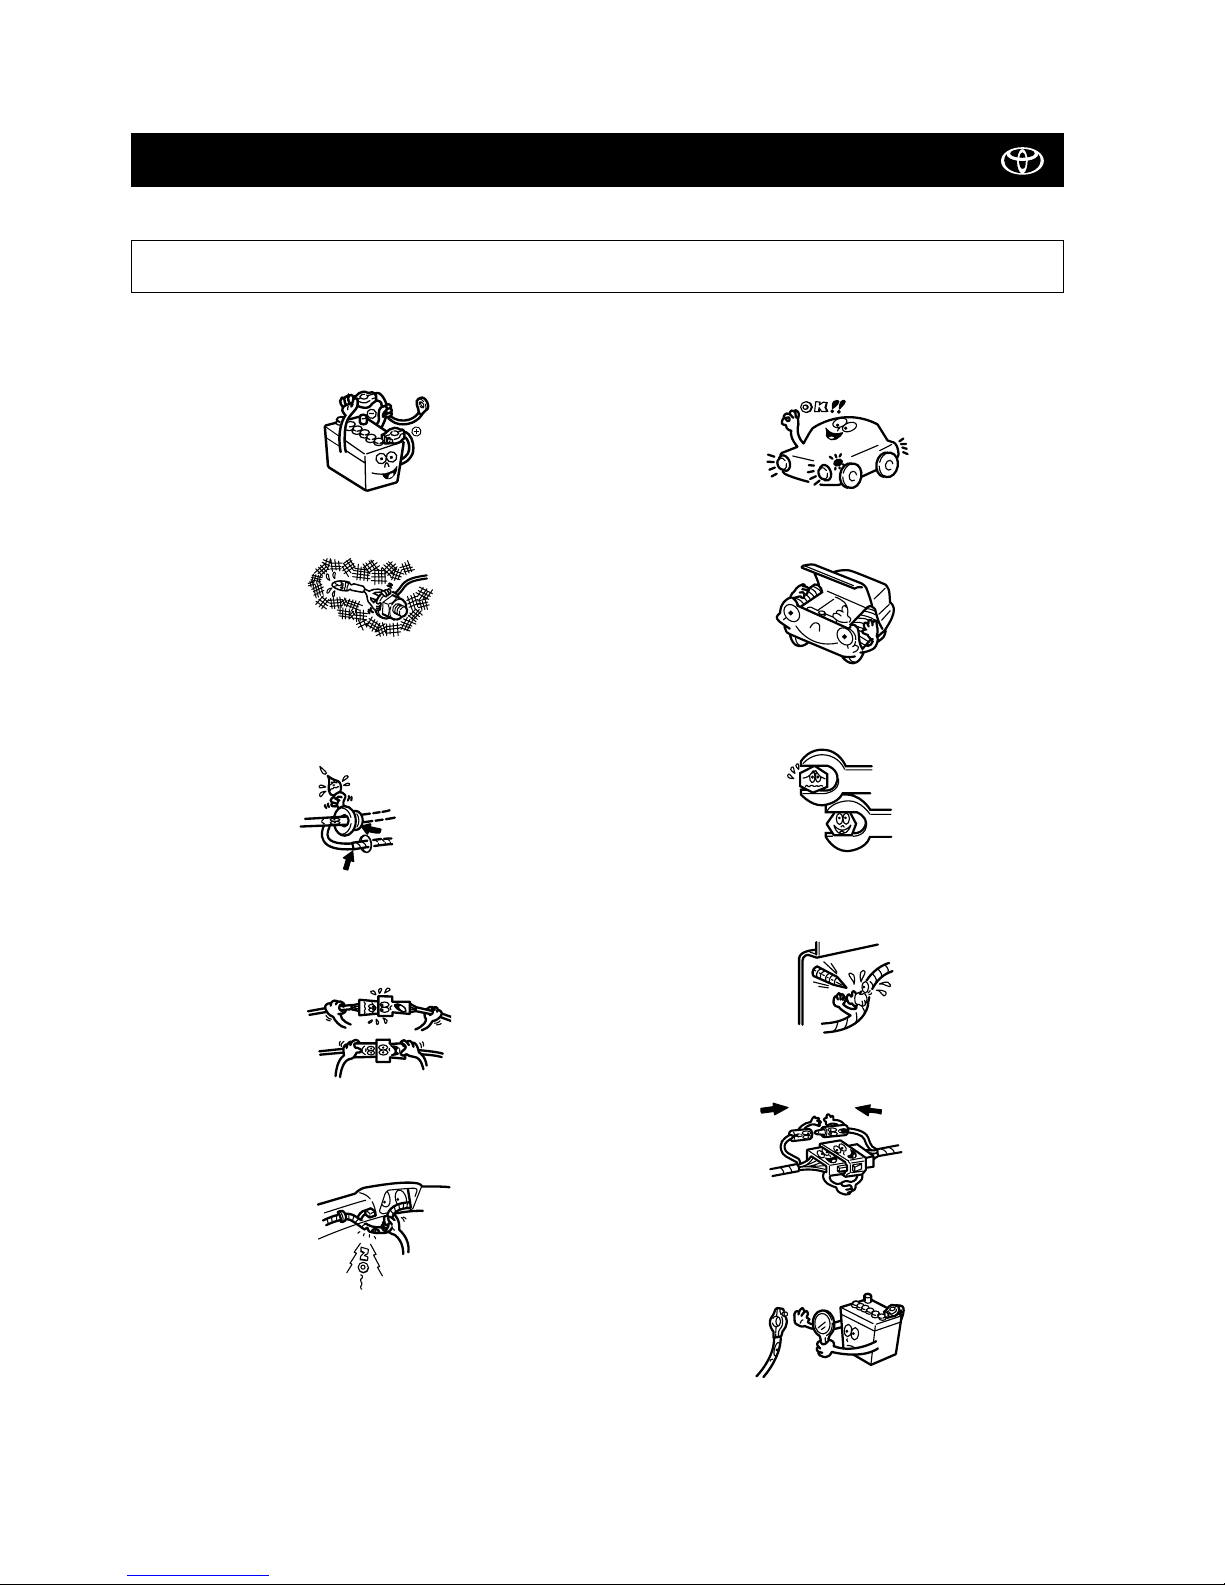
PRECAUTIONS
• Be sure to disconnect the negative (-) lead from the battery terminals.
• Do not pinch the rear wiring or harness in the tightened part.
• When passing the wires through the bulkhead or other panels,
use a grommet to ensure waterproofing.
• Protect the wiring using tape when it is passed through a hole.
• When disconnecting the connectors, be sure to grip the connector body. Do not tug on the wiring.
• Do not forcibly pull any car wiring harness. Rough tugging may
result in opened connections, or a broken wire or harness.
• Confirm that lamps, horn, wiper and other car accessories operate
normally.
• Protect your car using wing covers, seat and so on.
• Use the correct tool when tightening bolts or nuts.
• Before drilling a hole, check that the rear of the mounting wall
is clear.
• Be sure to firmly tighten connectors and terminals.
• Before connecting the power wiring to the battery, check the
wiring connections, harness, etc. to see that they are properly
secured.
• Check body and trim near area of installation to be certain no
dirt or scratches resulted from the installation.
PLEASE READ THOROUGHLY THESE PRECAUTIONS
BEFORE THE INSTALLATION
waterproof - O.K. !!
Grommet
Stop it !
Taping
Insert
completely

Corolla (E12-A + E12-D) TOYOTA GENUINE AUDIO
Corolla (RHD) - 3
05-04
TABLE OF CONTENTS
1. Application Chart......................................................................................................................................................... 4
2. System Layout ............................................................................................................................................................ 5
3. In-Dash 6CD Changer Installation............................................................................................................................... 7
4. Hide Away 6CD Changer Installation........................................................................................................................... 19
5. Tweeters Installation ................................................................................................................................................... 25
6. Subwoofer Installation ................................................................................................................................................ 30
audio apl chart mmc 04 corr.xls
Hide-Away CD-Changer TM0461(08601-00911) Navigation System TNS300 (08545-52801)
1
CD-Tuner
(
onl
y)
Standard from factor
y
2
CD-Tuner + CD-Chan
g
er Standard from factor
y
Standard from factor
y
.
(
1
)
3
CD-Tuner + Navi
g
ation
(
TBT
)
Standard from factor
y
.
(
2
)
4
CD-Tuner + CD-Chan
g
er + Standard from factor
y
.
(
2
)
Navi
g
ation
(
TBT
)
Standard from factor
y
.
(
1
)
.
(
2
)
5
CD Chan
g
er-Tuner
(
onl
y)
Standard/o
p
tional from factor
y
6
CD Changer-Tuner + CD-Changer Standard/optional from factory
Standard/optional from factory
. (1)
7
CD Changer-Tuner + Navigation (TBT) Standard/optional from factory
. (2)
8
CD Chan
g
er-Tuner + CD-Chan
g
er + Standard/o
p
tional from factor
y
.
(
2
)
Navi
g
ation
(
TBT
)
Standard/o
p
tional from factor
y
.
(
1
)
.
(
2
)
10
Head unit Standard/o
p
tional from factor
y
Standard/o
p
tional from factor
y
.
(
1
)
(
1
)
Located under the RH seat,
(
2
)
located under the LH seat
HEAD UNIT
In Dash CD-Changer TM 0561(08601-00907)
REQUIRED ADDITIONAL PARTS
+ ADD-ON UNIT(S)
COMBINATION
wire 08695-00370
-
F/K 08695-02800 + wire 08695-00370
wire 08695-00370
F/K 08695-02800 + wire 08695-00370
-
F/K
(
PZ 425-E0336-60
)
+ wire 08673-64800 + wire 08673-64801
F/K (PZ 425-E0336-60) + F/K 08695-02800 + wire 08695-00370 + wire 08673-64801 +
wire 08673-64800
F/K (PZ 425-E0336-60) + wire 08695-00370 + wire 08673-64801 + wire 08673-64800
F/K (PZ 425-E0336-60) + F/K 08695-02800 + wire 08695-00370 + wire 08673-64801 +
wire 08673-64800
AVN full map navi-system
F/K (PZ 425-E0336-60) + wire 08673-64800 + wire 08673-64801
wire 08695-00370
F/K (PZ 425-E0336-60) + wire 08695-00370 + wire 08673-64801 + wire 08673-64800
UDA (Unique Design Audio)
F/K 08695-02800 + wire 08695-00370
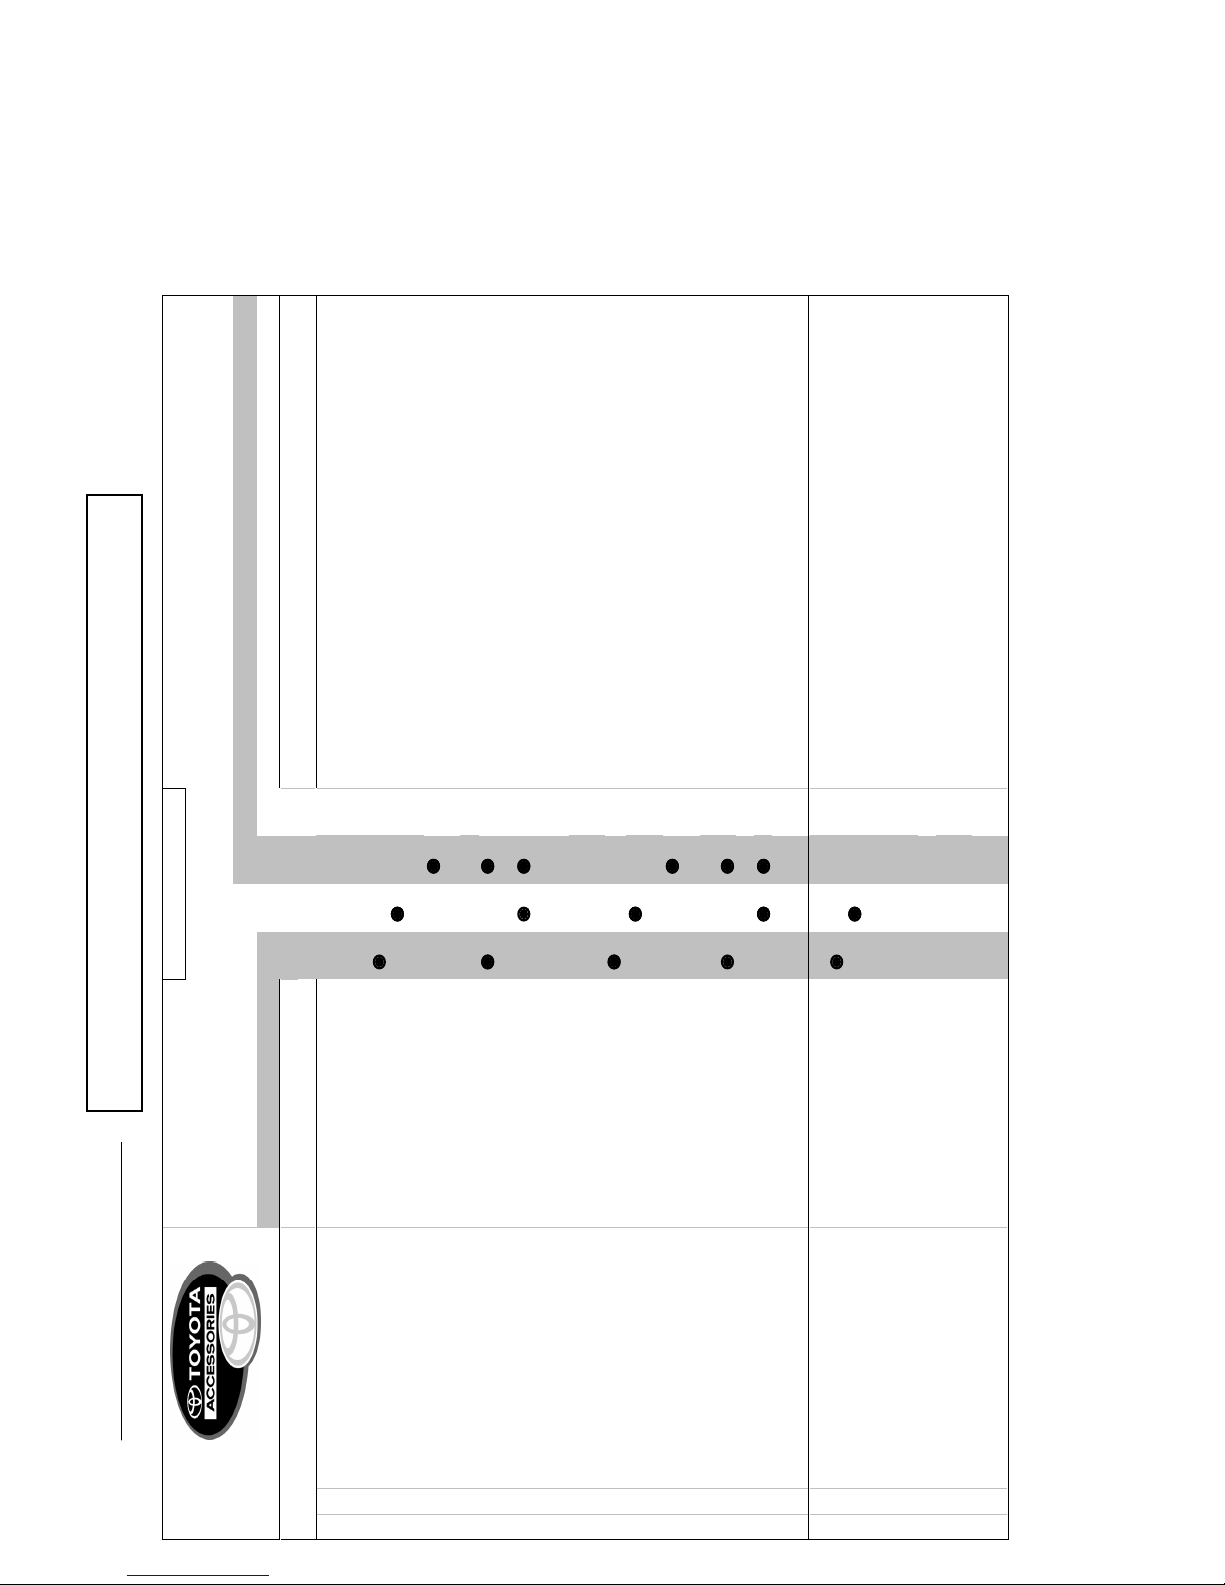
AUDIO APPLICATION CHART
TMME-CA Division Dev. Dept. - 05May, 2004
Corolla **E12**-A and **E12**-D
(LHD + RHD)
Subwoofer 08691-00834: On the floor, preferably under the RH seat (if free), under LH also possible (if free)
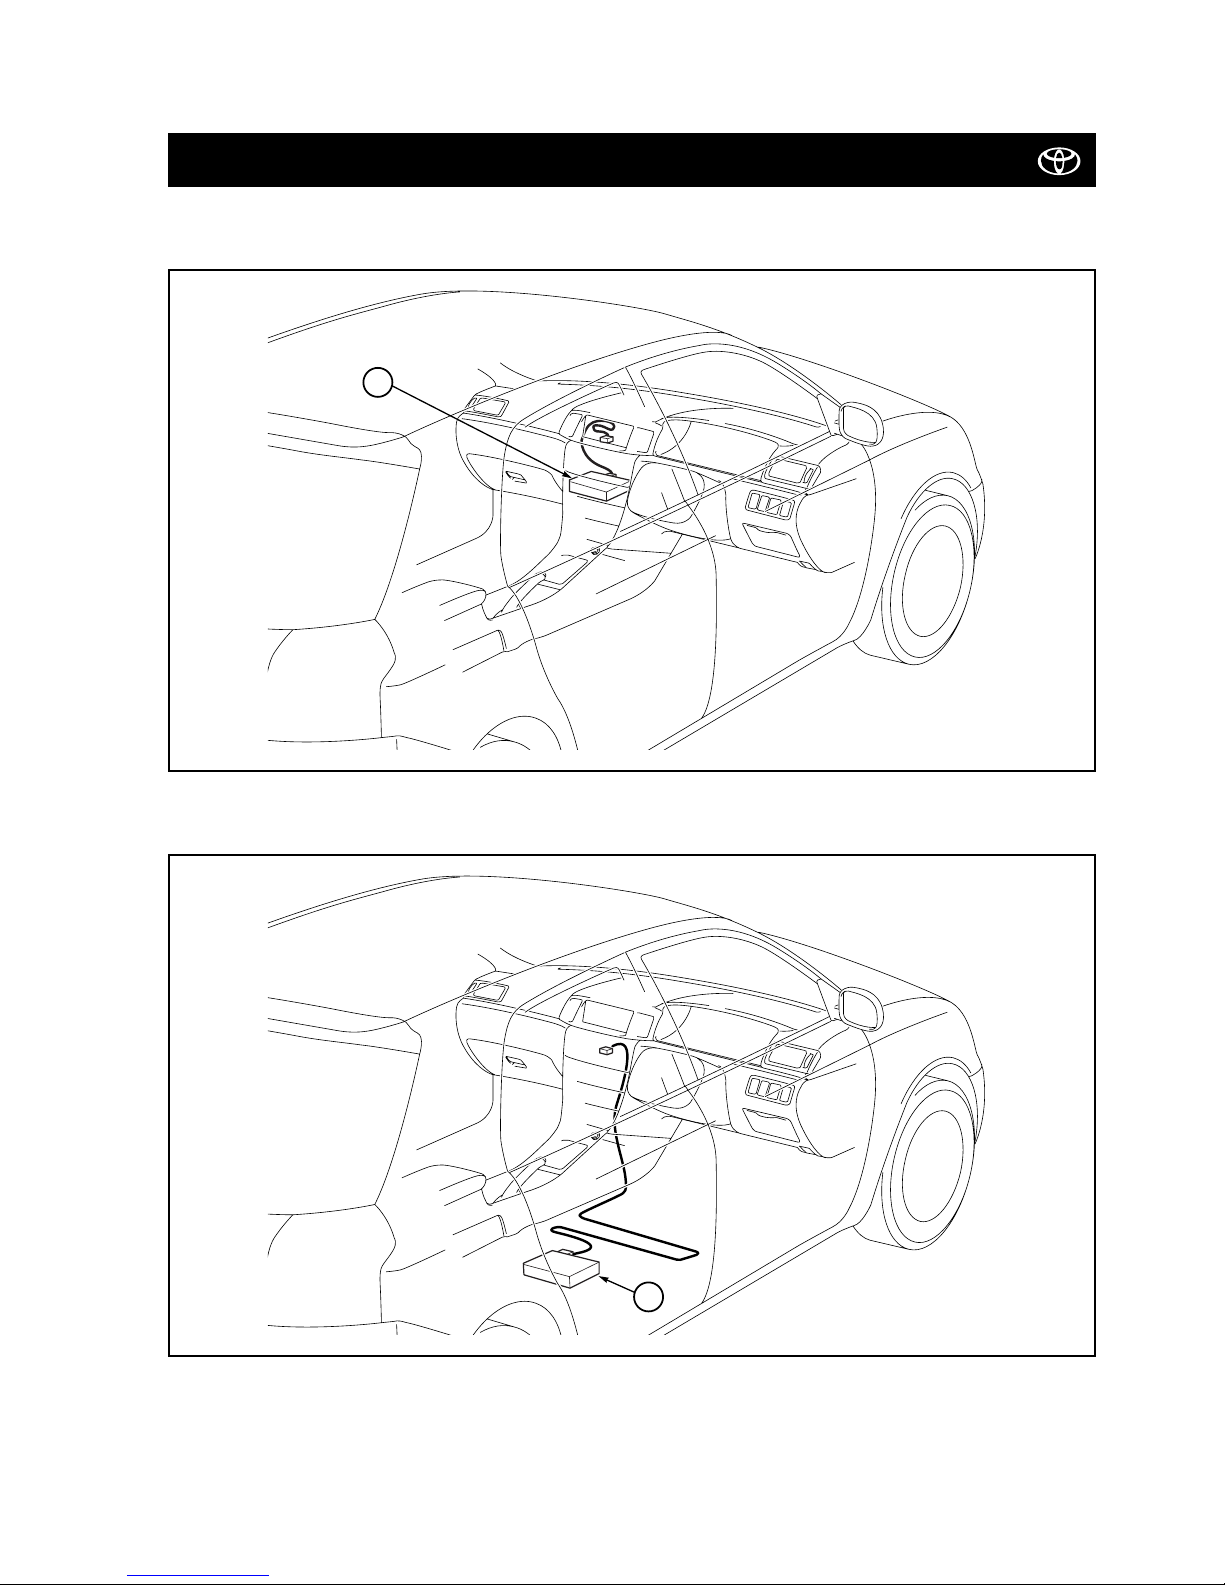
2. SYSTEM LAYOUT
Corolla (E12-A + E12-D) TOYOTA GENUINE AUDIO
Corolla (RHD) - 5
05-04
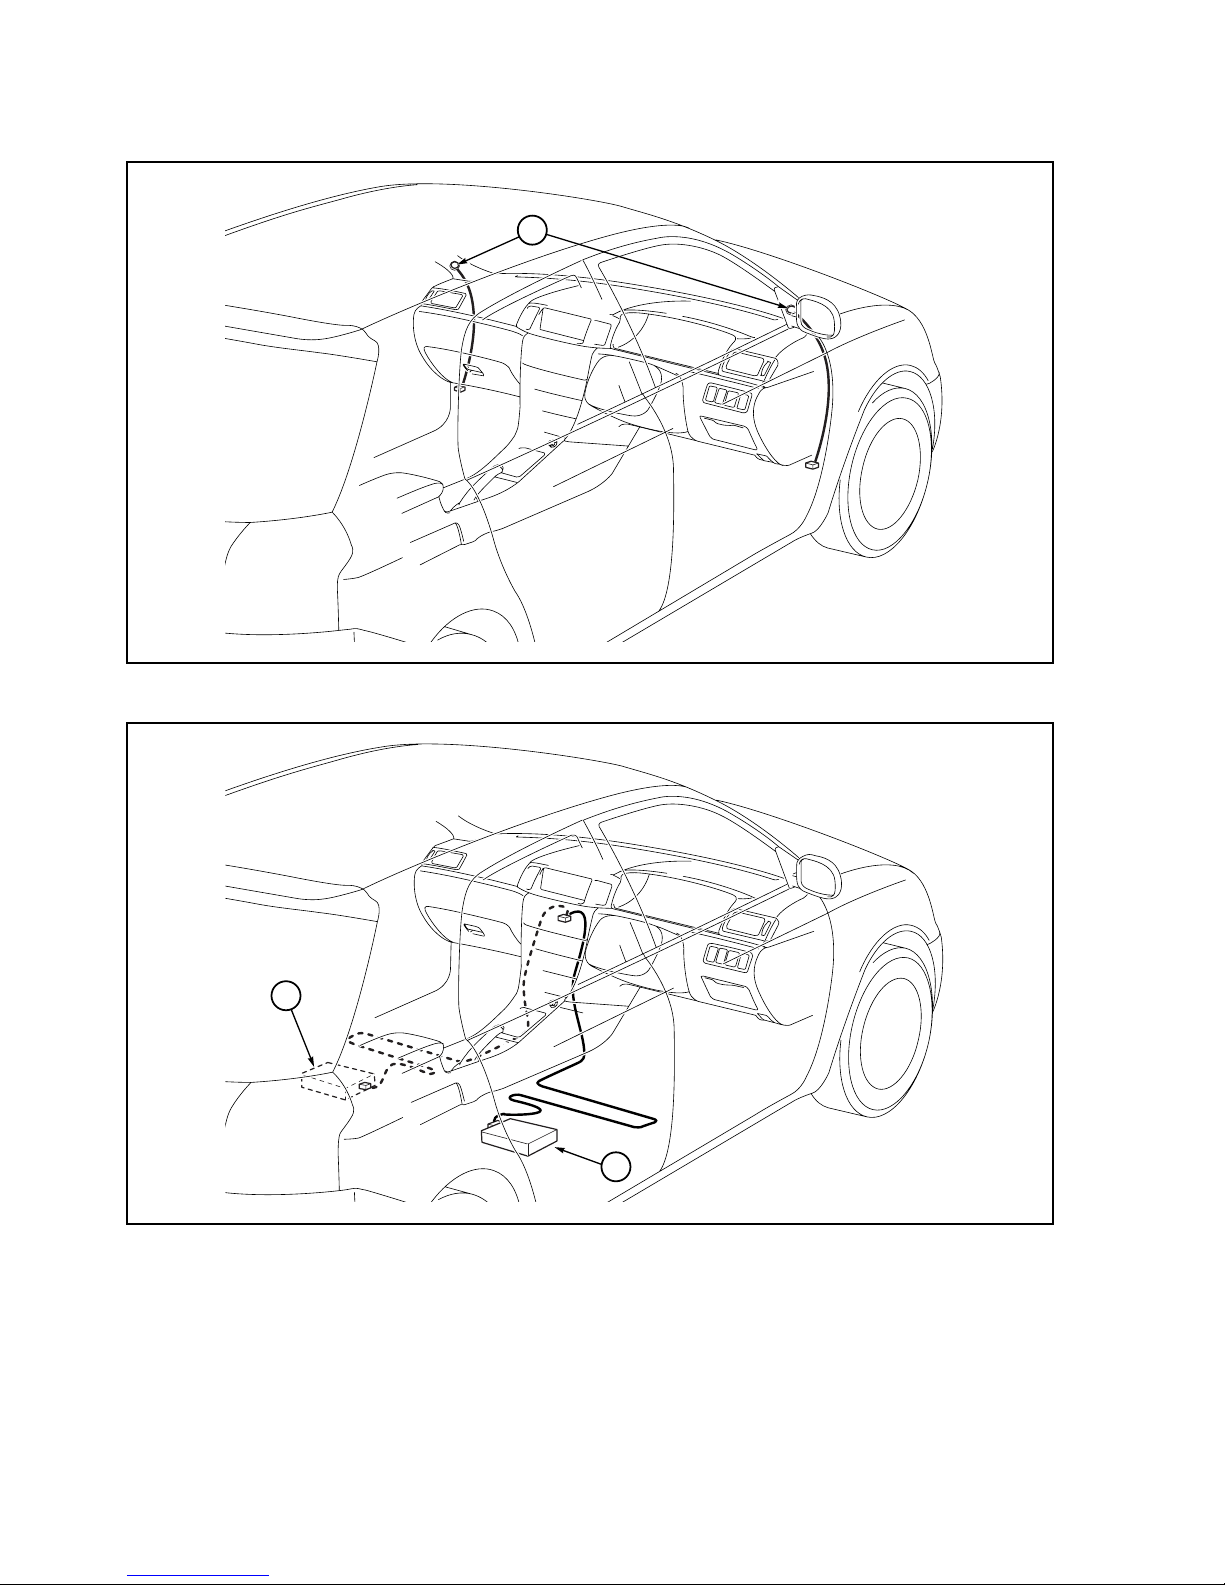
See Application Chart
6
HIDE-AWAY 6 CD-CHANGER
6
IN-DASH 6 CD-CHANGER
Corolla (E12-A + E12-D) TOYOTA GENUINE AUDIO
Corolla (RHD) - 6
05-04
See Application Chart
24
24
SUBWOOFER
TWEETERS
21
Corolla (E12-A + E12-D) TOYOTA GENUINE AUDIO
Corolla (RHD) - 7
05-04
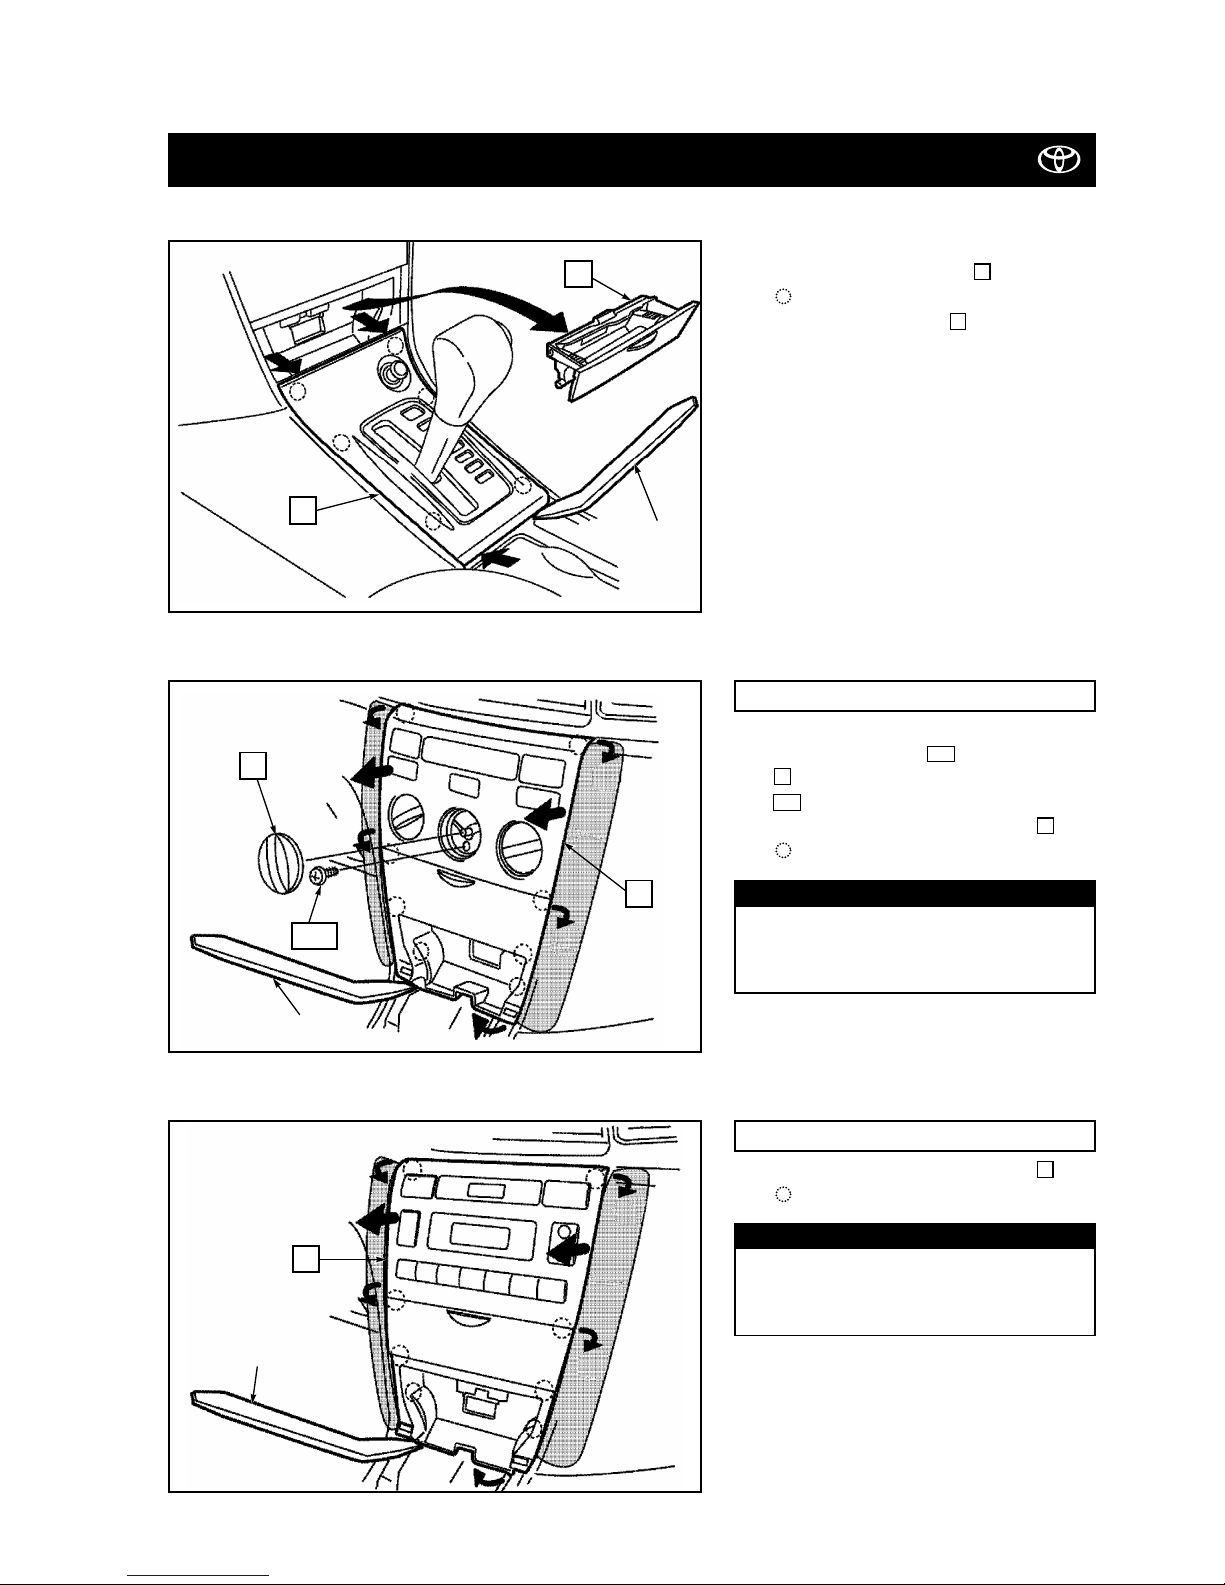
IN CASE OF MANUAL AIR CONDITIONER
2.
a)
Remove the screw and control knob
.
: Screw (1x)
b) Remove the lower cluster panel .
: Clip (8x)
3
100
4
100
3. IN-DASH 6CD CHANGER INSTALLATION
1.
a) Remove the shift cover .
: Clip (6x)
b) Remove the ashtray .
2
1
Fig. 1
Fig. 2
Put the protective tapes on the shaded
areas. Be sure to remove the parts
carefully not to damage the section.
CAUTION
Fig. 3
IN CASE OF AUTO AIR CONDITIONER
3. Remove the lower cluster panel .
: Clip (8x)
3
Put the protective tapes on the shaded
areas. Be sure to remove the parts
carefully not to damage the section.
CAUTION
2
1
100
3
3
Nylon pry tool
Nylon pry tool
Nylon pry tool
4
Corolla (E12-A + E12-D) TOYOTA GENUINE AUDIO
Corolla (RHD) - 8
05-04
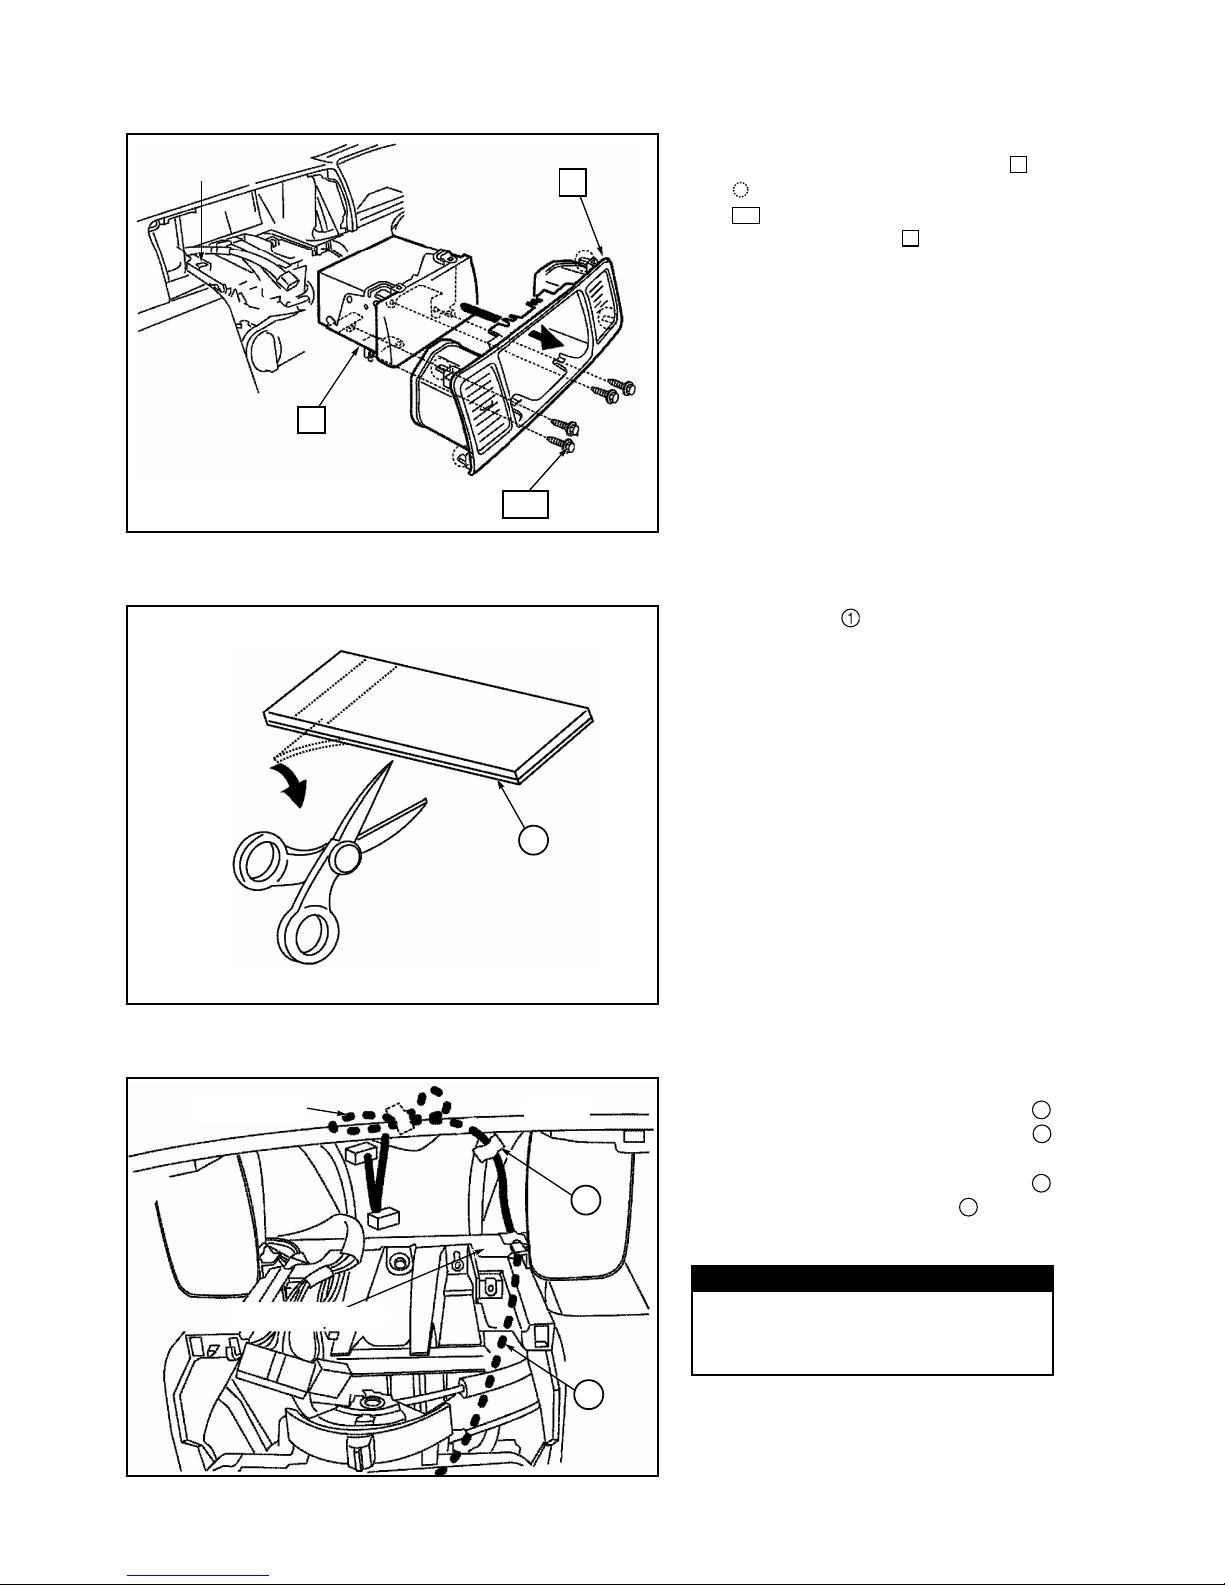
4.
a) Remove the centre cluster panel .
: Clip (4x)
: Screw (4x)
b) Remove the combo .
6
101
5
Fig. 4
6
5
101
5. Cut the tape (10 pieces).
Fig. 5
6.
a) Route and attach the changer wire
to the reinforcement pipe using tape
(2x) as shown.
b) Bundle up the excess changer wire
and attach it using tape (1x) as
shown.
1
212
Fig. 6
When installing the combo check that
the changer wire does not overlap the
the rear of the combo.
CAUTION
Excess wire
Duct
121
Reinforcement pipe
Corolla (E12-A + E12-D) TOYOTA GENUINE AUDIO
Corolla (RHD) - 9
05-04
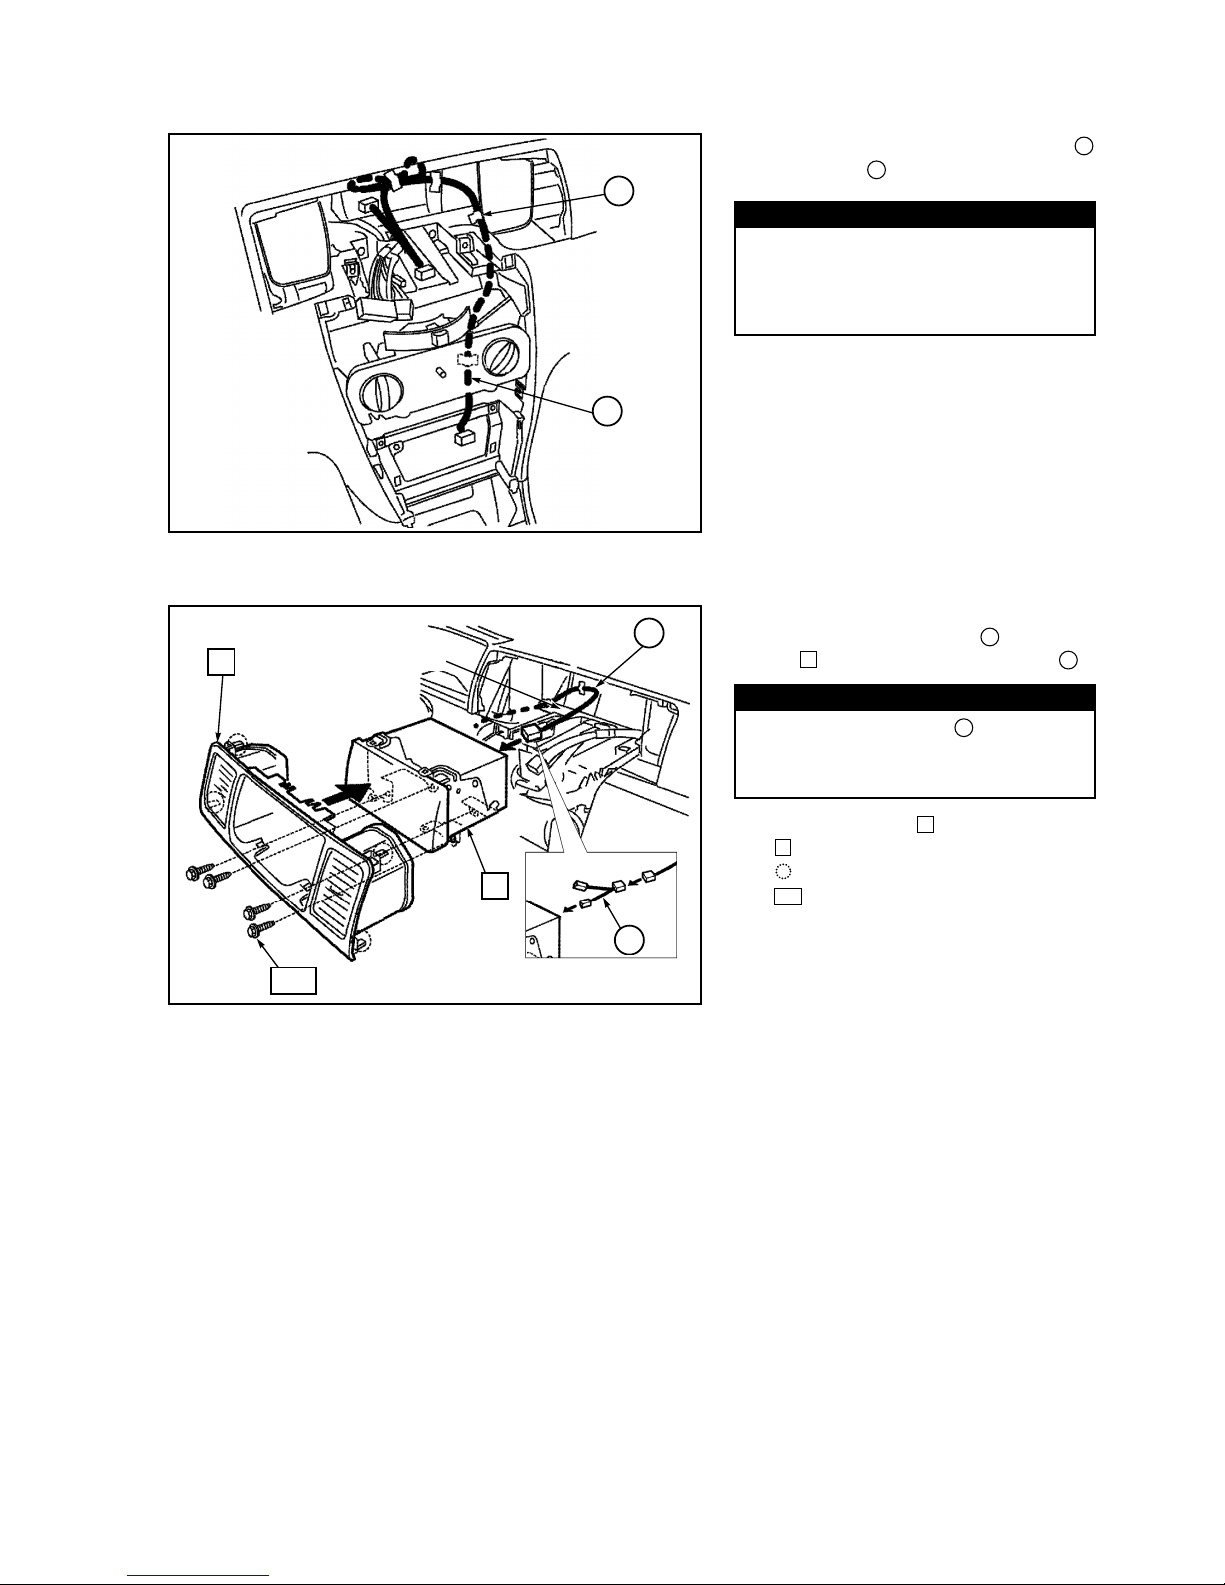
7. Route and attach the changer wire
using tape (1x) as shown.
1
2
Fig. 7
When installing the in-dash 6CD
changer check that the changer wire
does not overlap the rear of the 6CD
changer.
CAUTION
2
1
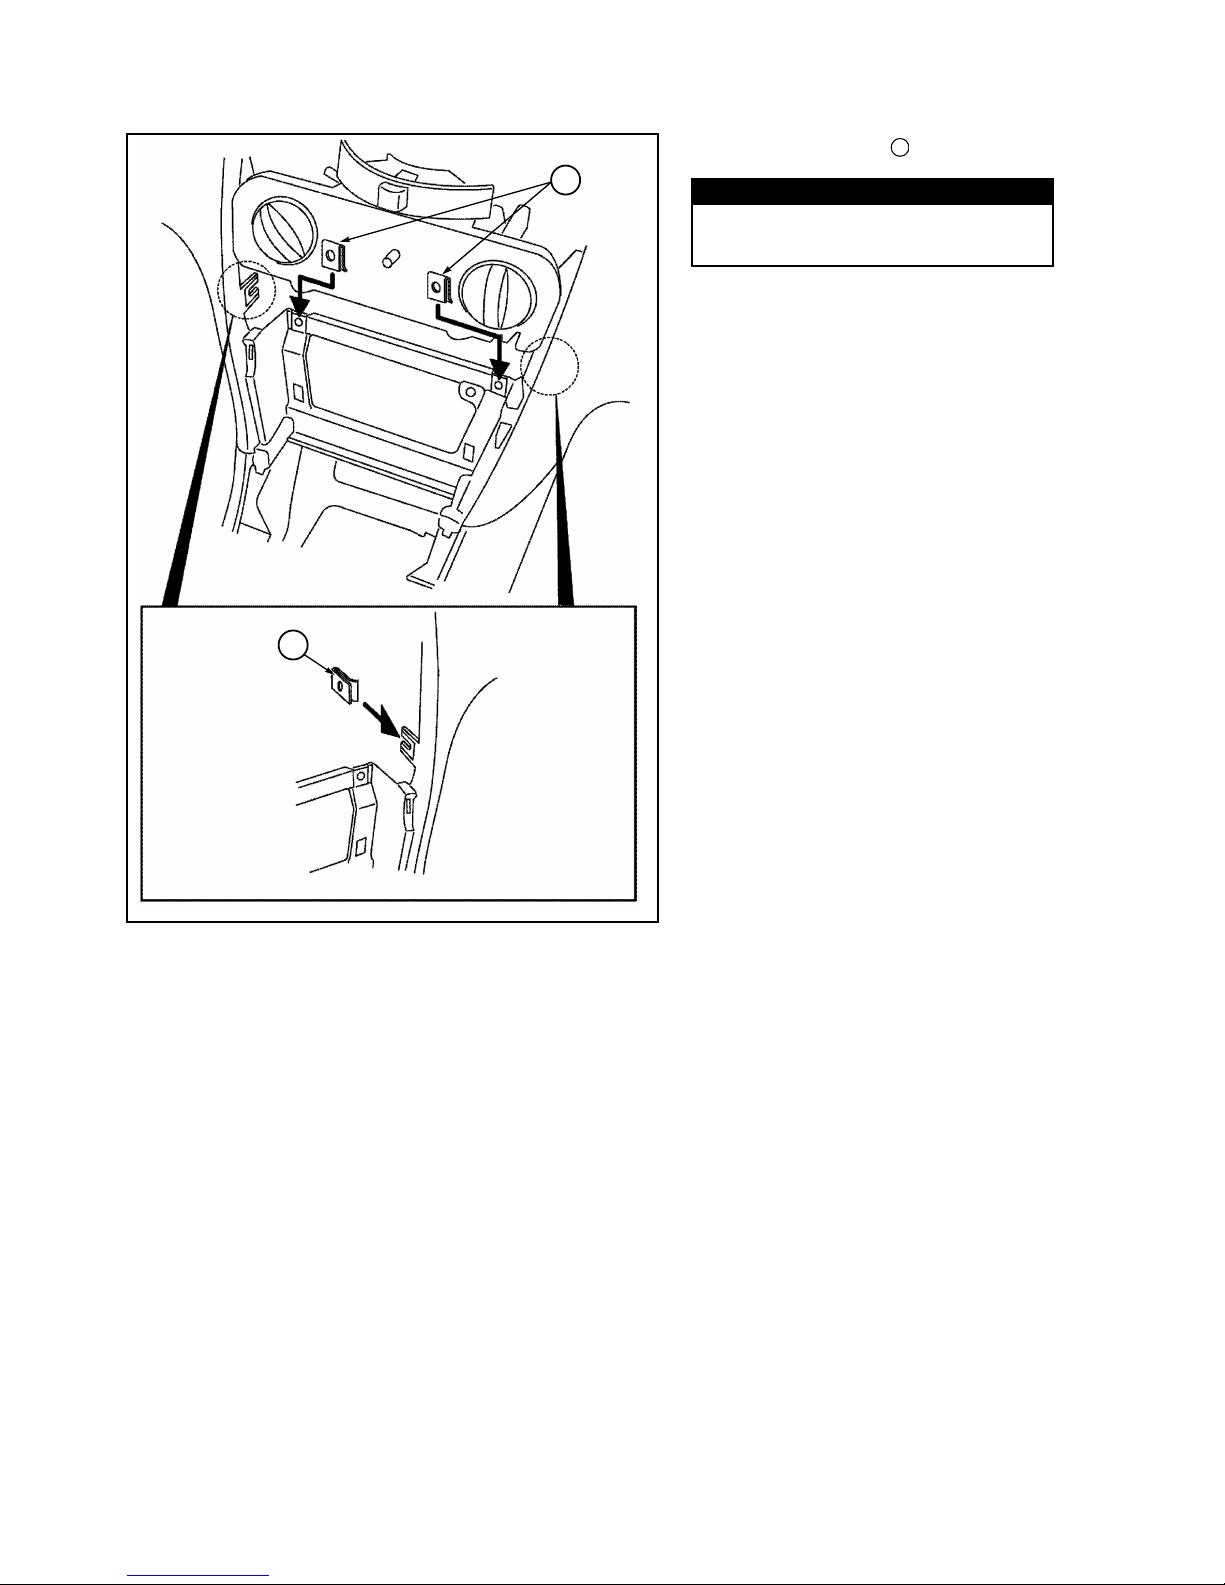
8.
a)
Connect the changer wire to the combo using the conversion harness .
b) Refit the combo and centre cluster
.
: Clip (4x)
: Screw (4x)
101
5
6346
2
Fig. 8
A conversion harness (P/N 08695-
00370) is needed for connection to the
audio unit.
34
NOTE
5
2
101
Reinforcement pipe
6
34
Corolla (E12-A + E12-D) TOYOTA GENUINE AUDIO
Corolla (RHD) - 10
05-04
9. Fit the spring nuts (2x).
40
Fig. 9
Slightly expand the spring nuts and
install them gently.
CAUTION
40
40
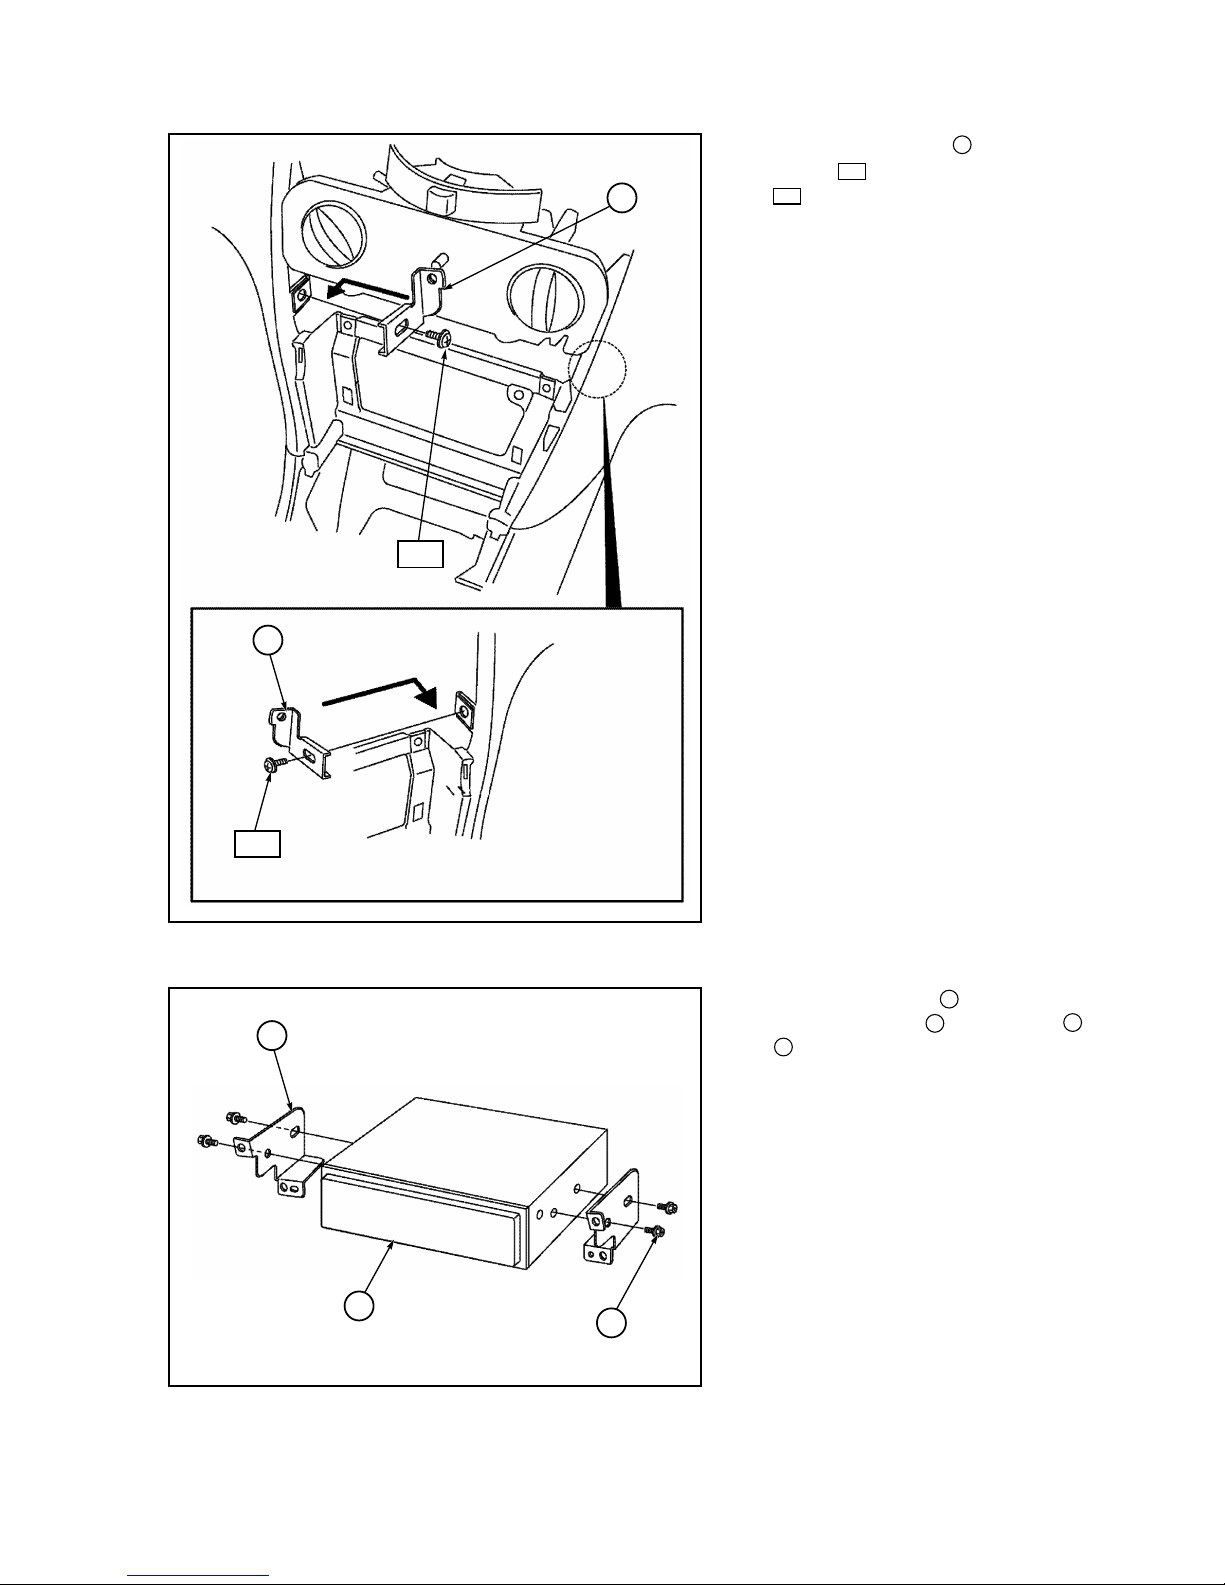
Corolla (E12-A + E12-D) TOYOTA GENUINE AUDIO
Corolla (RHD) - 11
05-04
10. Fit the sub brackets (L + R) using
screws as shown.
: Screw (2x)
102
102
4
Fig. 10
11. Fit the side brackets (L + R) to the in-
dash changer-unit using screws .
: Screw (4x)
7
7
6
5
Fig. 11
4
102
456
102
7
 Loading...