

Page 1

OWNER’S MANUAL
LCD Monitor
P32LS1
23566558
Page 2

Contents
Safety Instructions...................................................... 3
Notes and cautions for use..................................... 10
L On usage ........................................................................ 10
L On disposal or handing over to a new owner ..................10
L Exemptions .....................................................................10
Features ...................................................................... 11
Names and Functions of Controls <Unit> ........... 12
Names and Functions of Controls
<Remote control> ................................................. 14
Battery installation ................................................... 15
Supplied accessories ............................................... 16
Connection ................................................................. 17
L VIDEO SYSTEM INPUT .............................................17
L RGB INPUT ..................................................................18
L VIDEO OUTPUT .........................................................18
L RGB OUTPUT ............................................................. 18
L AUDIO OUTPUT ........................................................18
L RS-232C INPUT ........................................................... 18
Connecting external speakers ............................... 19
Connecting the power cord .................................... 20
To connect equipments ........................................... 21
Installation ................................................................. 24
Dimension .................................................................. 29
Specifications ............................................................29
Power on/off ..............................................................30
L Main power switch .........................................................30
L POWER button on the Remote control .........................30
Menu Function .......................................................... 31
L Function of each button ................................................. 31
L Menu setting chart .......................................................... 32
L Menu display chart ......................................................... 34
Control by Computer................................................ 36
L Connection .....................................................................36
L Transfer .......................................................................... 36
L Input signal .................................................................... 37
A Guide to Simple Problem Solving...................... 38
L For inquiries ...................................................................38
2
Page 3
Safety Instructions
Before using the unit, please read this manual thoroughly to help protect against damage your own and other people’s property your
property from potential damage and ensure your own and other peple personal safety.
Be sure to observe the following instructions with understanding meaning of signs and figures below.
Meaning of Signs
Sign Meaning of Sign
Warning Disregard may cause death or serious injury*
Caution Disregard may cause injury*
∗1: “Serious injury” refers to blindness, burns (by both high and low temperature), electric shock, break in bones, poisoning which
cause hangover or require hospitalization or a long term treatment.
∗2: “Injury” refers to wounds, burns, electric shock which does not require hospitalization nor a long term treatment.
∗3: “Material damage” refers to damages extended to houses, household effects, livestocks, pets.
Example of figure
Figure Meaning of Figure
“ “ shows prohibited matter.
The contents are written or shown by picture at inside or near the figure.
Prohibition
“ “ shows instructed matter.
The contents are written or shown by picture at inside or near the figure.
Instruction
2
or material damage*3.
1
.
“ “ shows caution.
The contents are written or shown by picture at inside or near the figure. The figure on the
High-tension current
left shows caution for High-tension current.
Warning
Malfunction or Trouble
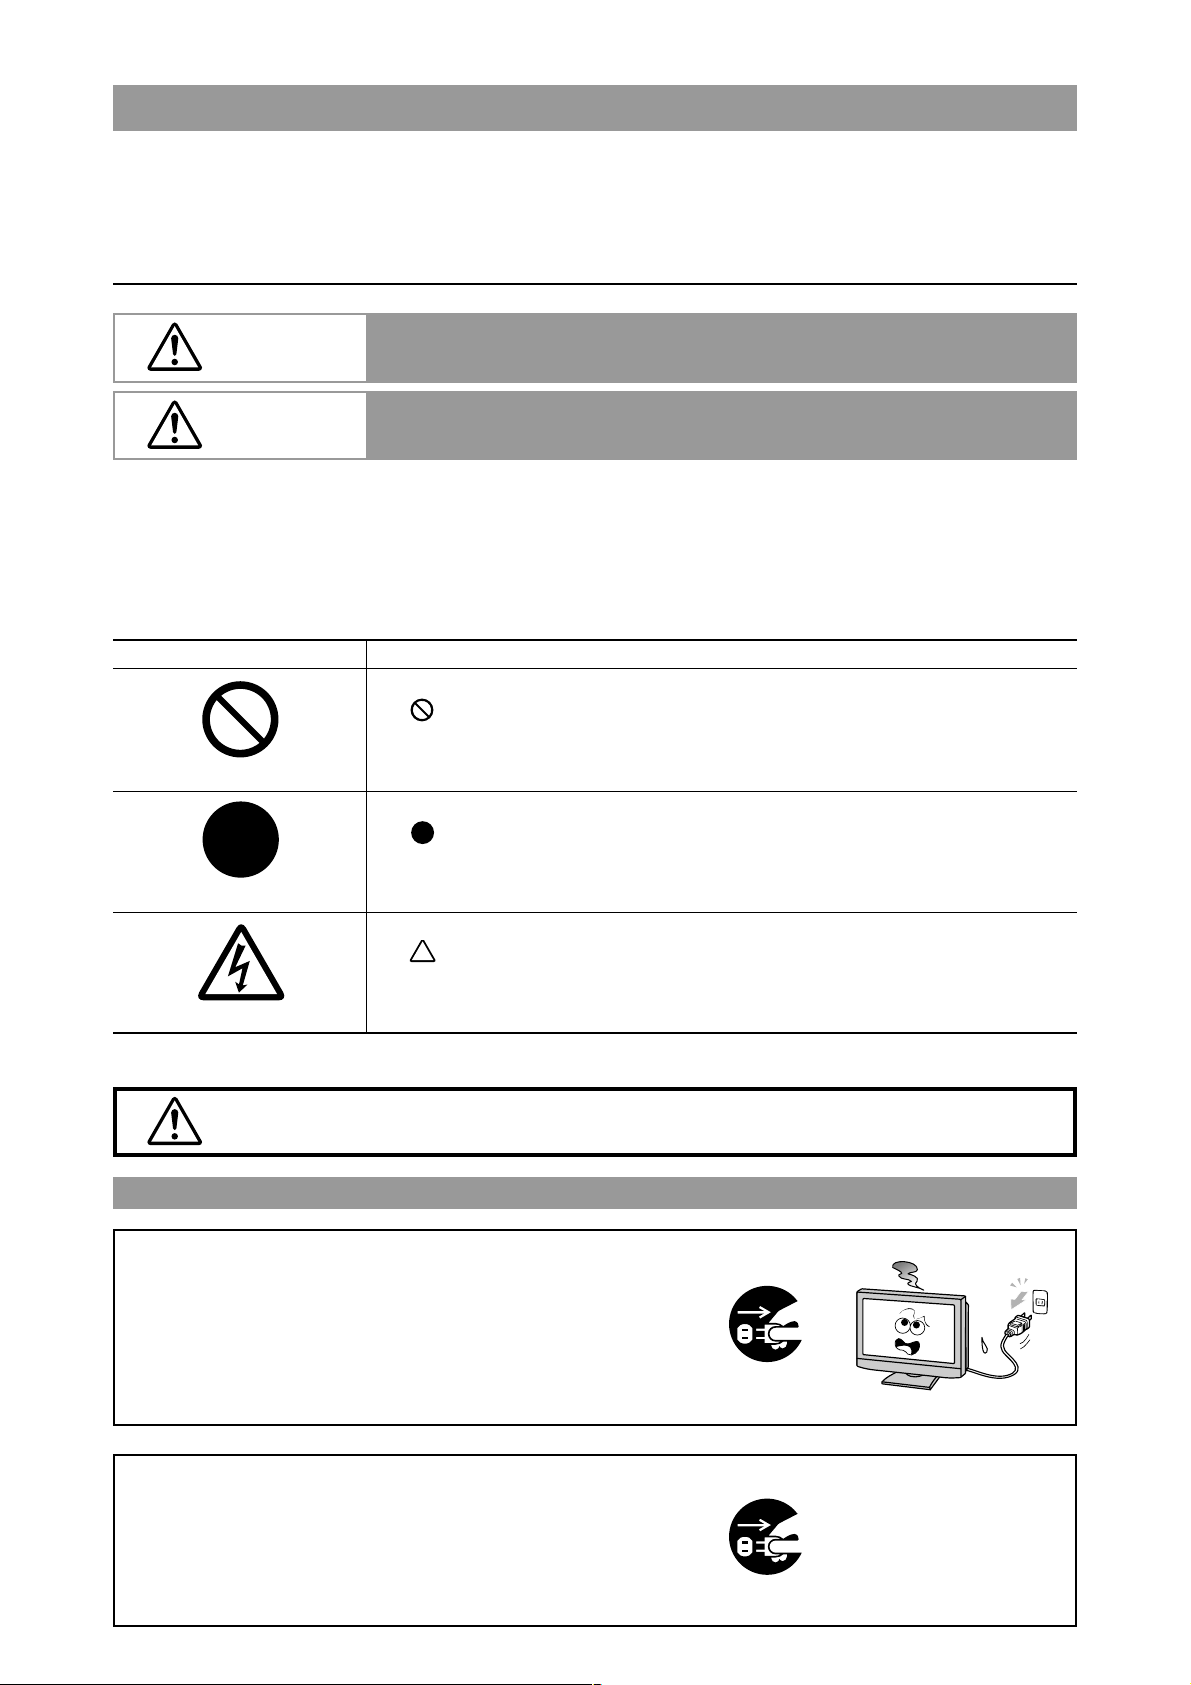
If smoke or peculiar smells comes from the unit,
remove the power plug from the outlet immediately.
If the unit is still used in this condition, it may cause a fire or an
electric shock.
Make sure that the smoke or smell has stopped, then contact your
dealer for inspection.
If when there isn’t picture or sound, remove the power
plug from the outlet immediately.
If the unit is still used in this condition, it may cause a fire or an
electric shock.
Contact your dealer for inspection.
3
Page 4
If water is spilled or objects are dropped inside the
unit, remove the power plug from the outlet
immediately.
If the unit is still used in this condition, it may cause a fire or an
electric shock.
Contact your dealer for inspection.
If the unit is dropped or the cabinet is damaged,
remove the power plug from the outlet immediately.
If the unit is still used in this condition, it may cause a fire or an
electric shock. Contact your dealer for inspection.
To turn off the power of the unit, press “ ” on the
main power switch.
• The power standby/on indicator goes off and you cannot turn the unit on/
off by using the POWER button on the remote control. (To turn on/off the
unit by the remote control, press the main power switch again and light the
power standby/on indicator.)
• When you turn off the unit by pressing the POWER button on the remote
control, the main power of the unit is not turned off.
• To disconnect the unit completely from power supply, remove the power
plug from the outlet.
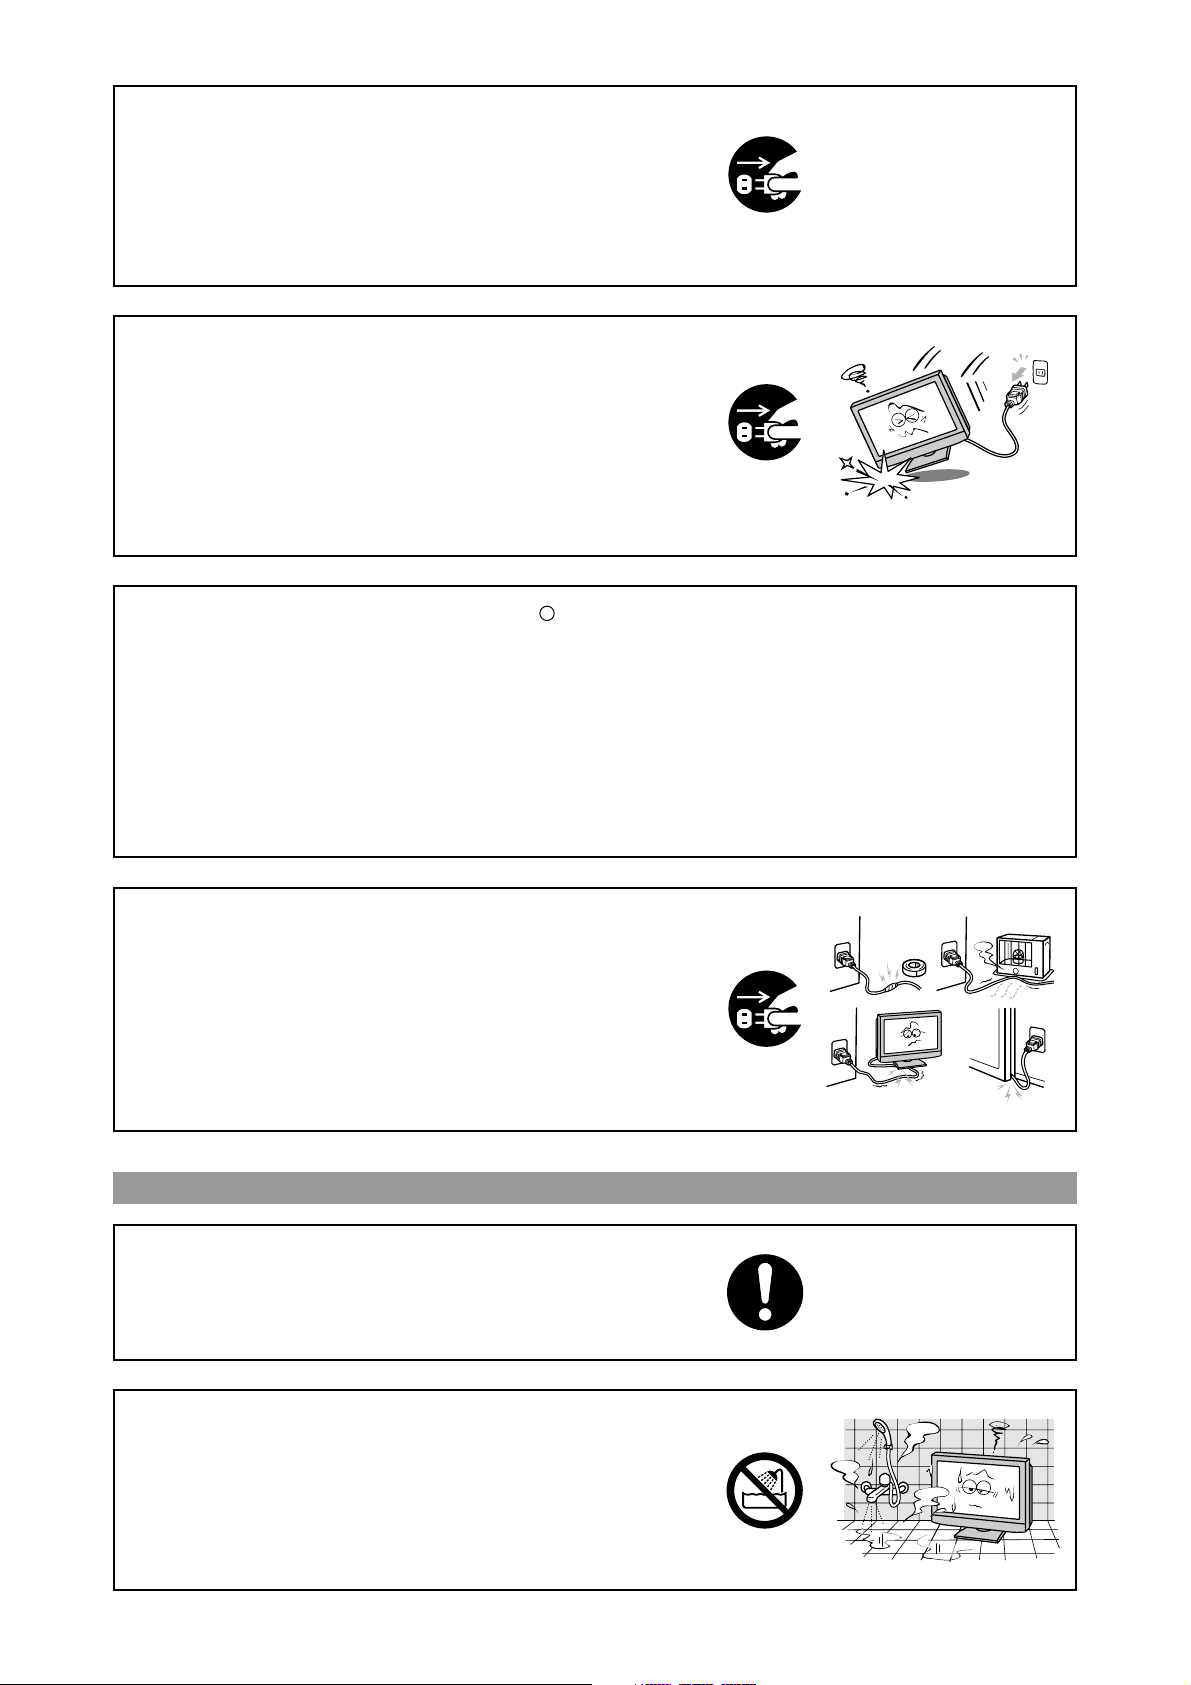
If the power cord or plug is damaged or becomes hot,
turn off the main power switch of the unit, make sure
the power plug has cooled and remove the power plug
from the outlet.
If the unit is still used in this condition, it may cause a fire or an
electric shock. Contact your dealer for replacement.
Installation
When installing the unit, use the specified stand.
If not, the unit may fall down and cause an injury.
Do not place the unit in locations of high humidity,
such as a bathroom or close to a humidifier.
This may cause a fire or an electric shock.
4
Page 5
Do not place the unit in an unstable location, such as a
shaky table or incline.
The unit may fall down and cause injury or damage.
Install the unit on a horizontal, stable surface.
Do not place the unit in a location subject to vibration.
The unit may fall down because of the vibration and may cause an
injury.
Insert the power plug fully into a 100∼240 V AC outlet.
• If you use an outlet other than 100∼240 V AC, it may cause fire or electric
shock.
• Improper insertion of the plug may cause heat and fire.
• Do not use a damaged power plug or worn outlet.
Do not place objects on the unit.
If metal or liquid (when putting vase, glass or cosmetics) get into the
unit, it may cause fire or electric shock.
If you put heavy objects on the unit, it may fall down and cause injury.
When installing the unit, have your dealer arrange for
professional installations.
If the installation work is not correct, it may cause injury.
Use
Never repair, modify or disassemble the unit by
yourself.
It may cause a fire or an electric shock because dangerous voltages
exists in the unit. Consult your dealer for internal inspection and
repairs.
5
Page 6
Follow these precautions for the power cord and plug.
Do not damage, modify such as by extending, or heat (such as by
pressing near heating equipment).
Do not pull, place heavy objects or pinch.
Do not bend, twist or bunch up.
Fire or electric shock may result.
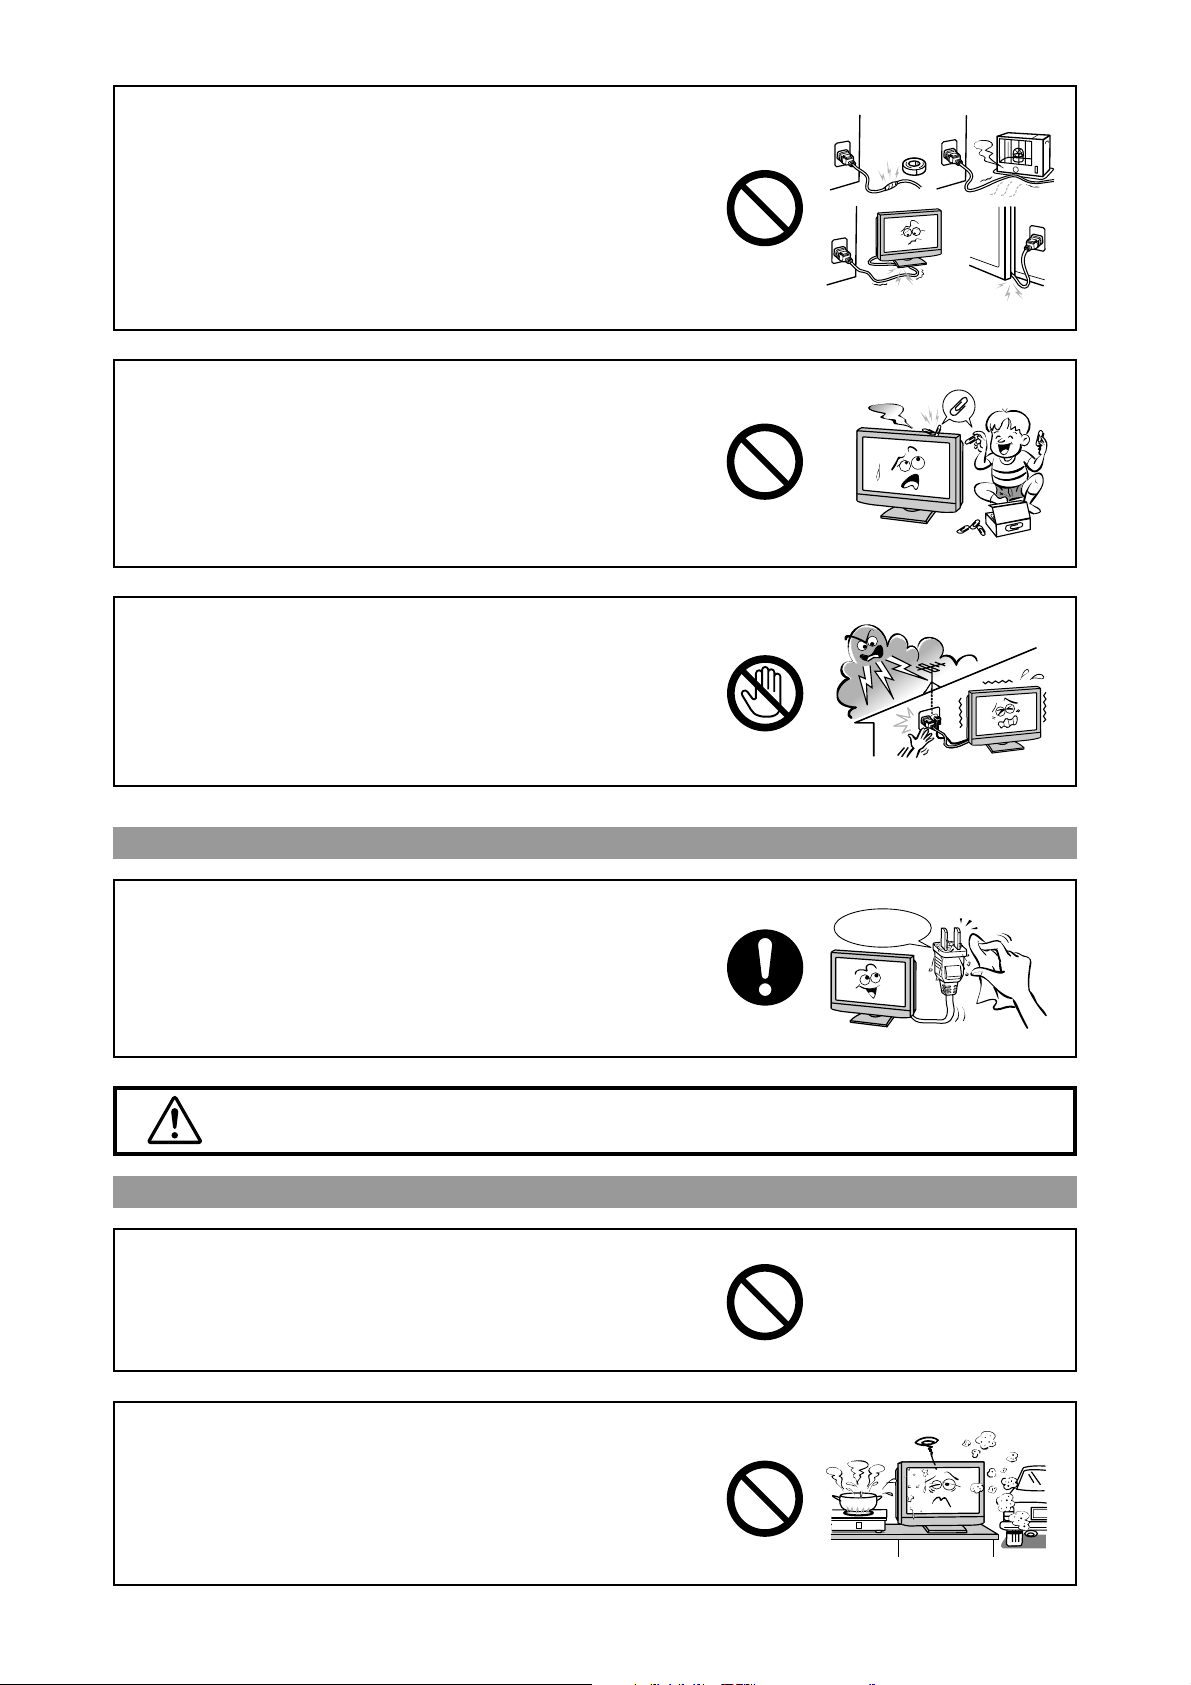
Do not insert objects inside the unit.
If metallic materials or combustibles such as paper get inside the unit
from ventilation holes and other places, it may cause a fire or an
electric shock.
Be especially careful that children do not insert objects in the unit.
If there is thunder or lightning, do not touch the unit
or the power plug.
You may suffer an electric shock.
Clip
Cleaning
If dust has collected on the power plug connectors,
remove the plug from the outlet and clean off the dust.
This dust may cause a fire due to reduced insulation of the plug.
Caution
Installation
Do not install the unit where humidity is high.
If the unit is installed in direct sunlight, a closed car or near a stove, it
may cause overheating or electric shock. Also the cabinet or other parts
may distort or be damaged, and electric shock may result.
6
Do not install the unit where it is exposed to humidity,
oil, smoke or excessive dust.
If the unit is installed next to a humidistat, a stove or in a location
where there is a large quantity of dust, it may cause a fire or electric
shock.
Page 7
Take measures to prevent the unit from falling down.
If not, the unit may fall down and cause injury.
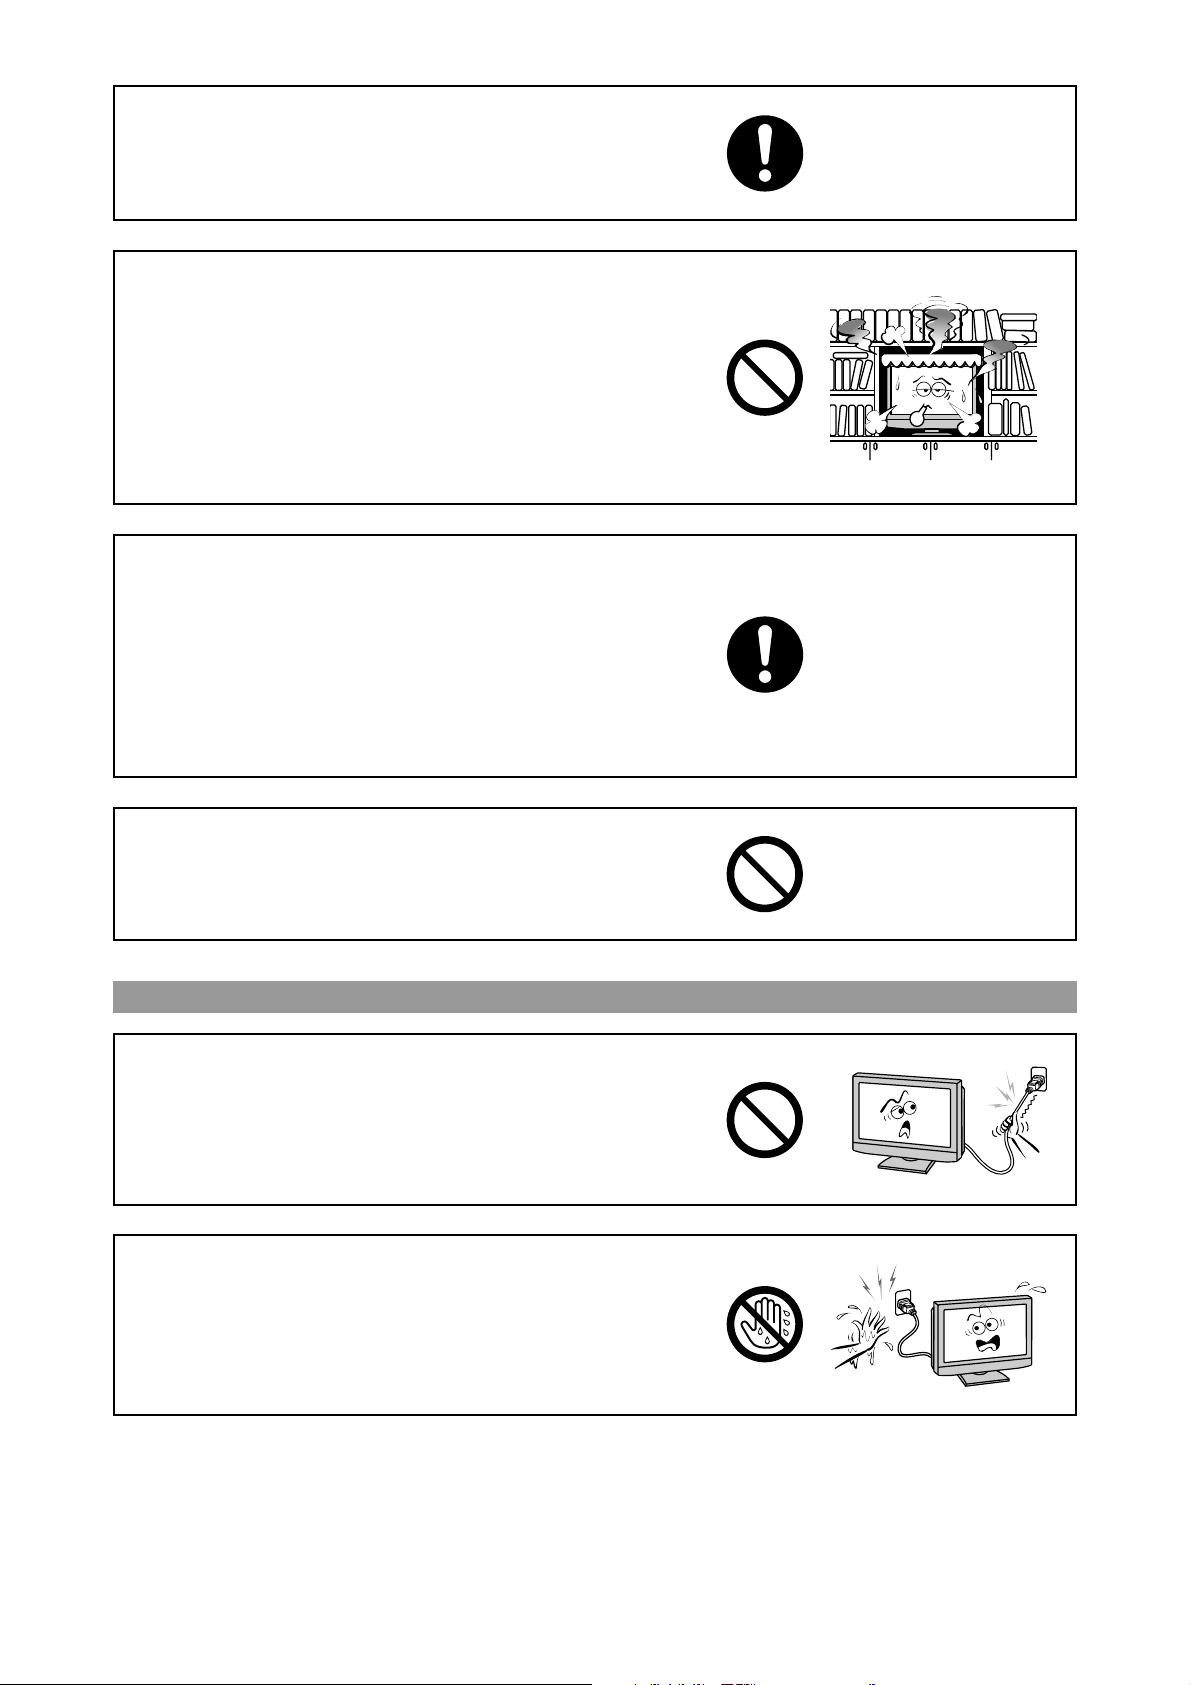
Do not block the ventilation holes on the unit.
The inside of the unit will overheat if the ventilation holes are sealed,
which may result in a fire.
• When installing the unit near a wall, keep the unit at least 10 cm from the
wall.
• Do not place the unit in a closet or bookshelf where ventilation is poor.
• Do not spread a newspaper, tablecloth or curtain over the unit.
• Do not place the unit on an unstable surface, such as a rug, or a cushion, etc.
• Do not place the unit so that it is facing up or down, or on its side.
Precautions for moving the unit:
• When moving the unit, be sure to remove the plug from the wall outlet and
disconnect wiring cables between equipment and detach any securing
anchors. If not, fire or electric shock may result if the power cord is
damaged, injury may occur by the unit falling down.
• When unpacking or carrying the unit, at least two people are needed. Make
sure the units upright,
• Do not carry the unit with the screen facing up or down.
• Handle the unit so as not to jolt the unit.
Do not overload outlets or cables beyond their capacity.
Do not use extension cords.
Electric shock or fire may result.
Use
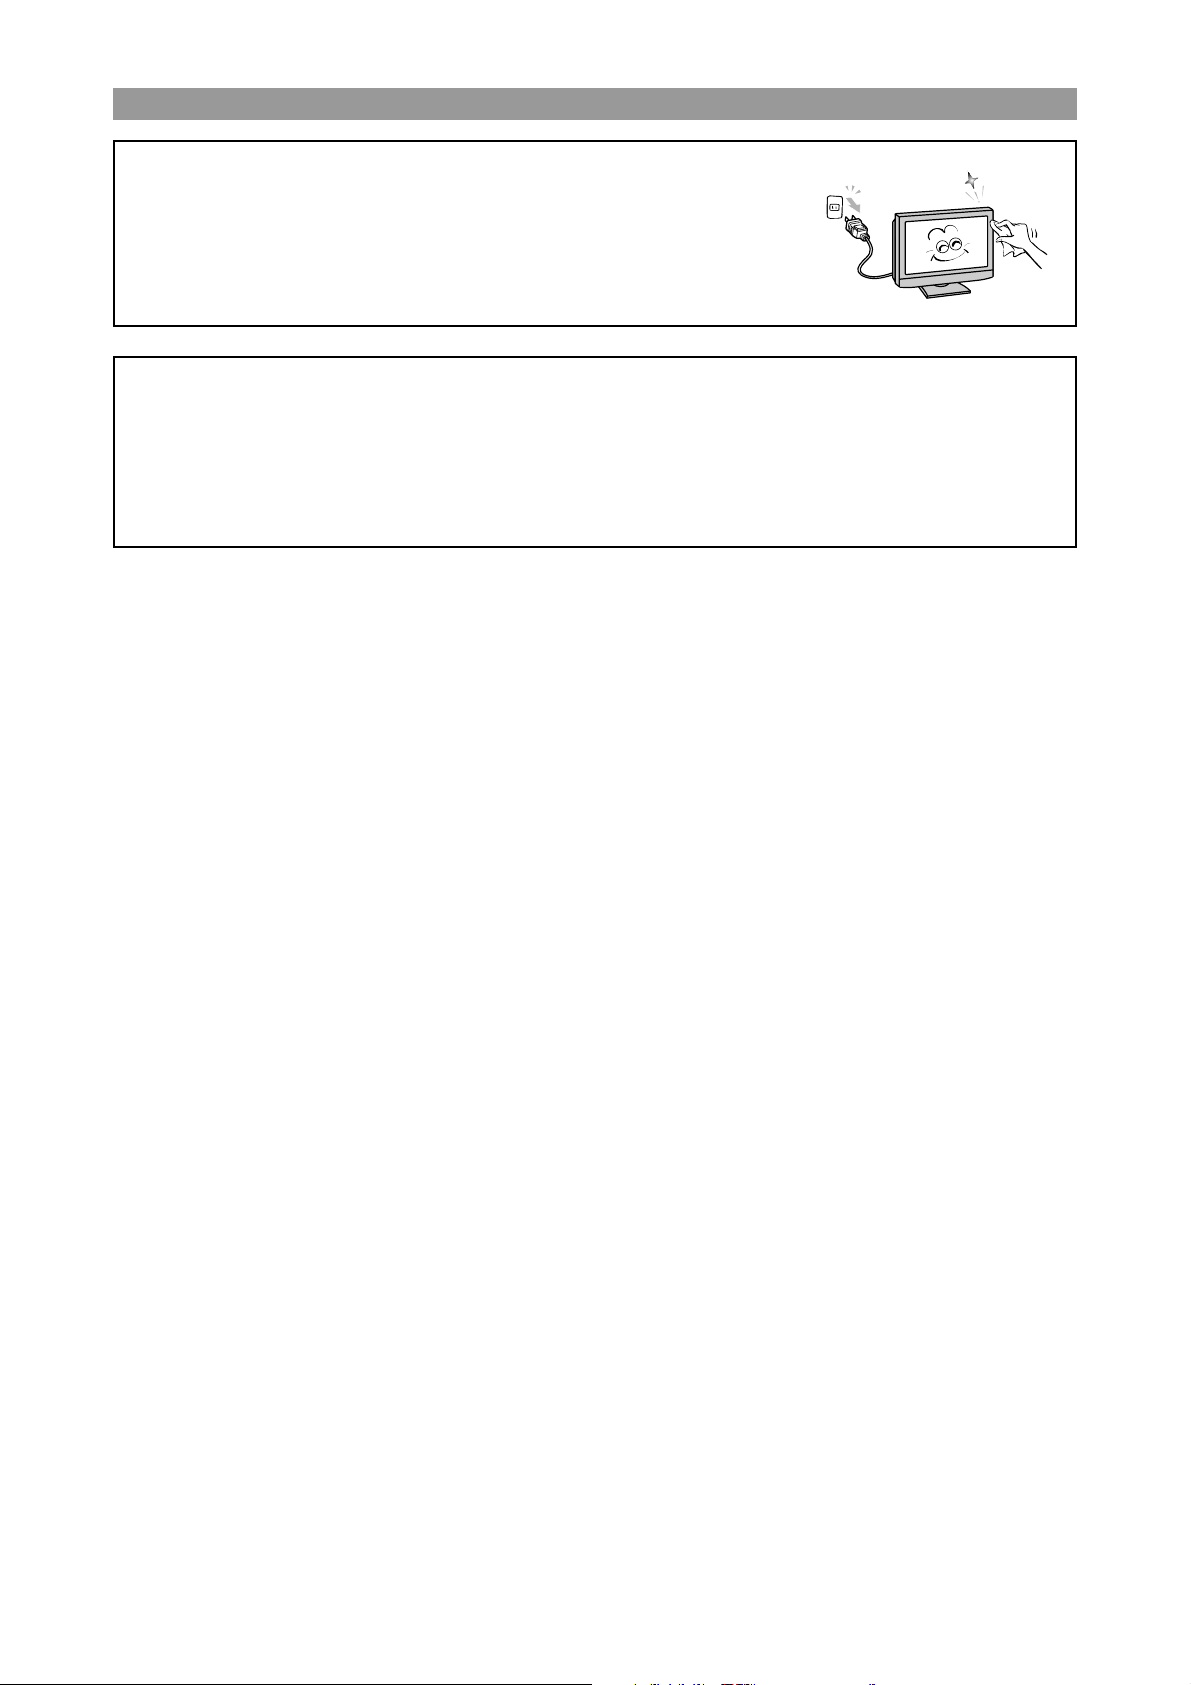
Do not pull the power cord when removing the plug
from the wall outlet.
If the power cord is yanked, the cord may become damaged and fire or
electric shock may occur. Always hold the plug firmly when removing
it.
Never insert or remove the power plug with wet hands.
This may cause electric shock.
7
Page 8

Do not climb or stand on the unit.
It may drop, fall down, break or cause an injury.
If the unit will not be used for a long period of time,
remove the power plug from the wall outlet for safety.
If not, in the case of malfunction, it may cause fire.
Precautions for the remote control batteries:
Only use the specified battery type.
Be sure to insert batteries by matching the + and –.
Do not recharge, heat, disassemble, short or throw batteries into a fire.
Do not use the batteries beyond their usage period (designated on the
batteries) , do not leave worn out batteries in the unit.
Do not mix different types of batteries together.
Do not mix a new battery with a used one.
If these precautions are not observed, it may lead to battery leakage or
explosion and cause burn and injury.
If leaked liquid gets into your eyes or gets in touch with your skin, it
may hurt your eyes or your skin. If leaked liquid gets into your eyes or
mouth or comes in contact with your skin, rinse the contacted area
with clean water immediately and consult your doctor. If the leaked
liquid comes in contact with your cloth, rinse the contacted area with
clean water immediately. If the leaked liquid comes in contact with
other equipments, clean them without touching the leaked liquid.
Do not push or jolt the LCD panel.
The glass of the LCD panel may break and cause injury.
If the screen glass breaks, crystalline liquid leakage may occur. Do not
touch crystalline liquid (liquid).
If leaked liquid gets into your eyes or comes in contact with your skin,
it may hurt your eyes or your skin. If leaked liquid gets into your eyes
or mouth or comes in contact with your skin, rinse the contacted area
with clean water immediately and consult your doctor. If the leaked
liquid comes in contact with your cloth, rinse the contacted area with
clean water immediately. Should the leaked liquid comes in contact
with other equipment, clean them without touching the leaked liquid.
This product contains chemicals, including
lead, known to the State of California to cause birth
defects or other reproductive harm.
Wash hands after handling.
8
Page 9
Cleaning
Remove the power plug before cleaning.
If not, it may cause electric shock.
Consult your dealer for internal cleaning once a year.
If you allow dust to accumulate on the unit, it may cause fire or
malfunction when you operate it.
Cleaning is effective especially before the rainy season when humidity
is high.
Refer to your dealer about the service charge for internal cleaning.
9
Page 10

Notes and cautions for use
L On usage
• Some parts of the body are hot during operation. Please be careful.
• In case of moving long-distance, wrap the unit with blanket to avoid damages. Be careful not to bump the unit.
• Do not spray on the unit volatile liquid like insecticide. Do not expose long time to rubber or vinyl. It will damage the coating.
L On disposal or handing over to a new owner
• It is recommended to initialize the unit by resetting “PICTURE” and “SETUP” menu.
• Do not mix with other general waste.
Do not dispose LCD monitor in waste treated by a waste treatment center.
• This unit has a lamp inside which includes mercury. For disposal, please follow regulation of your district.
L Exemptions
• Toshiba is not liable for any damage caused by natural disaster (such as earthquake, thunder, etc.), fires, acts by third parties,
accidents, owner’s intentional misuse and fault, or uses in other improper conditions.
• Toshiba is not liable for incidental damages (such as profit loss or interruption in business, modification or erasure of record data,
etc.) caused by use or inability to use of this product.
• Toshiba is not liable for any damage caused by neglect of the instructions described in the owner’s manual.
• Toshiba is not liable for any damage caused by misuse or malfunction through simultaneous use of this product and the connected
equipment or software.
• Toshiba is not liable for any damage caused by neglect of the instructions described about the installation stand in the owner’s
manual.
• Toshiba is not liable for any damage caused by improper installation.
10
Page 11

Features
High-resolution HD panel
You can enjoy extreme fine pictures with a big flat LCD monitor panel of 3,150,000 pixel.
IPS system less-reflection Black TFT LCD panel
IPS system and Black TFT LCD panel offer bright and wide images with clear contrast. Even placed near the window, the unit shows
bright and clear images with little reflection. The viewing angles of the monitor are as wide as 170˚ both horizontally and vertically,
enough to enjoy clear images at any view angle.
Variety of Terminals are available
Video system Input: You have 4 choices of terminals for Video system Input.
VIDEO-1 (BNC Terminal) NTSC/PAL
VIDEO-2 (RCA Terminal) NTSC/PAL
S-VIDEO (S Terminal) NTSC/PAL
YUV (BNC Terminal × 3) NTSC/480p/720p/1080i/PAL
RGB: You have 2 choices of terminals for RGB Input.
RGB ANALOG (Mini D-SUB 15 pins) RGB ANALOG
RGB DIGITAL (DVI-D) RGB DIGITAL
You can control the unit by Computer
It is possible to control the unit by connecting with RS-232C Cable.
External speakers can be connected
You can connect 10W 8Ω speakers for each side.
11
Page 12
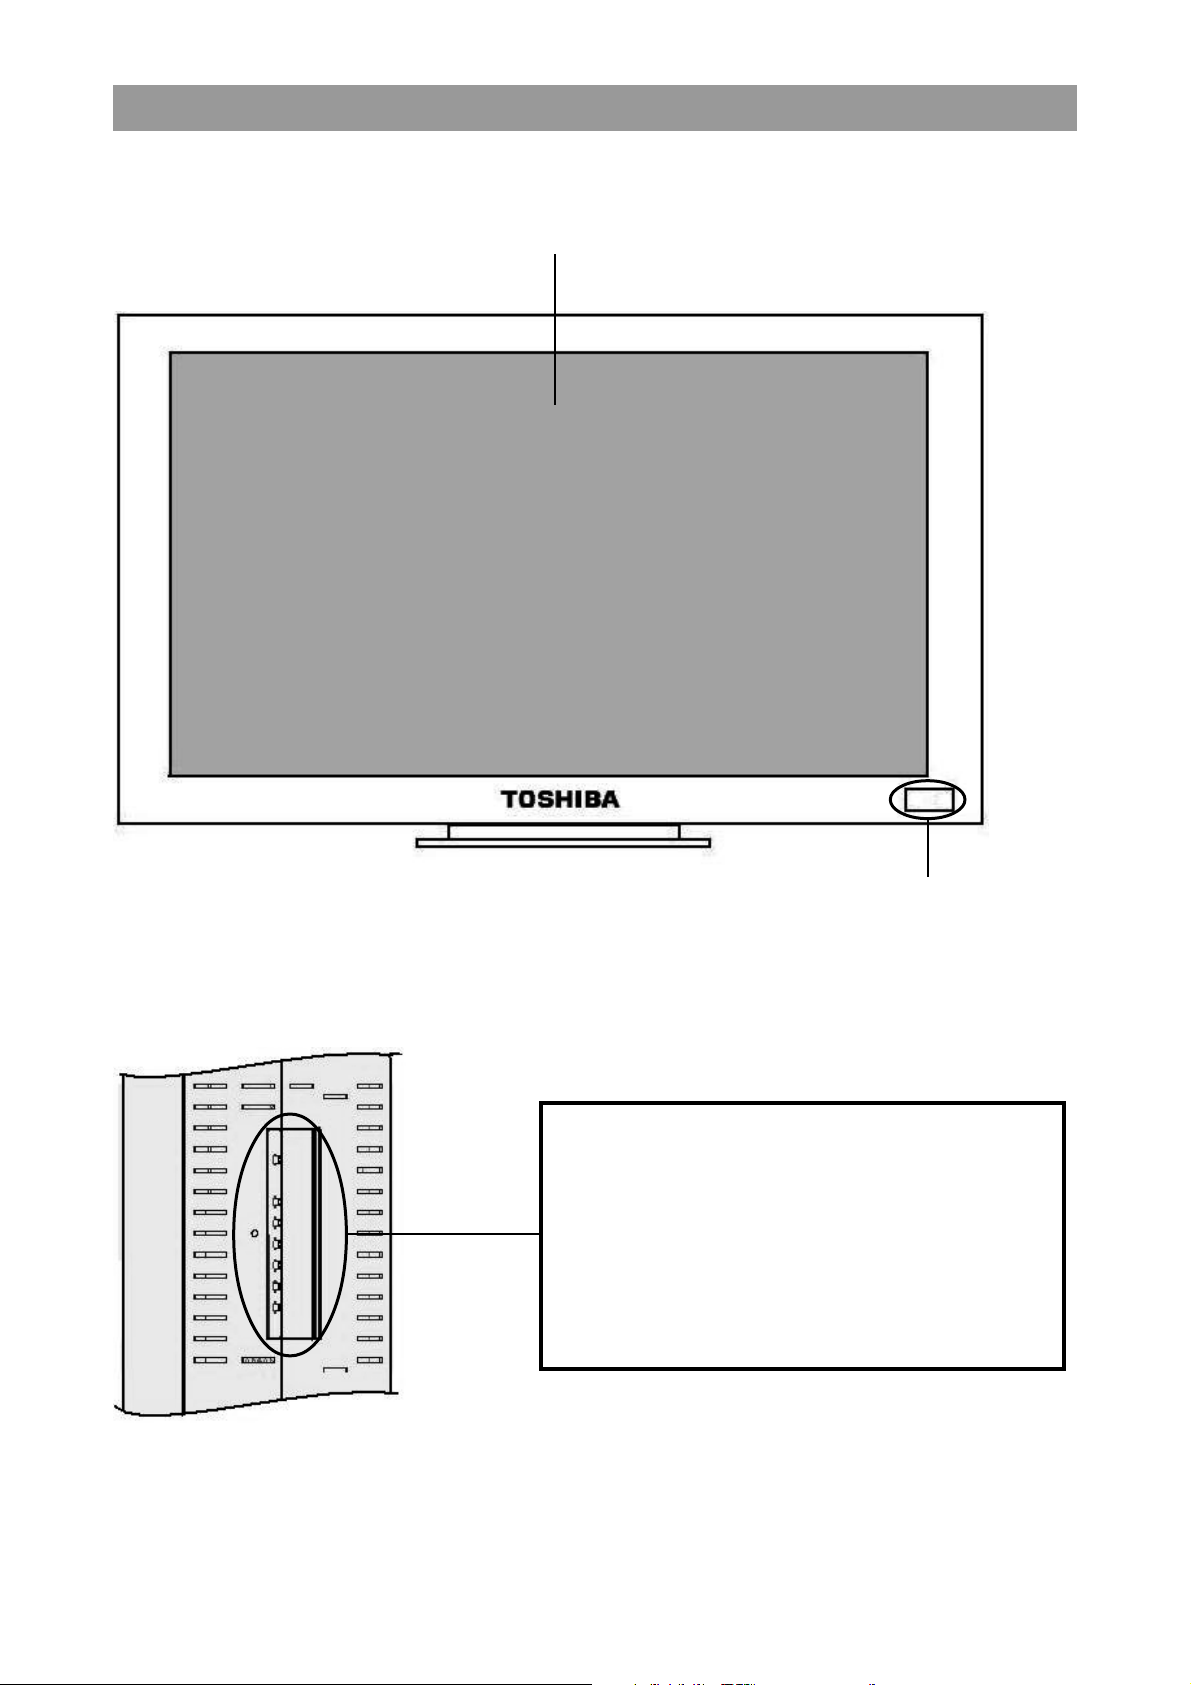
Names and Functions of Controls <Unit>
Front
LCD Screen
Side Controls
• Power standby / on indicator
• Remote sensor
• POWER (standby / on)
• INPUT (conversion for signals of video input)
• MENU (ON / OFF for MENU monitor)
• 9 (scroll down for Menu items)
• 8 (scroll up for Menu items)
•– (Menu item adjusting / down)
• + (Menu item adjusting / up)
12
Page 13

Back
AC power cord inlet
Main power switch
Connection Labels
Terminals
13
Page 14

Names and Functions of Controls <Remote control>
INFRARED EMITTOR
PICTURE / AUDIO / SETUP
(Menu display on/off)
POWER (Power standby/on)
LANGUAGE (OSD language)
EXIT (close menu monitor)
CALL (OSD on/off)
MODE (Picture size selection)
SERVICE (Service setup menu)
SPK (Speaker OUT on/off)
LAN (on/off)
VIDEO-1 / VIDEO-2 / S-VIDEO
(on/off)
YUV (on/off)
RGB ANALOG (on/off)
WRITING (save settings)
AUTO (PC AUTO)
MUTE (sound mute)
UP/DOWN (menu select)
+/– (menu adjust)
RGB DIGITAL (on/off)
14
Page 15

Battery installation
Remove the battery cover, and insert batteries.
• To remove the battery cover, press the frictional part to the
direction of 1, hold and slide it to the direction of 2.
• Insert batteries matching the +and the –.
• To return the battery cover, insert to the direction of 3.
Be careful not to pinch your finger.
About batteries
• Please use two R03 (AAA) batteries.
• Please use manganese dry batteries.
• The batteries last about 1 years (depend on usage). If the
remote control does not operate correctly, or if the
operating range becomes reduced, replace both batteries
with new ones.
CAUTION
Risk of explosion if battery is replaced by an incorrect type.
Dispose of used batteries according to the instructions.
Effective range
• Point the remote control at remote sensor on LCD
monitor.
About the remote control
• Do not drop, shake or bump.
• Do not wet, do not place on wet materials.
• Do not dismantle.
• Do not place in locations exposed to high temperature or
high humidity levels.
6 m
7 m
10˚
6 m
10˚
15
Page 16

Supplied accessories
Please check all are supplied.
Remote control × 1 R03 (AAA) batteries × 2
Power cord (2m) × 1 RGB Cable (Mini D-sub 15 pin) × 1
Part code : 23368803
Owner’s Manual × 1
OWNER’S MANUAL
LCD Monitor
P32LS1
16
23566558
Page 17

Connection
VIDEO system signal
VIDEO-1 AUDIO
VIDEO OUT
IN
IN IN IN
R
VIDEO-2
L
S-VIDEO
AUDIO
R
COMPONENT VIDEO SPEAKER out
IN
RL
OUT
L
IN OUT IN OUT IN IN
RGB (analogue) PC control RGB (digital)
L VIDEO SYSTEM INPUT
You can select VIDEO input from 4 terminals below;
Terminal Type
VIDEO-1
VIDEO-2
S-VIDEO
YUV (Y Pb/Cb Pr/Cr)
• AUDIO input follows the connection at any suitable signals.
• Suitable signal is automatically selected.
BNC
RCA
S-terminal
BNC × 3
RGB AUDIO
Suitable signals
NTSC/PAL
NTSC/PAL
NTSC/PAL
NTSC/480p/720p/1080i/PAL
17
Page 18

Connection
L RGB INPUT
You can select RGB input from 2 terminals below;
Terminal Type
RGB ANALOG
RGB DIGITAL
• AUDIO input follows the connection at both signals.
Mini D-sub 15 pin
DVI-D
RGB ANALOG
RGB DIGITAL
L VIDEO OUTPUT
VIDEO-1 has priority.
Only when VIDEO-2 is selected, output follows VIDEO-2
L RGB OUTPUT
Output follows RGB (ANALOG).
L AUDIO OUTPUT
When VIDEO system INPUT is selected, output follows VIDEO AUDIO
When RGB INPUT is selected, output follows RBG AUDIO.
Suitable signals
L RS-232C INPUT
RS-232C INPUT is used to control the unit by a computer.
Connect a computer to RS-232C INPUT.
18
Page 19

Connecting external speakers
About external speakers
• Please use external speakers with 8Ω impedance and more than 10 W audio power.
[Back side]
⊕ d
Right
Speaker
⊕ d
Left
Speaker
To connect speakers
• Press the knob and hold.
• Insert the top of thecable into hole.
• Return the knob.
Please make sure the cables match the ⊕ and d signs on the terminal.
Speaker terminals have the ⊕ and d signs. The ⊕ sigh is red, and the d sign is black.
One cable is for the ⊕, another is for the d .
Please match the ⊕ and d signs for both right speaker and left speaker.
19
Page 20

Connecting the power cord
Caution: Please turn off the main power switch before connecting.
[Back]
To unit inlet
AC100~240V
wall socket
Power cord (2m)
Main power switch
To wall outlet
ground
20
Page 21

To connect equipments
You can connect a variety of auxiliary equipment via the video/audio terminals.
Video connection example
Example 1
VIDEO-1 IN VIDEO OUT VIDEO-1 IN
Example 2
RGB IN
Video cable
To Video output
Auxiliary equipment
Video cable
signal current
RGB OUT RGB IN
RGB connection cable
RGB connection cable
To Video output
signal current
21
Page 22

Video and Audio connection example
Example 1
VIDEO-1 IN
VIDEO AUDIO IN
VIDEO OUT
Video
cable
Audio cable
To Audio outputTo Video output
AUDIO OUT
Video cable
VIDEO-1 IN
VIDEO AUDIO IN
Audio cable
signal current
Example 2
VIDEO-1 IN
Auxiliary equipment
VIDEO AUDIO IN
VIDEO OUT
Video
cable
Audio cable
VIDEO AUDIO IN
AUDIO OUT VIDEO-2 IN
RCN–BNC
converter
Audio video cable
22
To Video output
Auxiliary equipment
To Audio output
signal current
Page 23

Example 3
To Video
output
RGB
connection
cable
AUDIO OUT
RGB connection
cable
To PC Audio
output
RGB AUDIO INRGB OUTRGB IN
signal current
Audio cable
PC Audio cable
RGB AUDIO INRGB IN
23
Page 24

Installation
Wall hanging accessory is available when you hang the monitor on the wall.
Please follow the process mentioned on page 25 - 27.
When you install the monitor on the ceiling or on the floor, please follow the process on page 28.
Caution Call a service technician for installation.
To a service technician
• For safety, make sure the place has enough strength to hold the whole weight of the monitor and the frames (*1). If necessary,
reinforce the place before installation.
• At least two people are needed for installation.
• Be careful not to lose removed screws or parts.
• Before starting installation, discuss well with customers about the position to install, and get their agreement.
• After installation, check the installation is correct and safe.
∗1: About the material and the structure of the wall, ceiling and floor to install LCD monitor
Where to install the LCD monitor
If the wall is made of thin plywood or plastered board, it cannot hold the weight.
The chart below shows adaptable anchors for each material. Please check well the structure and strength of the place to install, and
choose the best method for safety.
Adaptable anchors / screws for each material
Material
Plastered board
plywood board
Concrete
Block
ALC
Mortar
Brick
Wooden pillar
For assembly, a Philips screwdriver with more than 300 mm shaft is needed.
Anchor
Impossible to install in Plastered board or Plywood board. Install in the tie beam instead of the wall.
Whole anchor or Bolt
Tie lock anchor
Coach bolt (diameter: 6 mm × length: 60mm)
24
Page 25

How to install the monitor on the wall
1. Remove the stand of the LCD monitor
• To avoid damage, spread blanket on the table to put the
LCD monitor on.
• To remove the stand of the LCD monitor, put the LCD
monitor on the edge of the table, and remove the screws
on the stand.
• Described below is one example of how to install the unit
on the wall. The wall hanging accessory will need to be
manufactured according to the installation, so consult your
dealer before the installation work.
2. Wall hanging accessory
Wall hanging accessory is available at the shop.
∗: In the package, the bracket and the frame of wall hanging
accessory are assembled. Please separate the bracket and
the frame at first. After the bracket is fixed on the wall, fix
the frame on the LCD monitor.
3. Remove the frame from the bracket.
Hold the lower part of the frame and raise it up to remove
from the bracket.
Frame
Bracket
4. Fix the bracket on the wall
• Fix the bracket on the wall firmly with anchors or screws
(not supplied).
Make sure anchors or screws are stable.
(Choose appropriate anchors or screws depending on the
structure and material of the wall.)
• Refer to the chart on page 24 to check the condition of the
wall, and choose the safe and appropriate way for
installation.
The wall (Bracket)
25
Page 26

5. Using supplied screws, fix the frame on the LCD monitor
• To avoid damaging, spread blanket on the flat space, and
place the LCD monitor with its panel down.
• Refer to the illustration, and mount the frame on the LCD
monitor with four M4 screws.
6. Wire before hanging on the wall
• On wiring, refer to page 20 - 23.
• Pay attention to the positions of auxiliary equipment or
bracket on the wall, when you decide the route to wire.
M4 Screw × 4
Frame
Blanket
The LCD monitor
26
Page 27

7. Mount the LCD monitor on the bracket.
∗: When mounting, at least two people are needed.
• Raise the LCD monitor, and insert the projection of the
bracket.
• Hold the lower part of the LCD monitor and raise a little,
push into the lower part of the bracket.
Projection
• Fasten with supplied screws.
27
Page 28

How to install the LCD monitor on the floor
1. Remove the stand of the LCD monitor
• To avoid damage, spread blanket on the table to put the
LCD monitor on.
• To remove the stand of the LCD monitor, put the LCD
monitor on the edge of the table, and remove the screws
on the stand.
2. Floor installation brace for LCD monitor
The floor installation brace will be manufactured according
to the installation.
Before the installation work, please consult your dealer for
the floor installation brace.
3. Fixing the floor installation brace to the floor
• Fix the brace to the floor firmly with anchors or screws
(not supplied).
• Refer to the chart on page 24 to check the installation
conditions, and choose a safe and appropriate way to
install.
4. Wiring and mounting of the LCD monitor
• For wiring details, refer to pages 20-23.
• Raise the LCD monitor and fix it to the floor installation
brace with screws.
At least two people are needed for this work.
Example of installation with floor installation brace
Floor installation brace
How to install the LCD monitor to the ceiling
1. Remove the stand of the LCD monitor
• To avoid damage, spread blanket on the table to put the
LCD monitor on.
• To remove the stand of the LCD monitor, put the LCD
monitor on the edge of the table, and remove the screws
on the stand.
2. Ceiling installing bracket for LCD monitor
The ceiling installing bracket will be manufactured according
to the installation.
Before the installation work, please consult your dealer for
the ceiling installing bracket.
3. Fixing the ceiling installing bracket on the
ceiling
• Fix the bracket on the ceiling firmly with anchors or screws
(not supplied).
• Refer to the chart on page 24 to check the installation
conditions, and choose a safe and appropriate way to
install.
4. Wiring and mounting of the LCD monitor
• For wiring details, refer to pages 20-23.
• Raise the LCD monitor and fix it on the ceiling installing
bracket with screws.
At least two people are needed for this work.
Example of installation with ceiling installing bracket
Ceiling installing bracket
28
Page 29

Dimension
Unit: mm
80
Back view (A-angle)
699
790
200
300
394
A
480
18
70 110
223
Specifications
Power Consumption 100 – 240V AC, 50/60Hz, 135W
Standby Power Consumption 12.5W
Mass 19.5kg
Operating Temperature 5 – 40°C (41 – 104°F)
Operating Humidity 20%∼80% (No moisture condensation)
29
Page 30

Power on/off
Before turn on, wire all the cable connecting to auxiliary equipment, external speakers, power cord, etc.
There are two controls for power, Main power switch and POWER (standby / on) button.
L Main power switch
Bottom
Connect power cord and press “–” side of
the switch, then Power Standby / On
indicator lights on green.
If Main power switch is not On, you cannot turn on the unit by the POWER (Standby / On) button.
Front
When the power is on, the Power Standby / On indicator lights on
green.
When the power is in the standby mode, the Power Standby / On
indicator lights on red.
Power Standby / On indicator
L POWER button on the Remote control
About the control by the POWER button on the unit side on, refer to page 12.
POWER button on the Remote control
You can switch Power standby to On by pressing this button.
30
Page 31

Menu Function
Displaying Menu, you can adjust pictures and sound or set various functions with the buttons on the remote control.
The following are summary of Menu Function. For details, please see to refered pages.
L Function of each button
Side of the unit Remote control
1
2
3
4
5
6
7
name
1 POWER (side of the unit, the remote control)
2 INPUT (side of the unit)
3 MENU (side of the unit)
4 9 / DOWN (side of the unit, the remote
control)
5 8 / UP (side of the unit, the remote control)
6 – (side of the unit, the remote control)
7 + (side of the unit, the remote control)
8 PICTURE (the remote control)
9 AUDIO (the remote control)
! SETUP (the remote control)
" CALL (the remote control)
# LANGUAGE (the remote control)
$ EXIT (the remote control)
% WRITING (the remote control)
& SERVICE (the remote control)
( MODE (the remote control)
) AUTO (the remote control)
~ LAN (the remote control)
+ SPK (the remote control)
, MUTE
- VIDEO-1
. VIDEO-2
/ S-VIDEO
: YUV
; RGB ANALOG
< RGB DIGITAL
89!
#
"
&()
~+,
-./
:;<
$
1
%
5
4
7
6
Description
To Power standby / On
To convert the input line for video below.
VIDEO-1→VIDEO-2→S-VIDEO→YUV→RGB ANALOG
→RGB DIGITAL
To display Home Menu
To scroll down Menu display
To scroll up Menu display
To scroll down Menu display, to reduce adjusting levels
To scroll up Menu display, to increase adjusting levels
To display PICTURE Menu
To display AUDIO Menu
To display SETUP Menu
To display on-screen information
To select a language for display (Only English)
To close Menu without saving the adjustment
To close Menu saving the adjustment
Exclusively for a service technician use. Don’t touch for ordinary use.
To change the size of the monitored image (16:9 – 4:3)
To perform PC AUTO SETUP
For future use. This function is not available now.
To turn on / off output for speakers
To mute the sound
To select VIDEO-1 input
To select VIDEO-2 input
To select S-VIDEO input
To select YUV input
To select RGB ANALOG input
To select RGB DIGITAL input
31
Page 32

L Menu setting chart
HOME MENU
This display is only for
the MENU button on
the side of the unit.
PICTURE
AUDIO
SETUP
(PAGE 1)
(PAGE 2)
∗4
(PAGE 2)
(For RGB ANALOG/
RGB DIGITAL input)
BRIGHT
CONTRAST
SHARPNESS
COLOR
TINT
∗1
∗2
OSD
WRITING
EXIT
RESET
VOLUME
BASS
TREBLE
BALANCE
MUTE
SPK OUT
∗1
SIZE
H. SIZE
V. SIZE
POSI H. POSI
V. POSI
W/B COLOR MODE
R-DRIVE
G-DRIVE
B-DRIVE
R-CUTOFF
G-CUTOFF
B-CUTOFF
MODE
CLOCK
PHASE
NR MODE
SHRAPNESS MODE
∗3
∗3
∗3
∗1
M ADAPTIVE
LANGUAGE
CINEMA
V. FILTER
WRITING
EXIT
RESET
LANGUAGE
PC WIDE
PC AUTO SETUP
WRITING
EXIT
RESET
Adjustment range
–10 - +10
–10 - +10
–10 - +10
–10 - +10
–10 - +10
ON/OFF
—
—
—
0 - 100
–50 - +50
–50 - +50
–50 - +50
OFF/ON
OFF/ON
–10 - +10
–10 - +10
–10 - +10
–10 - +10
A/B
–50 - +50
–50 - +50
–50 - +50
–50 - +50
–50 - +50
–50 - +50
16:9/4:3
–32 - +32
–32 - +32
OFF/1/2
1 - 4
ON/OFF
ENGLISH (only)
ON/OFF
ON/OFF
—
—
—
ENGLISH (only)
OFF/ON
—
—
—
—
Initial setting
0
0
0
0
0
ON
30
0
0
0
OFF
ON
0
0
0
0
A
0
0
0
0
0
0
16:9
0
0
OFF
1
ON
ON
ON
OFF
32
∗1
: Not available for RGB ANALOG, RGB DIGITAL input setting
∗2
: Not available for PAL, RGB ANALOG, RGB DIGITAL input setting
∗3
: Exclusive for YUV, RGB ANALOG, RGB DIGITAL input setting
∗4
: Page 2 of RGB ANALOG, RGB DIGITAL menu is different
Page 33

<Terms of functions>
BRIGHT Adjust darkness of the picture
CONTRAST Adjust contrast of the picture
SHARPNESS Adjust sharpness of the picture
COLOR Adjust color depth of the picture
TINT Adjust tint of the picture
OSD Display on-screen information
VOLUME Adjust volume
BASS Adjust strength of bass sound
TREBLE Adjust strength of treble sound
BALANCE Adjust volume balance of right and left speakers
MUTE Mute the sound
SPK OUT Turn on / off output for speakers
H. / V. SIZE Adjust horizontal / vertical size of the picture
H. / V. POSI Adjust horizontal / vertical position of the picture
COLOR MODE Color temperature A: 7200K B: 6000K
R / G / B -DRIVE Adjust of the brightness of each colour of RGB
R / G / B -CUTOFF Adjust of the darkness of each colour of RGB
MODE Change the size of the displayed image (16:9 / 4:3)
CLOCK Correct wavy pictures
PHASE Correct trembling pictures
NR MODE Reduce noise
SHARPNESS MODE Select Sharpness Mode
M ADAPTIVE Turn on / off subordinate scanning line for moving picture
LANGUAGE Select a language for the on-screen display (only English)
CINEMA Turn on / off IP converter for cinema mode
V. FILTER Turn on / off vertical filter
PC WIDE Turn on / off real sampling for WVGA / WSVGA / WXGA input
PC AUTO SETUP Adjust and save best performance of RGB ANALOG automatically
33
Page 34

L Menu display chart
[HOME MENU display]
common
This display is only for MENU button.
[AUDIO MENU display]
common
[PICTURE MENU display]
For VIDEO-1 / VIDEO-2 /
S-VIDEO (NTSC input) /
YUV (NTSC / 480P /1080i /720p input)
[SETUP MENU P1 display]
For VIDEO-1 / VIDEO-2 /
S-VIDEO (PAL input)
For RGB ANALOG / RGB DIGITAL
34
For VIDEO-1 / VIDEO-2 /
S-VIDEO (NTSC / PAL input)
For YUV
(NTSC / 480p / 720p / 1080i / PAL input)
For RGB ANALOG / RGB DIGITAL
Page 35

[SETUP MENU P2 display]
For VIDEO-1 / VIDEO-2 / S-VIDEO /
YUV
[SETUP SUB MENU display]
Sub menu : SIZE Sub menu : POSI Sub menu : W / B
[Other displays]
For RGB ANALOG / RGB DIGITAL
common
Setting selected items /
Adjustment (Example: BRIGHT)
Writing E
common
2
PROM / EXIT
For RGB ANALOG / RGB DIGITAL /
PC AUTO SETUP
35
Page 36

Control by Computer
L Connection
To connect in series
You can connect COM port (RS-232C connecter) of the PC to RS-232C IN terminal on the unit using RS-232C cross cable.
To RS-232C IN terminal COM port
L Transfer
Transfer of RS-232C on the PC
Baud rate 9600 bps
Data bus 8 bit
Parity None
Stop bit 1 bit
Flow control None
RS-232C cross cable
36
Page 37

L Input signal
Format for RGB•DVI input signal (Timing)
Name of input signal
No.
1
2
3
4
5
6
7
8
9
10
11
12
13
14
15
16
17
18
19
20
21
22
23
24
25
26
CEA (640 × 400)
(700 × 400)
VGA (640 × 480)
13”mode (MAC)
(640 × 480)
SVGA (800 × 600)
16”mode (MAC)
(832 × 624)
XGA (1024 × 768)
19”mode (MAC)
(1024 × 768)
W-XGA (1280 × 768)
21”mode (MAC)
(1152 × 870)
SXGA (1280 × 1024)
Horizontal
frequency [kHz]
24.82
31.48
37.86
31.47
37.93
31.48
37.86
37.50
43.27
35.00
35.16
37.88
48.08
46.88
53.67
49.72
48.36
56.48
60.02
68.68
60.24
48.13
47.99
48.21
68.68
63.98
Vertical frequency
[Hz]
56.42
70.10
85.08
70.08
85.04
59.95
72.81
75.00
85.01
66.67
56.25
60.32
72.19
75.00
85.06
74.55
60.00
70.07
75.03
85.00
74.93
60.017
59.833
60.571
75.06
60.02
Dot clock
frequency [MHz]
21.05
25.18
31.50
28.32
31.50
25.18
31.50
31.50
36.00
30.24
36.00
40.00
50.00
49.50
56.25
57.28
65.00
75.00
78.75
94.50
80.00
81.25
81.00
81.00
100.00
108.00
Sampling
frequency [MHz]
21.05
25.18
31.50
25.18
31.50
25.18
31.50
31.50
36.00
30.24
36.00
40.00
50.00
49.50
56.25
57.28
65.00
75.00
78.75
94.50
80.00
81.25
81.00
81.00
100.00
92.00
Note
inapplicable to DVI
input
Down sampling
37
Page 38

A Guide to Simple Problem Solving
Before calling service personnel, please check the following chart for a possible cause to the trouble you are experiencing.
Symptom
No picture, no sound
No picture, sound OK
The remote control does not operate
The right speaker and the left
speaker sound reverse.
Only one speaker of the pair sounds.
Check these things
• Make sure the power cord is plugged in.
• May be the power is Off or Standby.
• Check whether the auxiliary equipment is connected.
• Check the input setting is correct.
• Make sure the auxiliary equipment is turned on.
• The video input setting may not correspond to a connected
terminal.
• Signal may not be suitable.
• Make sure the batteries are inserted matching the + and –
marks of the battery compartment.
• The batteries may be exhausted.
• Use the remote control aiming at the remote control sensor.
• Make sure the audio cables are correctly connected.
• Cables on external speakers may be connected reverse for the
right and the left speakers.
• Check both cables of the right and the left speakers are
connected.
Page
20
30
17 - 18
31 - 35
—
31
15
17
19
No sound, picture OK
The picture color is pale, or not clear
RS232C cannot control the unit
• The volume level may be minimum.
• The sound may be muted.
• The SPK OUT control may be Off.
• VIDEO -1, S-VIDEO, CONPONENT VIDEO, RGB and
DVI are terminals for video. When you use these terminals,
connect audio terminals also.
• Make sure the audio terminals correspond to the selected
video terminals.
• Check the picture quality adjustment.
• If you are using YUV terminals, make sure cables are
correctly connected.
• Check the setting for the PC, baud rate and so on.
L For inquiries and repair
Please refer to the shop you bought the unit for repair and inquiries.
34
17
17
32 - 33
17
36
38
Page 39

Note
39
Page 40

USER-INSTALLER CAUTION
YOUR AUTHORITY TO OPERATE THIS FCC CERTIFIED EQUIPMENT COULD BE VOIDED IF
YOU MAKE CHANGES OR MODIFICATIONS NOT EXPRESSLY APPROVED BY THIS PARTY
RESPONSIBLE FOR COMPLIANCE TO PART 15 OF THE FCC RULES.
NOTE:
This equipment has been tested and found to comply with the limits for a Class A digital device, pursuant to part 15 of the
FCC Rules. These limits are designed to provide reasonable protection against harmful interference when the equipment is
operated in a commercial environment.
This equipment generates, uses, and can radiate radio frequency energy and, if not installed and used in accordance with the
instruction manual, may cause harmful interference to radio communications. Operation of this equipment in a residential
area is likely to cause harmful interference in which case the user will be required to correct the interference at his own
expense.
Caution
It may be against copyright regulation to broadcast commercial video software or unit programs for commercial purpose
using this product, or to rewrite such software or programs with wipe-mirror function.
Please refer to a entitled party for approval in advance.
Warning
This is a Class A product. In a domestic environment this product may cause radio interfer ence in which case the user may
be required to take adequate measures.
Annex
Suggested text for the notice indicating compliance with this Standard:
This Class A digital apparatus complies with Canadian ICES-003.
Cet appareil numérique de la classe A est conforme à la norme NMB-003 du Canada.
About trademarks
VGA, SVGA, XGA and SXGA are trademarks or registered trademarks of International Business Machines Corporation.
TOSHIBA LIGHTING & TECHNOLOGY CORPORATION
40
 Loading...