

Toshiba GA-1211, GA-1211-EX, GA-1310, GA-1310-EX Easy Setup Manual

MULTIFUNCTIONAL DIGITAL COLOR SYSTEMS
Easy Setup Guide
GA-1211/1211-EX
GA-1310/1310-EX

Notice 1
Notice
FCC Notice
This equipment has been tested and found to comply with the limits for a Class A digital device,
pursuant to Part 15 of the FCC Rules. These limits are designed to provide reasonable protection against harmful interference when the equipment is operated in a commercial environment.
This equipment generates, uses, and can radiate radio frequency energy and, if not installed
and used in accordance with the instruction manual, may cause harmful interference to radio
communications. Operation of this equipment in a residential area is likely to cause harmful
interference in which case the user will be required to correct the interference at his own
expense.
This Class A digital apparatus complies with Canadian ICES-003.
Cet appareil numérique de la classe A est conforme à la norme NMB-003 du Canada.
For European Models Only:
Working environment
This product is sold as an option. To be fully functional, this product must be installed into the
related base product. Please refer to the working environment advices being mentioned in the
documentation of the base product.
CE compliance
This product is following the provisions of the applicable European Directives, notably the Low
Voltage Directive 2006/95/EC, the Electromagnetic Compatibility Directive 2004/108/EC.
Since this product is sold as an option, please refer to the CE advices being mentioned in the
documentation of the base product.
CE marking is the responsibility of TOSHIBA TEC GERMANY IMAGING SYSTEMS GmbH,
Carl-Schurz-Str. 7, 41460 Neuss, Germany, phone +49-(0)-2131-1245-0.
Changes or modification made to this equipment, not expressly approved by Toshiba Tec or parties
authorized by Toshiba Tec could void the user’s authority to operate the equipment.
Regulatory Information
Toshiba is dedicated to preserving the environment by sponsoring Call2Recycle, a program of the
Rechargeable Battery Recycling Corporation. For more information and for drop-off locations, visit
www.rbrc.org or call 1-800-822-8837.
Notice regarding CR coin cell batteries, applicable to California, U.S.A. only: Perchlorate Material - special handling may apply.
See http://www.dtsc.ca.gov/hazardouswaste/perchlorate/
y The high efficiency LCD backlights used in this product contains 5 mg or less of Mercury, the dis-
posal of which may be regulated due to environmental considerations. For disposal or recycling
information, please contact your local authorities or the Electronic Industries Alliance
(www.eiae.org).
Hg
This product complies with Class A for network connection. In a domestic environment this product may
cause radio interference in which case the user may be required to take adequate measures.
2 Notice
For a copy of the related CE Declaration of Conformity (base product), please contact your
dealer or TOSHIBA TEC.
Following information is for EU-member states only:
This product is marked according to the requirement in EU-Directive 2002/96/EC.
(Directive on Waste electrical and electronic equipment - WEEE)
The use of the symbol indicates that this product may not be disposed as unsorted municipal waste and
has to be collected separately. By ensuring this product is disposed of correctly, you will help prevent
potential negative consequences for the environment and human health, which could otherwise be
caused by inappropriate waste handling of this product.
For more detailed information about the take-back and recycling of this product please contact your supplier where you purchased the product.
Following information is for EU-member states only:
Disposal of batteries and/or accumulators
(based on EU-Directive 2006/66/EC,
Directive on batteries and accumulators and waste batteries and accumulators)
By ensuring that batteries and/or accumulators are disposed of correctly, you will help prevent potential
negative consequences for the environmental and human health, which could otherwise be caused by
inappropriate waste handling of this product.
For more detailed information about the take-back and recycling of batteries and/or accumulators, please
contact your supplier where you purchased this product.
Notice 3
Other Points
y Do not take off the cover of the equipment; otherwise you could be injured or get an electric
shock.
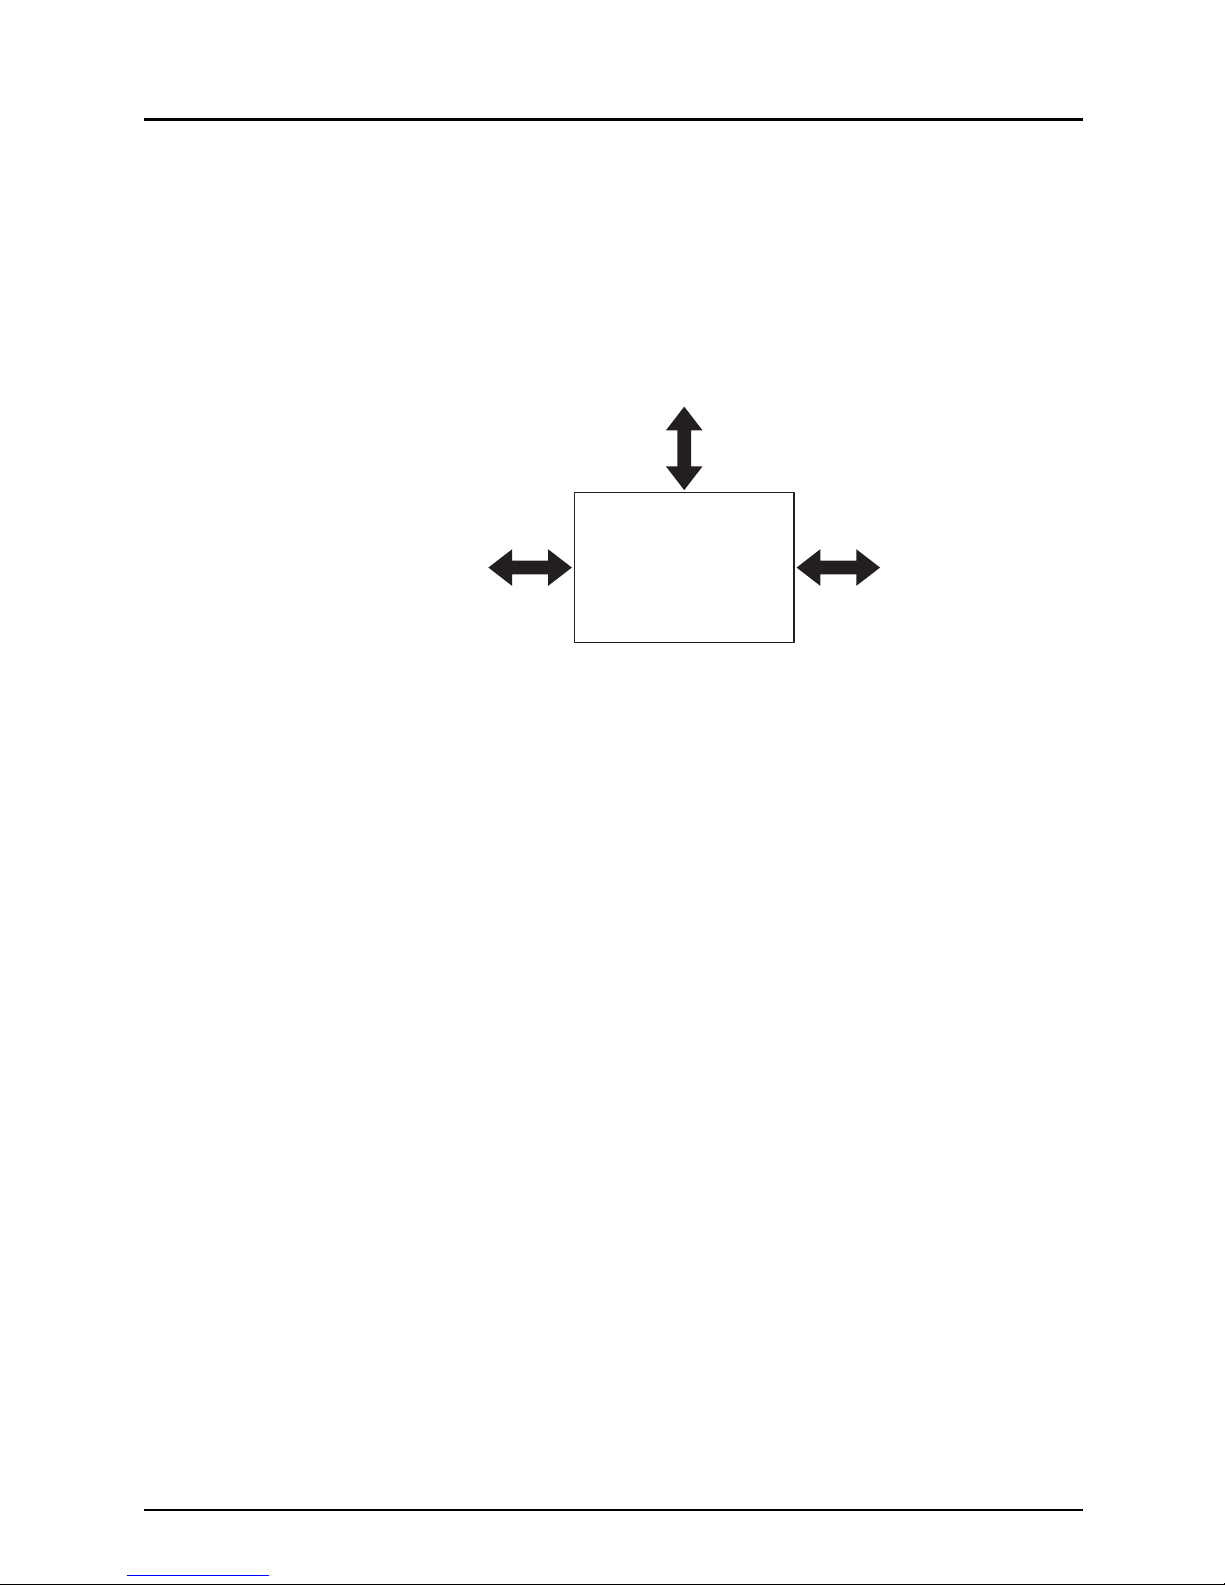
y Make sure that there is enough space around the system to facilitate changing of parts,
maintenance and clearing paper jam.
If there is insufficient space, some operations, such as bypass feeding, will become difficult
and the Multifunctional Digital Color Systems could even break down.
To insure optimal operation, allow clearances of at least 31.5" / 80 cm on the right, and 3.9" /
10 cm on the left and behind.
y The socket outlet shall be installed near the equipment and be easily accessible.
y Be sure to fix and plug in the power cable securely after the installation so that no one trips
over it.
y Pull out the plug from the outlet more than once a year to clean around the prongs.
Accumulating dust and dirt could cause a fire due to the heat released by electric leakage.
Equipment
Left Right
Rear
Front
10 cm
3.9"
80 cm
31.5"
10 cm
3.9"

4 Notice
Disclaimer Notice
The following notice sets out the exclusions and limitations of liability of TOSHIBA TEC CORPORATION (including its employees, agents and sub-contractors) to any purchaser or user (‘User’)
of the e-STUDIO2330C/2820C/2830C/3520C/3530C/4520C, e-STUDIO5520C/6520C/6530C,
e-STUDIO2040C/2540C/3040C/3540C/4540C, or e-STUDIO5540C/6540C/6550C, including its
accessories, options and bundled software (‘Product’).
1. The exclusion and limitations of liability referred to in this notice shall be effective to the fullest extent permissible at law. For the avoidance of doubt, nothing in this notice shall be taken
to exclude or limit TOSHIBA TEC CORPORATION’s liability for death or personal injury
caused by TOSHIBA TEC CORPORATION’s negligence or TOSHIBA TEC CORPORATION’s fraudulent misrepresentation.
2. All warranties, conditions and other terms implied by law are, to the fullest extent permitted
by law, excluded and no such implied warranties are given or apply in relation to the Products.
3. TOSHIBA TEC CORPORATION shall not be liable for any loss, cost, expense, claim or damage whatsoever caused by any of the following:
(a)use or handling of the Product otherwise than in accordance with the manuals, including
but not limited to Operator’s Manual, User‘s Guide, and/or incorrect or careless handling or
use of the Product;
(b)any cause which prevents the Product from operating or functioning correctly which arises
from or is attributable to either acts, omissions, events or accidents beyond the reasonable
control of TOSHIBA TEC CORPORATION including without limitation acts of God, war, riot,
civil commotion, malicious or deliberate damage, fire, flood, or storm, natural calamity, earthquakes, abnormal voltage or other disasters;
(c)additions, modifications, disassembly, transportation, or repairs by any person other than
service technicians authorized by TOSHIBA TEC CORPORATION; or
(d)use of paper, supplies or parts other than those recommended by TOSHIBA TEC CORPORATION.
4. Subject to paragraph 1, TOSHIBA TEC CORPORATION shall not be liable to Customer for:
(a)loss of profits; loss of sales or turnover; loss of or damage to reputation; loss of production; loss of anticipated savings; loss of goodwill or business opportunities; loss of customers; loss of, or loss of use of, any software or data; loss under or in relation to any contract;
or
(b)any special, incidental, consequential or indirect loss or damage, costs, expenses, financial loss or claims for consequential compensation;
whatsoever and howsoever caused which arise out of or in connection with the Product or
the use or handling of the Product even if TOSHIBA TEC CORPORATION is advised of the
possibility of such damages.
TOSHIBA TEC CORPORATION shall not be liable for any loss, cost, expense, claim or damage caused by any inability to use (including, but not limited to failure, malfunction, hang-up,
virus infection or other problems) which arises from use of the Product with hardware, goods
or software which TOSHIBA TEC CORPORATION has not directly or indirectly supplied

Trademarks 5
Trademarks
y Ethernet is a registered trademark of US Xerox Corporation.
y The official name of Windows 2000 is Microsoft Windows 2000 Operating System.
y The official name of Windows XP is Microsoft Windows XP Operating System.
y The official name of Windows Vista is Microsoft Windows Vista Operating System.
y The official name of Windows Server 2003 is Microsoft Windows Server 2003 Operating
System.
y Microsoft, Windows, and the brand names and product names of other Microsoft products
are trademarks of Microsoft Corporation in the US and other countries.
y Apple, AppleTalk, Macintosh, Mac, Mac OS, Safari, and TrueType are trademarks of Apple
Inc. in the US and other countries.
y PostScript and PostScript Logo are trademarks of Adobe Systems Incorporated.
y IBM, AT and AIX are trademarks of International Business Machines Corporation.
y NOVELL, NetWare, and NDS are trademarks of Novell, Inc.
y Fiery, the Fiery logo is the trademark registered in the U.S. Patent and Trademark Office.
NetWise is a trademark of Electronics For Imaging, Inc.
y Other company and product names given in this manual or displayed in this software may be
the trademarks of their respective companies.
©2008 - 2011 TOSHIBA TEC CORPORATION All rights reserved
This manual is protected by copyright laws. No part of this manual shall be duplicated or reproduced without the permission of TOSHIBA TEC CORPORATION. TOSHIBA TEC CORPORATION shall not be liable in terms of granting patents for any use of information contained in this
manual by third parties.

6 Preface
Preface
Thank you for purchasing TOSHIBA Multifunctional Digital Color Systems with the EFI Printer
Server. This EASY SETUP GUIDE explains how to setup the equipment for printing. Read this
guide before setting up your Multifunctional Digital Color Systems with the EFI Printer Server.
Keep this guide within easy reach, and use it to configure quality printing environment and make
the best use of your printer’s functions.
TOSHIBA Multifunctional Digital Color Systems with the EFI Printer Server represent the following four models:
y e-STUDIO4520C Series with the GA-1211/E EFI Printer Server
y e-STUDIO6530C Series with the GA-1310/E EFI Printer Server
y e-STUDIO4540C Series with the GA-1211-EX/E-EX EFI Printer Server
y e-STUDIO6550C Series with the GA-1310-EX/E-EX EFI Printer Server
The term "printer" in this manual refers to the following four models:
y GA-1211/E EFI Printer Server
y GA-1310/E EFI Printer Server
y GA-1211-EX/E-EX EFI Printer Server
y GA-1310-EX/E-EX EFI Printer Server
For further details of printing functions, refer to other manuals included on the CD-ROM such as
Welcome, Color Printing, Configuration and Setup, Fiery Color Reference, Glossary,
LEGAL NOTICES, Printing from Mac OS, Printing from Windows, Print Options, Variable
Data Printing, Utilities, and Workflow Examples.

CONTENTS 7
CONTENTS
Notice............................................................................................................. 1
Trademarks ................................................................................................... 5
Preface........................................................................................................... 6
Chapter 1 SETUP FLOW
Items Included in This Product ................................................................. 10
Setup Flow for Windows............................................................................ 11
For SMB Printing ..................................................................................... 11
For LPR Printing ......................................................................................13
For IPP Printing ....................................................................................... 15
For Novell Printing ................................................................................... 17
Setup Flow for Macintosh.......................................................................... 19
Chapter 2 INSTALLING THE PRINTER DRIVER (Windows)
About Installation .......................................................................................22
System Requirements ............................................................................. 22
About the Installation Procedure ............................................................. 22
Installing the Printer Driver ....................................................................... 23
Installing the Printer Driver for SMB Printing ...........................................23
Installing the Printer Driver for LPR Printing............................................ 25
Installing the Printer Driver for IPP Printing ............................................. 34
Installing the Printer Driver for Novell Printing.........................................41
Configuring the Option ..............................................................................46
Configuring the Options Manually ........................................................... 46
Configuring the Options Automatically .................................................... 50
Chapter 3 INSTALLING THE PRINTER DRIVER (Macintosh)
About Installation .......................................................................................54
System Requirements ............................................................................. 54
Installing the Printer Driver ....................................................................... 55
Installing the PPD files.............................................................................55
Creating the Printer ................................................................................. 57
Appendix for Booklet Printing on Macintosh .......................................... 69
Printing a Booklet .................................................................................... 69

8 CONTENTS

1.SETUP FLOW
Items Included in This Product..............................................................................10
Setup Flow for Windows ........................................................................................11
For SMB Printing............................................................................................................................... 11
For LPR Printing................................................................................................................................13
For IPP Printing.................................................................................................................................15
For Novell Printing.............................................................................................................................17
Setup Flow for Macintosh ......................................................................................19

1 SETUP FLOW
10 Items Included in This Product
Items Included in This Product
The following items are included in this product. Check that you have all the items.
y Easy Setup Guide (this guide)
y Safety Information
y User Software DVD-ROM
y User Documentation CD-ROM
y Setup report
y Operator’s Manual pocket
y Stopper (for control panel)
Setup Flow for Windows 11
Setup Flow for Windows
After completing each procedure, mark the check box ( ) in front of each procedure so that
you can make sure that you have completed each step for setup.
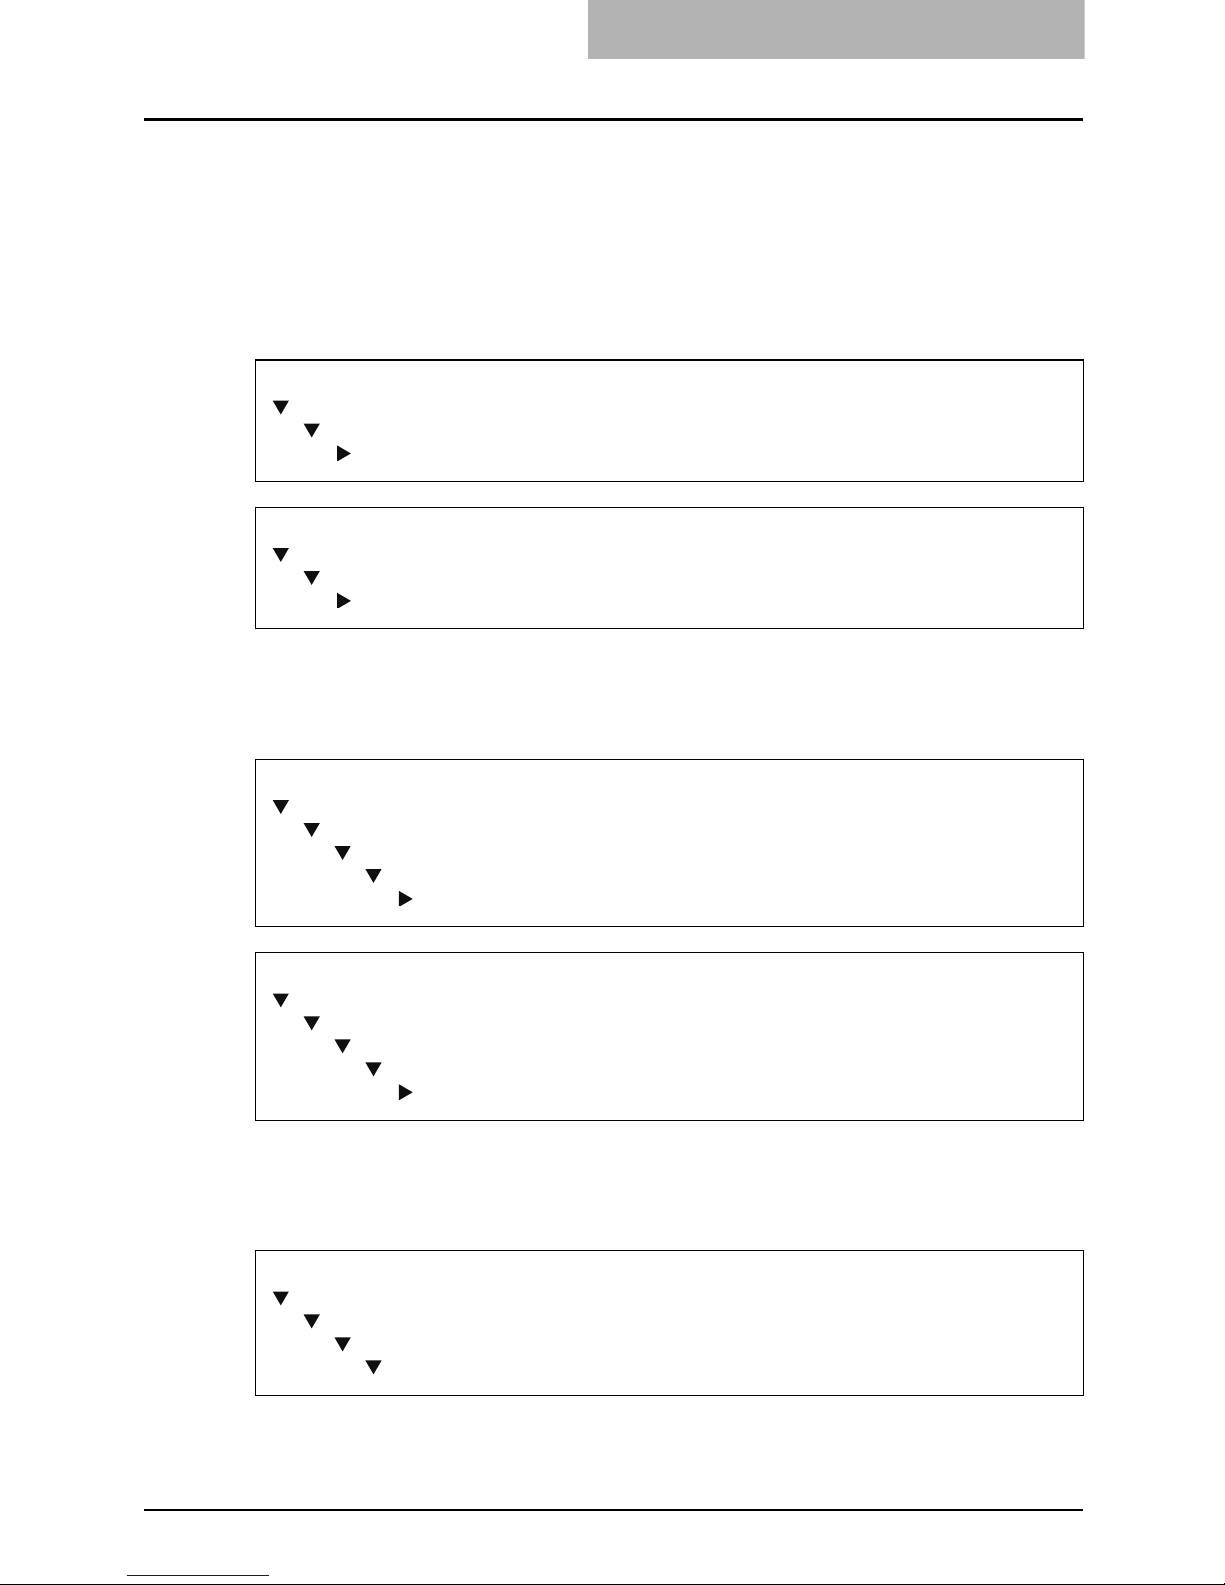
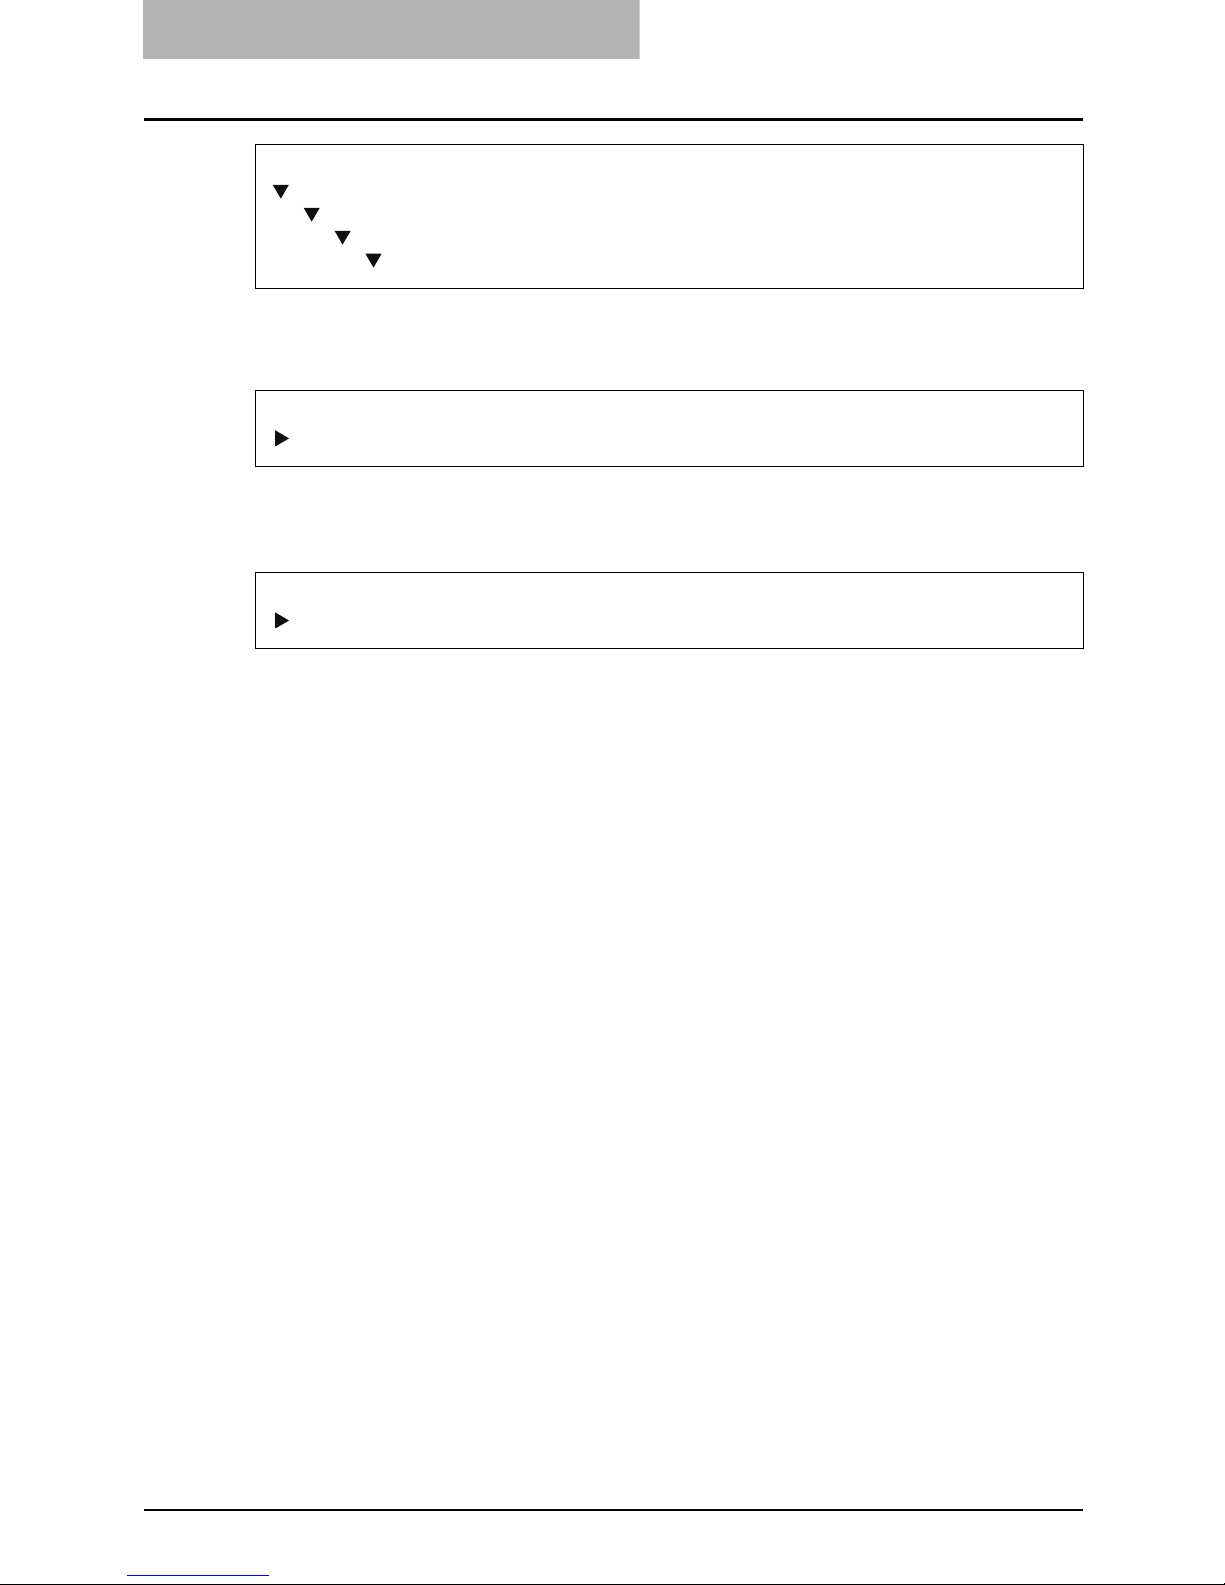
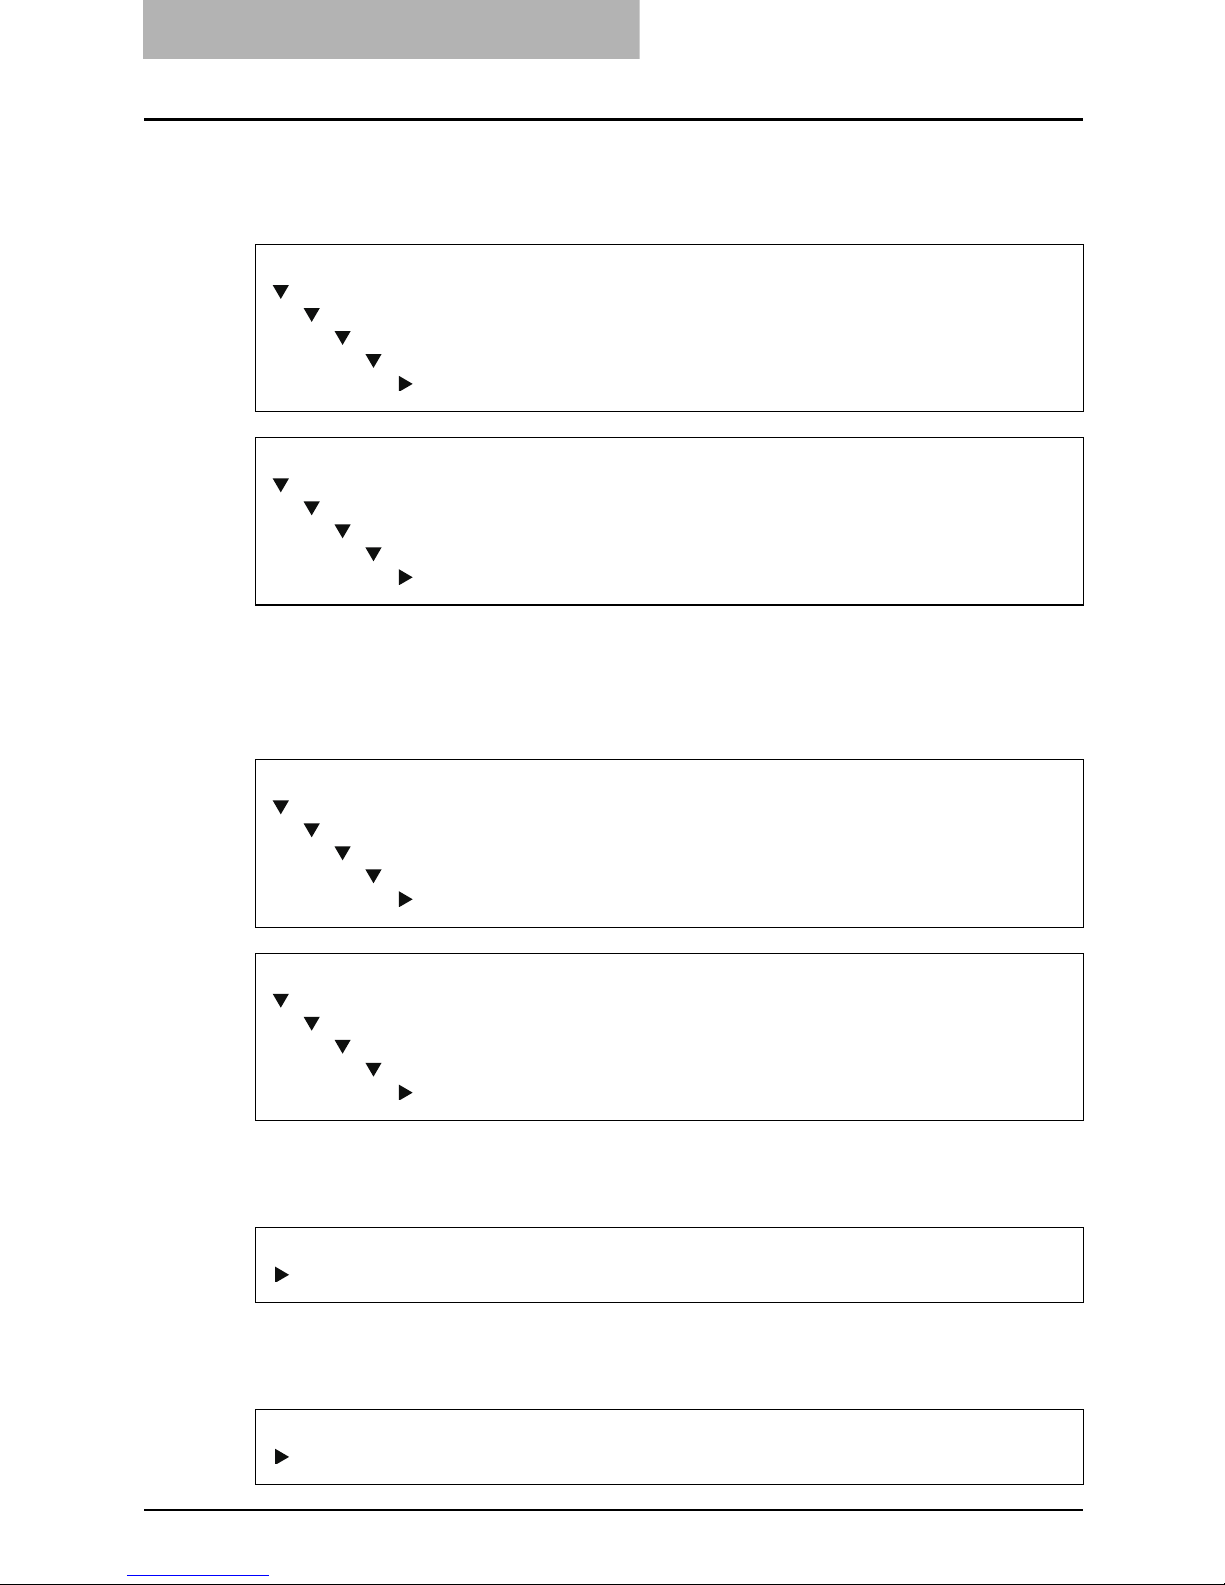
For SMB Printing
Connecting the printer
Connect the printer to your network with a network cable.
Setting up TCP/IP
Configure the TCP/IP Setup options to assign the IP Address, Subnet Mask, and Gateway
Address on the printer to enable Fiery WebSetup from the control panel.
Setting up the Printing Service
Configure the Windows Print Sharing to enable the Windows Printing Service from Fiery WebSetup or Command WorkStation.
REFERENCE for GA-1211 or GA-1211-EX
Configuration and Setup
PREPARING FOR GA-1211 SETUP
Connecting network cable to the GA-1211
REFERENCE for GA-1310 or GA-1310-EX
Configuration and Setup
PREPARING FOR GA-1310 SETUP
Connecting network cable to the GA-1310
REFERENCE for GA-1211 or GA-1211-EX
Configuration and Setup
SETTING UP THE GA-1211 FROM THE COPIER TOUCH PANEL
Network Setup options
TCP/IP Setup options
IPv4 (TCP/IP) Setup
REFERENCE for GA-1310 or GA-1310-EX
Configuration and Setup
SETTING UP THE GA-1310 FROM THE COPIER TOUCH PANEL
Network Setup options
TCP/IP Setup options
IPv4 (TCP/IP) Setup
REFERENCE for GA-1211 or GA-1211-EX
Configuration and Setup
SETTING UP THE GA-1211 FROM THE COPIER TOUCH PANEL
Services Options
Windows Setup (SMB) Options
1 SETUP FLOW
12 Setup Flow for Windows
Installing the Printer Driver
Install the printer driver to use SMB printing.
Configuring the Options
Configure the option settings on the printer driver.
REFERENCE for GA-1310 or GA-1310-EX
Configuration and Setup
SETTING UP THE GA-1310 FROM THE COPIER TOUCH PANEL
Services Options
Windows Setup (SMB) Options
REFERENCE
P.23 “Installing the Printer Driver for SMB Printing”
REFERENCE
P.46 “Configuring the Option”
Setup Flow for Windows 13
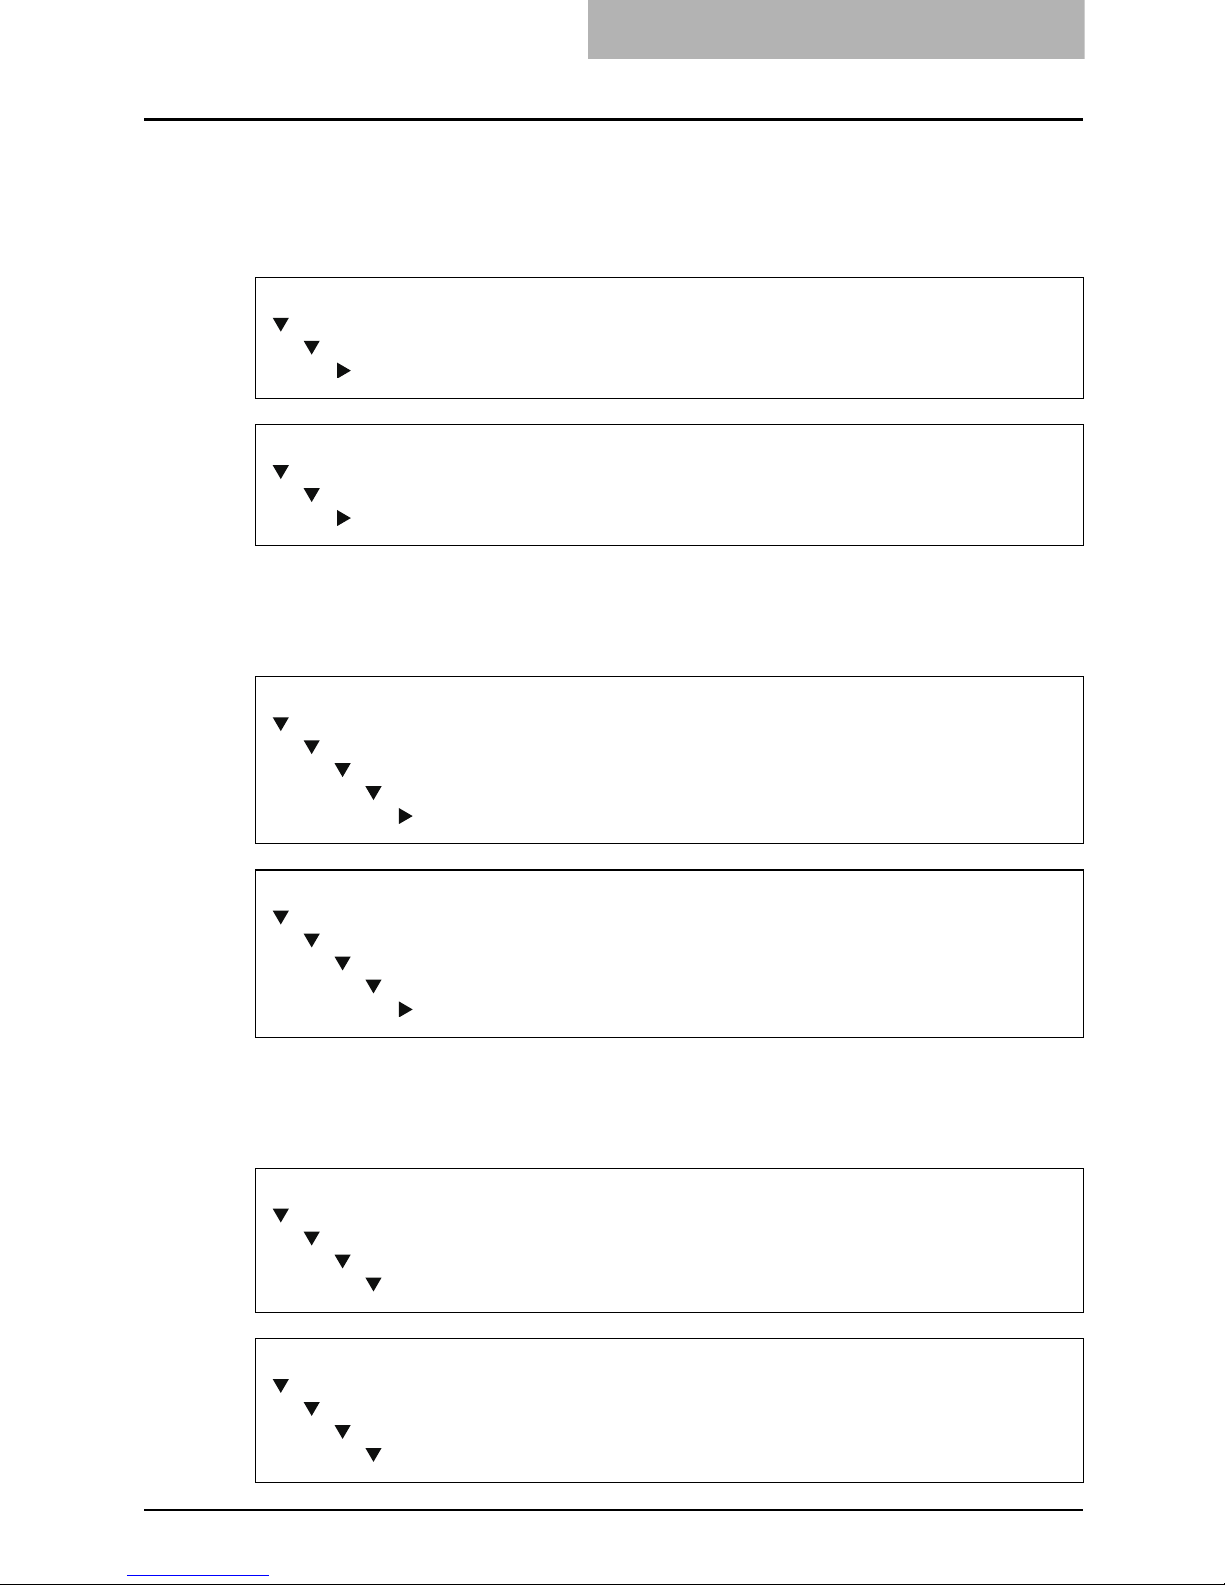
For LPR Printing
Connecting the printer
Connect the printer to your network with a network cable.
Setting up TCP/IP
Configure the TCP/IP Setup options to assign the IP Address, Subnet Mask, and Gateway
Address on the printer to enable Fiery WebSetup from the control panel.
Setting up the Printing Service
Configure the LPD Printing to enable the LPD Printing Service from Fiery WebSetup or Command WorkStation.
REFERENCE for GA-1211 or GA-1211-EX
Configuration and Setup
PREPARING FOR GA-1211 SETUP
Connecting network cable to the GA-1211
REFERENCE for GA-1310 or GA-1310-EX
Configuration and Setup
PREPARING FOR GA-1310 SETUP
Connecting network cable to the GA-1310
REFERENCE for GA-1211 or GA-1211-EX
Configuration and Setup
SETTING UP THE GA-1211 FROM THE COPIER TOUCH PANEL
Network Setup options
TCP/IP Setup options
IPv4 (TCP/IP) Setup
REFERENCE for GA-1310 or GA-1310-EX
Configuration and Setup
SETTING UP THE GA-1310 FROM THE COPIER TOUCH PANEL
Network Setup options
TCP/IP Setup options
IPv4 (TCP/IP) Setup
REFERENCE for GA-1211 or GA-1211-EX
Configuration and Setup
SETTING UP THE GA-1211 FROM THE COPIER TOUCH PANEL
Services Options
LPD Setup
REFERENCE for GA-1310 or GA-1310-EX
Configuration and Setup
SETTING UP THE GA-1310 FROM THE COPIER TOUCH PANEL
Services Options
LPD Setup
1 SETUP FLOW
14 Setup Flow for Windows
Installing the Printer Driver
Install the printer driver to use LPR printing.
Configuring the Options
Configure the option settings on the printer driver.
REFERENCE
P.25 “Installing the Printer Driver for LPR Printing”
REFERENCE
P.46 “Configuring the Option”

Setup Flow for Windows 15
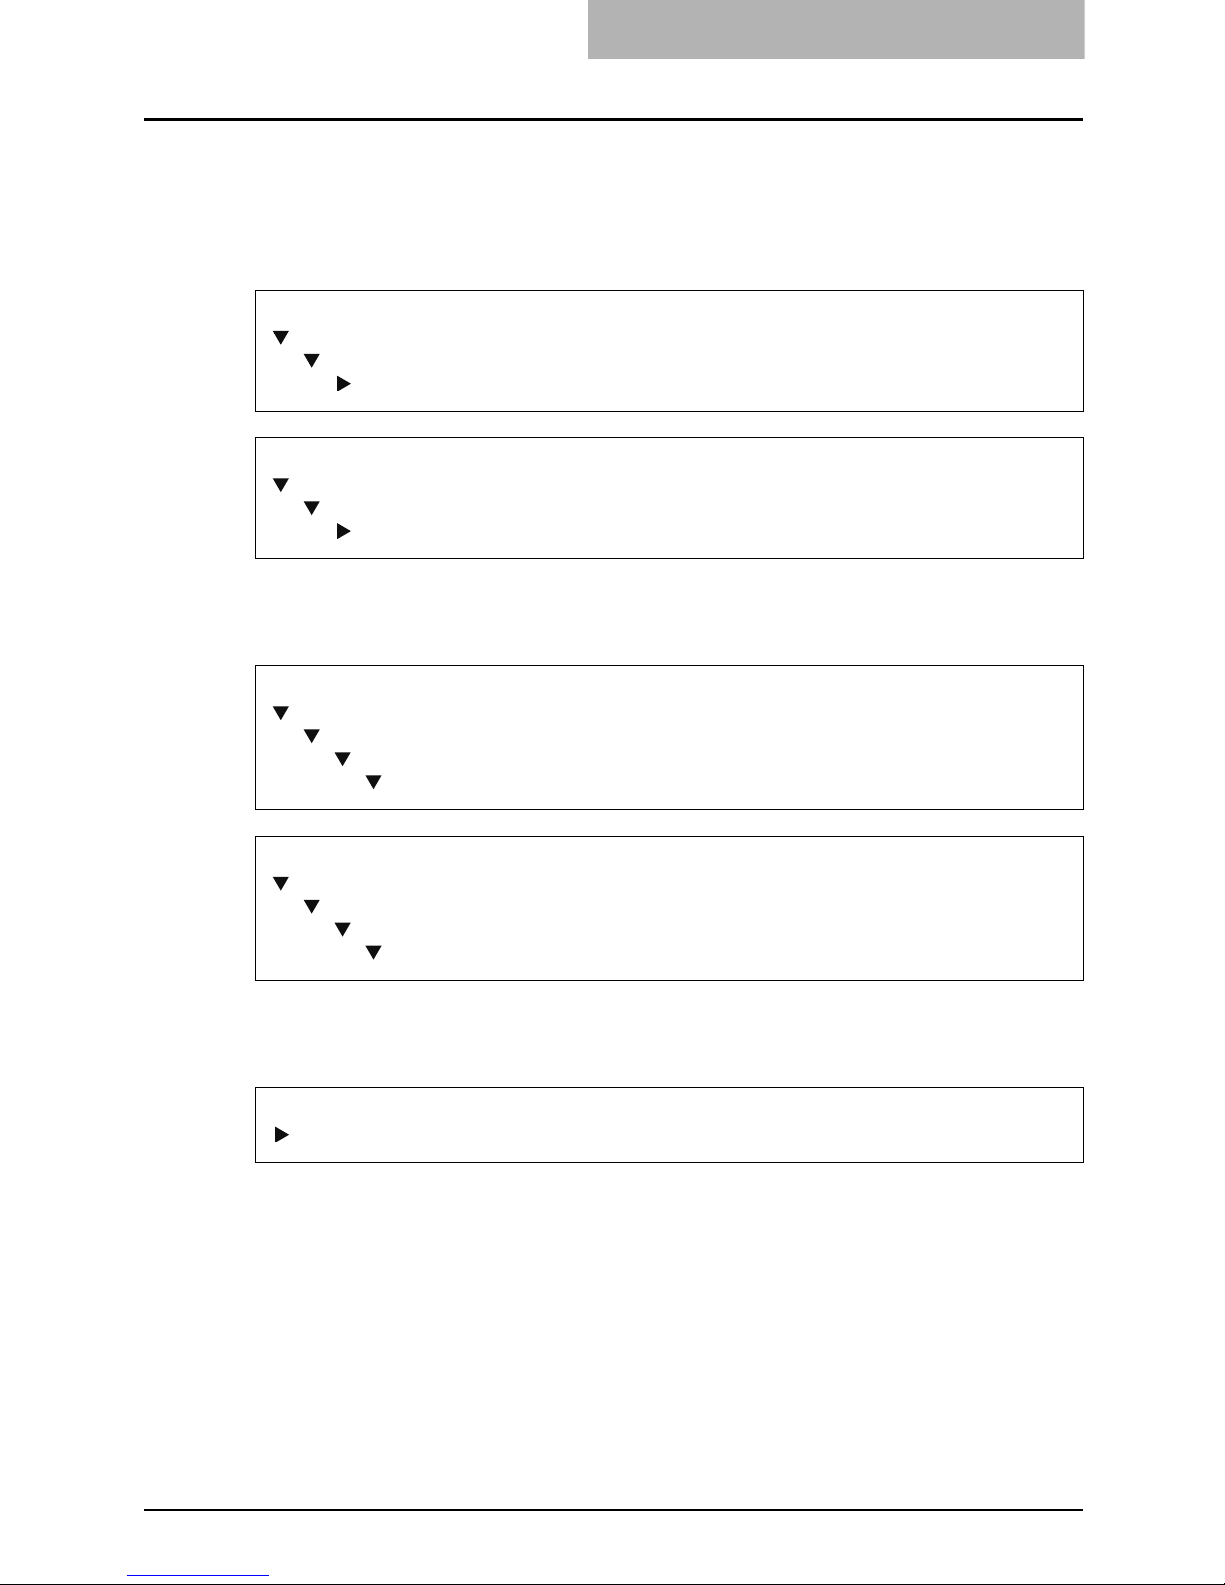
For IPP Printing
Connecting the printer
Connect the printer to your network with a network cable.
Setting up TCP/IP
Configure the TCP/IP Setup options to assign the IP Address, Subnet Mask, and Gateway
Address on the printer to enable Fiery WebSetup from the control panel.
Setting up the Printing Service
Configure the IPP Printing to enable the IPP Printing Service from Fiery WebSetup or Command
WorkStation.
REFERENCE for GA-1211 or GA-1211-EX
Configuration and Setup
PREPARING FOR GA-1211 SETUP
Connecting network cable to the GA-1211
REFERENCE for GA-1310 or GA-1310-EX
Configuration and Setup
PREPARING FOR GA-1310 SETUP
Connecting network cable to the GA-1310
REFERENCE for GA-1211 or GA-1211-EX
Configuration and Setup
SETTING UP THE GA-1211 FROM THE COPIER TOUCH PANEL
Network Setup options
TCP/IP Setup options
IPv4 (TCP/IP) Setup
REFERENCE for GA-1310 or GA-1310-EX
Configuration and Setup
SETTING UP THE GA-1310 FROM THE COPIER TOUCH PANEL
Network Setup options
TCP/IP Setup options
IPv4 (TCP/IP) Setup
REFERENCE for GA-1211 or GA-1211-EX
Configuration and Setup
SETTING UP THE GA-1211 FROM THE COPIER TOUCH PANEL
Services Options
Web Services Setup
REFERENCE for GA-1310 or GA-1310-EX
Configuration and Setup
SETTING UP THE GA-1310 FROM THE COPIER TOUCH PANEL
Services Options
Web Services Setup

1 SETUP FLOW
16 Setup Flow for Windows
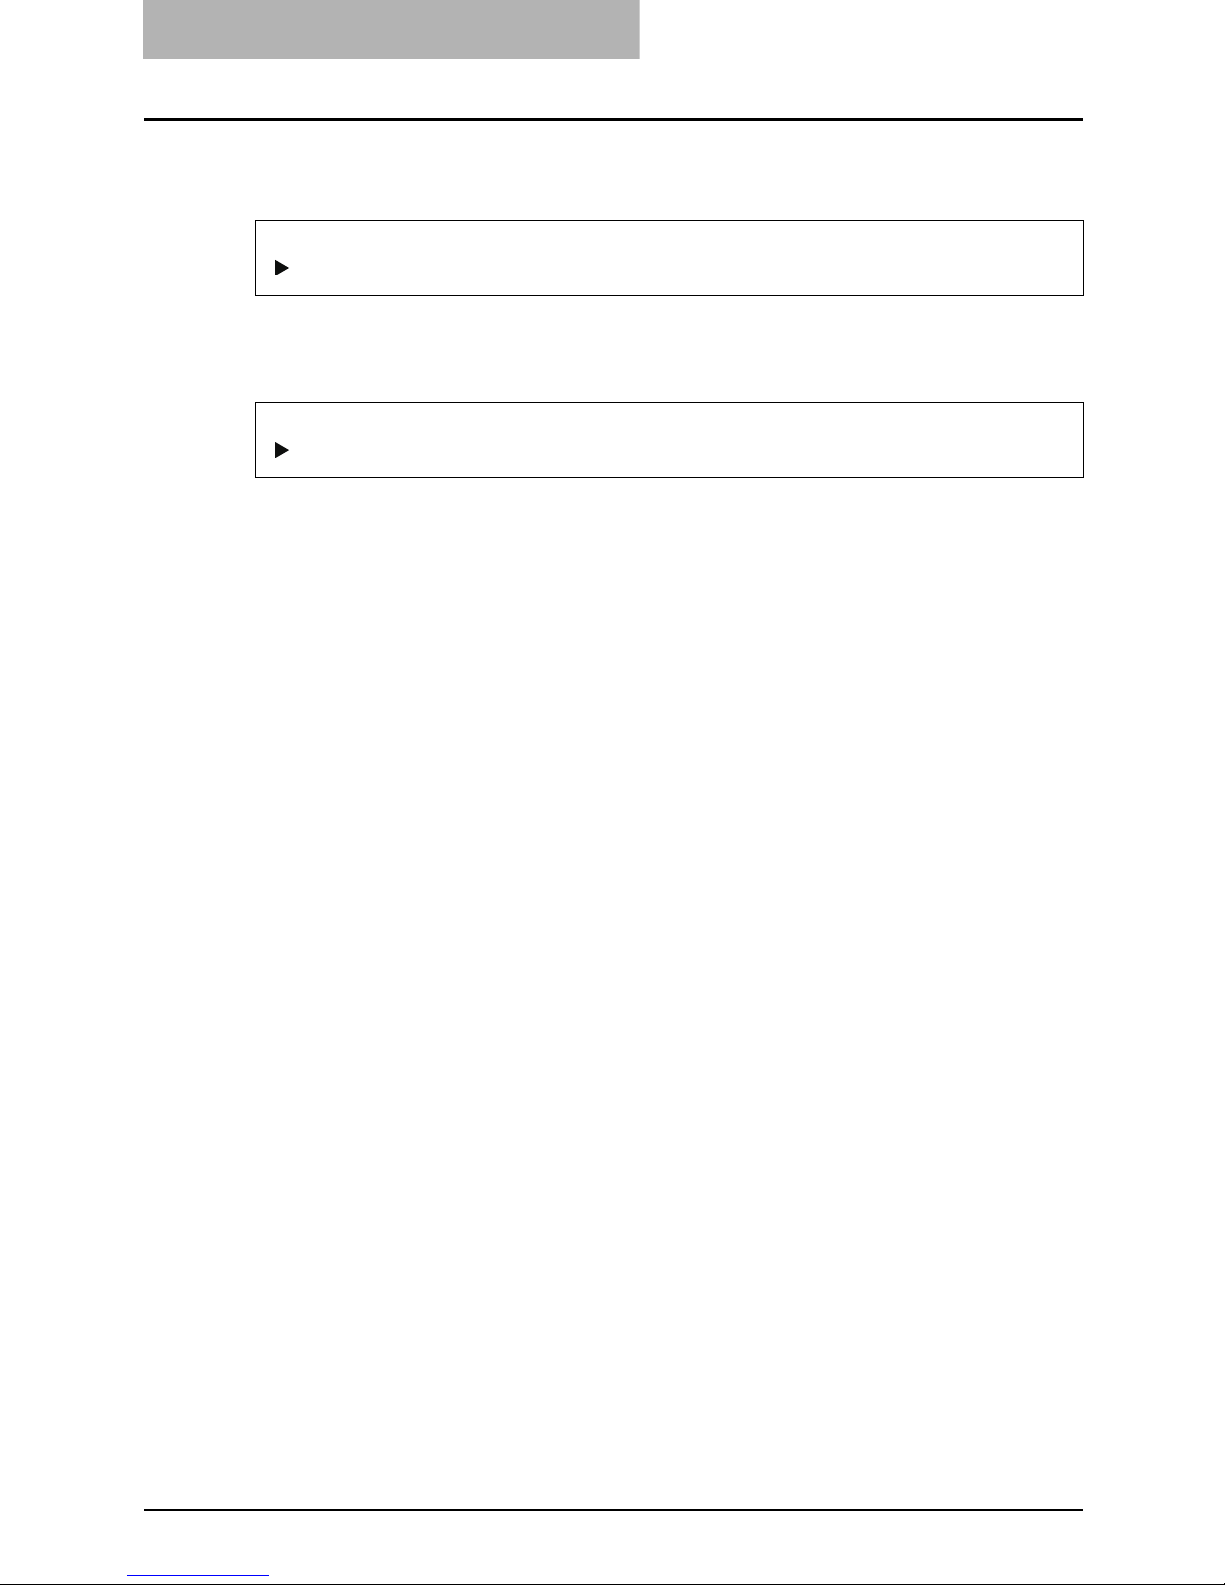
Installing the Printer Driver
Install the printer driver to use IPP printing.
Configuring the Options
Configure the option settings on the printer driver.
REFERENCE
P.34 “Installing the Printer Driver for IPP Printing”
REFERENCE
P.46 “Configuring the Option”
Setup Flow for Windows 17
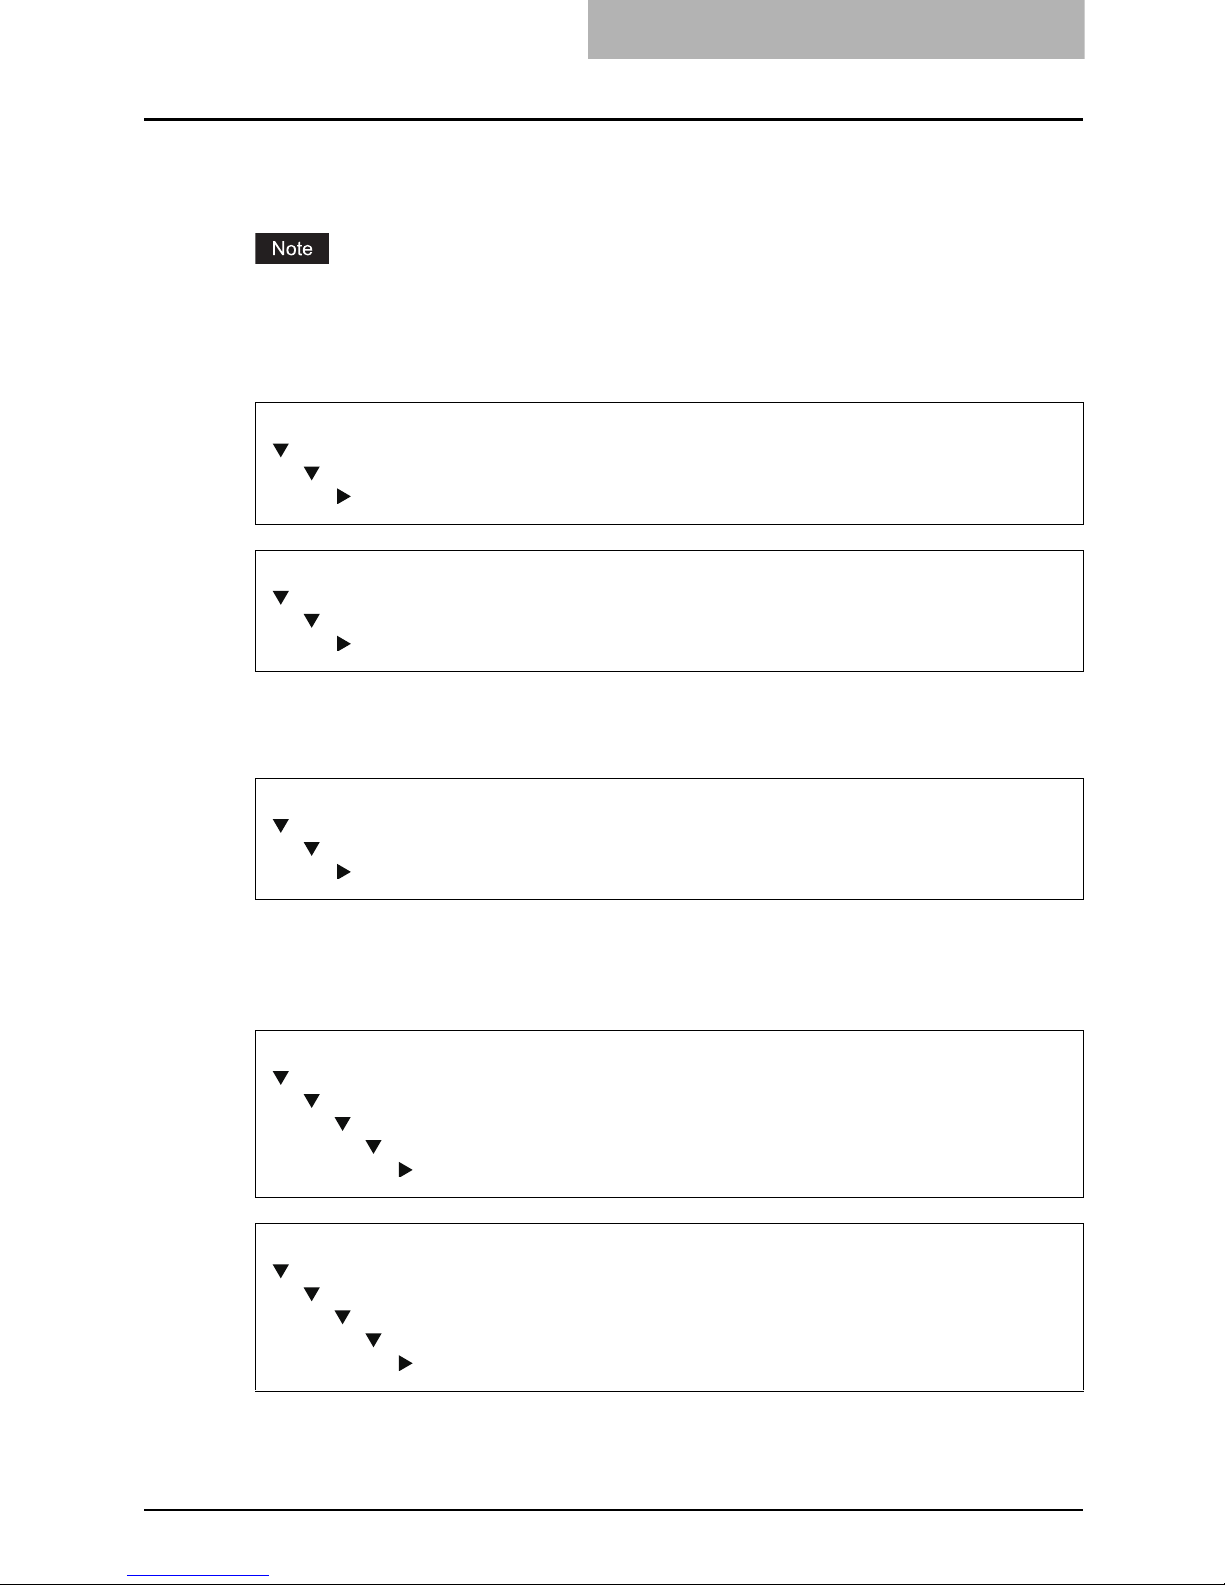
For Novell Printing
A NetWare server is required in your network for Novell Printing.
You cannot print through the NetWare print server from Windows Vista.
Connecting the printer
Connect the printer to your network with a network cable.
Setting up the NetWare Server
Configure the NetWare Server for printing with printer.
Setting up TCP/IP
Configure the TCP/IP Setup options to assign the IP Address, Subnet Mask, and Gateway
Address on the printer to enable Fiery WebSetup from the control panel.
REFERENCE for GA-1211 or GA-1211-EX
Configuration and Setup
PREPARING FOR GA-1211 SETUP
Connecting network cable to the GA-1211
REFERENCE for GA-1310 or GA-1310-EX
Configuration and Setup
PREPARING FOR GA-1310 SETUP
Connecting network cable to the GA-1310
REFERENCE
Configuration and Setup
CONNECTING TO THE NETWORK
Network server setup requirements
REFERENCE for GA-1211 or GA-1211-EX
Configuration and Setup
SETTING UP THE GA-1211 FROM THE COPIER TOUCH PANEL
Network Setup options
TCP/IP Setup options
IPv4 (TCP/IP) Setup
REFERENCE for GA-1310 or GA-1310-EX
Configuration and Setup
SETTING UP THE GA-1310 FROM THE COPIER TOUCH PANEL
Network Setup options
TCP/IP Setup options
IPv4 (TCP/IP) Setup
1 SETUP FLOW
18 Setup Flow for Windows
Setting up IPX/SPX (when using NetWare in IPX/SPX network)
Configure the IPX/SPX frame type for the printer from Fiery WebSetup or Command WorkStation.
Setting up the Printing Service
Enable the PServer Setup options and NDS Setup options (when using in NDS/NDPS mode), or
Bindery Setup options (when using in Bindery mode) from Fiery WebSetup or Command WorkStation.
Installing the Printer Driver
Install the printer driver to use Novell printing.
Configuring the Options
Configure the option settings on the printer driver.
REFERENCE for GA-1211 or GA-1211-EX
Configuration and Setup
SETTING UP THE GA-1211 FROM THE CONTROL PANEL
Network Setup Options
Protocol Setup Options
IPX/SPX Setup
REFERENCE for GA-1310 or GA-1310-EX
Configuration and Setup
SETTING UP THE GA-1310 FROM THE CONTROL PANEL
Network Setup Options
Protocol Setup Options
IPX/SPX Setup
REFERENCE for GA-1211 or GA-1211-EX
Configuration and Setup
SETTING UP THE GA-1211 FROM THE CONTROL PANEL
Network Setup Options
Services Setup Options
PServer Setup Options
REFERENCE for GA-1310 or GA-1310-EX
Configuration and Setup
SETTING UP THE GA-1310 FROM THE CONTROL PANEL
Network Setup Options
Services Setup Options
PServer Setup Options
REFERENCE
P.41 “Installing the Printer Driver for Novell Printing”
REFERENCE
P.46 “Configuring the Option”
Setup Flow for Macintosh 19
Setup Flow for Macintosh
After completing each procedure, mark the check box ( ) in front of each procedure so that
you can make sure that you have completed each step for setup.
Connecting the printer
Connect the printer to your network with a network cable.
Setting up AppleTalk
Enable the AppleTalk on the printer from the Control Panel.
Installing the Printer Driver
Install the AdobePS driver and create the printer driver on a Macintosh computer.
REFERENCE for GA-1211 or GA-1211-EX
Configuration and Setup
PREPARING FOR GA-1211 SETUP
Connecting network cable to the GA-1211
REFERENCE for GA-1310 or GA-1310-EX
Configuration and Setup
PREPARING FOR GA-1310 SETUP
Connecting network cable to the GA-1310
REFERENCE for GA-1211 or GA-1211-EX
Configuration and Setup
SETTING UP THE GA-1211 FROM THE COPIER TOUCH PANEL
Network Setup options
AppleTalk Setup
REFERENCE for GA-1310 or GA-1310-EX
Configuration and Setup
SETTING UP THE GA-1310 FROM THE COPIER TOUCH PANEL
Network Setup options
AppleTalk Setup
REFERENCE
P.55 “Installing the Printer Driver”


2.INSTALLING THE PRINTER DRIVER
(Windows)
About Installation....................................................................................................22
System Requirements.......................................................................................................................22
About the Installation Procedure.......................................................................................................22
Installing the Printer Driver....................................................................................23
Installing the Printer Driver for SMB Printing.....................................................................................23
Installing the Printer Driver for LPR Printing .....................................................................................25
Installing the Printer Driver for IPP Printing.......................................................................................34
Installing the Printer Driver for Novell Printing ..................................................................................41
Configuring the Option...........................................................................................46
Configuring the Options Manually .....................................................................................................46
Configuring the Options Automatically ..............................................................................................50
 Loading...