

Page 1
BSI No.: G00I102
Publish
2000/10/10
Date:
Subject: Change of Parts
Model: FC15, FC22, FC25P
Category Field Application UNIT
Treatment in the field, To
improve the productivity
FactoryApplication: Sept. 2000
BSINo. G00I102 Page 1
Others Cleaner, Developer
CONTENT
To improve the productivity, the following part has been changed and thus the attaching procedure of
label has been changed.
Refer to the attaching instructions for attachment.
[Changed Part No.]
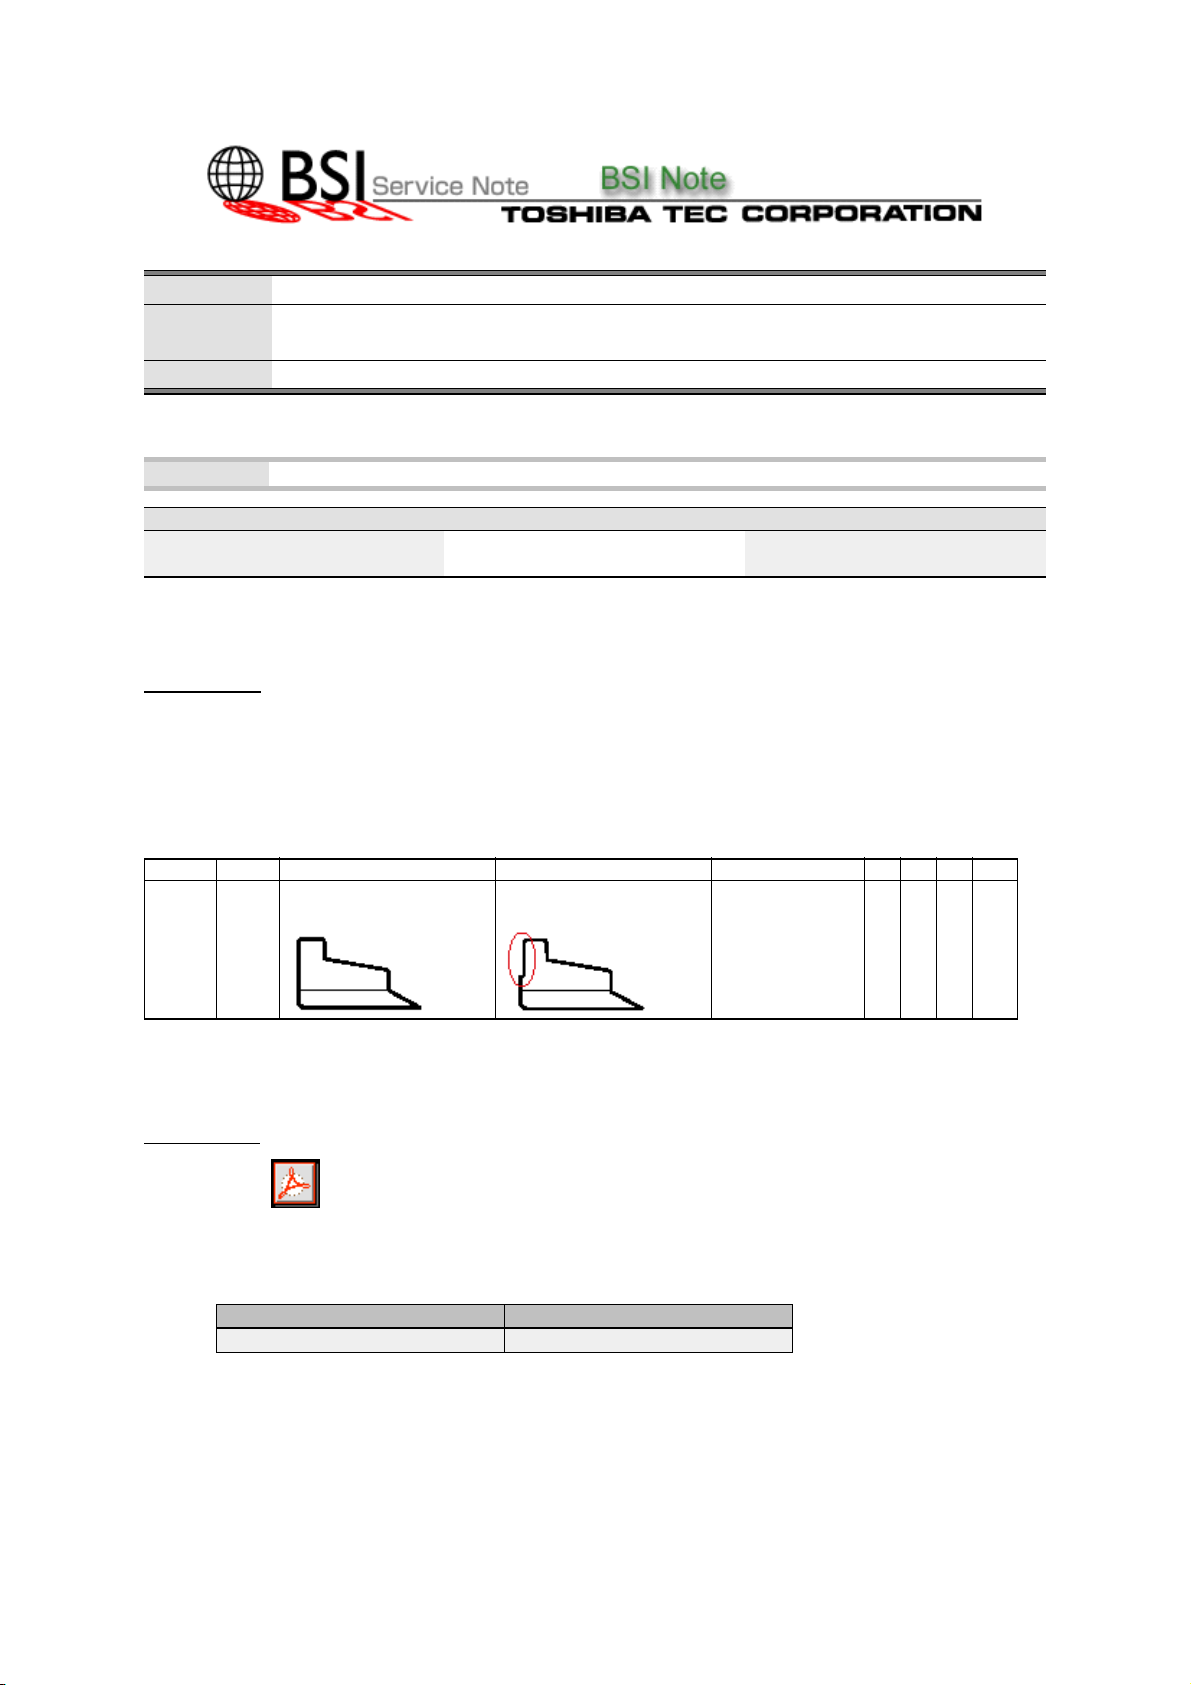
MODEL P-I Before Change After Change Note P I R
FC22
FC15
FC25P
P-I: Page-Item P: Contents of Change I: Interchangeability R: Reasons for Change
Attached File
23-17
25-10
G00I102(Affixing Instructions).pdf
4406529200
SHEET-CLN-R
4406529360
SHEET-CLN-R
Change of
shape
C B E -
FAA
Related Documents:
LinkTo: Link From:
Page 2

AFFIXING INSTRUCTIONS
y
[Cleaner felt and Mylar sheet]
1. Affix cleaner felt F.
Make it contact with the cleaning blade in a horizontal direction, and align it with the edge of
Developer-unit frame (F) in a vertical direction.
2. Affix Mylar sheet R.
Make it contact with Developer-unit frame (R) in a horizontal direction, and align it with the bottom
surface of Developer-unit frame (M) in a vertical direction.
Note: Make sure there is no gap left between Developer-unit frame (R) and Mylar sheet R.
Mylar sheet R should not be protruding from the bottom surface of Developer-unit frame (M)
Developer-unit frame (F)
Cleaner felt F
Baseline for
affixing cleaner felt F
Cleaning blade
Baseline for
affixing cleaner felt F
Baseline for
affixing Mylar sheet R
Developer-unit frame (M)
Developer-unit frame (R)
Baseline for
affixing Mylar sheet R
Mylar sheet R
3. Affix Mylar sheet F.
Make it contact with cleaner felt F in a horizontal direction, and align it with the bottom surface of
Developer-unit frame (M) in a vertical direction.
Note: Make sure Mylar sheets F and R are not overlapping each other at their ends.
Mylar sheet F should not be protruding from the bottom surface of Developer-unit frame (M).
4. Affix cleaner felt R.
Align it with the edge of Developer-unit frame (R) in a vertical direction, and make it contact with the
cleaning blade in a horizontal direction; in area A, place cleaner felt R under Mylar sheet R; then,
place it over the protruding part of Mylar sheet R and make it contact with Mylar sheet R so that
there is no gap left in area B.
Developer-unit frame (F)
Baseline for affixing
M
lar sheet F
Baseline for affixing cleaner felt R
Developer-unit frame (M)
Baseline for affixing
cleaner felt R
Developer-unit frame (R)
A
Mylar sheet F
Baseline for affixing Mylar sheet F
Cleaner felt R
No overlapping allowed.
B
Page 3

[Recovery blade]
1. Affix the recovery blade.
Make it contact with cleaner felt F in a horizontal direction, and align it with the bottom surface of
Developer-unit frame (M) in a vertical direction.
Note:・Affix it carefully so that it does not rest on cleaner felt F.
・ Be careful that it does not protrude from the bottom surface of Developer-unit frame (M).
・ Make sure there is no waving on the edge line of the recovery blade.
Recovery bl ade
Baseline for affixing
the recovery blade
After seals have been affixed, the side view should be as illustrated below.
Cleaner felt F
Mylar sheet F
Recovery blade
For details of how to affix seals to cleaner K, use Service Manual as reference.
 Loading...