

Page 1
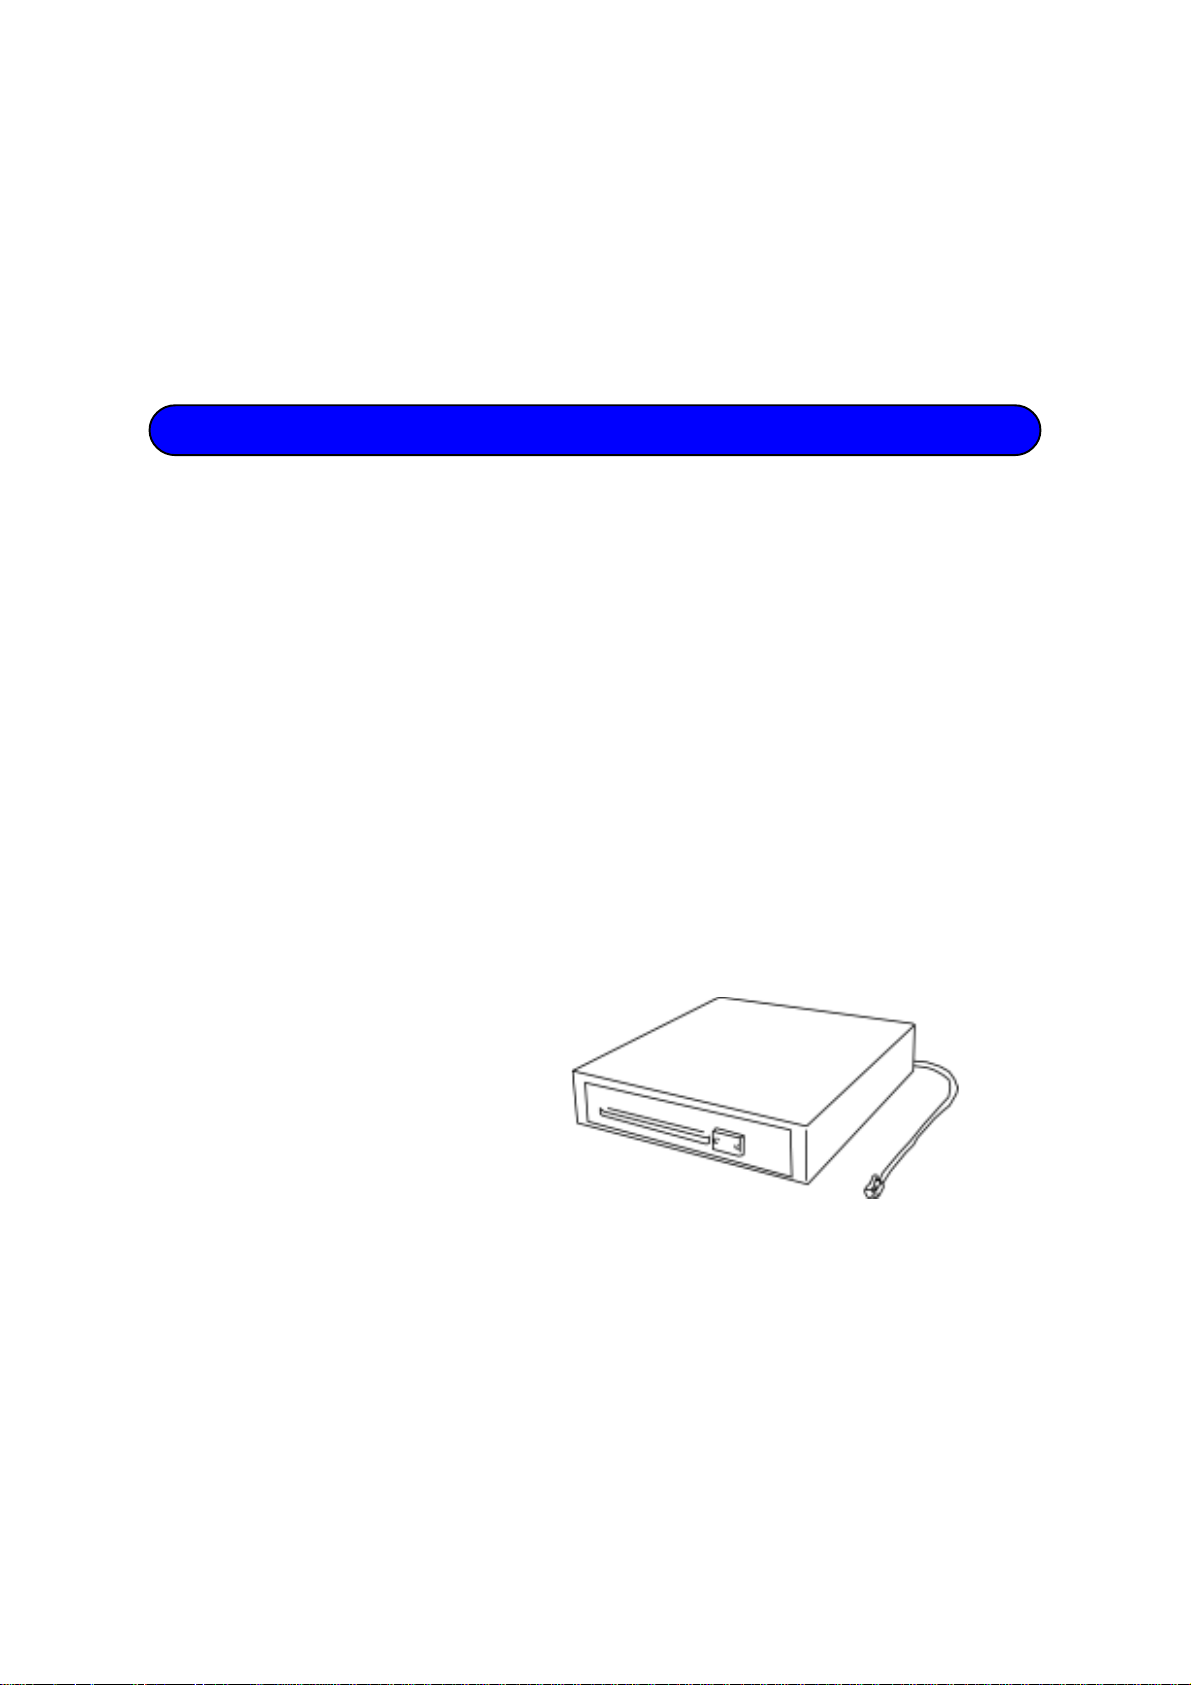
TEC Drawer Unit
Table of Contents
DRWST-50A/51A SERIES
Owner’s Manual
Document No. EO1-19023
Original Jul., 1996
(Revised )
TEC
TEC CORPORATION
Page 2

Page 3
Page 4
Page 5
Page 6

Page 7

Page 8

Page 9

Page 10

l
Request Regarding Maintenance
0 Cleaning
H Utilize our maintenance services.
After purchasing the machines, contact your sales agent
once per year or so to have the inside of the machines
cleaned. Otherwise, dust will build up inside the machines
and may cause fire or malfunction. Cleaning is particularly
effective before humid rainy seasons.
n
Our maintenance service performs the periodical checks
and other work required to maintain the quality and performance of the machines, preventing accidents beforehand.
For details, please consult your sales agent or maintenance
and service agent.
n
Using insecticides and other chemicals
Do not expose the machines to insecticides or other volatile
solvents, as this will deteriorate the cabinet or other parts or
cause the paint to peel.
* When cleaning the machines, be sure to first
unplug the power cord from the outlet for safety
reasons.
n
Do not use benzine or alcohol, etc., as these
solvents will deteriorate the cover or cause the
paint to peel.
Leaving rubber or vinyl products in contact with the
machines for long periods may leave stains on the
machine surfaces.
n
Cleaning the covers and keyboards:
Wipe the covers and keyboards with a soft cloth.
When using a chemically treated cloth, be sure to
follow the precautions specified for it.
n
Cleaning the display units:
Turn off the power and then wipe the display units
with a dry cloth.
* Do not rub or knock the display units with a hard
object as they are easily damaged. Do not use
thinner or other solvents.
n
Use a neutral detergent diluted with water when
the machines are particularly dirty.
1) Soak a cloth in the detergent fluid and wring it
out tightly. Then wipe off the dirt with the cloth.
2) Finish by wiping the machines off with a dry
cloth.
- VIII -
Page 11

DRWST-5OA61 A SERIES
TABLE OF CONTENTS
1. INTRODUCTION . . . . . . . . . . . . . . . . . . . . . . . . . . . . . . . . . . . . . . . . . . . . . . . . . . . . . . . . . . . . . . . . . . . . . . . . . . . . . . . . . . . . . . . . . . . . . . . . . . . . . . . . . . . . . . . . . . . . . . . . ............
1 .1 Precautions . . . . . . . . . . . . . . . . . . . . . . . . . . . . . . . . . . . . . . . . . . . . . . . . . . . . . . . . . . . . . . . . . . . . . . . . . . . . . . . . . . . . . . . . . . . . . . . . . . . . . . . . . . . . . . . . . . . . . . . . . ......... 1
EOl-19023
Page
1
2. APPEARANCE AND NOMENCLATURE
3. INSTALLING THE DRAWER . . . . . . . . . . . . . . . . . . . . . . . . . . . . . . . . . . . . . . . . . . . . . . . . . . . . . . . . . . . . . . . . . . . . . . . . . . . . . . . . . . . . . . . . . . . . . . . . . . . . . . . . . . . . . . . . . 2
4. HANDLING OF THE DRAWER . . . . . . . . . . . . . . . . . . . . . . . . . . . . . . . . . . . . . . . . . . . . . . . . . . . . . . . . . . . . . . . . . . . . . . . . . . . . . . . . . . . . . . . . . . . . . . . . . . . . . . . . . . . . . . 3
5. SPECIFICATIONS . . . . . . . . . . . . . . . . . . . . . . . . . . . . . . . . . . . . . . . . . . . . . . . . . . . . . . . . . . . . . . . . . . . . . . . . . . . . . . . . . . . . . . . . . . . . . . . . . . . . . . . . . . . . . . . . . . . . . . . . .........
. . . . . . . . . . . . . . . . . . . . . . . . . . . . . . . . . . . . . . . . . . . . . . . . . . . . . . . . . . . . . . . . . . . . . . . . . . . . . . . . . . . . . . . . . . . . . . . 1
4
)I
2+13 Nakmeguro, Megum-ku. Tokyo, JAPAN
Page 12

Page 13

DRWST-SOA/SlA SERIES
EOl-19023
1. INTRODUCTION
Thank you for purchasing the TEC DRWST-5OA/51A Series Remote Drawer. This drawer can be connected to
various terminals including the ST-5500, FF-5501, etc., which has been developed as a high-grade POS termi-
nal.
Large Type Drawer is provided for the DRWST50A Series and SP Type Drawer for the DRWST-51A Series.
The Large Type Drawer has the holes for attaching the LIUST-51 (Pole Type) and the printer I/F cable.
1 .I Precautions
1) Do not subject the equipment to sudden shocks.
2) The cover should be cleaned by wiping with a dry cloth or a cloth slightly dampened with a mild detergent
solution. NEVER USE THINNER OR ANY OTHER VOLATILE SOLVENT on the plastic covers.
3) DO NOT POUR WATER directly onto the drawer and NEVER IMMERSE THE DRAWER IN WATER.
4) Avoid using in locations subject to vibration and direct sunlight.
5) Be sure to install the equipment on a flat surface.
6) Be sure to use the equipment within the proper ranges of power, current consumption, temperature and
relative humidity.
7) Do not roughly open or close the drawer.
8) Never attempt to modify the TEC equipment by yourself.
2. APPEARANCE AND NOMENCLATURE
l
Large Type (DRWST-5OA)
Through-hole for the printer I/F Cable
\
\
Hqle for attaching the LIUST-51 (Pole Type)
Cash Box
I
Media
slot
rawer Cable
--
\
\
Drawer Release Lock
-l-
Page 14

l
SP Type (DRWST-51 A)
EOl -19023
DRWST-50A151A SERIES
Media Slot
\
\
D-Cap
Accessory Parts
Drawer Release Key (2 PCS.)
Cash Drawer Cover Key (2 PCS.)
3. INSTALLING THE DRAWER
WA RMNG
Turn the POWER SWlTCH to OFF of Main Control Unit before connecting the cab/es.
When connecting the first drawer to the ST-5500 terminal, connect the connector of the Drawer Cable
to DRWlT of Main Control Unit.
Drawer Cable
-2-
Page 15

4. HANDLING OF THE DRAWER
l
Manual cash drawer releasing
n
Opening the Drawer
Usually, the drawer is released automatically on finalizing each
transaction. In the event of a power failure or other troubles,
the drawer can be opened in the following manner.
Insert the Drawer Release Key into the Drawer Release
1)
Lock and turn the key clockwise 45 degrees.
The drawer will now open.
(or the DRAWER with D cap) Remove the D-key cap first,
then insert the Drawer Release Key into the Drawer
Release Lock and turn the key clockwise 45 degrees.
The drawer will now open.
The Drawer Release Key can be taken out by returning it
2)
to the original position.
DRWST-50N51A SERIES
EOl -19023
Fig. 1
= Removing the Drawer
1) To remove the drawer, lift it up and pull it out.
(Follow the arrow in the figure when pulling it out.)
2) When installing the drawer, the rollers on the drawer
should be placed on the rails of the drawer cabinet. Then
push it all the way in.
l
Locking the cash drawer cover (CDC)
n
Locking (Fig. 3)
Push the cash drawer cover to the back of the drawer.
1)
2) Press the cover lightly, insert the key into the key-hole on
the cover, and turn it to lock.
. Unlocking
Unlock the cover using the key, and lift the front end.
Fig. 2
-3-
Fig. 3
Page 16

DRWST-5ON5iA SERIES
l
Process of cables of each module (DRWST-MA)
If the DRWST-5OA Drawer (large type) is used, pass the cables through the space at the rear side of
the drawer by removing the drawer back cover.
EOl -19023
Drawer
5. SPECIFICATIONS
Size
Weight
Power Consumed
interface with the Control Unit
Ambient Temperature
Large Type:
510 mm (W) x 455 mm (D) x 115 mm (H)
(including the rubber feet)
SP Type :
460 mm (W) x 400 mm (D) x 115 mm (H)
(including the rubber feet)
Large Type :
SP Type :
12Kg
10Kg
0.2 A Max.
Drawer open signal and drawer detection signal
(Power is supplied by the Control Unit : DC + 24 V)
0°C to 40°C
Relative Humidity
Cable Length
10% to 90% RH (with non condensation allowed)
1.6 m
-4-
Page 17

TEC
TEC -CORPORATION
3C*
PRINTED IN JAPAN
EOl-19023
 Loading...