

Toshiba 60th, 1550 Series Manual
TOSHIBA THE 60TH SERIES ANALOG COPIERS – THE DISPUTABLE TOSHIBA 1550 COPIER
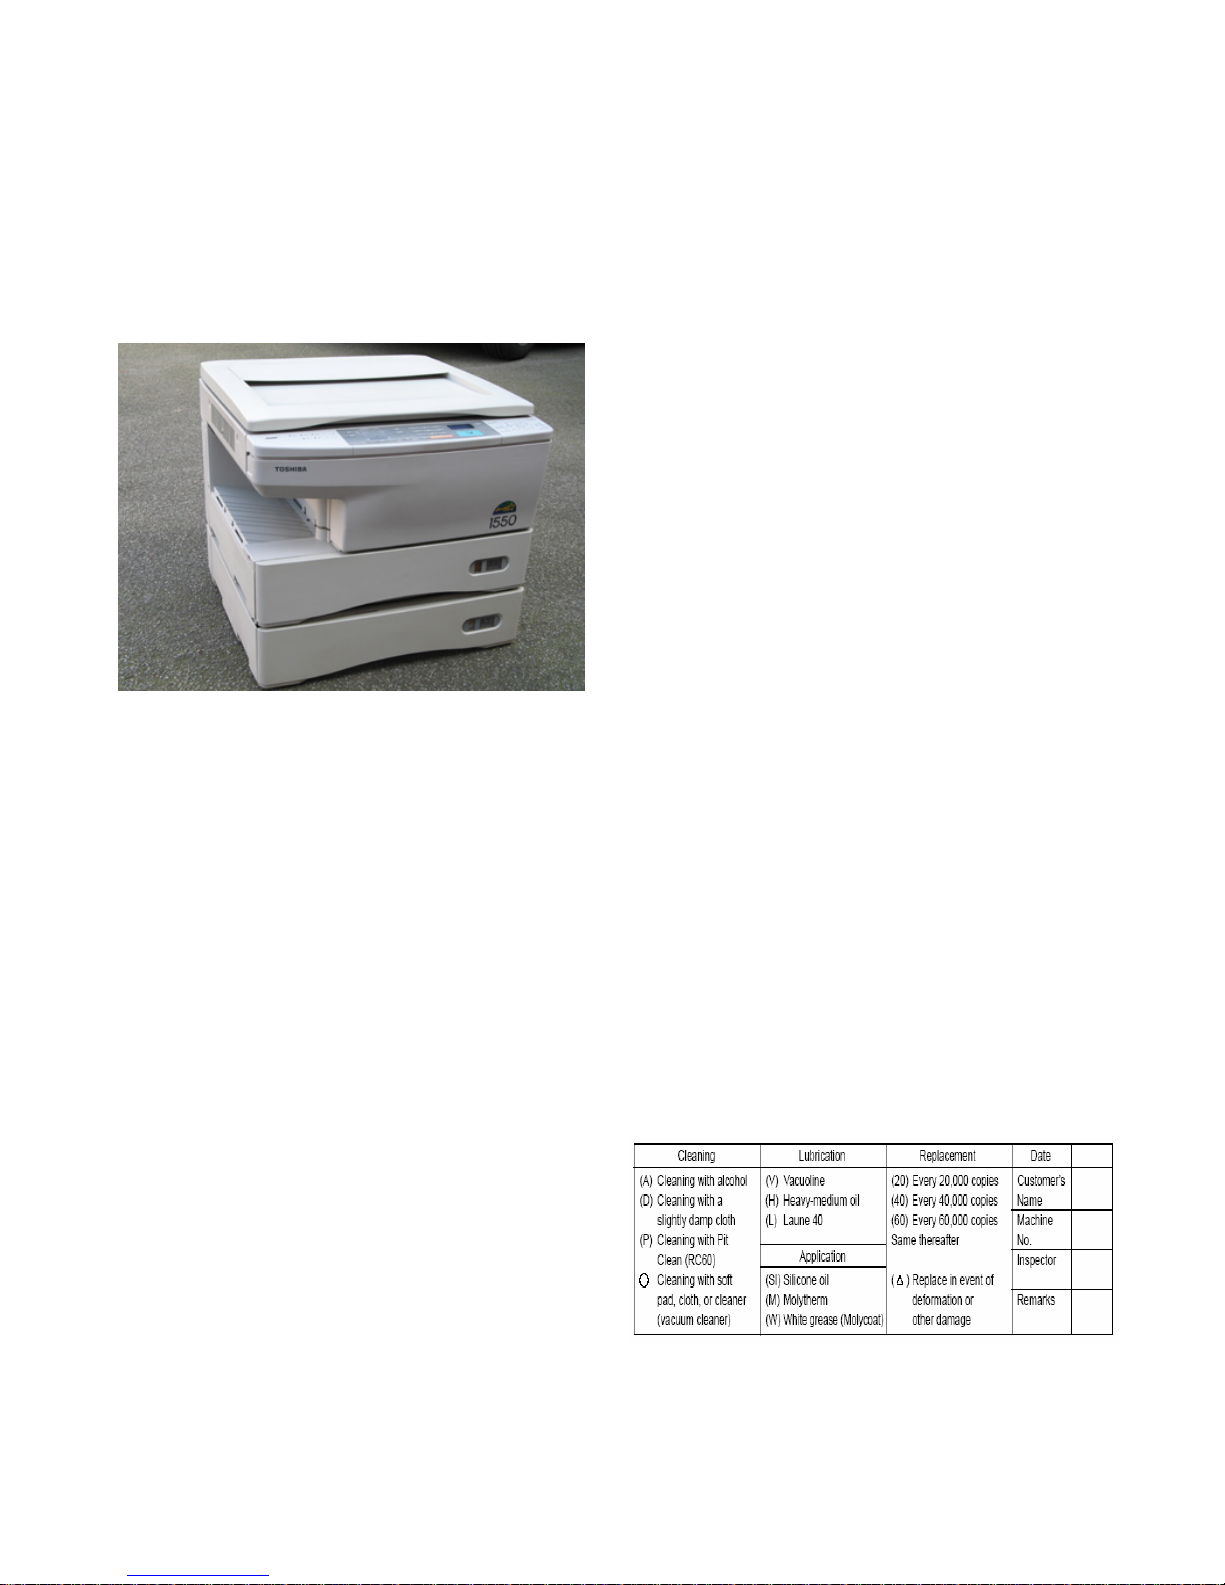
Following the Toshiba 1360/70 copier, reviewed in the
previous article, comes the Toshiba 1550 copier. As mentioned
in the title, this is a much disputed model – some technicians
love it, others hate it. But nevertheless this is one of the most
common copiers in East Europe (in Bulgaria for sure). This
model is situated in the upper segment of the lower class copiers
and so is designated for small to middle offices and not for copy
and print centers. So the problem with this model arises whet
users try to overwork it. In my practice as a service technician I
have had both good and bad experience with this model.
There are users that never had any issues with the
copier, other than the usual maintenance and periodical
replacements of parts. These users’ monthly copy-volume never
exceeds 5000 to 10 000 copies. The only other issue with such
machines is the dusty environment they often operate in, which
causes periodical cleaning to be performed twice as often as the
normal interval of 60 000 copies. So the conclusion is that is
users don’t overwork their machines and provide them with
regular maintenance, they will serve them longer, causing less
trouble to the service technician that maintains them. Even more
– given the proper maintenance the consumable replacement
parts such as drums, heat rollers etc. can “live” up to twice the
copy count given by the manufacturer. This is the case with the
happy technicians mentioned above.
However there are cases when everything that can go
wrong with this model does. This is the case with machines
often overworked and poorly maintained. Such machines often
operate in poor conditions (dust, humidity etc.) and are used in
copy centers. They age very quickly and the mechanical parts
wear very quickly too. Given the fact that many of the parts in
the machine are made of plastic (a negative tendency fully
developed in later e-Studio models), all this issues are a “recipe
for disaster”.
The good news is that if one knows the weak points of
the machine and the most common places to search for wear and
clean during periodical maintenance, the copier will work
reliably and you will come to like this controversial model. The
most common weak spots and failures of the model will be
discussed in the articles to come. But first let me once more
emphasize the importance of periodical maintenance and the
preventive inspection check – this is the main goal of this article.
PERIODICAL MAINTENANCE – USEFUL PRACTICES
The manufacturer recommends the periodical
maintenance to be performed at 60 000 copies, which is also the
recommended service-live of most of the consumable parts in
the copier:
Inspection every 60,000 copies
(1) Preparation
1) Ask the key operator about the present machine
conditions and note them down.
2) Before starting the maintenance work, make and retain a
few sample copies for later comparison.
3) Turn off the power switch and disconnect the power cord
plug.
(2) The period inspection should be conducted in accordance
with the PERIODIC INSPECTION CHECK LIST shown
below. Perform the inspection by referring to the figures, as
well as to the explanations in the Service Manual of the
machine when necessary.
(3) After the inspection has been completed, plug in the
machine and turn the power switch on, and
confirm the general operation of the machine by making a
few copies and comparing them to those
made previously.
Inspection and over-haul every 180,000 copies
(1) Replace all the cosumables.
(2) Check to see if there is any damage to parts of the drive
section (gear, pulley, timing belt, etc.). Replace parts on
principle if damaged.
(3) Check to see if there is any damage or peeling of adhered
parts (tape, Mylar, etc.). Replace any affected parts.
(4) Check to see if all the switches and sensors operate properly.
Replace them if they are not operating properly.
(5) Clean the inside of the machine thoroughly.
Symbols used in the Periodic Inspection Check List:
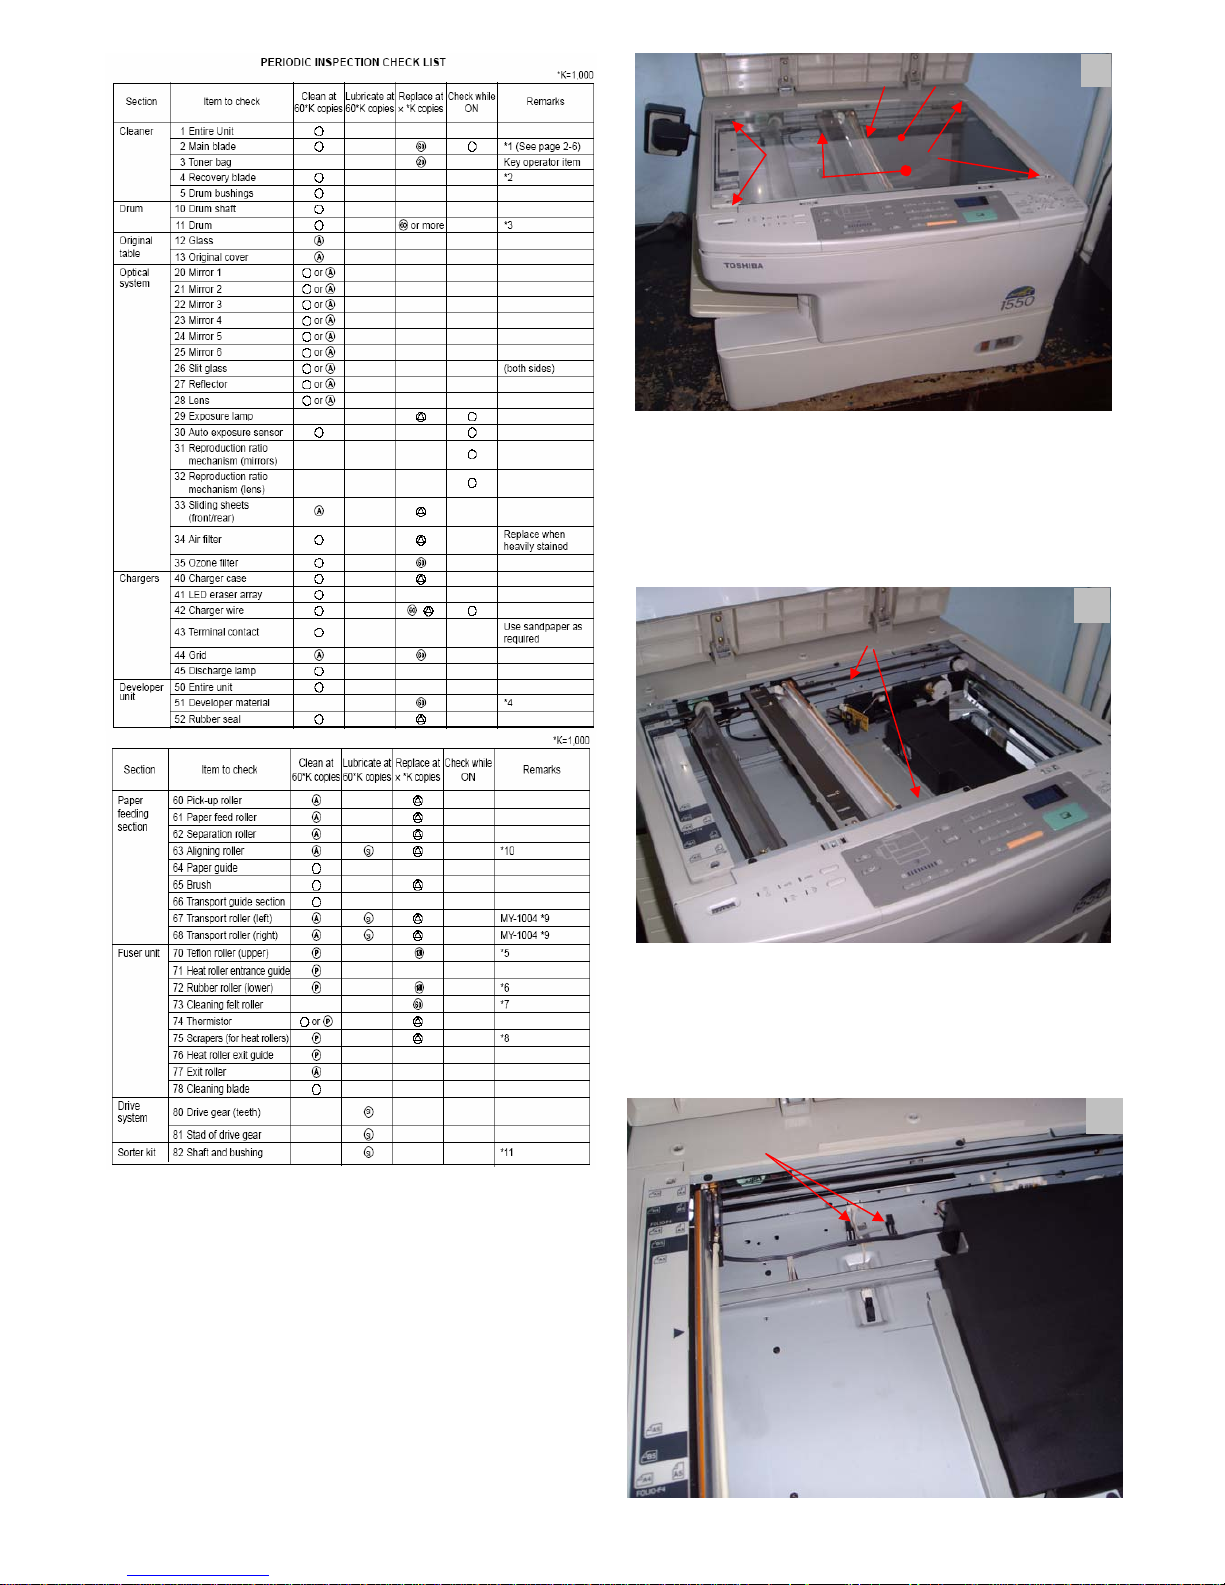
1. Optical section cleaning
1.1 Remove screws A and the original glass retaining plate.
Remove the original glass and clean it both sides with
window cleaner. Note – do not remove screws B. They are
used for correction of image skew and registration of the
copy image.
1.2 Remove screw C and the L-shaped plate with it. Remove the
lens cover D, carefully in the direction E, careful not to
break the drive tooth belt of the lens assembly and the
carriage drive wire. See figure 1.
1
1.3 Clean with dry lint free cloth mirrors 1, 2, 3, 4 and 5 as well
as the expo-lamp reflector.
1.4 Clean with isopropyl alcohol the sliders A of the carriage 1
and 2. Note – be careful not to bend carriage 3, because it is
mounted only to the rear side of the copier. Bending will
result in copy image skew. See figure 2.
1.5 Inspect the ends A of the process unit holder that protrude
from the optical unit bottom. If they are broken the process
unit will move from side to side causing image distortion
and excessive wear of the main drive gear assembly. See
figure 3.
A
B
C
D
E
2
A
3
A
 Loading...