

Toshiba 32AV93*B, 32/40HL93*B, 32/40LV93*B, 26/32EL93*B User Manual

32AV93*B
32/40LV93*B
32/40HL93*B
26/32EL93*B
DIGITAL
Series
Register your TV online at:
www.toshiba.co.uk/registration


32AV93*B 32/40LV93*B
26/32EL93*B 32/40HL93*B
DIGITAL Series
Toshiba estimates that the initiative of making the advanced functions available online
rather than in this book will save over 25,000 trees per year (1.6 Million kg CO2).
If you wish to view the advanced functions but do not have access to a computer or the
internet then please contact your local user manual Helpline number.
Contact details are shown at the back of this book.
If you want to view advanced functions for your TV you can do so by
visiting
www.Toshiba-om.net
This standard user’s manual is designed to show you how to
connect and tune in your Toshiba TV and to operate the most
commonly used functions.
User Manual
Register your TV online at: www.toshiba.co.uk/registration

2
English
Contents
Safety Precautions ....................3
Installation and important
information .................................4
Where to install.................................... 4
When using a Wall Bracket ................. 4
Digital Switchover .....................6
The Remote Control ..................10
Inserting batteries and effective range of
the remote ........................................... 10
Connecting External
Equipment ..................................11
Digital On-Screen Information
and Programme Guide ..............12
Information .......................................... 12
On-Screen Information Icons .............. 12
Guide ................................................... 12
Frequently Asked Questions ....13
Using the Controls ....................15
Switching On ....................................... 15
Using the Remote Control ................... 15
Using the Side-Key Controls ............... 15
Tuning the Television ................16
First Time Using .................................. 16
General Controls .......................18
Selecting Channels ............................. 18
Stereo and Bilingual
Transmissions ..................................... 18
Quick Access Menu ............................. 18
Subtitles............................................... 18
Picture Still .......................................... 18
Input Selection..................................... 18
Features in Brief ........................19
Bass Boost .......................................... 19
Stable Sound® .................................... 19
Black/White Level ................................ 19
Colour Temperature ............................. 19
Digital Noise Reduction ....................... 19
Active Backlight Control ...................... 19
Base Colour Adjustment ...................... 19
Local Time Setting ............................... 19
Side Panel Adjustment ........................ 19
Media USB Port................................... 19
Automatic Format (Widescreen).......... 19
Blue Screen ......................................... 19
Reset TV ............................................. 19
Specications and
Accessories ...............................20
License Information ..................22

3
English
Safety Precautions
This equipment has been designed and manufactured to meet international safety standards but, like
any electrical equipment, care must be taken to obtain the best results and for safety to be assured.
Please read the points below for your own safety. They are of a general nature, intended to help with all
electronic consumer products and some points may not apply to the goods you have just purchased.
Air Circulation
Leave more than 10cm clearance around the
television to allow adequate ventilation. This will
prevent overheating and possible damage to the
television. Dusty places should also be avoided.
Heat Damage
Damage may occur if the television is left in direct
sunlight or near a heater. Avoid places subject to
extremely high temperatures or humidity. Place in
a location where the temperature remains between
5°C (41°F) min. and 35°C (94°F) max.
Mains Supply
The mains supply required for this equipment is
220-240v AC 50Hz. Never connect to a DC supply
or any other power source. DO ensure that the
television is not standing on the mains lead. Use
only the supplied lead.
DO NOT cut off the mains plug from this equipment, this incorporates a special Radio Interference Filter, the removal of which will impair its
performance. In the UK, the fuse tted in this plug
is approved by ASTA or BSI to BS1362.
It should only be replaced by a correctly rated and
approved type and the fuse cover must be retted.
IF IN DOUBT PLEASE CONSULT A COMPETENT
ELECTRICIAN.
Do
DO read the operating instructions before you attempt to use the equipment.
DO ensure that all electrical connections (including
the mains plug, extension leads and inter-connections between pieces of equipment) are properly
made and in accordance with the manufacturers’
instructions. Switch off and withdraw the mains
plug before making or changing connections.
DO consult your dealer if you are ever in doubt
about the installation, operation or safety of your
equipment.
DO be careful with glass panels on equipment.
DO NOT REMOVE ANY FIXED COVERS AS THIS
WILL EXPOSE DANGEROUS AND ‘LIVE’ PARTS.
THE MAINS PLUG IS USED AS A DISCONNECTING DEVICE AND THEREFORE SHOULD
BE READILY OPERABLE.
Do Not
DO NOT obstruct the ventilation openings of the
equipment with items such as newspapers, tablecloths, curtains, etc. Overheating will cause damage
and shorten the life of the equipment.
DO NOT allow electrical equipment to be exposed
to dripping or splashing or objects lled with liquids,
such as vases, to be placed on the equipment.
DO NOT place hot objects or naked ame
sources, such as lighted candles or nightlights on,
or close to equipment. High temperatures can melt
plastic and lead to res.
WARNING: To prevent the spread of
re, keep candles or other open ames
away from this product at all times.
DO NOT use makeshift stands and NEVER x
legs with wood screws. To ensure complete safety,
always t the manufacturers’ approved stand,
bracket or legs with the xings provided according
to the instructions.
DO NOT leave equipment switched on when it
is unattended, unless it is specically stated that
it is designed for unattended operation or has
a standby mode. Switch off by withdrawing the
plug, make sure your family know how to do this.
Special arrangements may need to be made for
people with disabilities.
DO NOT continue to operate the equipment if you
are in any doubt about it working normally, or it
is damaged in any way – switch off, withdraw the
mains plug and consult your dealer.
WARNING – excessive sound pressure from earphones or headphones can cause hearing loss.
ABOVE ALL – NEVER let anyone, especially children, push or hit the screen, push anything into holes,
slots or any other openings in the case.
These actions will damage screen or internal parts.
NEVER guess or take chances with electrical
equipment of any kind – it is better to be safe than
sorry.
4
English
Installation and important information
Where to install
Locate the television away from direct sunlight and
strong lights, soft, indirect lighting is recommended for
comfortable viewing. Use curtains or blinds to prevent
direct sunlight falling on the screen.
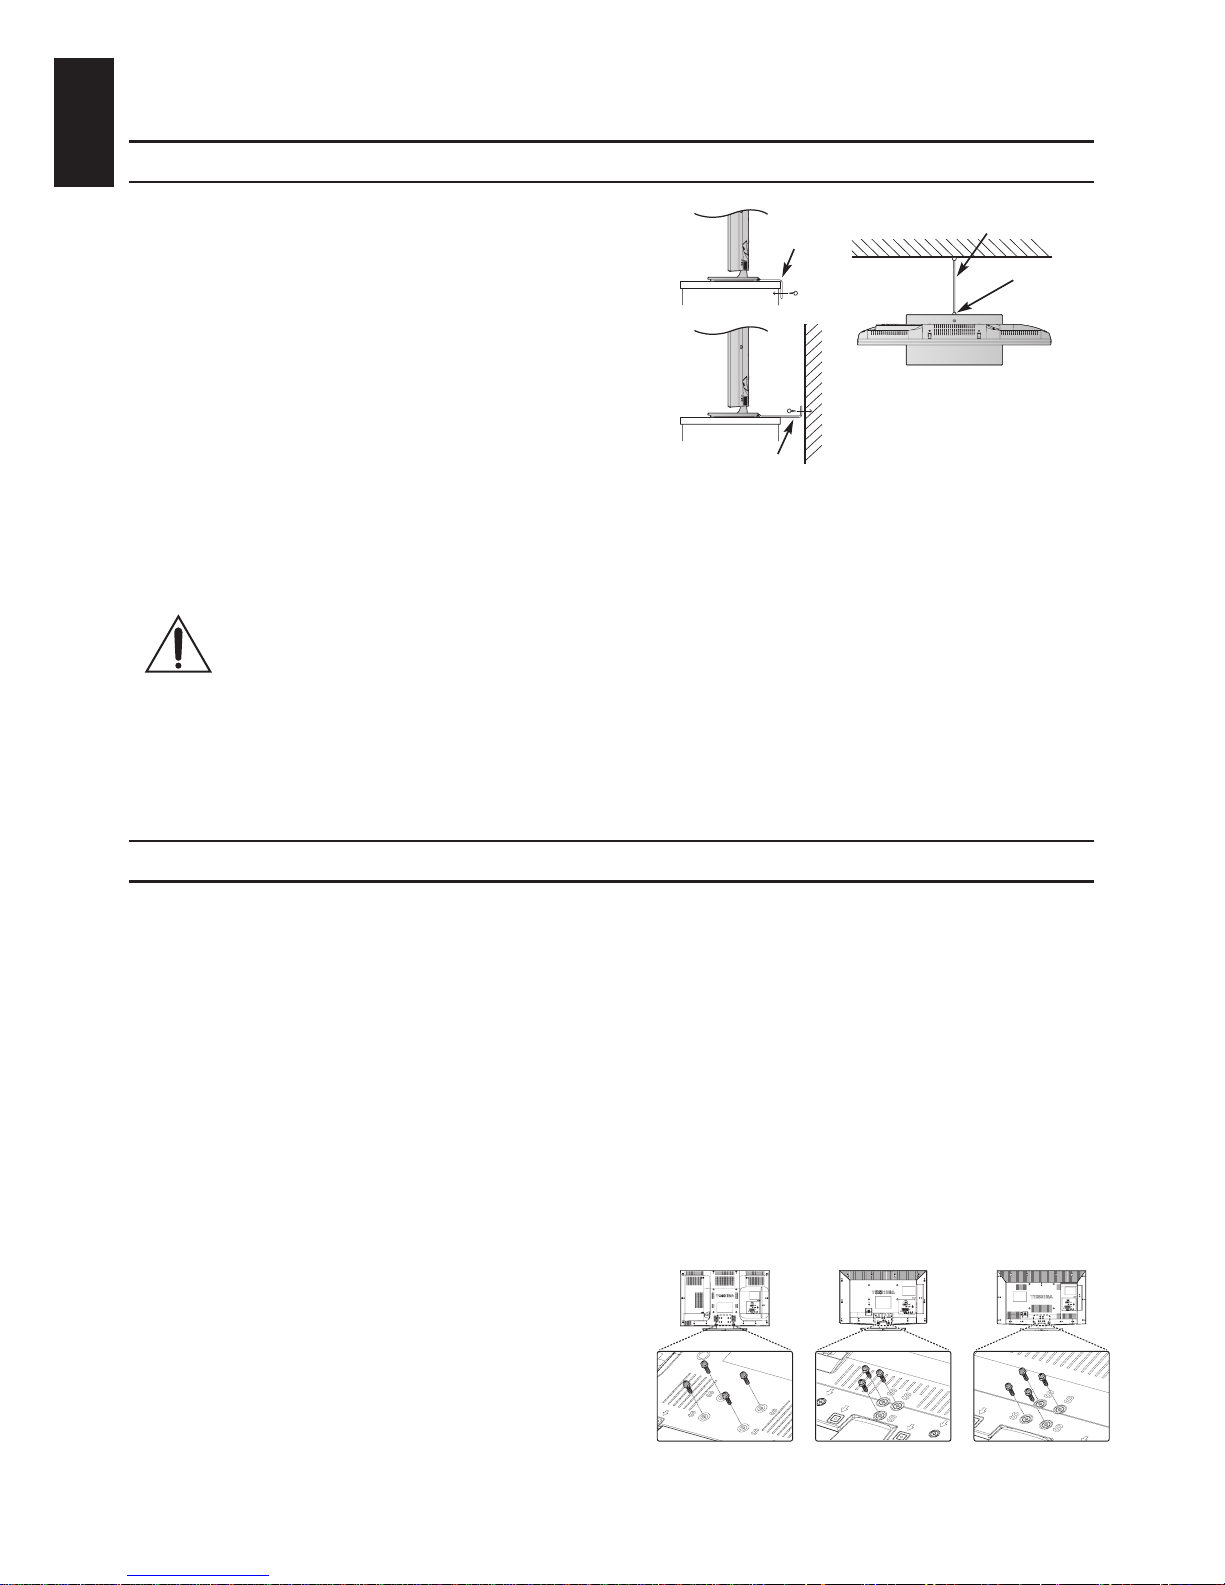
Place the TV set on a stable, level surface that can
support the weight of the TV. As an additional safety
measure you secure the TV to the level surface or a
wall, as shown in the illustration, using sturdy strap.
The LCD display panels are manufactured using
an extremely high level of precision technology,
however sometimes some parts of the screen may
be missing picture elements or have luminous spots.
This is not a sign of a malfunction.
Sturdy tie (as short as possible)
Stand clip
Fixing strap
Fixing strap
Stand style is dependent on model
Make sure the television is located in a position where it cannot be pushed or hit by objects, as pressure will break or damage the screen. Also, please be certain that small items cannot be inserted into
slots or openings in the case.
Avoid using chemicals (such as air refreshers, cleaning agents, etc.) on or near the TV
pedestal. Studies indicate that plastics may weaken and crack over time from the combination effects of chemical agents and mechanical stress (such as weight of TV). Failure
to follow these instructions could result in serious injury and/or permanent damaged to TV
and TV pedestal.
Cleaning the screen and cabinet...
Turn off the power, and clean the screen and cabinet with a soft, dry cloth. We recommend that you
do not use any proprietary polishes or solvents on the screen or cabinet as this may cause damage.
When using a Wall Bracket
Please use a wall bracket appropriate for the size and weight of the LCD TV.
• Two people are required for installation.
• To install a wall-mount from another manufacturer.
1. Unplug and remove any cables and/or other component connectors from the rear of the TV.
2. Carefully lay the front of the unit face down on a at, cushioned surface such as a quilt or blanket.
3. Follow the instructions provided with your wall bracket. Before proceeding, make sure the appropriate bracket(s) are attached to the wall and the back of the TV as described in the instructions
provided with the wall bracket.
4. Always use the screws supplied or recommended by the wall mount manufacturer.
Removing the Pedestal Stand:
1. Carefully lay the front of the unit face down on
a at, cushioned surface with the stand hanging
over the edge.
32AV93*B |
32/40LV93*B x 4
26EL93*B x 3
32EL93*B |
32/40HL93*B x 4
2. Remove the screws.
3. After the screws are removed, hold the pedestal
stand in place, then remove it from the TV by
sliding away from the bottom of the TV.
NOTE: Extreme care should always be used when
removing the pedestal stand to avoid damage to the LCD panel.
5
English
Please take note
EXCLUSION CLAUSE
Toshiba shall under no circumstances be liable for loss and/or damage to the product caused by:
i) re;
ii) earthquake;
iii) accidental damage;
iv) intentional misuse of the product;
v) use of the product in improper conditions;
vi) loss and/or damage caused to the product while in the possession of a third party;
vii)
any damage or loss caused as a result of the owner’s failure and/or neglect to follow the in-
structions set out in the user manual;
viii)
any loss or damage caused directly as a result of misuse or malfunction of the product when
used simultaneously with associated equipment;
Furthermore, under no circumstances shall Toshiba be liable for any consequential loss and/or
damage including but not limited to the following, loss of prot, interruption of business, the loss of
recorded data whether caused during normal operation or misuse of the product.
• The digital reception function of this television is only effective in the countries listed in the Country
section of the SETUP menu. Depending on country/area, some of this television’s functions may not be
available. Reception of future additional or modied services can not be guaranteed with this television.
• If stationary images generated by 4:3 broadcasts, text services, channel identication logos, computer
displays, video games, on-screen menus, etc. are left on the television-screen for any length of
time they could become conspicuous, it is always advisable to reduce both the brightness and
contrast settings.
• Very long, continuous use of the 4:3 picture on a 16:9 screen may result in some retention of the
image at the 4:3 outlines, this is not a defect of the LCD TV and is not covered under the manufacturers warranty. Regular use of other size modes (e.g.: Super Live) will prevent permanent
retention.
NOTE: Interactive video games that involve shooting a “gun” type of joystick at an on-screen target
may not work with this TV.
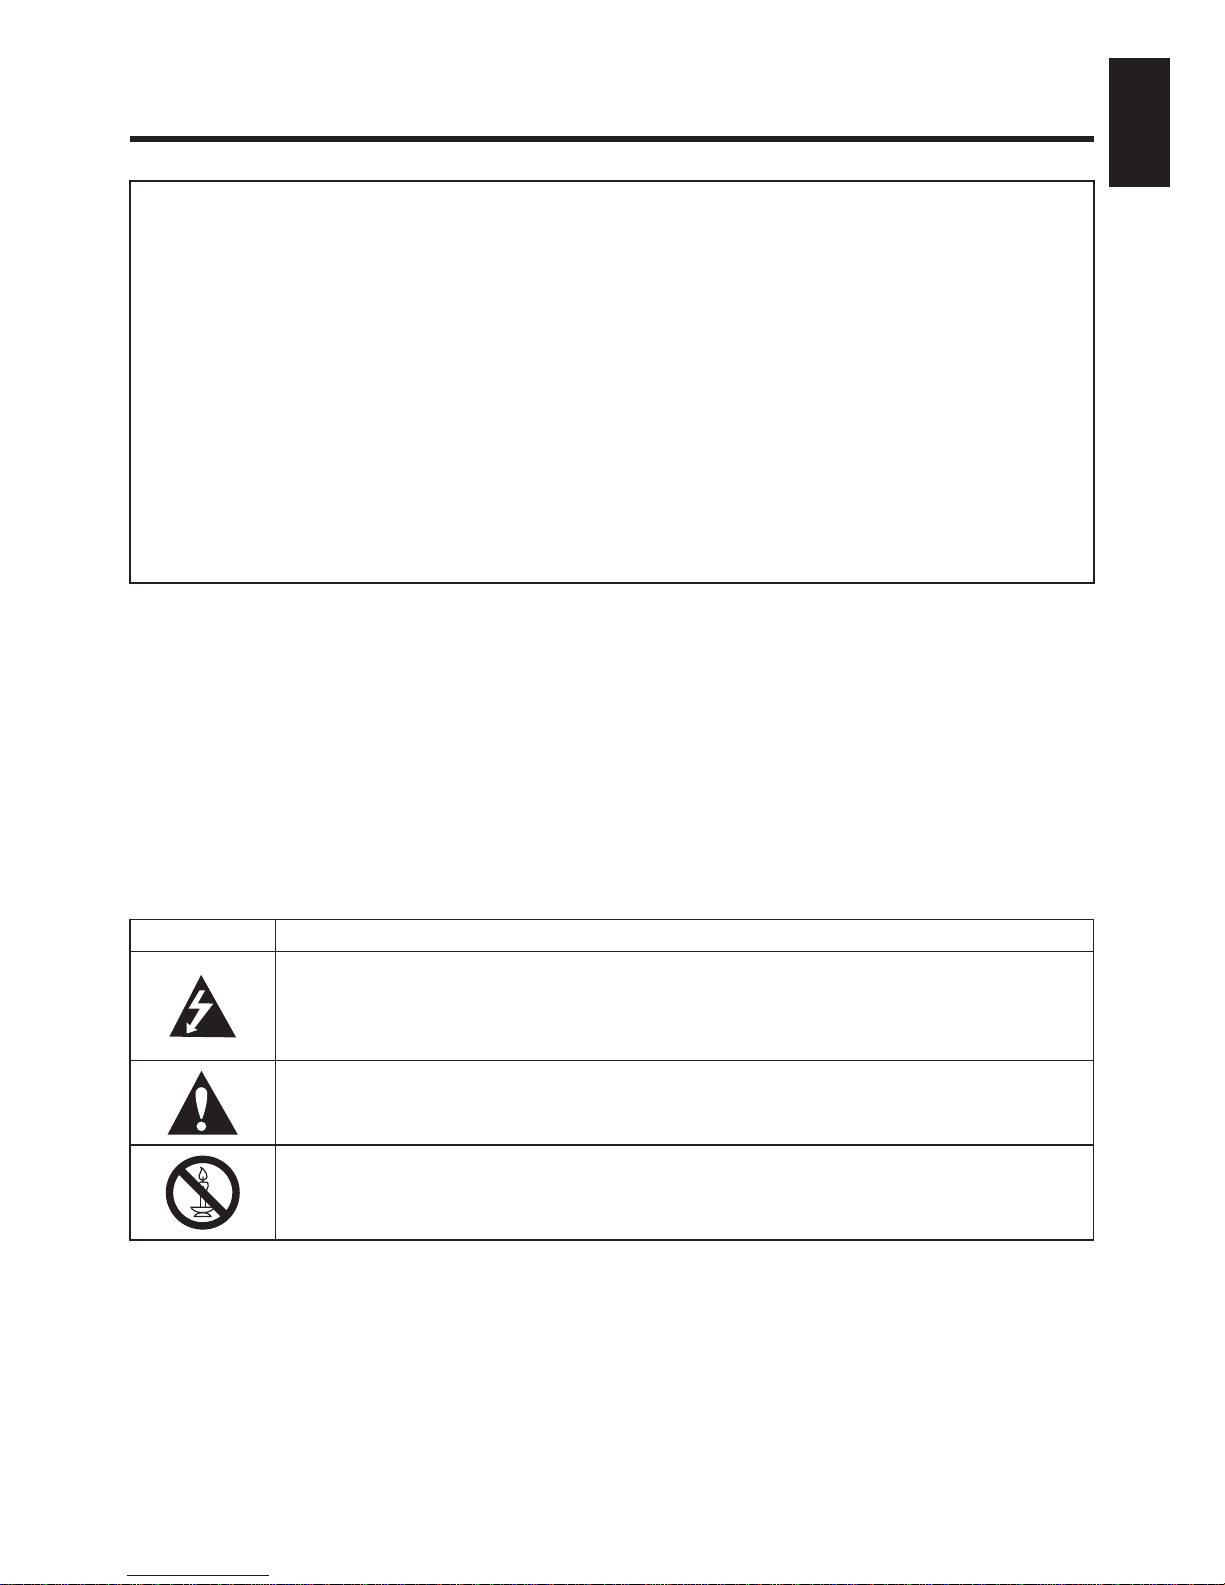
SYMBOL SYMBOL DEFINITION
DANGEROUS VOLTAGE: The lightening ash with arrowhead symbol within an
equilateral triangle is intended to alert the user to the presence of un-insulated
“DANGEROUS VOLTAGE” within the product’s enclosure that may be of sufcient
magnitude to constitute a risk of electric shock to persons.
INSTRUCTIONS: The exclamation point within on equilateral triangle to alert the
user to the presence of important operating and maintenance (servicing) instruction
in the literature accompanying the appliance.
WARNING: To prevent the spread of re, keep candles or other open ames away
from this product at all times.
6
English
Digital Switchover
How to re-tune:
As new services are broadcast it will be necessary to re-tune the television in order to view
them. Auto tuning will completely retune the
television and can be used to update the channel list.
Press MENU button on the remote
control unit.
Select Auto tuning option.
A screen will appear warning that previous digital programmes and settings will
be deleted.
You must allow the television to com-
plete the search......
When the search is complete the Auto tuning
screen will display the total number of service
found.
NOTE: Further detailed instructions on Auto
tuning can be found in the TV owners
manual.
If you are missing channels, it may be that
they are not available in your area, or that your
aerial needs upgrading.
If you have any further questions, please
contact your equipment supplier or call Digital
UK on 08456 50 50 50 or visit www.digitaluk.
co.uk
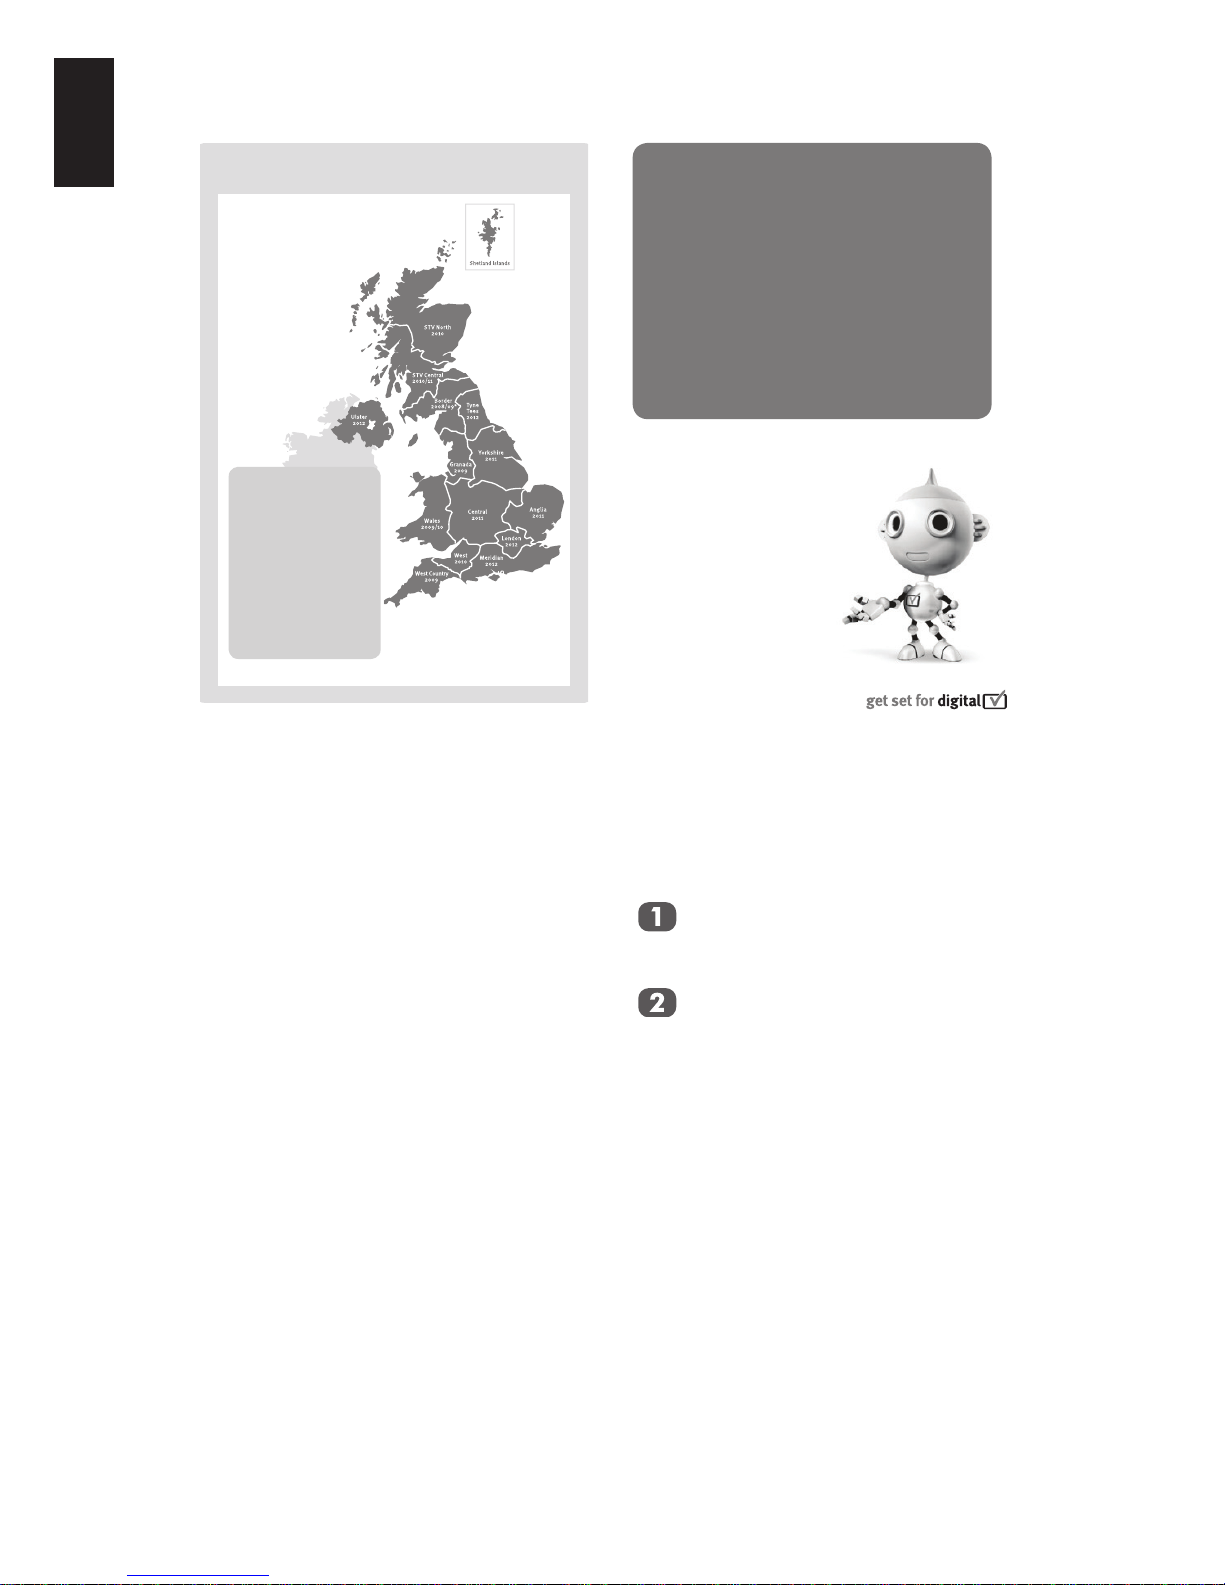
Television in the UK is going digital, bringing
us all more choice and new services. Starting
in late 2007 and ending in 2012, television
services in the UK will go completely digital, TV
region by TV region.
Please see above to nd out when your area
switches to digital.
Digital UK is the independent, non-prot
organisation leading the process of digital
TV switchover in the UK. Digital UK provides
impartial information on what people need to
do to prepare for the move to digital, and when
they need to do it.
How the switchover affects your TV equipment:
Your new TV has a digital tuner built in, which
means it is ready to receive the Freeview signal by simply plugging it into your aerial socket
(check if you can get digital TV through your
aerial now, or whether you’ll have to wait until
switchover, at www.digitaluk.co.uk).
When the TV switchover happens in your area,
there are at least two occasions when you will
need to re-tune your TV in order to continue receiving your existing TV channels, and also to
pick up new ones, Digital UK, the body leading
the digital TV switchover, will advise you when
you need to re-tune during the switchover.
If you choose to connect your TV to satellite
or cable with a digital box then it will not be
affected by switchover, and you won’t need to
re-tune.
EnglishEnglish
Keep this important
information about
how to re-tune your
TV during the
TV switchover
EnglishEnglish
When does switchover happen?
*Copeland switches on October 17, 2007
The exact date you
switch depends on the
transmitter you are
served by. To check
when you switch,
go to Digital UK’s
postcode checker on
www.digitaluk.co.uk
Check your ITV news
service or look at Teletext
page 106 to see what TV
region you’re in.
Keep this important
information about
how to re-tune your
TV during the
digital
TV switchover
7
English
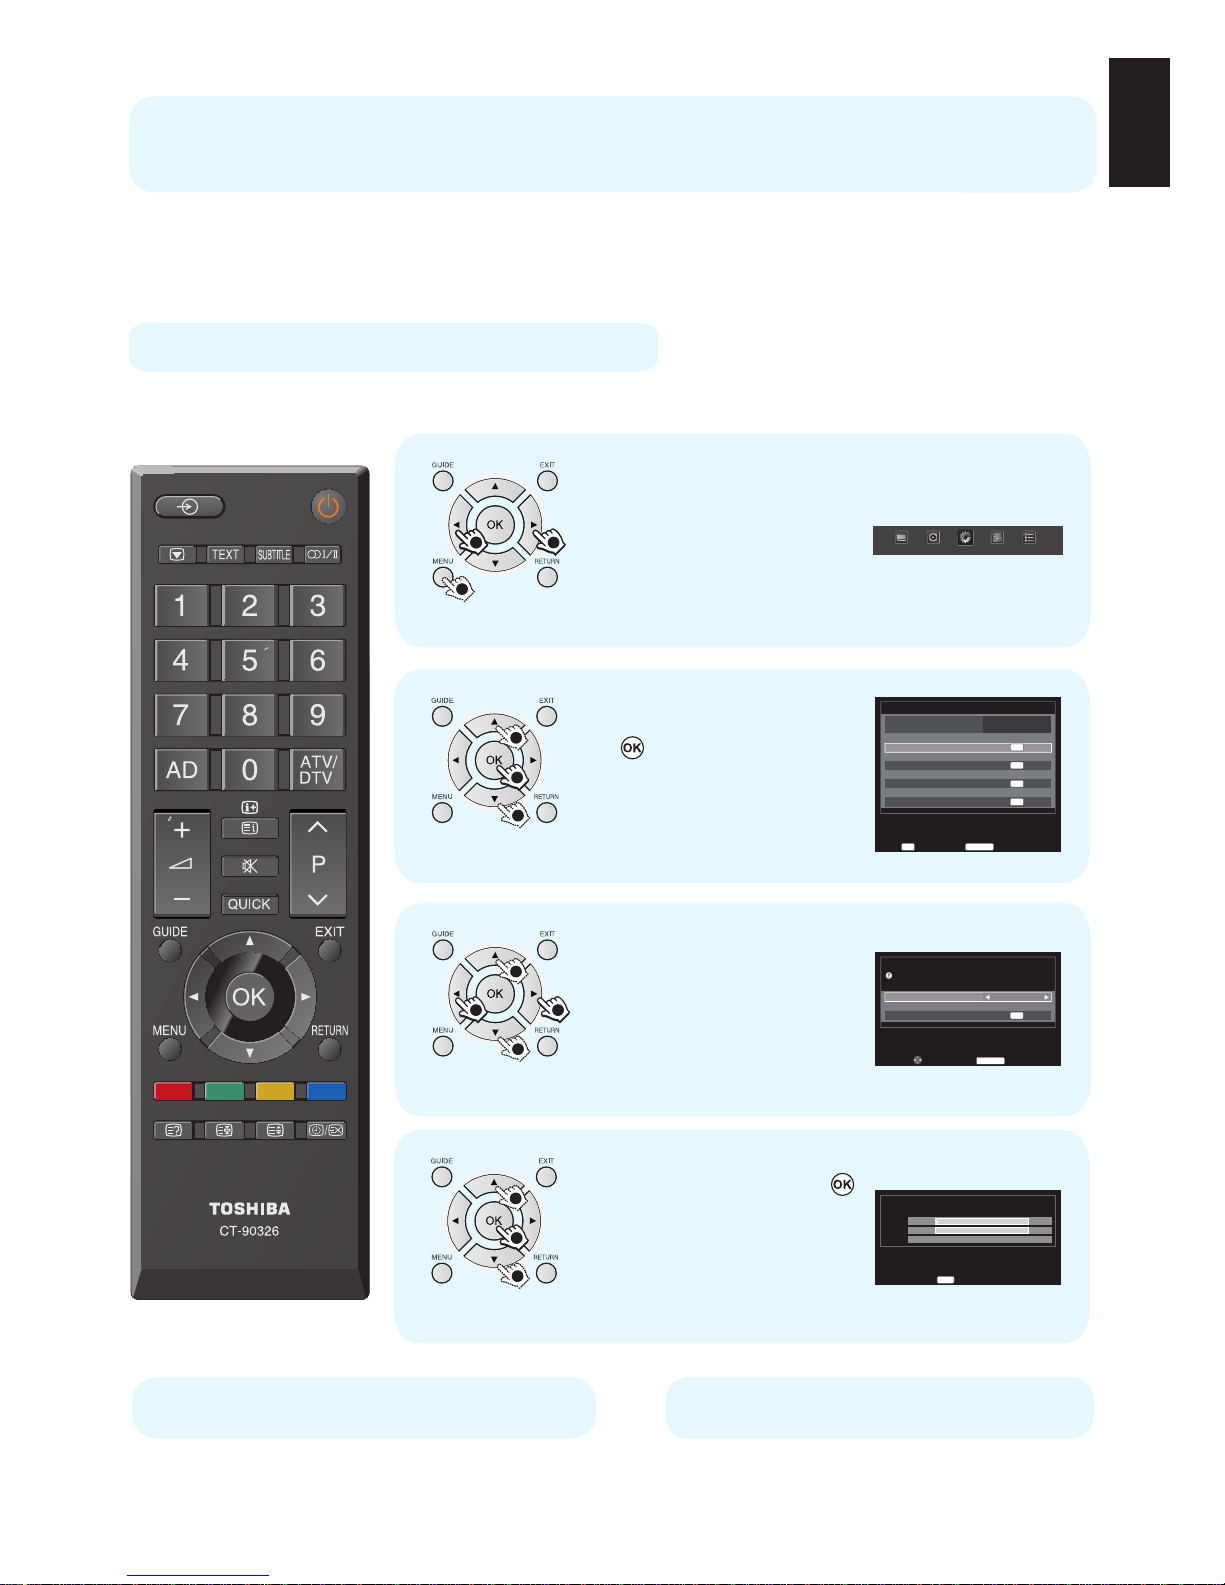
Re-tuning: TOSHIBA
4 Steps
TOSHIBA Digital TV
* This process may affect any saved information stored on your product, including your favourites list.
Please consult your instruction manual or contact the manufacturer using the details above.
TOSHIBA Customer Helpline: 0844 856 0730
TOSHIBA Online Support:
www.toshiba.co.uk/tv-dvd-support
PICTURE SOUND
SETUP
APPLICATIONS PREFERENCES
Press MENU and press
◄ or ► to select SETUP.
1 )
1
2 22 2
Language
Country
Tuner Mode
Auto tuning
ATV Manual Tuning
DTV Manual Tuning
DTV Settings
AV connection
Picture Position
Quick Setup
English
UK
Antenna
Enter
OK
Back
RETURN
1/2SET UP
OK
OK
OK
OK
Press ▲ or ▼ to select
Auto tuning, and press
to enter the sub-
menu.
2 )
1
1
2
Auto tuning
Tuning Mode
Start Scan
ATV and DTV
OK
Previous settings will be lost !
Press EXIT for no change.
Back
RETURN
Edit
Press ▲ or ▼ to select
Tuning Mode and press
◄ or ► to select ATV,
DTV or ATV and DTV.
3 )
1
1
2 2
Auto tuning
ATV
DTV
Stop
EXIT
Progress
2 %
0 %
Channel: C4 Station:
Found
0
0
Press ▲ or ▼ to select
Start Scan and press
to start Auto tuning
.
4 )
1
1
2
(Steps 1-4)
Freeview products
Make sure your TV is on and press 80
for the BBC News channel
This guide can be used to help you re-tune the following product with the remote control below:
 Loading...