

Page 1
GuardKit
TimeCutter
ModelNo.74130
ModelNo.74134
Donotsupplytheseinstructionstothecustomer.
Theseinstructionsareforadealertoinstalladditionalbelt
guardsonunitssoldinFrance.
ThisproductcontainsachemicalorchemicalsknowntotheStateofCaliforniato
causecancer,birthdefects,orreproductiveharm.
®
RidingMowerwith81cmor127cmCuttingUnit
Proposition65Warning
FormNo.3381-538RevA
InstallationInstructions
WARNING
CALIFORNIA
Safety
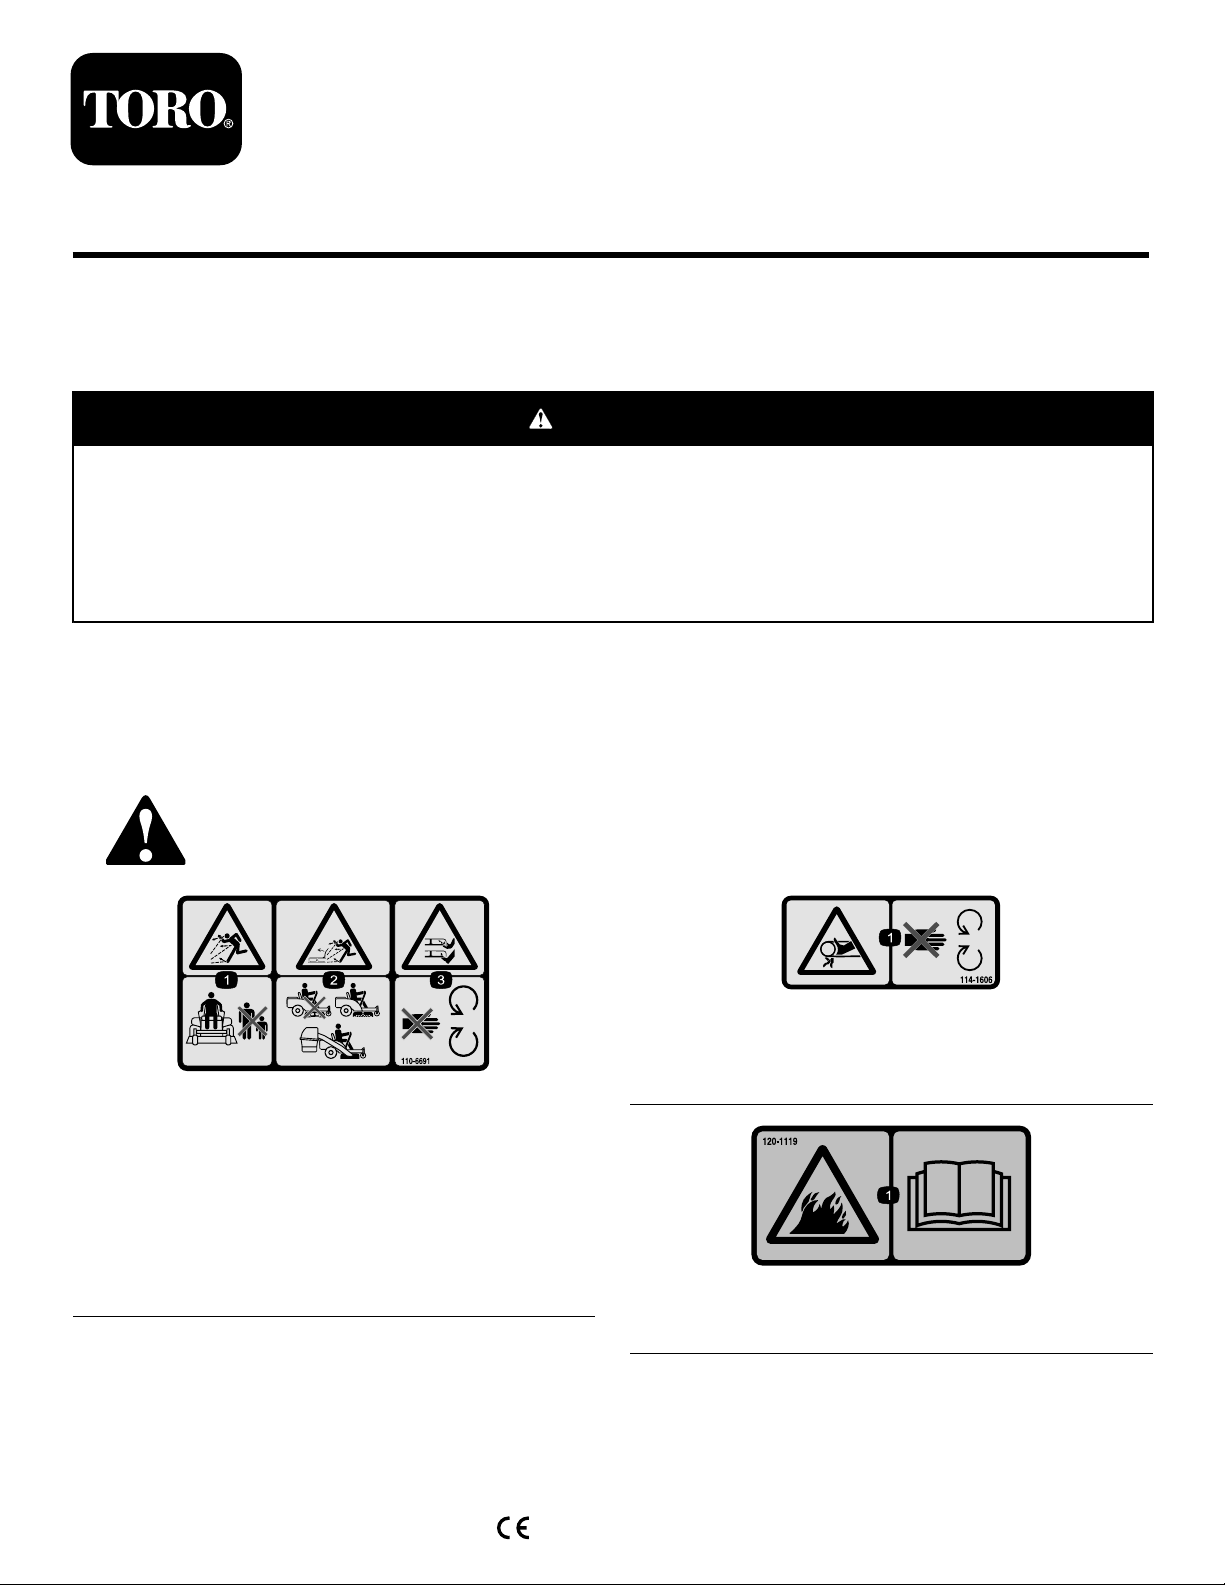
SafetyandInstructionalDecals
Safetydecalsandinstructionsareeasilyvisibletotheoperatorandarelocatednearanyareaofpotential
danger.Replaceanydecalthatisdamagedorlost.
110-6691
Model74130only
1.Thrownobjecthazard—keepbystandersasafedistance
fromthemachine.
2.Thrownobjecthazard,mower—donotoperatewithoutthe
deector,dischargecover,orgrasscollectionsystemin
place.
3.Cutting/dismembermentofhandorfoot—stayawayfrom
movingparts.
114-1606
Model74130only
1.Entanglementhazard,belt—keepallguardsinplace.
120-1119
©2013—TheToro®Company
8111LyndaleAvenueSouth
Bloomington,MN55420
Registeratwww.Toro.com.
1.Firehazard—readtheOperator'sManual.
OriginalInstructions(EN)
PrintedintheUSA.
AllRightsReserved
*3381-538*A
Page 2
PreparingforInstallation
NoPartsRequired
Procedure
1
Important:Refertothe
unfamiliarwiththespecicsofoperatingthismachine
beforeproceeding.Themanualcontainsimportant
informationaboutsafelyoperatingthemachine.Ifyou
donotknowthisinformation,youcouldseriouslyinjure
yourselforothers.
1.Parkthemachineonalevel,smoothsurfacewith
sufcientspacetoaccessbothsidesofthemowing
deck.
2.Stoptheengine,settheparkingbrake,removethekey,
anddisconnectthesparkplugwire.
3.Removethemowingdeckandslideitoutfromunder
themachine;refertotheOperator’ sManual.
Operator’ s Man ual
ifyouare
2
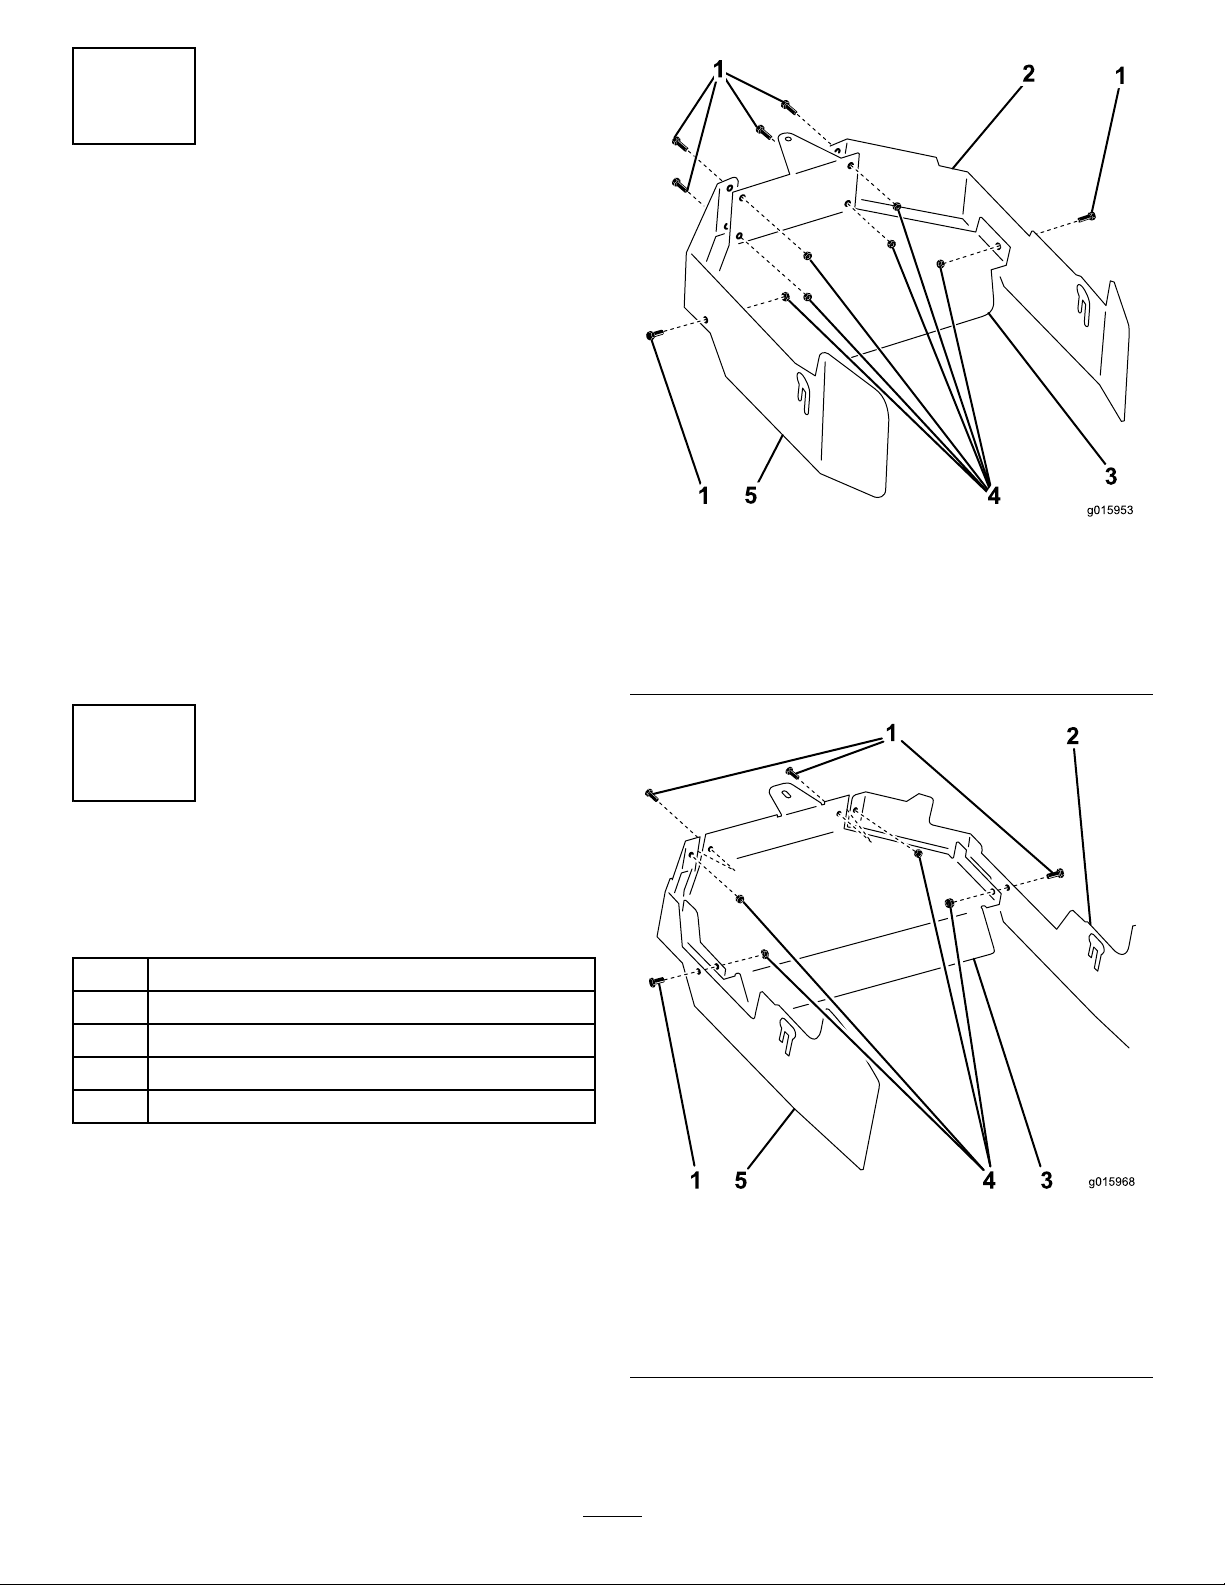
AssemblingtheDeckBelt Guard
Figure1
Model74130
1.Bolt(6)4.Locknut(6)
2.Leftdeckguardplate
3.Topdeckguardplate
5.Rightdeckguardplate
Partsneededforthisprocedure:
1
Leftdeckguardplate
1Rightdeckguardplate
1Topdeckguardplate
10
Bolt(1mm)
10
Locknut(1mm)
Procedure
Assembletheleft,right,andtopdeckguardplatesusingthe
boltsandlocknutsasshowninFigure1andFigure2.
Figure2
Model74134
1.Bolt(4)4.Locknut(4)
2.Leftdeckguardplate
3.Topdeckguardplate
5.Rightdeckguardplate
2
Page 3

3
InstallingtheDeckBeltGuard
Partsneededforthisprocedure:
2
Bolt(1.25mm)
2Washer
2
Locknut(1.25mm)
Procedure
1.Loosen,butdonotremove,thenutontheoutsideof
eachsuspensionbracketontherearofthedeck(refer
Figure3andFigure4).
to
Figure3
Model74130
1.Nut
Figure4
Model74134
1.Knob,existing3.Bolt
2.Washer4.Nut
2.Mounttheassembleddeckbeltguardontothedeckas
showninFigure5,tighteningallfastenerssecurely.
1.Washer4.Bolt
2.Locknut5.Deck
3.Deckbeltguardassembly
3
Figure5
Model74130
Page 4

1
2
g02461 1
Figure7
Figure6
Model74134
1.Washer4.Rearslots
2.Knob,existing5.Bolt
3.Nut(2)
3.Verifythattheguardisclearofallmovingparts,
wires,hoses,andothercomponentssothatitwillnot
interferewiththesafeoperationofthemachine.
6.Tab
4
InstallingtheRearBeltGuard (Model74130)
Partsneededforthisprocedure:
1Rearbeltguard
1.boltheads2.guardplate
3.Verifythattheguardisclearofallmovingparts,
wires,hoses,andothercomponentssothatitwillnot
interferewiththesafeoperationofthemachine.
5
AttachingtheDeck
NoPartsRequired
Procedure
1.Slidethedeckbackunderthemachine,mountittothe
machine,andadjustitasdescribedintheOperator’ s
Manual.
2.Verifythattheguardisclearofallmovingparts,
wires,hoses,andothercomponentssothatitwillnot
interferewiththesafeoperationofthemachine.
Procedure
1.Loosen,butdonotremove,the2boltslocatedonthe
framejustinfrontofeachreartire.
2.Slidethenotchesatthetopoftheguardplateunder
theboltheadsandtightentheboltssecurely(referto
Figure7).
4
 Loading...