


12inCordlessTrimmer
ModelNo.51484—SerialNo.314000001andUp
ModelNo.51484T—SerialNo.314000001andUp
Model51484Tdoesnotincludeabatteryoracharger.
Ifyouhavequestionsorproblems,contactusatwww.Toro.comor
calltollfree1-800-237-2654(US)or1-800-248-3258(Canada)before
returningthisproduct.
FormNo.3379-689RevA
Operator'sManual
GeneralSafetyRules
WARNING
CALIFORNIA
Proposition65W arning
Thisproductcontainsachemicalorchemicals
knowntotheStateofCaliforniatocausecancer,
birthdefects,orreproductiveharm.
WARNING:Whenusingelectricgardeningappliances,basic
safetyprecautionsshouldalwaysbefollowedtoreducetheriskof
re,electricshock,andpersonalinjury ,includingthefollowing:
Readallinstructions.
Theterm“powertool”inallofthewarningsreferstoyour
mains-operated(corded)powertoolorbattery-operated(cordless)
powertool.
1.Workareasafety
A.Keepworkareacleanandwelllit.Clutteredordark
areasinviteaccidents.
B.Donotoperatepowertoolsinexplosive
atmospheres,suchasinthepresenceofammable
liquids,gasesordust.Powertoolscreatesparks
whichmayignitethedustorfumes.
C.Keepchildrenandbystandersawaywhileoperating
apowertool.Distractionscancauseyoutolose
control.
2.Electricalsafety
A.Powertoolplugsmustmatchtheoutlet.Never
modifythepluginanyway .Donotuseany
adapterplugswithearthed(grounded)powertools.
Unmodiedplugsandmatchingoutletswillreducerisk
ofelectricshock.
B.Avoidbodycontactwithearthedorgrounded
surfaces.Thereisanincreasedriskofelectricshockif
yourbodyisearthedorgrounded.
C.Donotabusethecord.Neverusethecordfor
carrying,pullingorunpluggingthepowertool.
Keepcordawayfromheat,oil,sharpedgesor
movingparts.Damagedorentangledcordsincrease
theriskofelectricshock.
D.Donotexposepowertoolstorainorwetconditions.
Waterenteringapowertoolwillincreasetheriskof
electricshock.
E.Ifoperatingapowertoolinadamplocationis
unavoidable,useasupplyprotectedbyaresidual
currentdevice(RCD)inAUSoragroundfault
interrupt(GFI)intheUSA.
UseofanRCDorGFIreducestheriskofelectricshock.
3.Personalsafety
A.Stayalert;watchwhatyouaredoinganduse
commonsensewhenoperatingapowertool.Do
notuseapowertoolwhileyouaretiredorunderthe
inuenceofdrugs,alcoholormedication.Amoment
ofinattentionwhileoperatingpowertoolsmayresult
inseriouspersonalinjury.
B.Usepersonalprotectiveequipment.Alwayswear
eyeprotection.Protectiveequipmentsuchasdust
mask,non-skidsafetyshoes,hardhat,orhearing
protectionusedforappropriateconditionswillreduce
personalinjuries.
C.Preventunintentionalstarting.Ensuretheswitch
isintheoff-positionbeforeconnectingtopower
sourceand/orbatterypack,pickinguporcarrying
thetool.Carryingpowertoolswithyourngeronthe
switchorenergizingpowertoolsthathavetheswitch
oninvitesaccidents.
D.Donotoverreach.Keepproperfootingandbalance
atalltimes.Thisenablesbettercontrolofthepower
toolinunexpectedsituations.
E.Dressproperly.Donotwearlooseclothingor
jewelry.Keepyourhair ,clothingandglovesaway
frommovingparts.Looseclothes,jewelry ,orlonghair
canbecaughtinmovingparts.
F.Keephandsandfeetawayfromthecuttingarea.
4.Powertooluseandcare
A.Donotforcethepowertool.Usethecorrectpower
toolforyourapplication.Thecorrectpowertoolwill
dothejobbetterandsaferattherateforwhichitwas
designed.
©2013—TheToro®Company
8111LyndaleAvenueSouth
Bloomington,MN55420
Registeratwww.Toro.com.
OriginalInstructions(EN)
PrintedinChina
AllRightsReserved
*3379-689*A

B.Donotusethepowertooliftheswitchdoesnotturn
itonandoff.Anypowertoolthatcannotbecontrolled
withtheswitchisdangerousandmustberepaired.
C.Removethebatterypackfromthepowertoolbefore
makinganyadjustments,changingaccessories,or
storingpowertools.Suchpreventivesafetymeasures
reducetheriskofstartingthepowertoolaccidentally.
D.Storeidlepowertoolsoutofthereachofchildren
anddonotallowpersonsunfamiliarwiththepower
toolortheseinstructionstooperatethepowertool.
Powertoolsaredangerousinthehandsofuntrained
users.
E.Storeidleappliancesindoors.Whennotinuse,
appliancesshouldbestoredindoorsinadryandhigh
orlocked-upplace,outofthereachofchildren.
F.Maintainpowertools.Checkformisalignmentor
bindingofmovingparts,breakageofpartsand
anyotherconditionthatmayaffectthepowertools
operation.Ifdamaged,havethepowertoolrepaired
beforeuse.Manyaccidentsarecausedbypoorly
maintainedpowertools.
G.Keepcuttingtoolssharpandclean.Properly
maintainedcuttingtoolswithsharpcuttingedgesare
lesslikelytobindandareeasiertocontrol.
H.Usethepowertoolinaccordancewiththese
instructionsandinthemannerintendedforthe
particulartypeofpowertool,takingintoaccountthe
workingconditionsandtheworktobeperformed.
Useofthepowertoolforoperationsdifferentfromthose
intendedcouldresultinahazardoussituation.
I.Keepguardsinplaceandinworkingorder.
5.Service
Haveyourpowertoolservicedbyaqualiedrepair
personusingonlyidenticalreplacementparts.Thiswill
ensurethatthesafetyofthepowertoolismaintained.
6.BatterySafety
A.Donotchargeapplianceinrain,orinwetlocations.
B.Donotusebattery-operatedapplianceintherain.
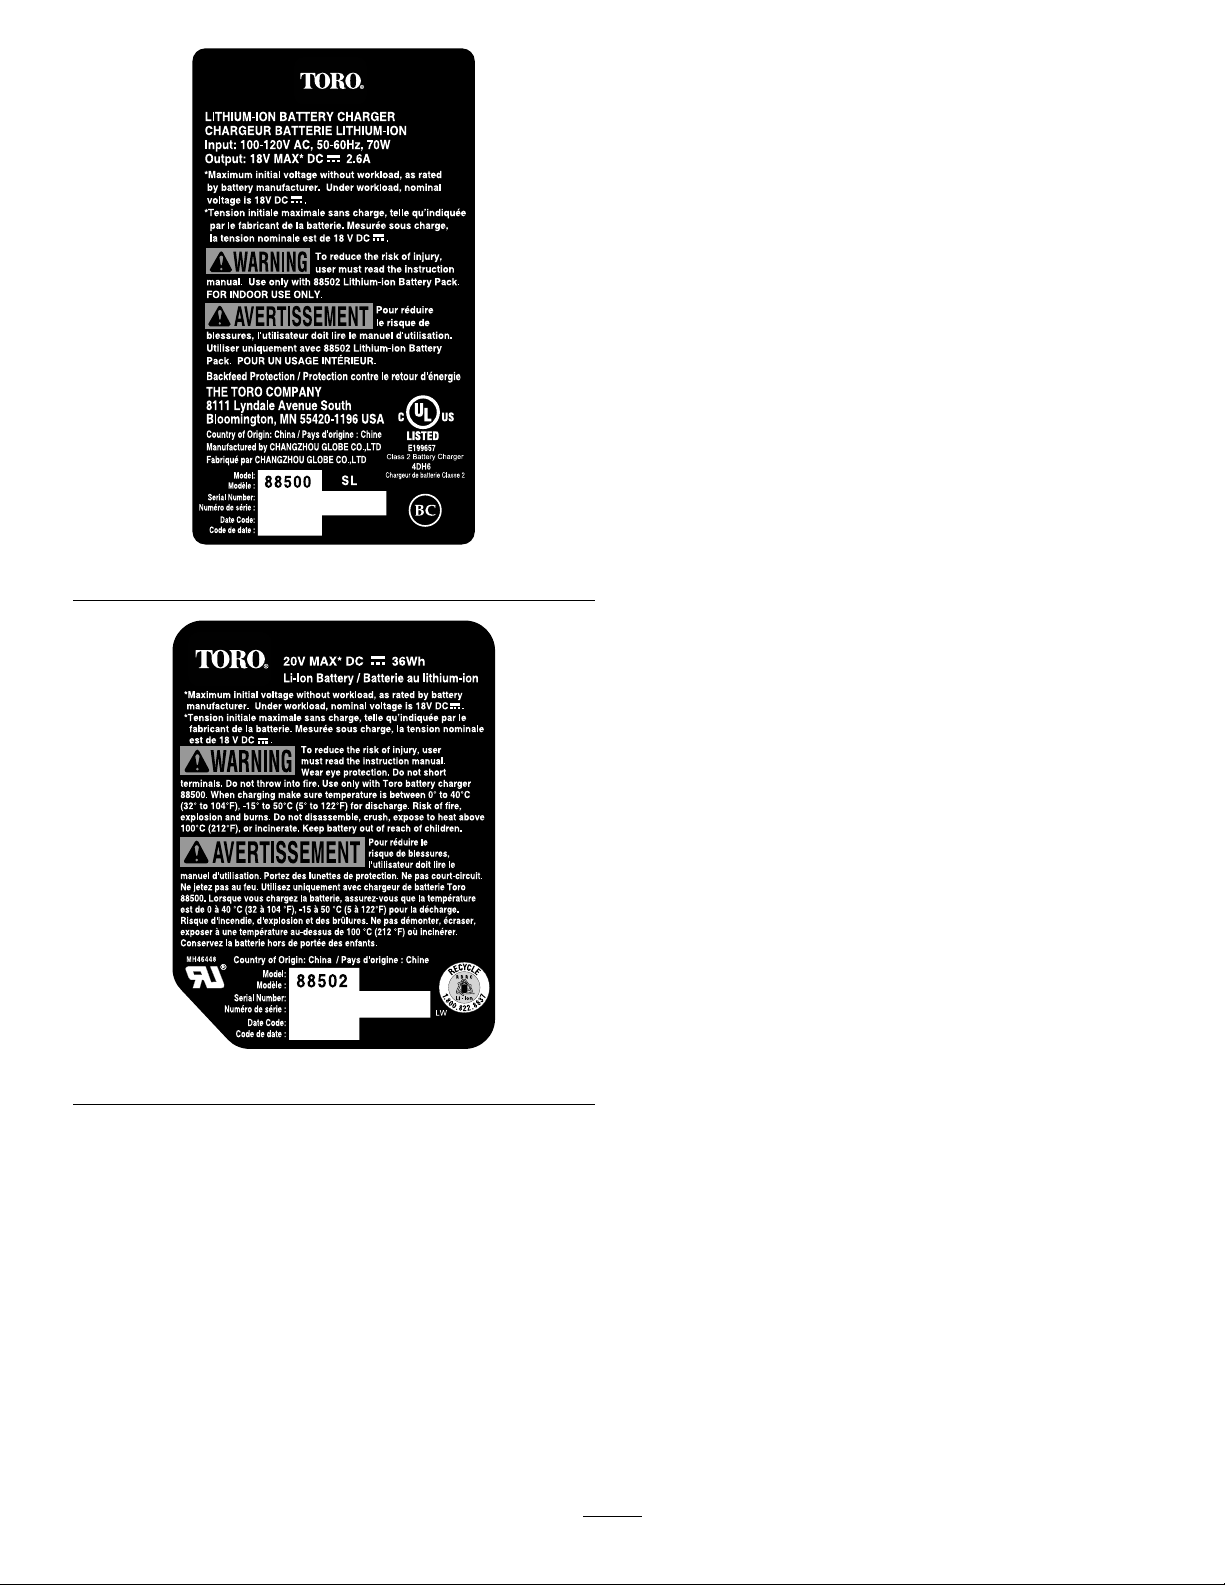
C.Useonlythefollowingtypeandsizebattery(ies):Toro
batterymodel88502.
D.Removeordisconnectthebatterybeforeservicing,
cleaning,orremovingmaterialfromthegardening
appliance.
E.Donotdisposeofthebattery(ies)inare.Thecellmay
explode.Checkwithlocalcodesforpossiblespecial
disposalinstructions.
F.Donotopenormutilatethebattery(ies).Released
electrolyteiscorrosiveandmaycausedamagetothe
eyesorskin.Itmaybetoxicifswallowed.
G.Exercisecareinhandlingbatteriesinordernottoshort
thebatterywithconductingmaterialssuchasrings,
bracelets,andkeys.Thebatteryorconductormay
overheatandcauseburns.
SAVETHESEINSTRUCTIONS
2

SafetyandInstructionalDecals
Safetydecalsandinstructionsareeasilyvisibletotheoperatorandarelocatednearanyareaofpotentialdanger .
Replaceanydecalthatisdamagedorlost.
Symbol
DC
VVoltsVoltage
Name
Directcurrent
125–3281
Model51484
1.Warning—readtheOperator’sManual;donotoperatein
wetconditions;weareyeprotection.
Designation/Explanation
Typeofcurrent
125–3280
121–7657
Model51484T
1.Warning—readtheOperator’sManual;donotoperatein
wetconditions;weareyeprotection.
121–7615
121–7691
3
125–3279
125–3295
4

Setup
G017277
1
2
3
LooseParts
Usethechartbelowtoverifythatallpartshavebeenshipped.
ProcedureDescription
Auxiliaryhandle1
1
2
3
4
Latch1
Brace1
Guard
Phillipsheadscrew1
Wireedgeguard1Installingtheedgeguard
Nopartsrequired
1
InstallingtheAuxiliaryHandle
Partsneededforthisprocedure:
1Auxiliaryhandle
1Latch
1Brace
Qty.
Installingauxiliaryhandle.
1
–
3.Slidethelatchfromtheleftthroughthehandleandbrace
asshownandtightenthelatchscrewwithaPhillipshead
screwdriver(Figure1).
Mountingtheguardtothebaseofthe
trimmer.
Adjusttheauxiliaryhandle,trimmer
height,andbaseposition.
Use
1.Positiontheauxiliaryhandleontheshaftofthetrimmerwith
thesmoothsurfacefacingtheoperator(Figure1).
Figure1
1.Auxiliaryhandle3.Brace
2.Latch
2.Slidethebraceintotheauxiliaryhandlesothatthebrace
restsinthegroovealongtheshaft(Figure1).
5

2
G017506
g017642
1
3
InstallingtheGuard
Partsneededforthisprocedure:
1
Guard
1Phillipsheadscrew
Procedure
1.RemovethePhillipsthatistapedtotheguard(Figure2).
2.SlidetheguardontothetrimmerbaseasshowninFigure2.
InstallingtheEdgeGuard
Partsneededforthisprocedure:
1Wireedgeguard
Procedure
Inserttheendsofthewireedgeguardintotheholesinthetrimmer
housing,asshownin
Figure3.
Figure2
1.Phillipsheadscrew
3.SecuretheguardusingaPhillipsheadscrew.
2.Guard
Figure3
1.Wireedgeguard
6

4
G015655
G017507
1
2
3
G016190
G016189
1
2
AdjustingtheAuxiliary
placethebatterypackinthechargerandchargeuntilthe
LEDindicatorsturngreen.Makesuretoreadallsafety
precautions.Withregularuse,itwillneedshortercharging
time.Ifstoringforaprolongedperiodoftime,removethe
battery.Whenreadytouseagain,chargethebatterypack
untiltheLEDindicatorsturngreen.
Handle,TrimmerHeight,and
BasePosition
NoPartsRequired
Procedure
•Toadjusttheauxiliaryhandleheight,releasetheauxiliary
handlelatch,slidetheauxiliaryhandleupordowntothe
desiredheight,thensecuretheauxiliaryhandleinplaceby
closingtheauxiliarylatch(Figure4).
Figure4
1.Auxiliaryhandle3.Heightadjustmentlatch
2.Auxiliaryhandlelatch
•Toadjustthetrimmerheight,opentheheightadjustment
latch,thenslidetheshaftupordowntodesiredheight,
securingitinplacewiththelatch(Figure4).
•Toadjustthepositionofthebase,pressdownontherotator
buttonlocatedatthebaseoftheshaft,thenmovethebase
tofacethedesireddirection(
Figure5).
StartingtheTrimmer
1.Alignthetongueofthebatterypackwiththecavityinthe
handlehousing(Figure6).
Figure6
1.Triggerhandle3.Latch
2.Tongue
2.Graspthetriggerhandle(Figure6).
3.Pushthebatterypackintothehandleuntilthelatchlocks
intoplace.
4.Tostartthetrimmer,slidethelockswitchbacktotheOn
position,thensqueezethetrigger(Figure6).
Figure5
1.Rotatorbutton
Operation
Important:Thebatterypackisnotfullychargedwhenit
ispurchased.Beforeusingthetrimmerforthersttime,
Figure7
1.Lockswitch2.Trigger
7

StoppingtheTrimmer
G016223
1
2
3
Tostopthetrimmer,releasethetrigger.
ChargingtheBatteryPack
Important:Forbestresults,yourbatterytoolshouldbe
chargedinalocationwherethetemperatureismorethan0°
C(32°F)butlessthan40°C(104°F).T oreducetheriskof
seriouspersonalinjury,donotstoreoutsideorinvehicles.
Chargingtimewillincreaseifnotchargedwithinthisrange.
1.Turnthebatteryupsidedownandlineupthebatteryterminal
withtheslotinthecharger(Figure8andFigure9).
2.Slidethebatteryintothechargeruntilitclicksintoplace.
3.Toremovethebattery,pressdownonthereleasebutton
andslidethebatterybackwardsoutofthecharger.
Figure8
1.LEDindicators2.Insertbatteryhere
Figure9
1.LEDindicators(levelof
charge)
2.Releasebutton
3.Batteryterminal
8

4.RefertothetablebelowtointerprettheLEDindicatorson
G016254
G017509
thebatterycharger.
LEDCOLOR
TopBottomIndicates:
RedRedBatteryischarging
Red
Red
Green
Orange
Fullycharged
Batteryistoo
warm:Remove
forapproximately
30minutes
AdvancingtheLine
Note:Thetrimmerisequippedwithanauto-feedhead.
1.Withthetrimmerrunning,releasetheswitchtrigger.
2.Waittwoseconds,thenslidethelockswitchbacktotheOn
positionandsqueezethetrigger.
Note:Thelinewillextendapproximately1/4inch(6mm)
witheachstopandstartoftheswitchtrimmeruntiltheline
reachesthelengthofthegrassdeectorblade.
3.Resumetrimming.
Trimming
AdvancingtheLineManually
Removethebatteryfromthetrimmerk,thenpushtheredbutton
atthebaseofthespoolretainerwhilepullingonthetrimmerline
tomanuallyadvancetheline.
Figure10
Edging
Asanedger,presstherotatorbuttonandrotatetheheadas
showninFigure1 1.
Figure11
1.Rotatorbutton
9

OperatingTips
G017508
G017510
•Keepthetrimmertiltedtowardtheareabeingcut;thisisthe
bestcuttingarea.
•Thestringtrimmercutswhenpassingtheunitfromleftto
right.Thiswillavoidthrowingdebrisattheoperator.
•Usethetipofthestringtodothecutting;donotforcestring
headintouncutgrass.
•Wireandpicketfencescauseextrastringwear,even
breakage.Stoneandbrickwalls,curbs,andwoodmaywear
stringrapidly.
•Avoidtreesandshrubs.Treebark,woodmoldings,siding,
andfencepostscaneasilybedamagedbythestrings.
ReplacingtheSpool
Useonly.065inch(1.65mm)diametermonolamentstring.Use
originalmanufacturer’sreplacementstringforbestperformance
(Toropartnumber88532or88524).
Important:Useofalargerdiameterstringwillcausethe
motortooverheatandfail.
1.Removethebattery .
2.Pushinthetabsonthesideofthespoolretainer(Figure13).
Figure12
1.Directionofrotation3.Stringpath
2.Idealcuttingrange
Maintenance
Aftereachuseofthetrimmer,completethefollowing:
1.Removethebatteryfromthetrimmer.
2.Wipethetrimmercleanwithadampcloth.Donothosethe
trimmerdownorsubmergeitinwater.
CAUTION
Thelinecut-offbladeonthedeectorissharpand
cancutyou.Donotuseyourhandstocleanthe
deectorshieldandblade.
3.Wipeorscrapecleanthecuttingheadareaanytimethereis
anaccumulationofdebris.
4.Checkandtightenallfasteners.Ifanypartisdamagedor
lost,repairorreplaceit.
5.Brushdebrisawayfromairintakeventsonmotorhousing
topreventthemotorfromoverheating.
Figure13
1.Spoolretainer3.Slots
2.Spool
3.Pullthespoolretaineruptoremoveitandremovethespool.
4.Toinstallthenewspool,makesurethestringiscapturedin
oneoftheretainingslotsonthenewspool.Makesurethe
endofthestringextendsapproximately6inches(152mm).
5.Installthenewspoolsothatthestringalignswiththeeyelet
inthestringhead.Threadthestringintotheeyelet.
6.Pullthestringextendingfromthestringheadsothestring
releasesfromtheslotinthespool.
7.Reinstallthespoolretainerbydepressingtabsintoslotsand
pushingdownuntilspoolretainerclicksintoplace.
4.Tabs
ReplacingtheString
1.Removethebattery .
2.Removethespool.SeeReplacingtheSpool(
Figure13).
10

1
2
G015662
Figure14
•Storeitinawell-ventilatedplacethatisinaccessibleto
children.
•Keepawayfromcorrosiveagentssuchasgardenchemicals
andde-icingsalts.
Troubleshooting
Usingthebatterywhenitishotcanreducetheoperatingtime.
Thebatterywillautomaticallystopworkingwhenitisoverheated
topreventdamagetoit.Removethebatteryfromthechargerand
allowittocoolbeforeplacingitbackintothetrimmer.
Usingthebatterywhenthereismoistureontheleadscancause
thetrimmertomalfunction.Allowthebatterytodryorwipeitdry
beforeplacingitbackintothetrimmer .
1.Spool
Note:Removeanyoldstringremainingonthespool.
3.Thespoolwillacceptupto15feetofstring.Useonly.065
inch(1.65mm)diametermonolamentstring.
Note:Donotuseanyothergaugeortypeofstring,asthis
coulddamagethetrimmer.
4.Insertthestringintotheanchorholeintheupperpartof
thespool(
directionshownbythearrowsonthespool.
5.Placethestringintheslotontheupperspoolange,leaving
about6inch(152mm)extendedbeyondtheslot.
Note:Donotoverll.Afterwindingthestring,thereshould
beatleast1/4inch(6mm)betweenthewoundstringand
theoutsideedgeofthespool.
6.Replacethespoolandthespoolretainer.RefertoSpool
Replacementearlierinthismanual.
Figure14).Windthestringontothespoolinthe
2.Hole
PreparingtheBatteryPackfor Recycling
WARNING
Beforerecycling,covertheterminalsofthebattery
packwithheavy-dutyadhesivetape.Donotattempt
todestroyordisassemblethebatterypackorremove
anyofitscomponents.Lithium-ionbatteriesmustbe
recycledordisposedofproperlyatthenearestbattery
recyclingfacility.
Service
Shouldthisitemneedservice,taketheproducttoyourAuthorized
ToroServiceDealer .YourT oroDealerisspeciallytrainedtorepair
ToroproductsandwillensurethatyourT orostays“AllT oro.”
Storage
•Cleanallforeignmaterialfromtheproduct.
11

TheToroPromise-ElectricProducts
ATwo-YearFullWarrantyforResidentialUsefortheUnitedStatesandCanada
TheT oroCompanyanditsafliate,T oroWarrantyCompany,pursuanttoanagreementbetweenthem,jointlywarrantthisproductfortwoyearsagainst
defectsinmaterialorworkmanshipwhenusedfornormalresidentialpurposes.*
IfyouthinkyourT oroProductcontainsadefectinmaterialsorworkmanship,ifyouhavequestionsorproblems,andbeforereturningthisproductcall
tollfree:
Trimmers:Blowers:
1-800-237-2654(US)
1-800-248-3258(Canada)
Toreceiveareplacementorrepair,atouroption,returnthecompleteunittotheseller.UnitedStatesandCanadacustomersmayreturntheirproduct,
withproofofpurchase,toanyAuthorizedServiceDealer.UnitedStatescustomersmayalsoreturntheirproduct,withproofofpurchase,postage
prepaid,totheT oroServiceCenter,5500SEDelaware,Ankeny ,IA50021.
Thiswarrantycoversproductdefectsonly.NeitherTheToroCompanynorToroWarrantyCompanyisliableforindirect,incidental,or
consequentialdamagesinconnectionwiththeuseoftheToroProductscoveredbythiswarranty ,includinganycostorexpenseofproviding
substituteequipmentorserviceduringreasonableperiodsofmalfunctionornon-usependingcompletionofrepairsunderthiswarranty .
Somestatesdonotallowexclusionsofincidentalorconsequentialdamages,sotheaboveexclusionsmaynotapplytoyou.Thiswarranty
givesyouspeciclegalrights,andyoumayalsohaveotherrightswhichvaryfromstatetostate.
1-888-367-6631(US)
1-888-430-1687(Canada)
1-800-574-3312(Mexico)
Snowthrowers:
1-800-808-2963(US)
1-800-808-3072(Canada)
CountriesOtherthantheUnitedStatesandCanada
CustomerswhohavepurchasedT oroproductsexportedfromtheUnitedStatesorCanadashouldcontacttheirT oroDistributor(Dealer)toobtain
guaranteepoliciesforyourcountry,province,orstate.IfforanyreasonyouaredissatisedwithyourDistributor’sserviceorhavedifcultyobtaining
guaranteeinformation,contacttheT oroimporter.Ifallotherremediesfail,youmaycontactusatT oroWarrantyCompany.
AustralianConsumerLaw
AustraliancustomerswillnddetailsrelatingtotheAustralianConsumerLaweitherinsidetheboxoratyourlocalT oroDealer.
*Residentialusemeansuseoftheproductonthesamelotasyourhome.PartNumber374-0262Rev.D
374-0262RevD
 Loading...