

Page 1

888.500.4598
USA
www.nsiindustries.com
EW101B
EW103B
EW120B
DIGITIAL TIME SWITCH
MLI-204 (C)
INSTRUCTION MANUAL
Page 2

TABLE OF CONTENTS
Section Page
Installation Instructions and Capabilities .............1
Key Functions.................................2
1.0 To Set The Clock ...............................3
1.1 To Modify Clock .............................. 3
(After previously Set)
2.0 To Set Date...................................3
2.1 To Modify Date................................4
(After previously Set)
3.0 Daylight Saving Time ...........................4
3.1 To Modify Daylight Saving Time ...................5
4.0 Scheduling ONs, OFFs ...........................6
4.1 Setting Hours, Minutes and Days...................6
5.0 Review, Modify, Delete Schedules ..................6
6.0 Manual Override ..............................7
7.0 Update Status.................................7
8.0 Notes: Clear All Memory .........................7
Schedule Sheets ............................9-12
Page 3

1
TORK MODELS EW101B / EW103B / EW120B
24 HOUR DIGITAL TIME SWITCH
READ INSTRUCTIONS CAREFULLY BEFORE
ATTEMPTING TO INSTALL TIME SWITCH. SEE
WARNING ON FRONT PANEL – Failure to comply with
instructions could result in personal injury and/or property
damage.
INSTALLATION:
UNIT IS TO BE INSTALLED BY A LICENSED ELECTRICIAN
1. To remove unit from enclosure: Push the tab on right to
swing unit the left and remove.
2. Mount the enclosure at eye level using screws or other
suitable fastening device. Bring supply and load wires
in through or side knockouts. DO NOT USE TOP.
3. Unit should be programmed with AC power only and
not while on super cap back up power.
4. Reinstall unit by reversing step #1 above and connecting wires to units as per suggested wiring diagrams.
See illustration and warning on back page.
5. To reset the timer, insert a paperclip on the small hole
next to the EVENT key. This procedure will allow you to
reset the time but will not clear the memory.
CAPABILITIES:
• 7 Day scheduling.
• ON and OFF set points:
Total number of events - 20 per day / week
• Minimum setting - 1 minute
• Capable of different schedules each day of the week
FEATURES:
Daylight Saving Automatic (can be adjusted).
Leap Year Automatic compensation.
Display LCD
Manual Override Until the next schedule ON or OFF.
Automatic operation then resumes.
Power Outage Permanent schedule retention.
Supercapacitor maintains real time
up to 4 days.
Page 4

2
KEY FUNCTIONS:
Unit should be programmed with AC power. Do not program on super cap back up power.
Mode: Press to go to the next mode.
Enter: Stores or saves current entry.
OVR:
a. Press to change the load status in the AUTO
(automatic) and the MAN (manual) mode.
DEL/PREV:
a. Press to delete the displayed entry.
a. Decrement the last selected entry.
HOUR/MONTH:
a. Press to set hour in CLK (clock) mode and the SCH
(schedule) mode.
b. Press to set month in the DATE mode and DST
(Daylight Savings Time) mode.
MINUTE/DATE:
a. Press to set minutes in CLK (clock) mode and SCH
(schedule) mode.
b. Press to set date in the DATE mode.
c. Press to select the week of the month in DST
(Daylight Savings Time).
SEC/DAY/YEAR:
a. Press to set the YEAR in the DATE mode.
b. Selects the desired day of the week in the DST
(Daylight Savings Time) mode.
c. Press to select the desired day or days in the SCH
(schedule) mode.
EVENT:
a. Press to select ON/OFF in the schedule.
b. Press to update the load status In the AUTO
(automatic) mode.
Page 5
3
PROGRAMMING YOUR EW101B / EW103B /
EW120B
NOTE: AFTER MAKING ANY CHANGES TO THE
PROGRAM, PRESS MODE TO GO TO RUN MODE
AND THEN PRESS EVENT TO UPDATE THE LOAD
STATUS.
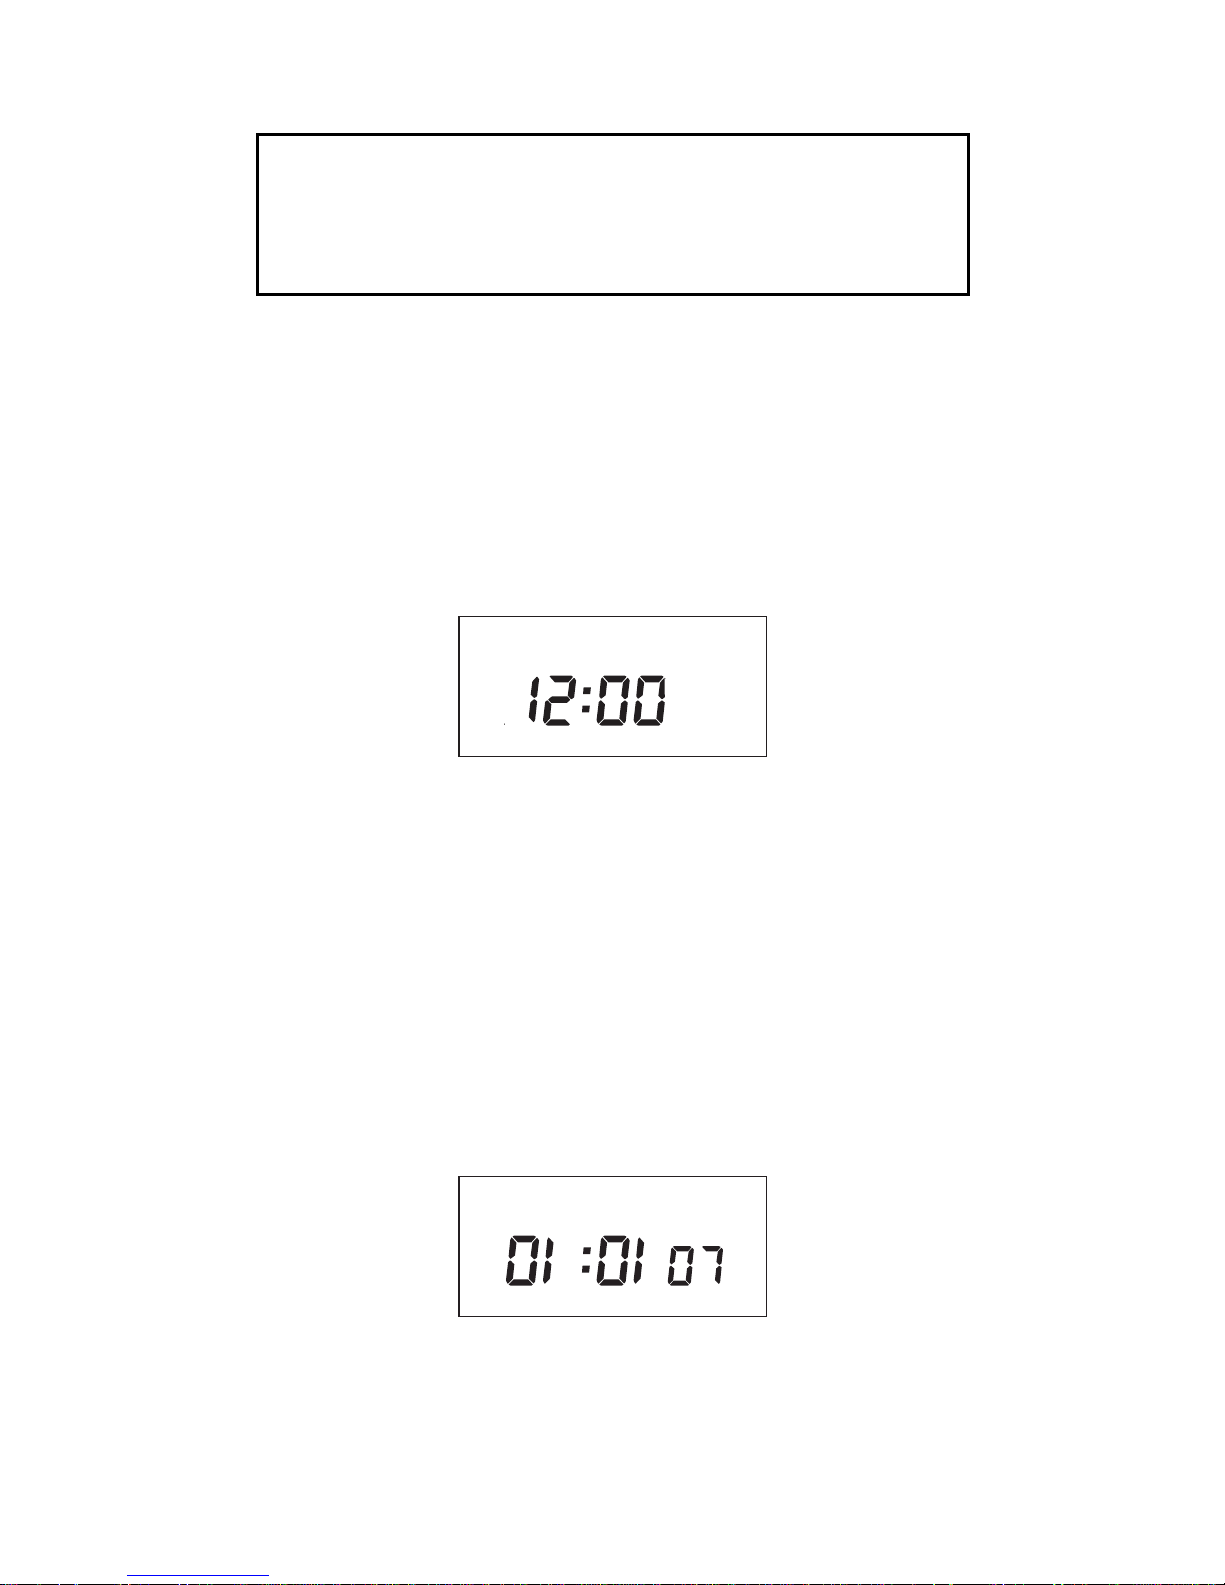
AT POWER UP:
When powering up the unit for the first time, allow 1-2
minutes to charge the supercap, then 12:00 AM will flash
on the display. Press reset button after 2 minutes if screen is
blank.
Press the MODE key to go to the CLK mode. After
pressing the MODE key the display will show:
1.0 TO SET CLOCK
Press HOUR and MIN to advance to the present hour and
mins. Check AM/PM, and press ENTER.
1.1 TO MODIFY CLOCK
Press MODE until the display shows: CLK. Press HOUR and
MIN. to modify clock and press ENTER.
2.0 TO SET DATE
If you are setting for the first time, display will show:
Press MONTH, DATE, and YEAR key to advance to the
desired month, date and year, then press ENTER.
NOTE: The day of the week will automatically set once the
date is set.
MO TU WE TH FR SA SU ASTRO
CLK DATE SCH AUTO MAN
MO TU WE TH FR SA SU ASTRO
CH1 MOM PM OFFSET CH2
DATE SCH AUTO MAN
AM
CLK
Page 6

4
2.1 TO MODIFY DATE
Press MODE until the display shows DATE. Press MONTH,
DATE and YEAR to modify present settings and then press
ENTER.
3.0 DAYLIGHT SAVINGS TIME
After setting or modifying the date, display will show:
a. For standard USA daylight savings (DST), press MODE
and go to step 4.0.
b. For dates other than standard USA dates, press MONTH
and go to step 3.1.
c. If daylight saving time (DST) is NOT required, press DEL
and display will show:
Press ENTER then go to step 4.0.
ON
OFF
ON
OFF
Page 7

5
3.1 TO MODIFY STANDARD USA DAYLIGHT
SAVINGS TIME
NOTE: The first two digits represent the month and the second set of digits represents the week in the month. Choices
for week are 01 (1st), 02 (2nd), 03 (3rd) or L (Last) week of
the month. The default day is Sunday (SU). Once modified
date is set, the unit will automatically calculate the correct
start dates in the future.
Now press the MONTH and DATE buttons to modify the
starting DST settings. Pressing DAY changes default day.
EXAMPLE: A screen showing “04:01 SU S” represents April
(04), the first week (01), Sunday (SU) and the Start (S) of
daylight savings time.
Press ENTER to save and the display will show:
Now press MONTH and DATE buttons to modify the ending
DST settings. Pressing DAY changes default day. EXAMPLE:
A screen showing “10: L SU E” represents October (10),
the last week (L), Sunday (SU), and the End (E) of daylight
savings time.
Press ENTER to save and the display will show the modified
DST starting date.
Press MODE twice to go to step 4.0.
OT U WE TH FR SA SU H
MO TU WE TH FR SA SU H
Page 8

6
4.0 SCHEDULE SET MODE
Press MODE until display shows:
4.1 SETTING HOURS, MINUTES AND DAYS
a. Press HOUR and MIN to set desired time.
b. Press EVENT to set desired event (ON/OFF). Press
DAY to select desired days and then press ENTER. The
display will show:
Follow the same procedures above to set more schedule
entries.
5.0 REVIEW, MODIFY AND DELETE
Press MODE to advance to any of the following MODES:
1. CLOCK MODE: Press HOUR and MIN to modify existing
settings. Press ENTER.
2. DATE MODE: Press MONTH, DATE, and YEAR to modify
existing settings. Press ENTER. DAY is automatically
adjusted.
3. DST (Daylight Saving Time): To review press ENTER. To
change existing settings press MONTH, DAY and DATE,
then press ENTER.
4. SCHEDULE MODE: Press HOUR, MIN and EVENT to
modify time settings. Press DAY to modify days, and DEL
to delete. Press ENTER after each modification.
5. RUN MODE: The time, day, seconds, the load status and
AUTO is displayed.
SCH
CLK DATE AUTO MAN
SCH
Page 9

7
6.0 OVERRIDE
OVR (Override) is effective in the AUTO mode and the
MANUAL mode. OVR on the AUTO mode is effective until
the next event. OVR on the MANUAL mode is effective
indefinitely.
7.0 UPDATE STATUS
EVENT key (in the RUN mode) is used to update the load
status. It will execute the last scheduled event. If there is no
schedule programmed, the display will show --:--
8.0 NOTES
1. MAN MODE: Under this mode the unit disregards the
settings in the schedule mode and remains in its manually set status ON or OFF. NOTE: To resume regular
schedule execution press the mode key to return to AUTO
mode.
2. Unit will go to RUN MODE automatically (except on the
MAN mode) if no key is pressed for five minutes.
3. Clear all memory. All memory can be cleared using the
following procedure: While in the RUN mode, press
ENTER, and display will show:
Use EVENT key to display:
Now press ENTER briefly and everything in the timer
memory will be erased, including real time and date.
NOTE: Unit has permanent memory and will not be
erased unless done through procedure above.
ON
CLK DATE SCH MAN
AUTO
OFF
OFF
CLK DATE SCH MAN
AUTO
ON
Page 10

8
4. Upon powering up your EW101B/103B/120B the
display will show at what frequency the unit is operating.
50 will determine 50Hz or 60 for 60Hz. NOTE: While
in the AUTO mode, if AC power is absent, the display
will show a PF (power failure) instead of the seconds
scrolling up.
5. A “Lo” on the display indicates that the super cap has
run low and the unit needs to be powered with AC. A
minimum of 8 hours is required to fully charge the super
cap.
Page 11

9
NOTE: AFTER MAKING ANY CHANGES TO THE
PROGRAM, PRESS MODE TO GO TO RUN MODE
AND THEN PRESS EVENT TO UPDATE THE LOAD
STATUS.
Page 12

10
Page 13

11
Page 14

12
Page 15

13
Page 16

888.500.4598
USA
www.nsiindustries.com
04.14
 Loading...