

QUICK START GUIDE
1. Screw the Smart Light Bulb into a desired light socket. The Smart Light Bulb will
light up in warm white to indicate it is ready for network setup.
2. Make sure your iPhone or iPad (iOS 8.1 or later) is connected to a 2.4GHz Wi-Fi
network. Using the router utility software, shutdown 5GHz Wi-Fi networks.
3. Download and open the free Koogeek Home app from the App Store.
4. Log in or sign up for a Koogeek account or simply tap Skip.
5. Tap “+” on the top right corner and follow the on-screen directions to complete
network setup.
Note:
To add more light bulbs (or repeat the Smart Light Bulb setup process), tap “+” and
you will see the accessory list. Each accessory has an identification code, e.g.,
Koogeek-XXX-XXXXXX. Make sure the last 6 characters of the identification code is
consistent with the last 6 characters of MAC on your Smart Light Bulb.
6. When prompted, scan the setup code or manually enter the setup code, and
then follow the step to add the device to the Home and Room. Please keep the
setup code for future use.
7. You can assign a name to your Smart Light Bulb and use this name when
speaking to Siri. For example, you can name your Smart Light Bulb “Bedroom
Light”, then launch Siri and speak “Turn on the Bedroom Light”.
8. Set up customized scenes to control multiple devices with a single command.
For example, if you assign the “I'm going to bed” command to the scene of
turning off bedroom light and turning on the living room light, when you speak
“I'm going to bed” to Siri, everything is done.
9. For troubleshooting visit
Note:
The use of a HomeKit-enabled accessory need the follow permissions:
Settings > iCloud > iCloud Drive > Turn On
Settings > iCloud > Keychain > Turn On
Settings > Privacy > HomeKit > Koogeek Home > Turn On
www.koogeek.com
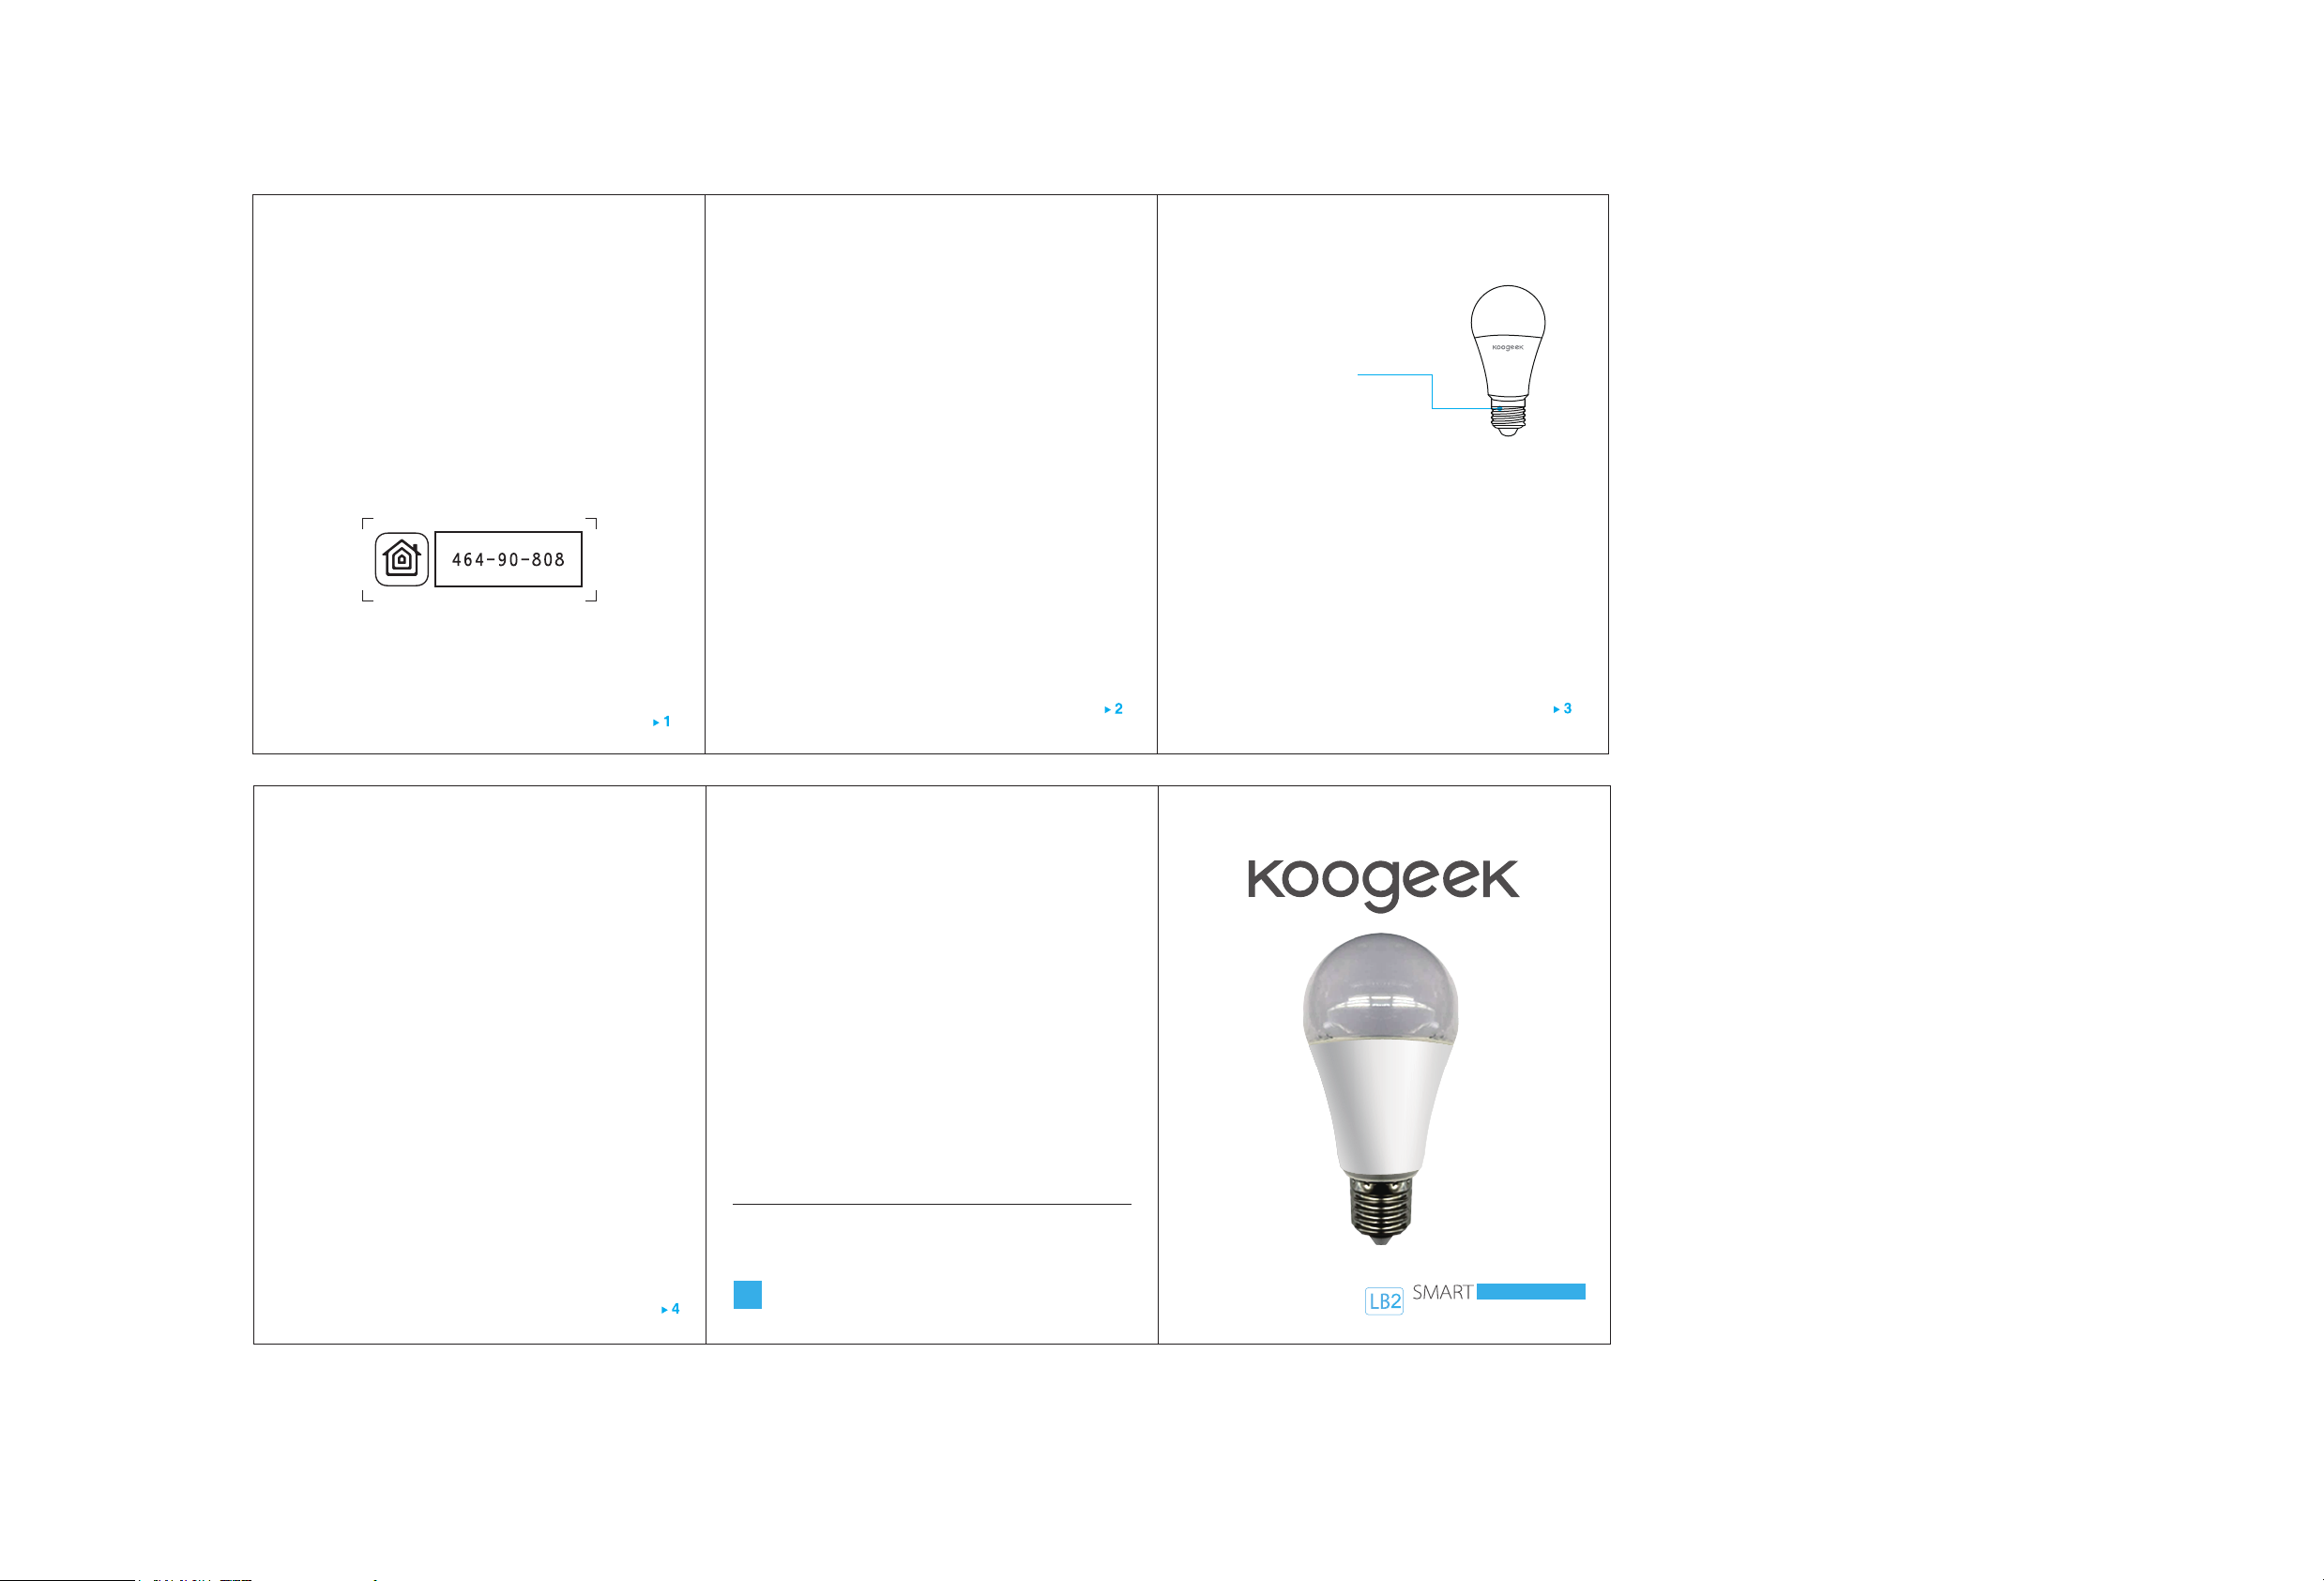
Smart Light Bulb Overview
E27 base
Restore factory settings
After you screw the Smart Light Bulb into your existing light fitting, use your
wall light switch to turn on and off the Smart Light Bulb for 5 times and
then the light color of the Smart Light Bulb will turn red. When the light
color turns cold white again, it indicates that you have restored the device
to factory settings.
Specifications
Input: 100 - 240AC , 50/60 Hz 0.07A ( MAX )
Form factor: E27
LED power: 7W (Max.)
Luminous flux: 500LM
Wi-Fi: 802.11b/g/n, 2.4 GHz ONLY
General use
Safety Warnings
Turn off power before inspection, installation and removal.
For indoor use only
Remove Smart Light Bulb from the light socket before cleaning
DO NOT clean with liquid
DO NOT use in wet or damp areas
Keep children away from Smart Light Bulb
DO NOT exceed the recommended electrical ratings
DO NOT use with dimmers
DO NOT use in enclosed environments
Legal
Use of the Works with Apple HomeKit logo means that an electronic
accessory has been designed to connect specifically to iPod touch, iPhone, or
iPad, respectively, and has been certified by the developer to meet Apple
performance standards. Apple is not responsible for the operation of this
device or its compliance with safety and regulatory standards.
Controlling this HomeKit-enabled accessory automatically and away from
home requires an Apple TV with tvOS 10.1 or later or an iPad with iOS 10.1 or
later set up as a home hub.
Operation is Subject to the Following
Two Conditions
This device complies with Part 15 of the FCC rules. Operation is subject to the following two
conditions: 1) this device may not cause harmful interference, and 2) this device must accept
any interference received, including interference that may cause undesired operation.
Changes or modifications not expressly approved by the party responsible for compliance could
void the user's authority to operate the equipment.
The distance between user and products should be no less than 20cm
This device complies with Industry Canada license-exempt RSS standard(s).
Operation is subject to the follow two conditions: (1) This device may not cause
interference, and (2) this device must accept any interference, including
interference that may cause undesired operation of the device.
Cet appareil est conforme avec Industrie Canada exempts de licence standard
RSS(s). Son fonctionnement est soumis aux deux conditions suivantes: (1) Cet
appareil ne doit pas provoquer d'interférences et (2) cet appareil doit accepter
toute interférence, y compris celles pouvant causer un mauvais fonctionnement
de l'appareil.
Follow Koogeek
f
www.facebook.com/koogeek
QU ICK S TART G UID E
LIGHT BULB

Warning Statement
This device complies with part 15 of the FCC Rules. Operation is subject to the
following two conditions: (1) This device may not cause harmful interference, and (2)
this device must accept any interference received, including interference that may cause
undesired operation.
Any Changes or modifications not expressly approved by the party responsible for
compliance could void the user's authority to operate the equipment.
Note: This equipment has been tested and found to comply with the limits for a Class B
digital device, pursuant to part 15 of the FCC Rules. These limits are designed to
provide reasonable protection against harmful interference in a residential installation.
This equipment generates uses and can radiate radio frequency energy and, if not
installed and used in accordance with the instructions, may cause harmful interference
to radio communications. However, there is no guarantee that interference will not
occur in a particular installation. If this equipment does cause harmful interference to
radio or television reception, which can be determined by turning the equipment off and
on, the user is encouraged to try to correct the interference by one or more of the
following measures:
-Reorient or relocate the receiving antenna.
-Increase the separation between the equipment and receiver.
-Connect the equipment into an outlet on a circuit different from that to which the
receiver is connected.
-Consult the dealer or an experienced radio/TV technician for help.
This equipment complies with FCC radiation exposure limits set forth for an
uncontrolled environment. This equipment should be installed and operated with
minimum distance 20cm between the radiator & your body.
 Loading...