

Page 1
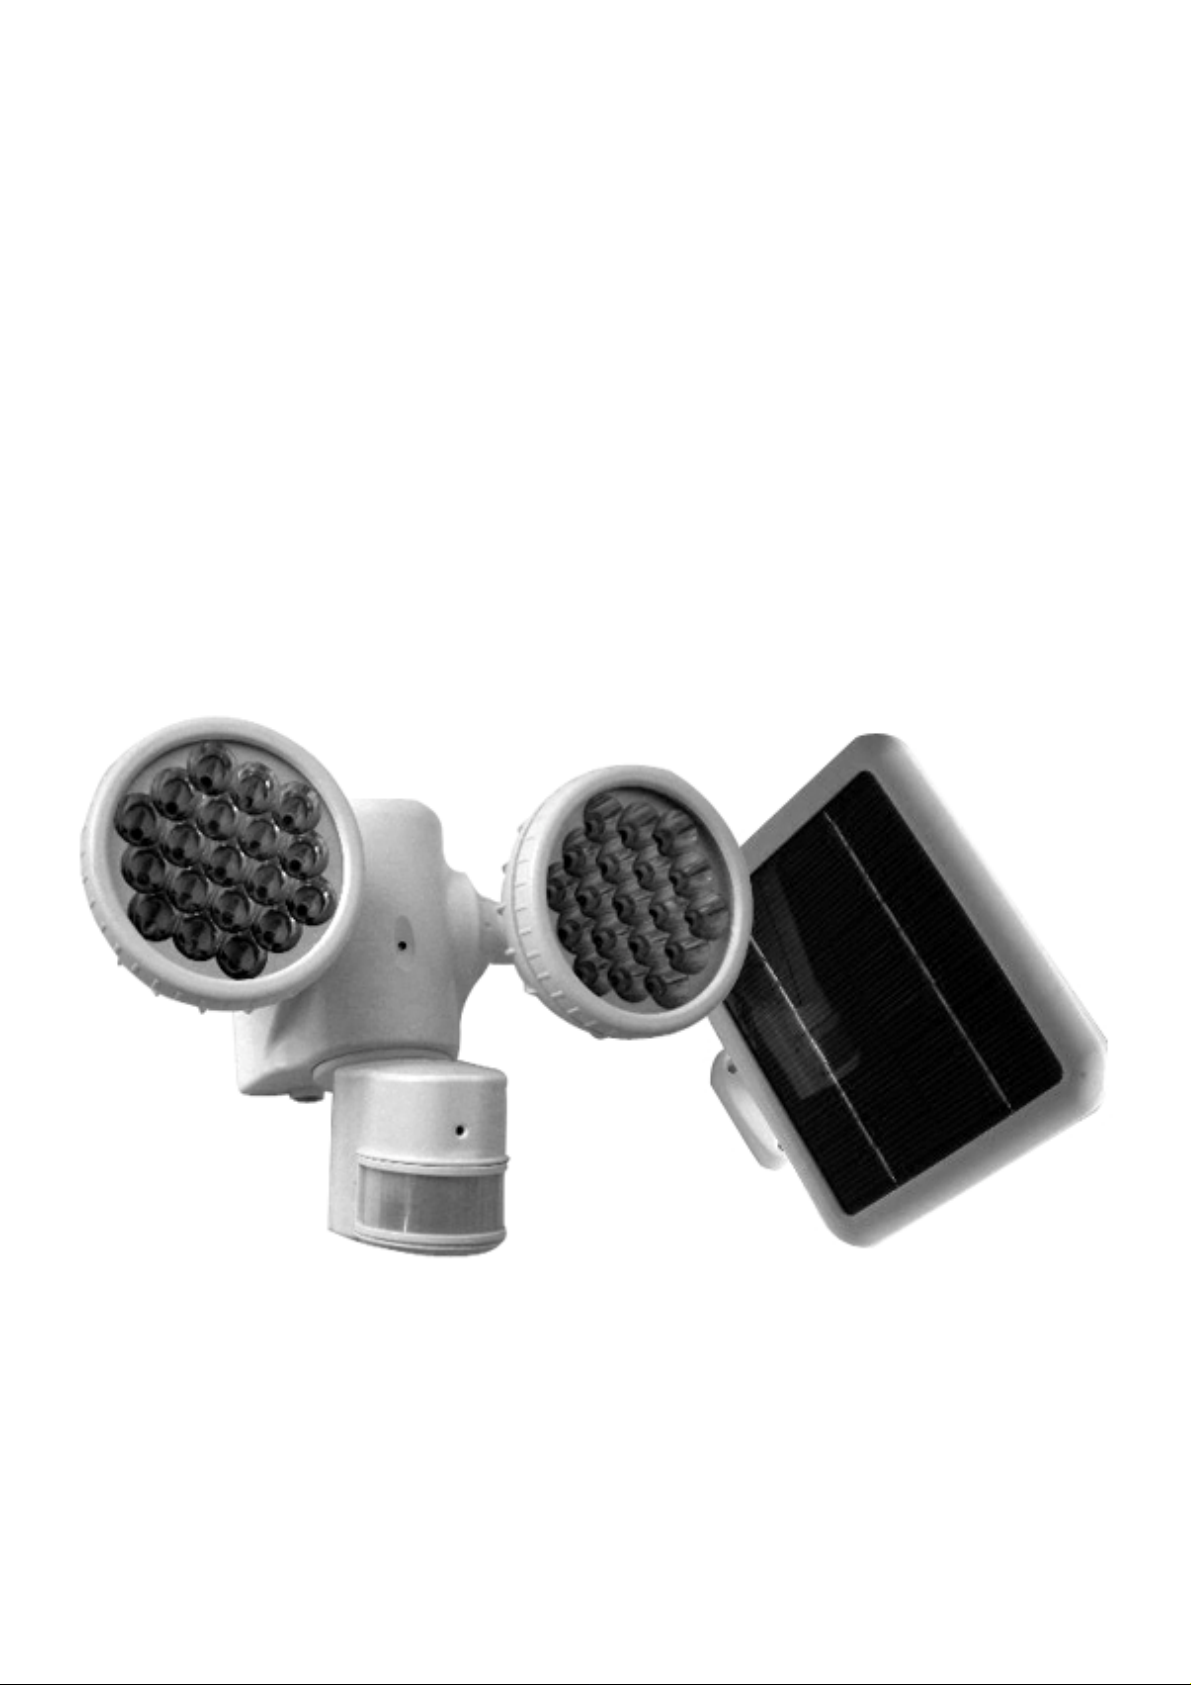
Motion Activated
Solar Powered LED Security Light
MODEL: XP-2H38WCPure Digital Version
Page 2

Please do not return this item to the store.
Introduction
Thank you for purchasing theXP-2H38WC light with the digitally controlled system.
With its easy setup and lightweight design, the XP-2H38WC conforms to most of
your lighting needs. It’s the most cost-effective way to illuminate and protect are as
around your home, business and recreational area, especially where AC is not
accessible.
No matter the area, environmentally friendly solar energy is converted to electricity
so that lighting is available wherever and whenever you desire. Simply install or set
the solar charging panel in a suitable area facing the sky where sun exposure is
prevalent. The attached 15’ cable provides sufficient length for easy placement.
When fully charged and switched to the ON mode, the XP-2H38WC will provide up
to at least 5 hours of continuous illumination. In AUTO mode, (normal operation
setting) the light illuminates when it is dark and motion is detected, then
automatically resets.
Important Safety Information
• Do not expose the light to fire or intense heat.
• Do not dispose of battery in fire.
• Do not immerse in water.
• Never look directly into the light or shine in another person’s eyes.
• Do not dispose the rechargeable battery in a regular waste system, waterway,
stream or any other body of water.
• Preserve the environment by disposing battery in accordance with local, state
and federal regulations
• Consult your local construction safety guidelines for installing the lightfixture on
a building.
2
Page 3

What’s Inside the Package
• LED XP-2H38WC solar light with battery • Screws
• Solar charging panel with 15’ Cable • Anchors
• User manual •Receiver
• Installation sheet • Adapter
• AV line
Installation Recommendations
• TheXP-2H38WC light fixture should be installed on a flat and stable
surface.The higher the installation the larger the area of illumination.
• Avoid installing the light near an air conditioner, heater or high
voltagesystem as quick changes in temperature may cause the motion
detectionsystem to produce false triggers and illuminate the light
needlessly.
• Avoid positioning the motion sensor head towards street traffic or
whereother movements may trigger the light needlessly and therefore
drain thebattery prematurely.
• The solar panel should be installed in a sunny area facing the sky where
direct sunlight can shine on the panel for at least 3 - 5 hours per day.
• Motion detection is most sensitive to movement moving across the
deviceand less sensitive when motion is moving directly towards or
away.
• Use a soft damp cloth to periodically clean the solar panel
fromaccumulated dust or snow. This will preserve solar panel efficiency
whencharging the battery.
FCC Part 15 Class B & C
CAUTION: Modifications are not approved by the party responsible for compliance
could void user’s authority to operate the equipment.
NOTE: This equipment has been tested and found to comply with the limits for
Class B digital device, pursuant to part 15 of the FCC Rules. These limits are
designed to provide reasonable protection against harmful interference in a
residential installation. This equipment generates uses and can radiate radio
frequency energy and, if not installed and used in accordance with the instructions,
may cause harmful interference to radio or television reception, which can be
3
Page 4

determined by turning the equipment off and on, the user is encouraged to try to
correct the interference by one or more of the following measures:
•Reorient or relocate the receiving antenna.
•Increase the separation between the equipment and the receiver.
•Connect the equipment into an outlet on a circuit different from that to which the
receiver is connected.
•Consult the dealer or an experienced radio/TV technician for help.
This device complies with part 15 of the FCC Rules. Operation is subject to the
following two conditions: (1) This device may not cause harmful interference, and (2)
this device must accept any interference received, including interference that may
cause undesired operation.
Installation
1) Mark the holes on the wall through
the Installation paper. Drill holes with an
appropriate bit and insert plastic
anchors into the holes.
3) Find a location for the solar panel
that receives direct sunlight for a
minimum of 3-5 hours a day and
within 15’ of where the solar light will
be installed.
2) Place the light on the wall and secure
with screws.
4) Mark the holes through the
installation sheet of solar panel.
Page 5

Installation
5) Drill holes with an
appropriate drill bit and insert
plastic anchors into stucco,
concrete or brick.
4
6) Completely insert the cable plug
from the solar panel into the INPUT
hole located at the bottom of the light.
7) Adjust the motion detection sensor
and cameral towards the desired
coverage area.
Functions & Adjustments
• OFF: no illumination; no camera. Product will be completely off.
• AUTO: 5 minutes test mode before Self-Induction mode. Test mode working at
nighttime and daytime, lamp and camera will working only if product receiving any
infrared signal. Camera and LED lamp will turn off after a short time-lapse.
Self-Induction mode only working at nighttime, lamp and camera will be working
only if product receiving any infrared signal. Camera will turn off after a short
time-lapse, and lamp begin to turn off decreasingly.
• ON: intellective ON mode. In this mode LED lamps will always be on. If no infrared
signal detected, camera will turn off after 1 minute, and then lamp brightness will
lower to the lowest brightness (20% of the highest brightness) gradually, LED lamp
will be back to the highest brightness if any infrared signal detected.
• Switch ON position to AUTO position: back to self-induction mode
Page 6

• When receiver receiving image, buzzer emits warning as “bing bing”, indicator light
will flash at the same time. Press the button on receiver to stop
indicator light will continue flashing.
buzzer, and the
5mm+CAM double heads lamp technology
•High efficiency chargeable battery: charge and discharge under the control of
intelligent algorithm to maximum the efficiency of chargeable battery.
•High motion distance: more than 10 meters.
•Lithium-polymer battery supply: high power consistency, small volume, high safety,
zero pollution.
•High brightness illumination: special optics technology, super high brightness
•Wireless transfer: image transfer to the receiver by wireless technology, and
display on screen at the same time.
•Buzzer: When receiver receiving image, alarm and flash light will working at the
same time to remind user to check.
Recharge
• Plug in solar panel charger, battery will charge when switch is set to the OFF, ON
or AUTO positions.
• Selectively: charge the light with power adapter (9V, 1A).
Warning: Only rechargeable battery should be used!
Wireless Receiver Use
Diagrams
Power/Buzzer switch
Antenna
Channel Light
AUDIO output
VIDEO output
Status Light
DC input plug
Page 7

Receiver operation instruction
• Use AV cable connect to TV/Monitor
• Insert the 12V power adaptor into the power jack of the receiver, power on it.
• Antenna: Adjust receiving image effects (turn left/right)
• Buzzer Switch:
a. Under video buzz reminder condition: Press this key to shutdown buzz warn,
buzzing reminder again once receive video signal.
b. Under Buzzer reminder is opened condition: Press this key for one second to
shutdown, reminder function closed after a long sounded
c. Under Buzzer reminder closed condition: Press this key for one second to start,
reminder function is open after a long sounded
• Channel indicator light: indicator light will bright when you open the receiver.
Prompt you channels 2
• St atus indicator l amp: Flicker when receiver receive effective video signal, there is
no flicker if you open without video signal, status indicator lamp is bright when you
close the receiver.
Function operation
• Receiver connect to power adaptor, Status indicator lamp will open,
channel indicator light bright, buzzer start to ring when receive video signal,
status indicator lamp start to flashing when receive video signal, Through
TV/Monitor can view images and hear the sound, changed position of the
transmitter and put it at anywhere you want, monitoring is done.
• Press the buzzer switch if you want to stop video reminder.
• Press buzzer switch for one second until you hear buzzer sounds the alarm
if you want to stop buzzer reminder. Press this switch for one second and
the buzzer start to ring for a while. Restart buzzer reminder is done.(another
way: unplug of the power adapter and wait for 30 seconds, connect the
power adapter then turn on the receiver)
NOTES:
radio interference and wrong trigger, buzzer rang error, this belongs
to the normal situation, please try to far from the interference,
transmitter and receiver distance as far as possible in the image clear
stable effective range, reduce mistakenly trigger, buzzer rang error
This item is wireless products, sometimes will be affected by
7
Page 8

Troubleshooting Tips
Symptom Possible Solution
• In AUTO mode, light illuminates only when motion is detected when
dark.
• Make sure solar panel plug is fully inserted.
• In ON mode, light illuminates until battery is drained.
• Make certain the battery plug is connected inside the battery
The light will not illuminate
compartment.
• Battery energy is low; set switch to OFF or AUTO mode and allow
solar panel to absorb direct sunlight for 2+ days in order to recharge
battery fully.
• Make sure there is no other bright light source near the unit.
The light provides less than
5 hours of continuous
illumination in AUTOmode
Motion is not detected within
the coverage area
The battery does not fully
charge
The light stays on
continuously while in AUTO
mode
The lights on the receiver do
not work
• Battery is at less than 100% full charge; switch to OFF mode and
allow solar panel to absorb direct sunlight for two days in order to
recharge.
• Avoid installing the light near air conditioner , centralheater, or hot air
flow.
• Check the motion sensor lens for dust or damage.
• While in AUTO mode, if there is frequent activity fromdusk to dawn
or continuous overcast days, the solarpanel may not convert
sufficient ambient daylight torecharge the battery sufficiently.
• Reposition solar panel to receive more sunlight.
• Clean dust and debris from solar panel.
• Make sure the solar panel cable is not damaged.
• Check the motion detector sensor head to ensure that it is not
directed towards street traffic or where other movements may trigger
the light needlessly.
• Check the motion detector sensor head to ensure that it is not
directed towards street traffic or where other movements may trigger
the light needlessly.
There is not a picture on the
monitor or the picture is not
clear and have a lot of noise
•
Please check if the transmitter is working with the power supply or
not ; the distance between the receiver and transmitter can not
beyond the limited distance(open area 50-100m) , there are not a
obstacle between the receiver and transmitter ( For example :the
steel-building ); the frequency of the receiver must the same as the
frequency of the transmitter ,( It can not have two transmitters with the
same frequency work at the same time ); the antenna of the receiver
must insert in the receiver well. The antenna of the receiver must far
from the copper, iron and the walk-taker , radio station and so on .
8
Page 9

Specifications
Rechargeable Battery: 7.4V/2200mah lithium-polymer battery
Solar Charging Panel: 10V/2.5W Monocrystalline
Continuous Illumination Time: >5 hours
Complies with FCC Part 15 Class B & C and ICES-003:2004
Emission frequency: 906MHz
Luminous flux:>130lm
Color temperature: 6000K~7000K
Motion distance: >10m
Motion range:160°
Resolution: 320Line
Switch mode: OFF-AUTO-ON
Receiver power supply: DC12V
Receiver sensitivity:≤-85dBm
Mode: NTSC
LED: 38pcs of super brightness LED
Product size: Lamp: 230mm X125 mm X195mm
Solar panel: 180 mm X150 mmX15mm
Receiver: 91 mmX45 mmX120mm
9
 Loading...