

Page 1
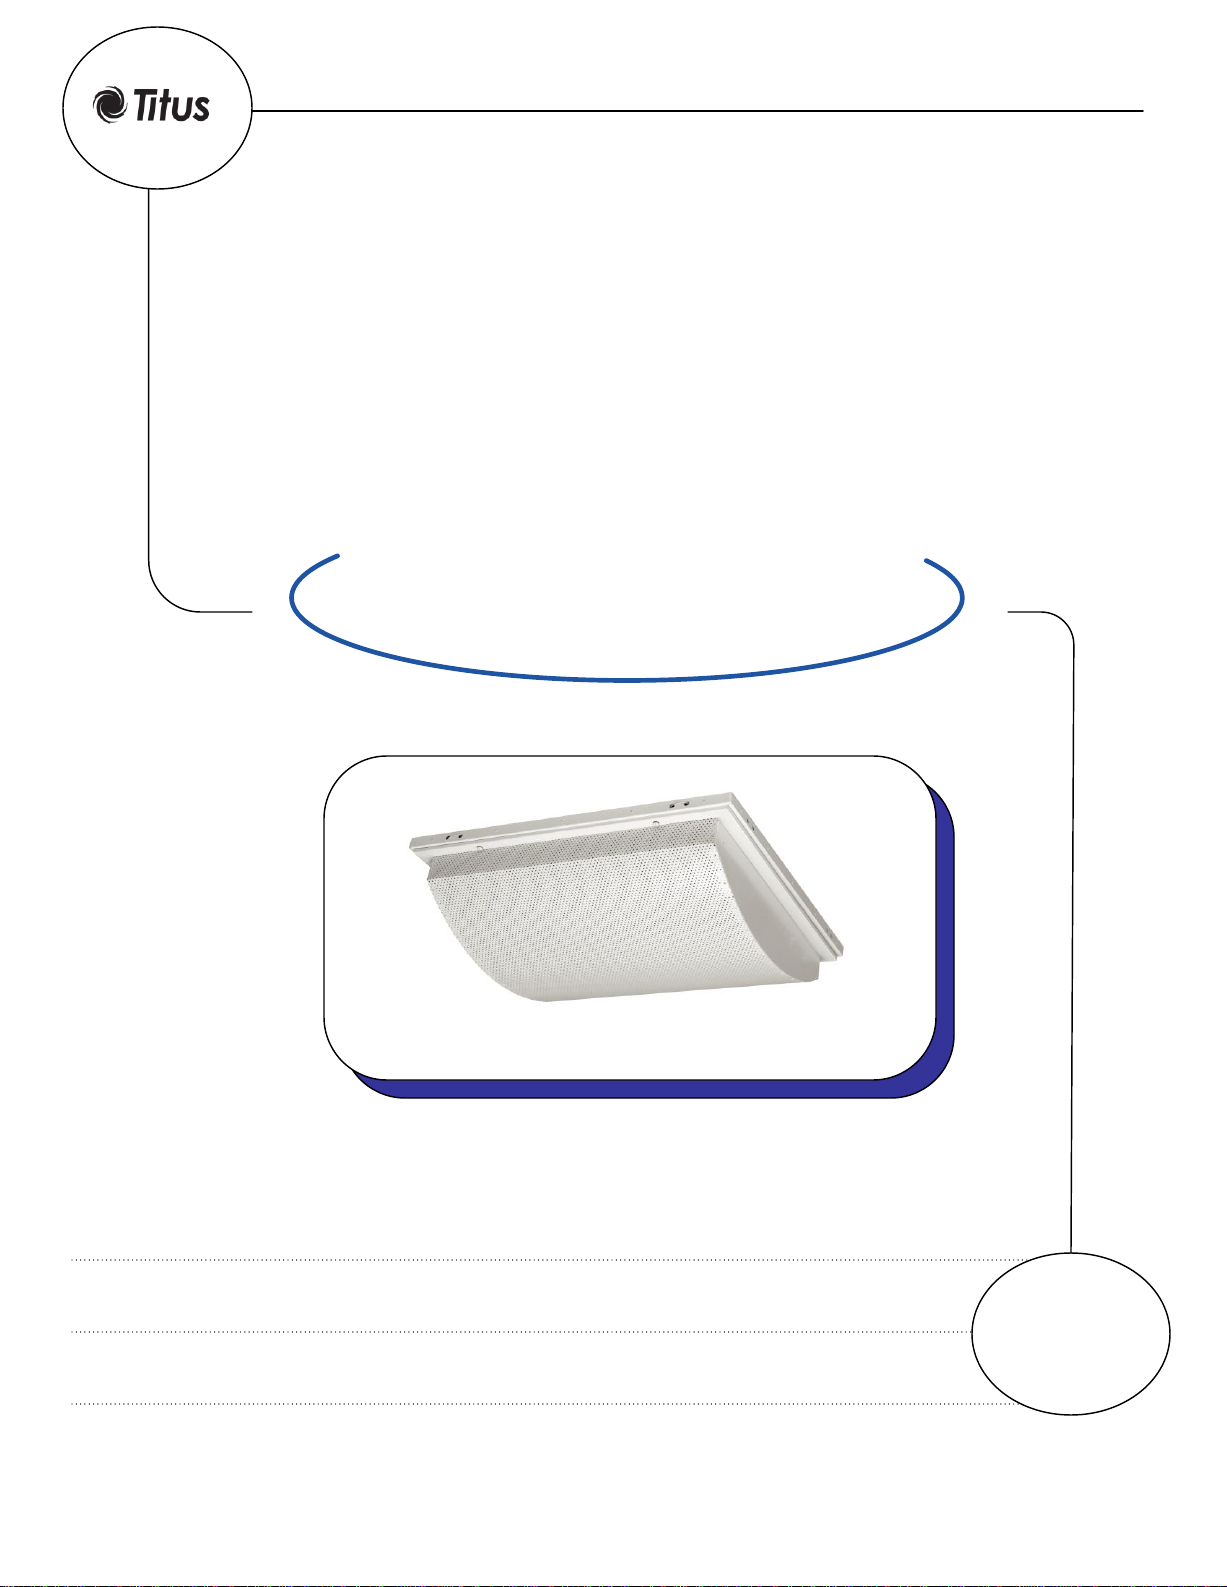
Installation Guide
RadiaTec
Diffuser
RadiaTec-IOM 9-6-13
• Lay-In Ceiling Grid Installation
• Surface Mount Installation
• Cleaning and HEPA Filter Replacement
Pages 2 - 4
Pages 5 - 7
Pages 8 - 9
Page 2
RadiaTec Diffusers
Lay-In Ceiling Grid Installation
Titus RadiaTec diffusers are designed for both 1-inch and 1½-inch t-bar ceiling systems.
The diffuser face is a slightly different size for each t-bar system (see RadiaTec submittal
information), though the installation is the same.
Page 2
Page 3

RadiaTec Diffusers
Lay-In Ceiling Grid Installation
The diffuser face can be assembled to the back pan prior to installation. Due to the weight of
the diffuser, the Titus RadiaTec was designed for assembly in the ceiling, if necessary. To
assemble the diffuser in the ceiling, use the following steps:
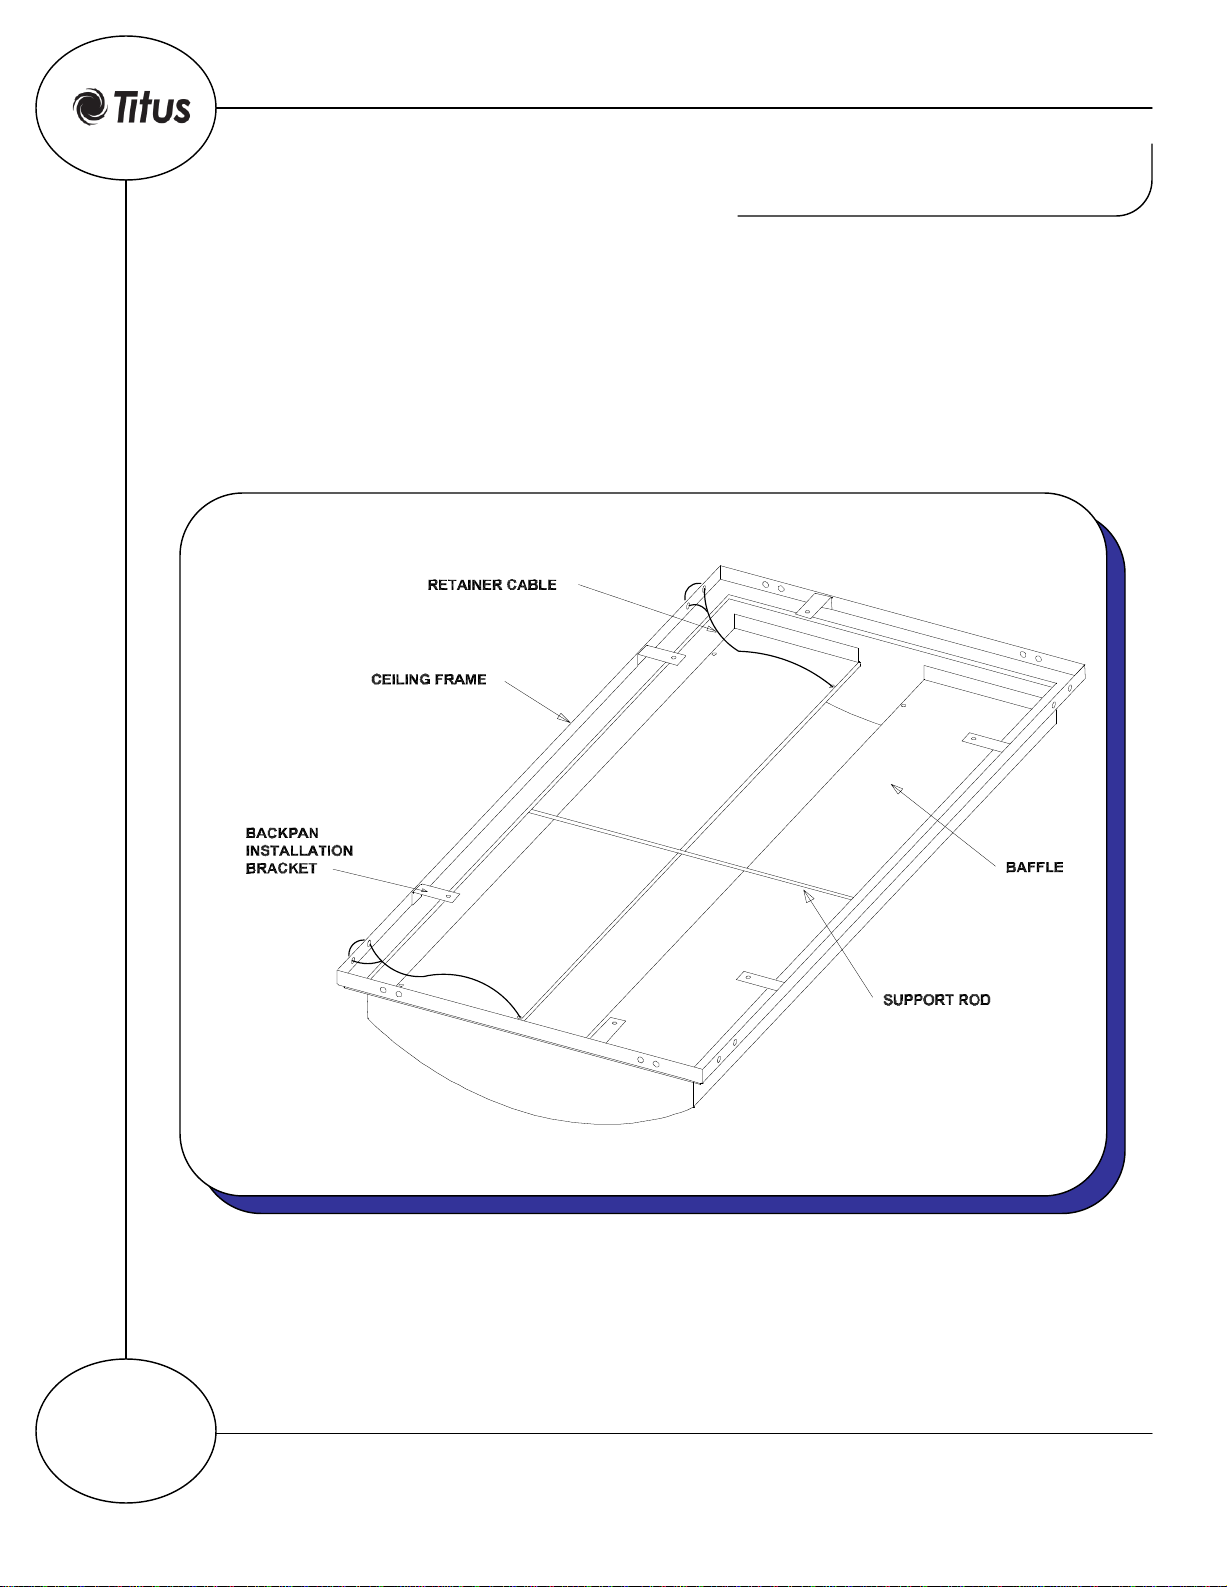
STEP 1. Lay the diffuser face on the T-bar. See Figure 1 for major installation
components.
STEP 2. Install hanging wires through the holes in the diffuser frame and tighten the
wires. See Figure 1.
STEP 3. Lay the back pan on the diffuser frame using an adjacent open ceiling panel
as shown in Figure 2.
STEP 4. Use the self-tapping screws provided to fasten the back pan flange to the
installation brackets on the diffuser face. Figure 3 shows the self-
tapping screws.
STEP 5. Attach the duct to the back pan.
Figure 1
(Continued)
Figure 2 Figure 3
Page 3
Page 4

RadiaTec Diffusers
Lay-In Ceiling Grid Installation
For models ordered with HEPA filter rack, follow the directions on the preceding
page with the following exceptions:
A. Gasketing is a standard option for HEPA rack models. Figure 4 shows the
general location of gasket, while Figure 5 shows a close up view of
where the gasketing is often applied
B. Instead of Step 4 in the preceding steps, the screws are used to attach the
back pan flange to the HEPA filter frame.
C. Follow the Cleaning and HEPA Filter Replacement installation guidelines on
Page 9 to install the filter.
Figure 4
(Continued)
Page 4
Figure 5
Page 5

RadiaTec Diffusers
Surface Mount Installation
Surface mounting of the Titus RadiaTec diffuser is accomplished with the use of the Titus
TRM rapid mount frame.
The diffuser face can be assembled to the back pan prior to installation. Due to the weight of
the diffuser, the Titus RadiaTec was designed for assembly in the ceiling, if necessary. The
assumption for the following installation procedure is access to the ceiling space is limited.
To assemble the diffuser in the ceiling, use the information provided in the following steps:
STEP 1. Install back pan by attaching to duct and using wires to suspend it from the
ceiling above.
STEP 2. Install the Titus TRM Rapid Mount frame by wedging the ceiling between
the security clip and the frame, assemble together using self-tapping
screws supplied. Figure 6 shows a detailed view of the security clip
mounting.
STEP 3. Lay the diffuser face into the TRM frame. Figure 7 shows the TRM frame
and other installation components.
Figure 6
Figure 7
Page 5
Page 6

RadiaTec Diffusers
Surface Mount Installation
STEP 4. Open the diffuser face by loosening all ¼-turn fasteners. Figure 8 shows the
face screen in the secured position and Figure 9 shows the face screen
opened and a new filter being inserted.
Note: The diffuser face must be supported when this occurs, as the face will
swing open and hang by the retainer cables.
STEP 5. Install hanging wires through the holes in the diffuser frame and
tighten the wires. See Figure 1.
STEP 6. Use the self-tapping screws supplied to attach the back pan flange to the back
pan installation brackets. This can be done from the room-side. Figure
10 shows self-tapping screw locations.
STEP 7. Restore diffuser face and lock all ¼-turn fasteners. Figure 8 shows the location
of ¼-turn fasteners.
Figure 8
(Continued)
Page 6
Figure 9
Figure 10
Page 7

RadiaTec Diffusers
Surface Mount Installation
For models ordered with HEPA filter rack, follow the above directions with these exceptions:
A. Gasketing is a standard option for HEPA rack models. Figure 11 shows the
general location of gasket, while Figure 12 shows a close up view of where
the gasketing is often applied.
B. Instead of Step 6 in the preceding steps, the screws are used to attach the back
pan flange to the HEPA filter frame.
C. Follow the Cleaning and HEPA Filter Replacement installation guidelines on
Page 9 to install the filter.
Figure 11
(Continued)
Page 7
Figure 12
Page 8

RadiaTec Diffusers
Cleaning and HEPA Filter Replacement
The Titus RadiaTec diffuser was designed for easy room-side access to the internal
components for cleaning and filter replacement without removing the diffuser from
the ceiling. The face is attached to the diffuser frame with ¼-turn fasteners.
Opening these fasteners allow the face to hang for full access for cleaning and filter
replacement.
Page 8
Page 9

RadiaTec Diffusers
Cleaning and HEPA Filter Replacement
Use the following information for filtering cleaning and replacement.
STEP 1. Loosen all ¼-turn fasteners.
NOTE: The diffuser face must be supported when this occurs, as the face
will swing open and hang by the retainer cables. Figure 14 shows
the face screen in the secured position and Figure 15 shows the face
screen opened and a new filter being inserted.
STEP 2. For HEPA filter rack models, loosening the wing nuts will allow filter
to be removed (Figure 16).
STEP 3. Align gel seal on replacement filter with knife-edge in diffuser back pan and
push for tight seal. Replace filter support and tighten wing nuts as
shown in Figure 16.
STEP 4. Restore diffuser face and lock all ¼-turn fasteners. Figure 14 shows the
location of ¼-turn fasteners.
Note: Figure 13 shows the profile and critical dimensions within a RadiaTec with HEPA
filter rack. Dimensions for this example are based on Maryland-based Filtertech
Company's HEPA filter model. These dimensions will vary by filter manufacturer. Verify
filter dimensions and gel seal location prior to ordering replacement filters.
(Continued)
Figure 13
Figure 15 Figure 16
Figure 14
Page 9
 Loading...