

Tiny Audio M6 User Manual
Please read this user manual carefully before using receiver
User Manual
Tiny Audio M6
LOCATION OF CONTROLS
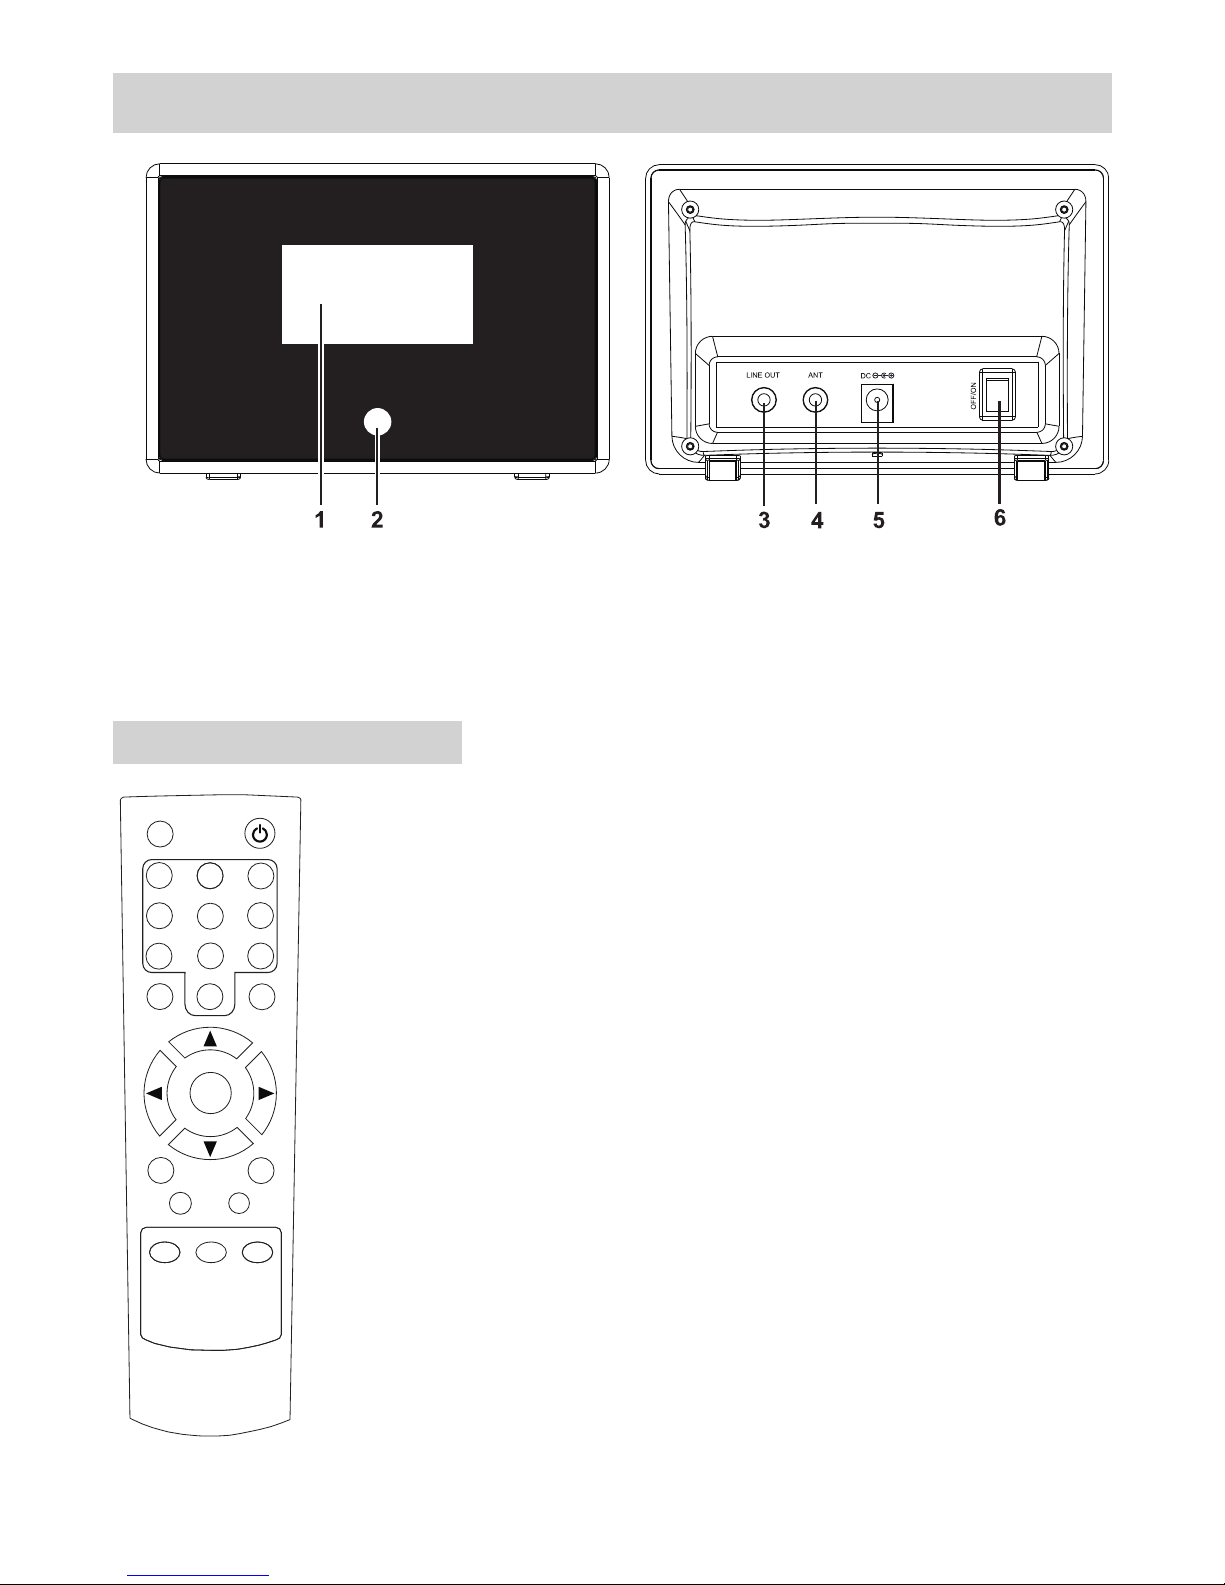
Remoter controller:
-1-
Mute
1
2
3
4
5
6
7
8
9
10
Sele ct
CLK Se t
Slee p
Menu
Scan
Power
Alar m1
Mode
Info
Alar m2
Dimm er
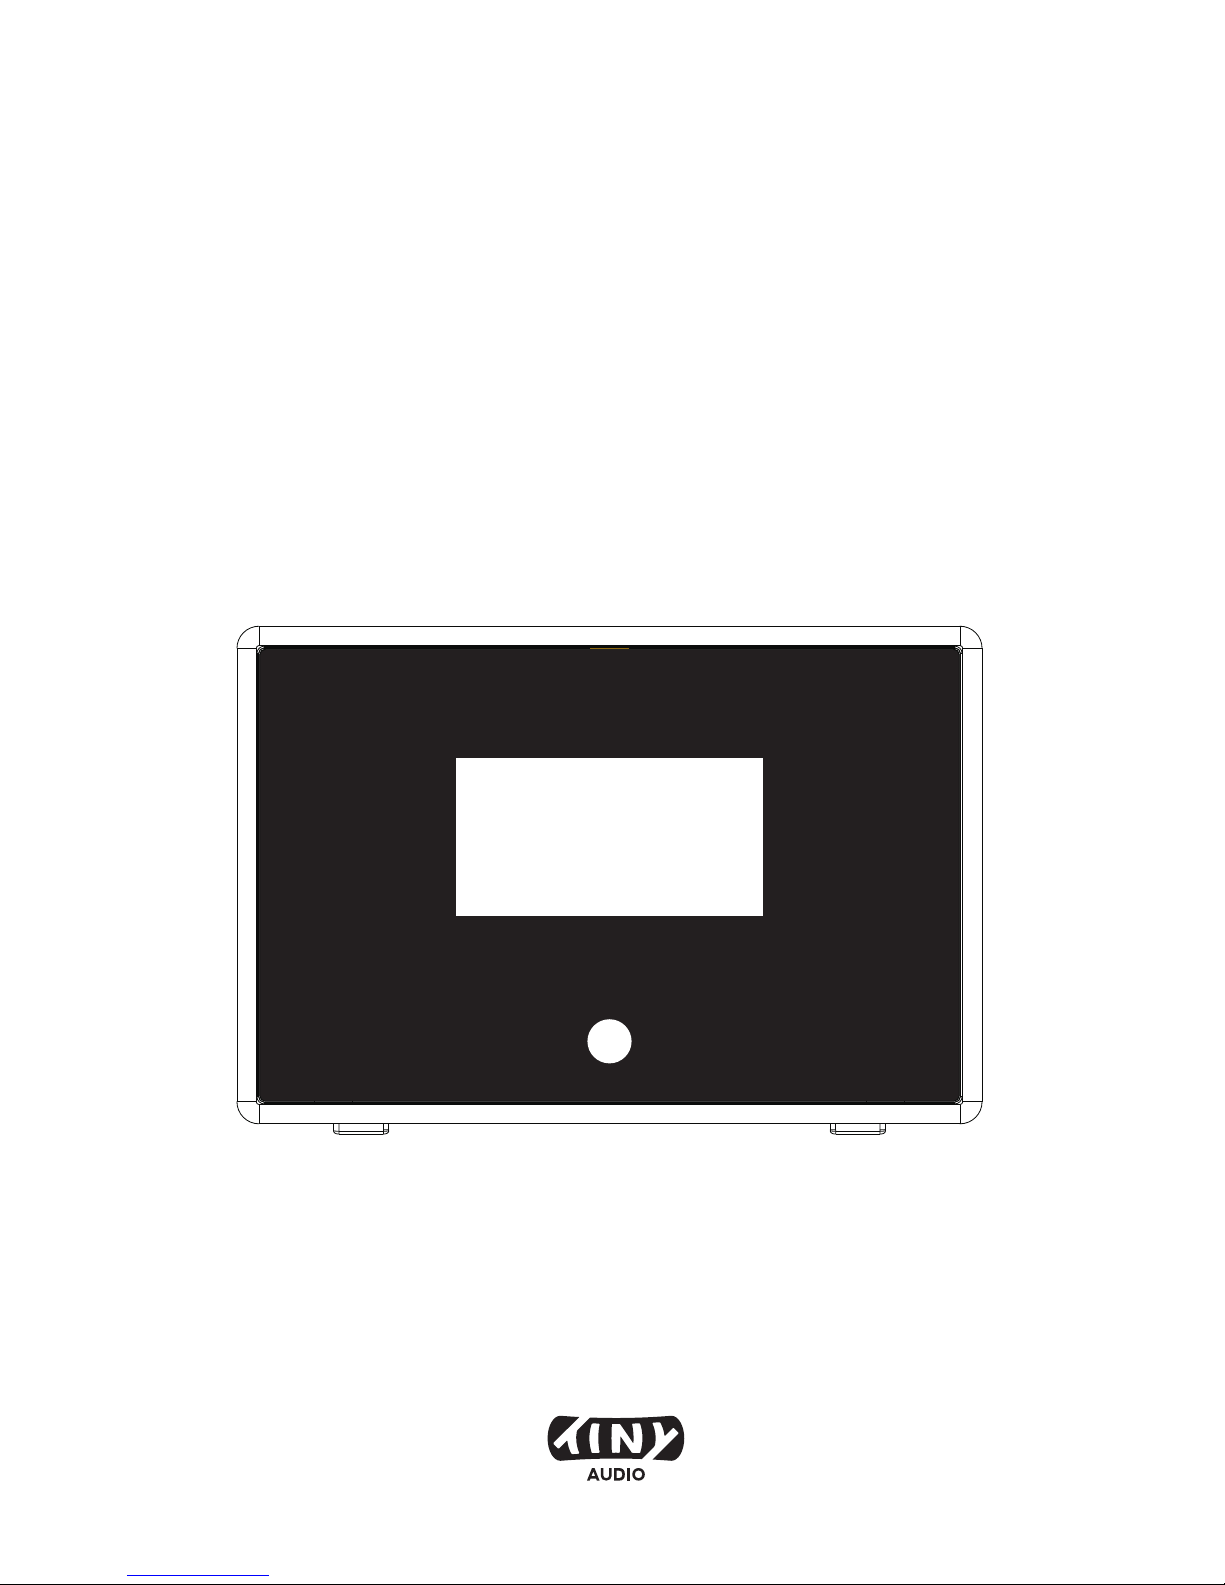
1. LCD Display Window 4. 3.5mm Antenna Input Socket
2. IR Remote Control Sensor 5. DC socket
3. 3.5mm Stereo Line Out Socket 6. Power Switch On/Off
1. POWER: Turns the radio on or into standby mode
2. MUTE: Audio mute on and audio mute off
3. Mode: Changes the mode from DAB+ to FM or from FM to
DAB+
4. Scan: Press it to scan FM or DAB station.
5. INFO: Press it to browse over the information
6. 0--10: Numeric buttons for Store and Recall functions.
7. Alarm1/2: Press it to set the alarm.
8. Menu: Press it to go for Menu settings.
9. Press for volume up and for volume down.
10. : Press it to scroll the previous station or frequency or
option.
11. : Press it to scroll the next station or frequency or
option.
12. Select: Press it to confirm the operation.
13. CLK Set: Hold it to set the clock.
14. Sleep: Hold it to set the sleep time.
15. Dimmer: Press to light the backlight, press again to
disable it.
p/q : p q
t
u
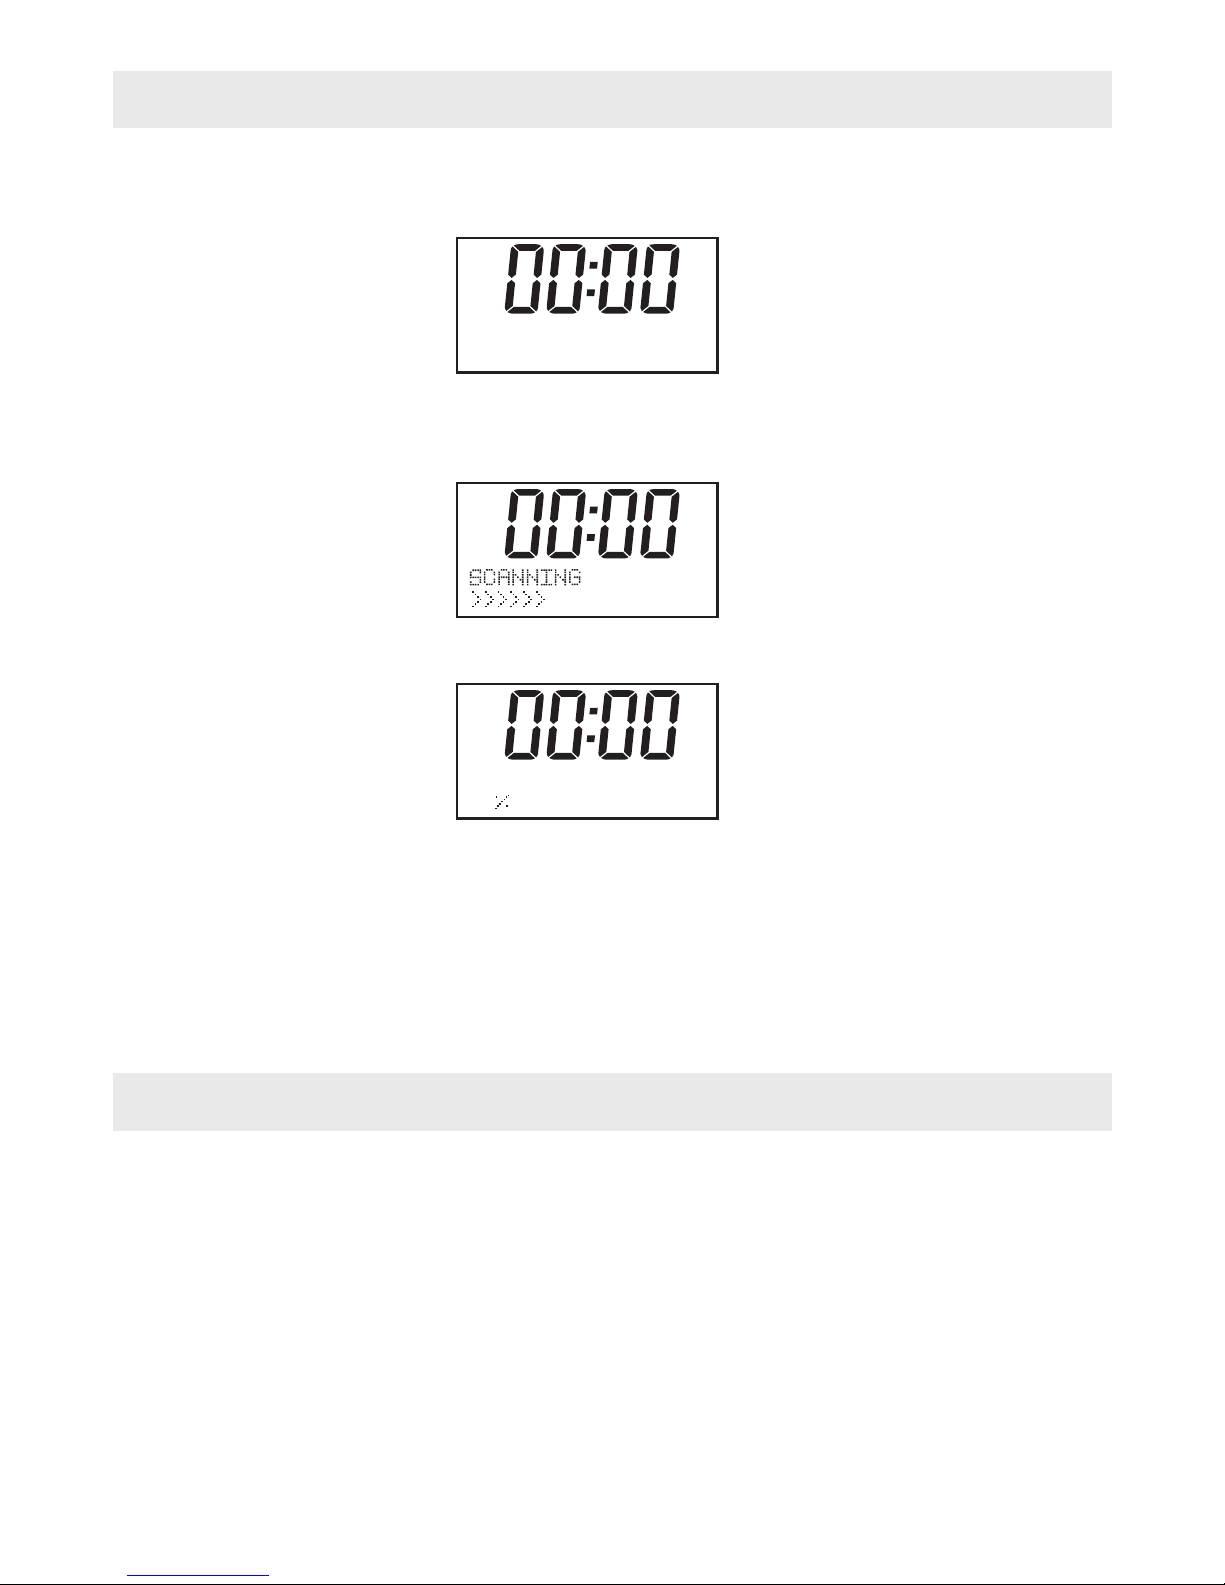
Start up
1. Connect the radio to mains power using an adaptor, and switch on the main switch on the
back cabinet, it will show
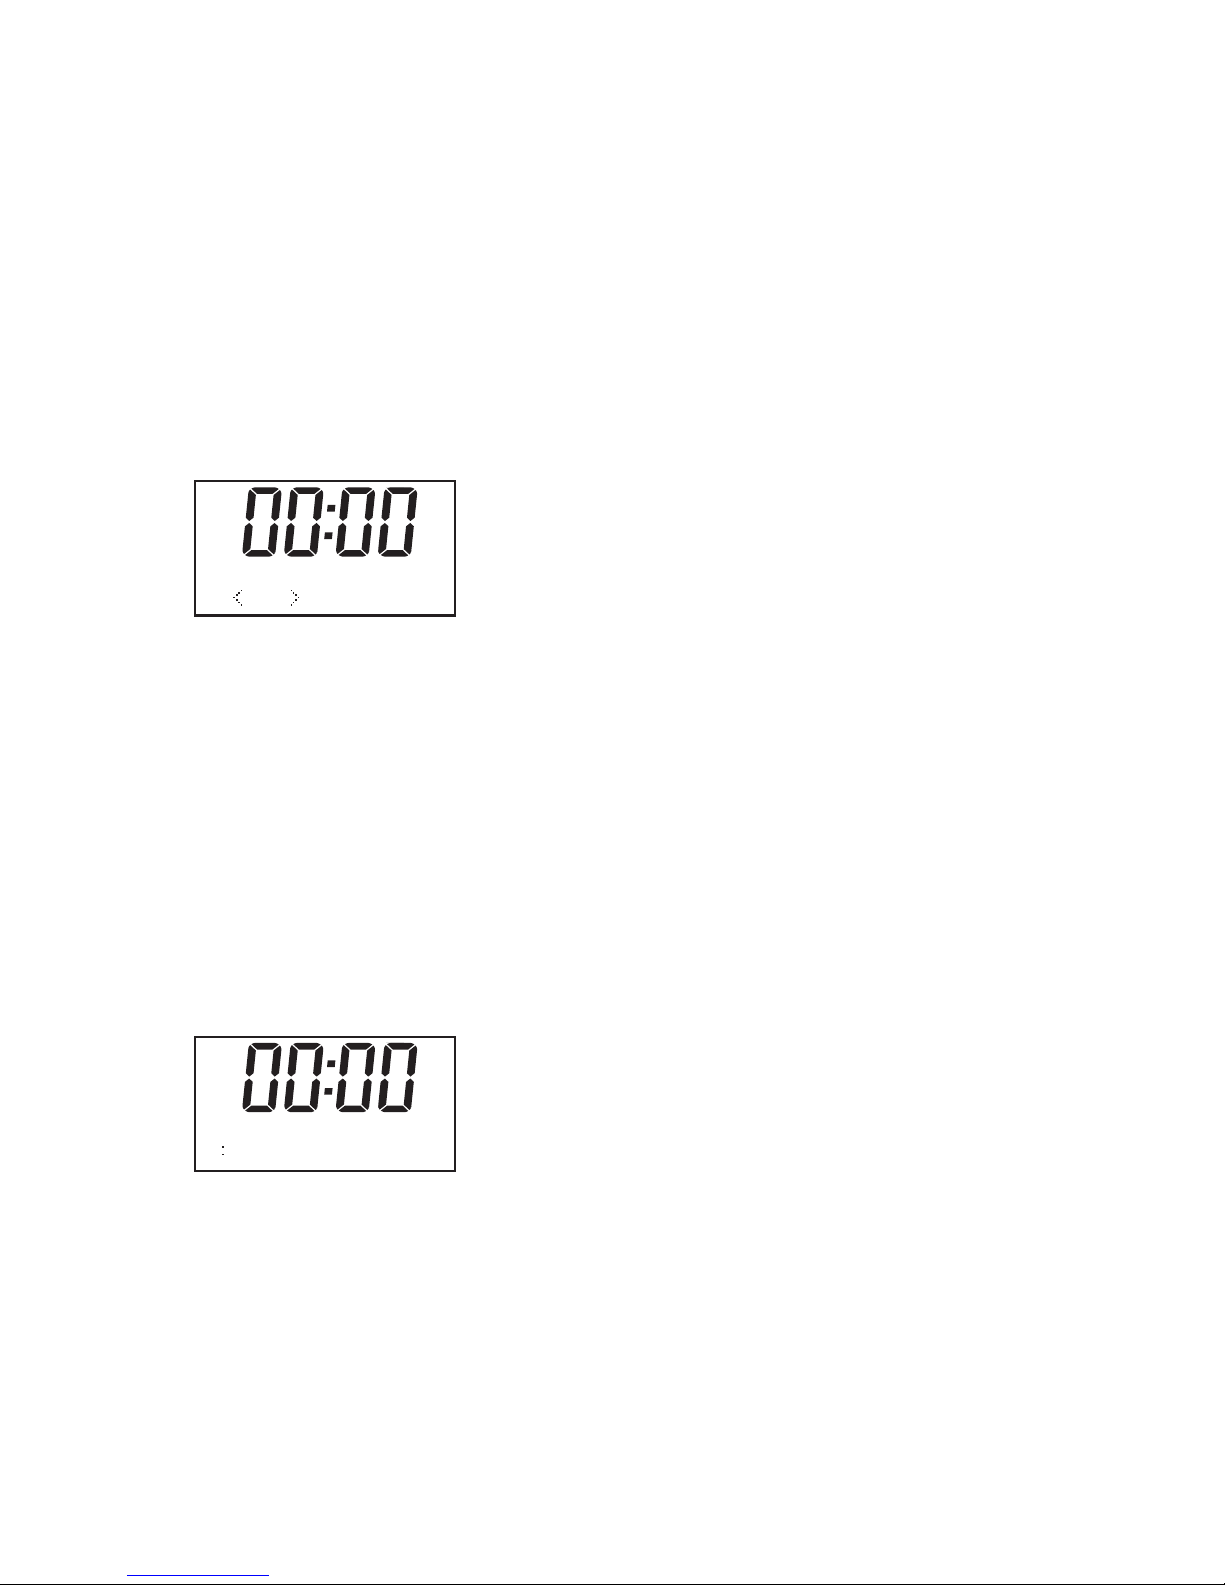
Then enter into standby mode with original clock “00:00”
2. When the radio is powered on for the first time by RC, it will start as below:
for available Digital Radio stations.
When the scan is completed, the first station (alphabetically) will begin to play.
3. Press the “POWER” button once, the radio will change from operation mode to standby
mode and the backlight will turn off.
Tips: If you have used the DAB Radio before, and do the Factory reset, the first state will
be stayed at the last mode what you used.
Mode
1. The DAB Radio has two modes of operation:
○ DAB Radio
○ FM Radio
2. Press the “Mode” button to select FM/DAB.
---- ----- ----- 11B
72%
WELCOME TO
DIGITAL RADIO
-2-
DAB Radio Mode Operation
1. Press the “Mode” button until a DAB Station display.
2. If there is no DAB station has been listened to before, it will automatically begin “full
scan” for DAB radio stations.
3. When completed scanning and if there are stations have been scanned, the radio of the
stations will list in alphanumeric order and the first one will be played.
4. If you have used the DAB Radio before, the most recently selected DAB Radio station
will be heard when you change back to DAB mode.
Menu Button
The menu allows you to configure the settings for the DAB Radio
Press the 'Menu' button to select follow options, you can press “t” and “u” key to select
○
○
○
○
○
● Full scan
1. It performs a station scan from channel 5A to 13F
2. Press “Scan” button to do “Full scan”
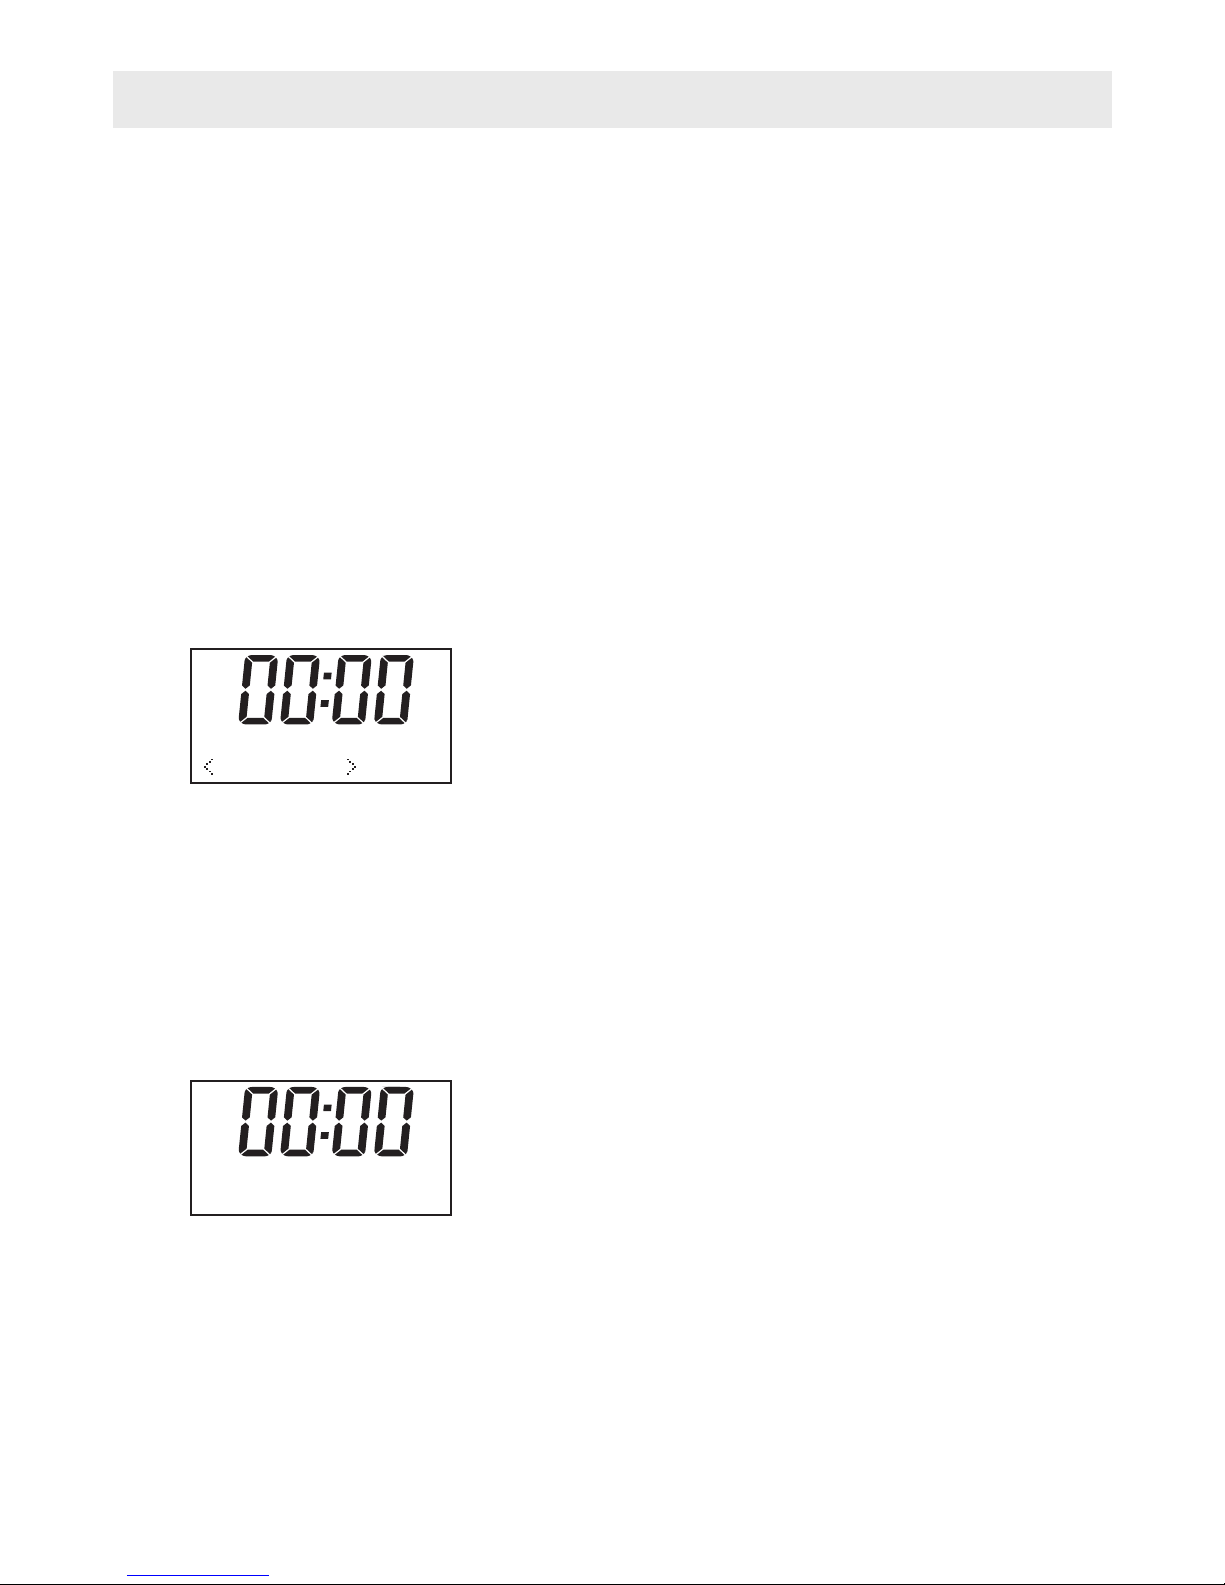
● Manual tune
1. Press the 'Menu' button to “Manual tune”;
2. Press the “Select” to confirm and the DAB radio will start “Manual tune”, it will display on
the screen;
3. Press “t” and “u” key to scroll through the frequency;
4. The device can receive the stations automatic in the available frequency band;
5. If the radio received station at that frequency channel, the radio will show the stations.
Then you can press “select” to enter the station list.
6. Press “Select” to select a desired station to listen to;
7. Repeat 1-6 for tune other Channel frequency
Full scan
Manual Tune
DRC
Prune
System
BBC radio
Full scan
11B 218.640 M Hz
-3-

-4-
DRC
Dynamic Range Control (also known as DRC) can make quieter sounds easier to hear
when your radio is used in a noisy environment. This function is only available for the DAB.
DRC Off – No compression
DRC High – Maximum compression
DRC Low – Medium compression
Setting the compression to maximum will “boost” the quiet sounds, whilst keeping the
loudest sounds at their original level.
Prune
Some DAB services may stop broadcasting or you may not be able to receive a station.
Prune stations will delete the DAB stations from your station list that can no longer be
received.
System
There are 5 options for selection.
○ Time
○ Backlight
○ Language
○ Factory Reset
○ SW version
● Time
The radio has 4 time display settings:
1. Set Time/Date: This allows the user to manually set the current Time and Date.
2. Auto Update: This function will set the radio’s time and date automatically with data sent
along with the broadcast of either the FM or DAB radio station.
* Note that FM auto Time/Date update may not work in your area, so the DAB auto
update option is recommended.
3. Set 12/4 Hour: This option will change the format of your clock to either 12 hour or 24
hour format.
4. Set Date Format: Changes the date display format between DD-MM-YYYY/MM-DD-
YYYY.
● Backlight
Your radio has 3 backlight settings:
1. Timeout: This option is used to set the period of time that you wish your display’s
backlight to remain lit when your radio is in both ON and STANDBY modes. The available
options are:On/10 sec/20 sec/30 sec/45 sec/60 sec/90 sec/120 sec/180 sec. Selecting
“On” will force your radio’s backlight to remain on constantly. If you select a specific time
delay, after the selected time period has lapsed the display will dim down under the
following two situations:
- When the radio is turned on and no operation under selected time out period.
- When the radio turns off into standby mode, the backlight will dim down after the time out
period has lapsed.
-5-
2. On level: This option will determine how bright the display’s backlight is lit while the radio
is on ON mode. There are 3 options for this setting: High, Medium& Low.
3. Dim level: There are 3 brightness levels of the Dimmed backlight available –
low/medium/high.
● Language
This setting will change the language in which the menu system is displayed on your radio.
There are four languages: English, French, German, Italian.
● Factory reset
The DAB Radio can be reset to the factory defaults at any time, once a reset has been
performed, the DAB Radio will automatically begin Full scan.
1. Select “Factory Reset”, the display will shows:
2. Press “t” or “u” key to choose <Yes>, then press “Select” to perform the rest.
Noted: once you do this operation, some of store information will be missed like as preset
station, Alarm will be emptied.
● SW version
1. Press “Select” key you can see the software version directly.
Note: To exit setup, press 'MENU' button
Sleep Button
It allows you to set the sleep time
1. Press 'Sleep' button on your remote control, the following screen will be displayed:
2. You can select the desired period of the sleep function by repeatedly pressing the
“Sleep” button on the remote control until the desired period is displayed. You can
choose between 15 minutes, 30 minutes, 60 minutes, 90 minutes or OFF. Press the
“Select” button on the remote control to confirm your choice. The radio will now
automatically shut down after your chosen period of time.
3. If you wish to cancel the preselected sleep function, use the steps above and choose
“OFF”, then press “Select” on your remote control to confirm.
Factory R eset? <
No> Ye s
SET SLEEP TIM E
15 MINUTES
 Loading...