

Page 1
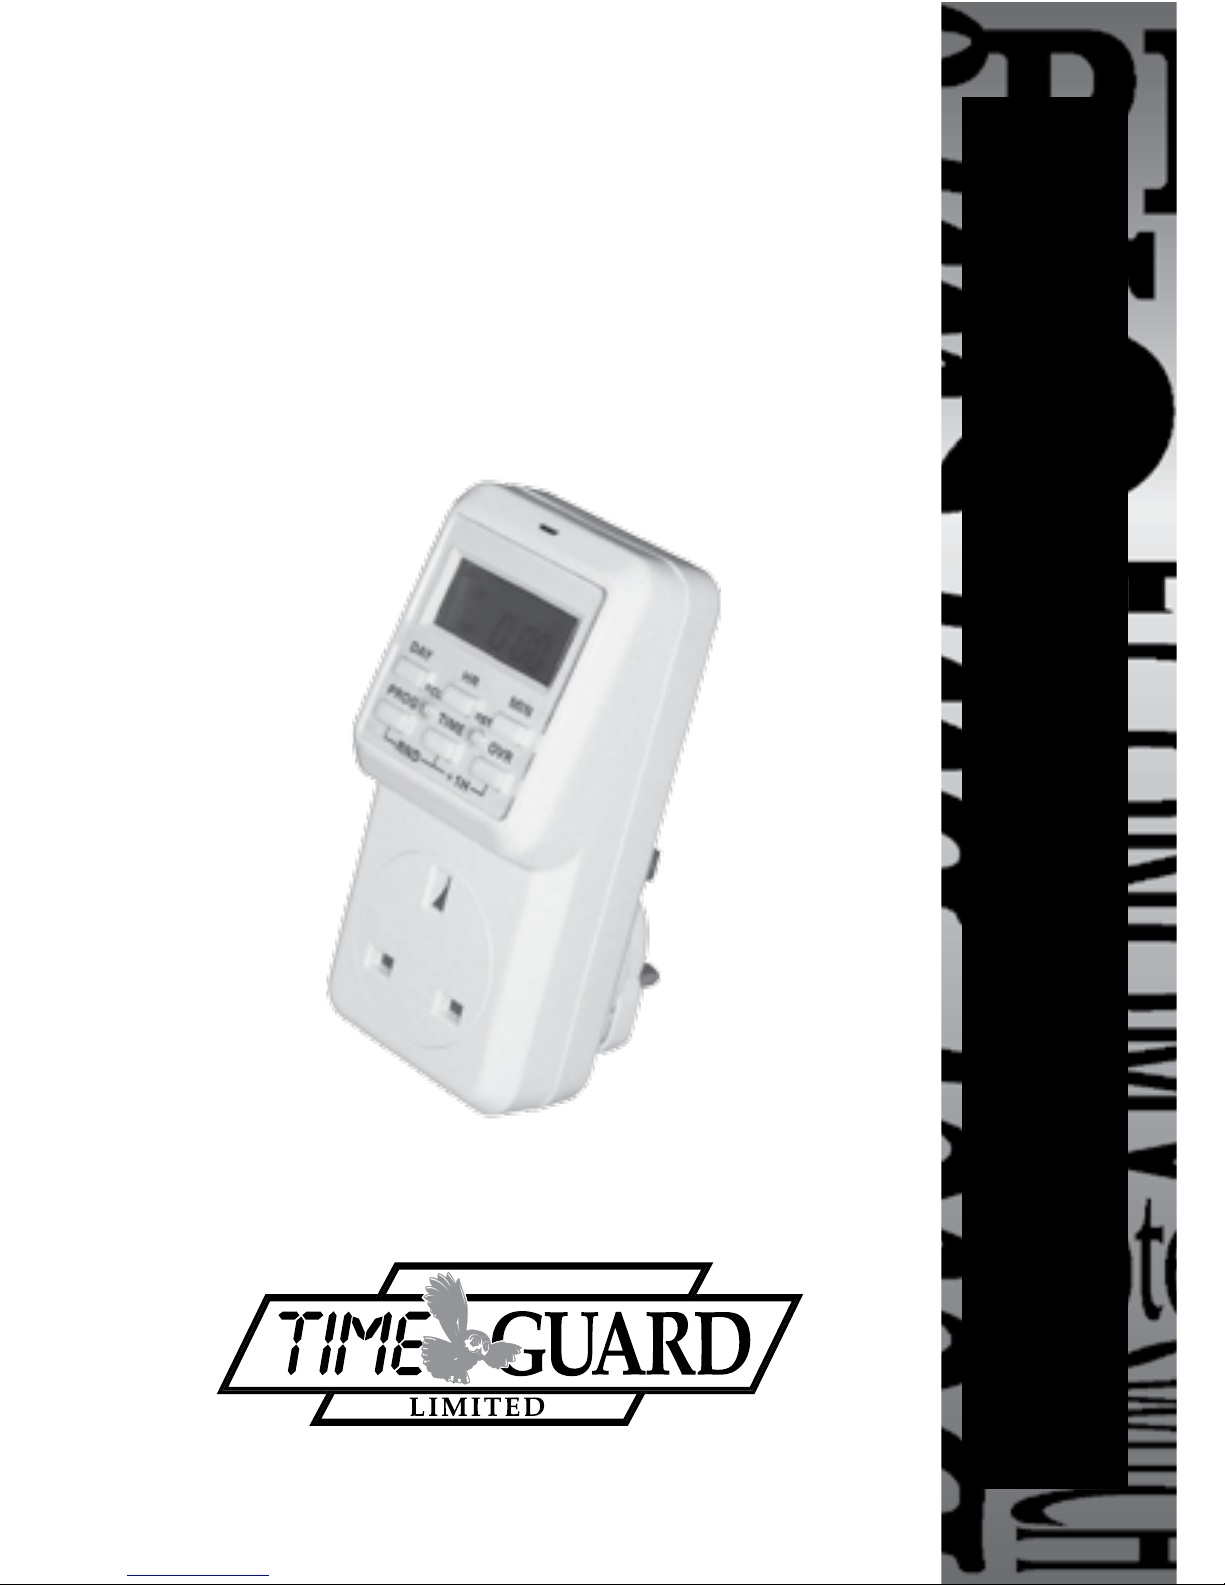
24HR / 7DAY
ELECTRONIC
TIMESWITCH
Cat. No TG27
Operating Instructions
Operating instructiOns
Page 2
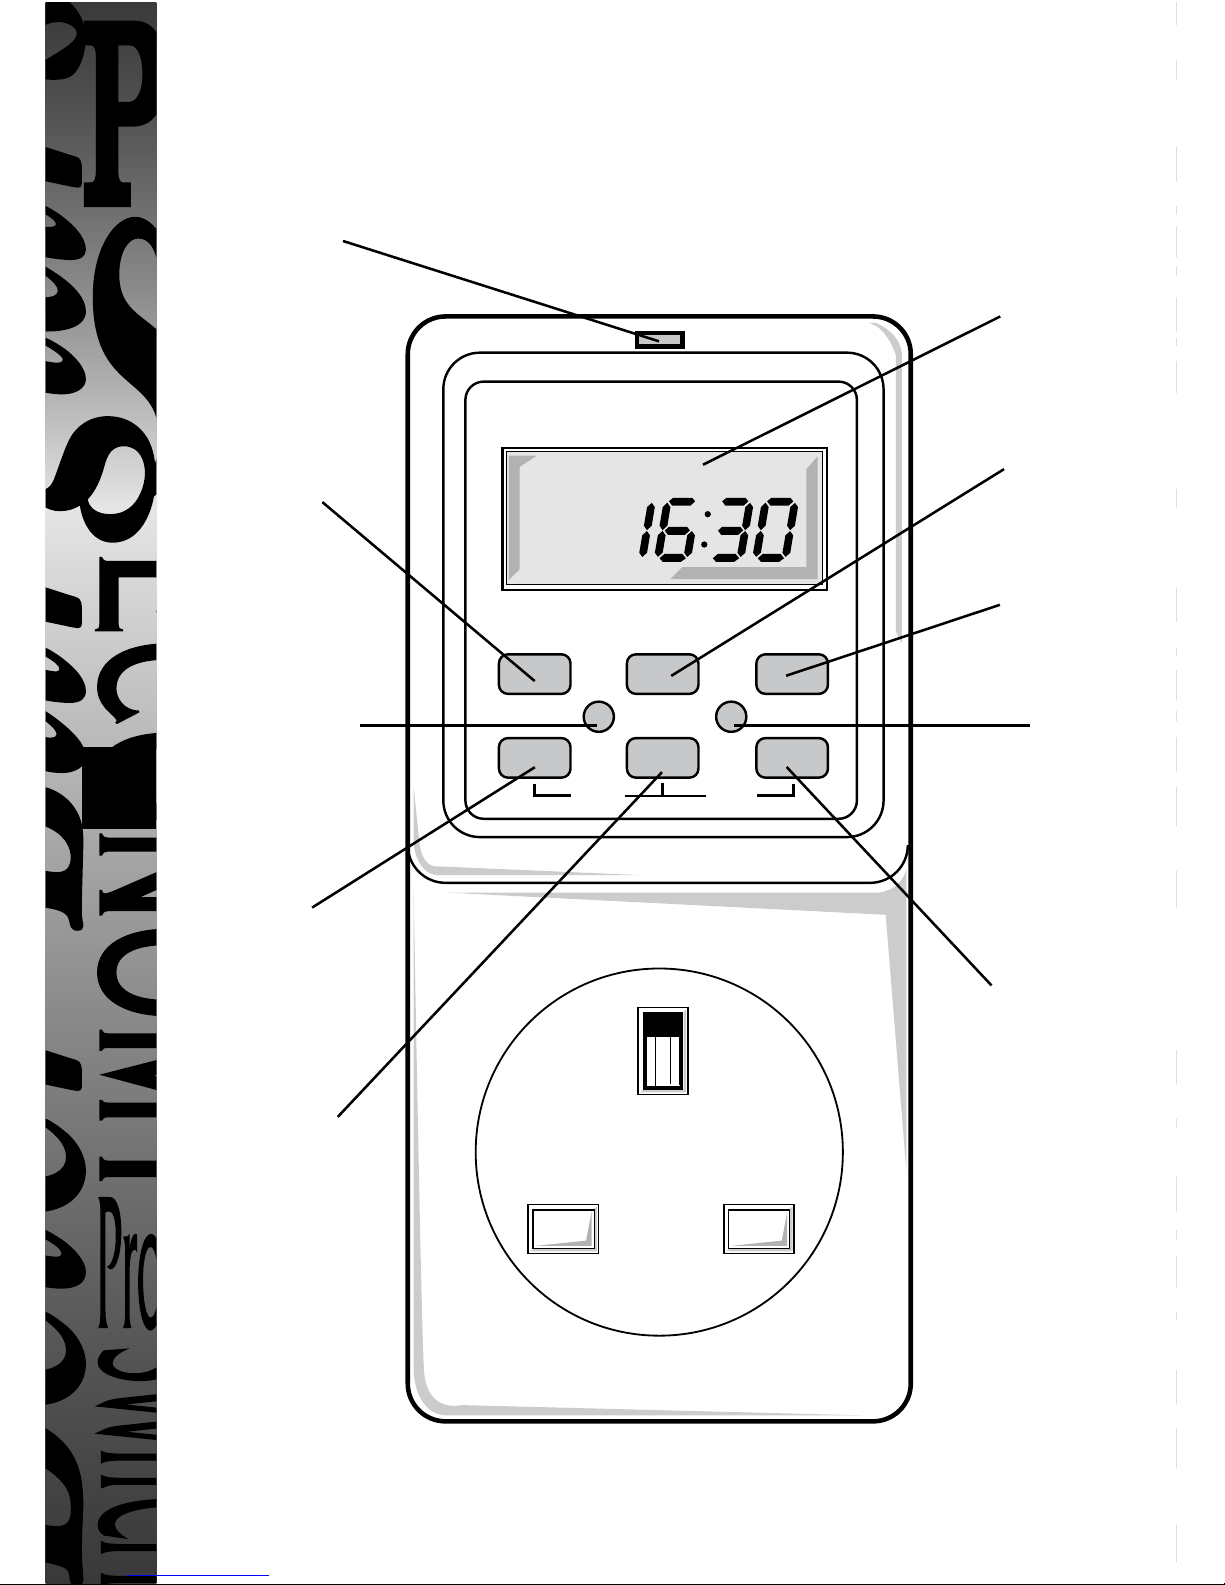
DAY
RCL
RND
HR MIN
TIMEPROG OVR
RST
+1H
WE
OFF
Suspends
and recalls
programmes
Sets days
or day
combinations
Enables clock
time to be
changed
Used to
review and
change timer
programmes
Output ON
indicator
Easy view 24hr,
clock/programme
display
Sets hours
Resets
(clears) clock
and memory
Changes
operating
mode from
AUTO (timer)
to ON
(permanently
ON) or OFF
(permanently
OFF)
Sets
minutes
TG27 24hr/7 Day Electronic Timeswitch
1
Page 3

General
An easy to programme electronic time controller, with a large 24 hour display,
offering both 24 hr and 7 day programming options. 6 ON/OFF switching
programmes are available which can be made to operate over all seven days,
six days less sunday, five weekdays, 3 days (mon, wed, fri), 3 days (tues, thurs,
sat), 2 weekend days or an individual day. Battery back-up retains
programmes in event of mains failure and allows out of socket programming.
The unit has the enhanced feature of random delay to both start and finish of
all programmes when required.
Features
●
Plug-in control
●
24 hour and 7 day programming options
●
6 ON/OFF switching programmes which can be made to operate over all 7
days (24 hr operation), six days less sunday, 5 weekdays, 3 days (mon, wed,
fri), 3 days (tues, thurs, sat), 2 weekend days or an individual day.
●
Self-cancelling override
●
Permanent ON/OFF facility
●
Large 24 hr digital clock/timer display
●
Battery back-up retains programmes and allows out of socket
programming
●
Shortest switching time of 1 minute
●
Programmes can be suspended from operation
●
Programme review
●
Output ON LED indicator
●
Optional random delay to both start and finish of all programmes
Operation
1 Battery
The unit has a factory fitted rechargeable battery to allow out of socket
programming and to give clock operation and memory back-up during loss of
mains supply. If the display is not visible or is dim plug the unit into a live socket
for 4 hours before resetting and programming.
2
Page 4

2. Reset (RST)
The unit must be reset before programming
for the first time or if the unit has been left
out of a live socket for more than 100 hours
(in which case plug the TG27 into a live
socket for four hours before resetting).
Press RST using a pointed object (eg a pencil). Display will show its full set of
characters and clear to show
3. Setting Clock
i Press and continually hold down “Time” button whilst pressing “Day”,
“Hr” and “Min” buttons to set the correct day and time. Note: Rapid selection
can be achieved by continually holding down either the “Hr” or “Min” buttons.
ii Release the “Time” button.
The unit is now in its operating mode and
displays the clock time and day of week with
the colon between the hours and minutes
flashing e.g.
4. Setting 24 Hr Programmes
Note: during programming if no button is pressed in approximately
2 minutes the display will revert to operating mode.
The required programme can then be
accessed again by repeatedly pressing
the “Prog” button as required.
i Press “Prog” button - display shows
ii Set programme 1 ON time by pressing
“Hr” and “Min” buttons eg
iii Press “Prog” button and now set programme
1 OFF time using the “Hr” and “Min” buttons.
THE UNIT IS NOW PROGRAMMED
FOR A 24 HOUR OPERATION OF 1 ON/1 OFF TIME REPEATING
DAILY INDEFINITELY.
iv Repeat steps i to iii for further programmes up to a total of 6 (it is not
necessary to use all 6 programmes but any unused programme times must be
left blank (–– –– –– ––).
MO
OFF
AUTO
WE
OFF
AUTO
MO TU WE TH FR SA SU
ON
PROG
MO
OFF
AUTO
WE
OFF
AUTO
MO TU WE TH FR SA SU
ON
PROG
MO TU WE TH FR SA SU
ON
PROG
MO
OFF
AUTO
WE
OFF
AUTO
MO
OFF
AUTO
3
Page 5

Note: The display will always show the numbered ON/OFF programme you are
setting.
v To set the unit into its operating mode always press the “Time” button after
completing the ON/OFF programming. The display will then revert back to the
clock display with the colon between the hours and minutes flashing - the unit’s
operating mode.
vi Before using ensure that the unit output is correct to programme for the current
clock time by using the “Ovr” button to get AUTO and ON or OFF as required on
the display to the left of the time indication.
5. Setting 7 Day or Weekly Programmes
i Press “Prog” button and set programme 1 ON time using the “Hr” and “Min”
buttons.
ii Repeatedly press the “Day” button to call up
the day (s) required :- 6 days less Sunday,
5 weekdays, 3 days (Mon, Wed, Fri), 3 days
(Tu, Th, Sa), 2 weekend days or an individual
day e.g.
iii Press “Prog” button and display reverts to showing all of the days, then set 1 OFF
time by pressing the “Hr” and “Min” buttons and finally press the “Day” button
repeatedly to call up the required day (s). This selection could be different to that
for the “ON” time if, for instance, a programme crossing midnight is required
for a single day.
THE UNIT IS NOW PROGRAMMED FOR 7 DAY (WEEKLY)
OPERATION OF 1 ON/1 OFF TIME OPERATING ON THE CHOSEN
DAYS REPEATING WEEKLY INDEFINITELY.
iv Continue programming in this way for up to 6 programmes leaving any unused
programmes blank (–– –– –– ––). On completion remember to set the unit into its
operating mode by pressing the “Time” button.
v Before using ensure that the unit output is correct to programme for the current
clock time by using the “Ovr” button to get AUTO and ON or OFF as required on
the display to the left of the time indication.
Note: a) Their is no restriction on mixing 24 hr and Weekly Operation programmes
within the maximum of six programmes.
b) There is no restriction on programming across midnight, the day for the
programme ON time can be different to the day for the OFF time by up to six
days if required.
MO TU WE TH FR SA SU
ON
PROG
4
Page 6

6. Permanent ON/OFF and Self-cancelling
Override
These can be selected when in operating mode by using the “Ovr” button. When the ON
or OFF symbols appear along with the AUTO symbol the unit is in timer mode and is ON or
OFF as indicated at the current clock time.
When the ON or OFF symbols appear alone the unit will be either permantly ON or OFF as
indicated.
A temporary override (until the next programme change) can be achieved pressing the
“Ovr” button to change by changing from OFF to ON or vice versa whilst keeping the
AUTO symbol on the display.
7. Suspending a Programme
To suspend a programme from operation:i Press “Prog” button until the ON or OFF programme you need to suspend is
displayed.
ii Using a pointed object (eg a pencil) press “Rcl” - programme time shown on the
display will disappear. The programme is now suspended from operation until
re-instated by pressing either the “Day”, “Hr” or “Min” button when the programme
in question is displayed.
If you require the corresponding OFF/ON programme to be suspended this must be
carried out seperately.
iii Remember to return the unit to its operating mode by pressing the “Time” button.
8. Reviewing and Changing Programmes or
Adjusting Clock Time
Repeated pressing of the “Prog” button will display each programme or unused setting in
sequence. Programmes can be changed if required by using the “Hr”, “Min” and “Day”
buttons. Return to operating mode on completion by pressing the “Time” button. To adjust
clock time press and continually hold down the “Time” button whilst pressing the “Hr”,
“Min” and “Day” buttons as necessary to adjust the hours, minutes and day. Then release
the “Time” button to return to the operating mode.
9. Summer Winter Time Change-over
To make best use of this facility you will need to initially set the clock to winter time
irrespective of the time of year. If it is summer time when you are setting up the unit then
you will need to press the “Ovr” and “Time” buttons simultaneously to change the time by
+ 1 hour. This advance will then be indicated in the top right of the display. When winter
time begins these two buttons can be pressed simultaneously to go back 1 hour.
5
Page 7

10. Random Delay of Programme Start and Finish
Programmes can be started and stopped at random delay times from those programmed
giving the appearance that the lights or other appliances are not being controlled by a
time switch.
To do this press the “Prog” and “Time’ buttons simultaneously when in operating
mode. The RND symbol will appear on the right hand side of the display and will flash
when the random delay period (between 2 and 32 min) is under way.
11. Operating the Controller
Plug the unit into a 13 amp socket and plug the appliance into the time controller and turn
the appliance ON. When socket is switched ON (if necessary) the time controller will control
the appliance. NOTE: The output ON indicator above the display will light up each time an
ON programme is operational.
12. Uses
This timeswitch can be used to control domestic appliances such as heaters rated up to 13A
(3KW), also tumble dryers, washing machines and dishwashers (except those requiring a
permanent supply and which have a push button start).
Lighting which uses incadescent filament lamps rated up to a total of 400W or which uses
up to a total of 100W of fluorescent tubes or low energy lamps can be controlled.
Helpline
If you are experiencing problems in operating your time controller, please ring our Helpline
on 020 8450 0515.
Specifications
Switch Rating: 13 amp (3kW) resistive, 4 amp inductive,
400W filament lamps
Switch Voltage: 230V AC 50Hz
Operating Temp: 0°C to 40°C
Battery: Factory fitted rechargeable. Provides up to 100 hours of
clock operation and memory back-up.
EC Directives: Conforms to 73/23/EEC and 89/336/EEC
Not suitable for discharge lighting.
Can be used with up to 100W of linear tube fluorescent or low
energy lighting.
6
Page 8

For a product brochure please contact:
Timeguard Ltd.
Victory Park, 400 Edgware Road,
London NW2 6ND
020-8452-1112
or email csc@timeguard.com
A Group company
HELPLINE
020-8450-0515
or email helpline@timeguard.com
67.058.287 (Iss.1)
For assistance with the product please contact:
3 Year Guarantee
In the unlikely event of this product becoming faulty due to defective
material or manufacture, within 1 year of the date of purchase, please
return it to your supplier with proof of purchase and it will be replaced
free of charge. In the second and third years or any difficulty in the
first please contact our helpline on 020 8450 0515.
 Loading...