

Page 1

Report-IT Live User Manual
(for iOS devices)
Version 3.0
July, 2013
Page 2

Report-IT Live v3.2.52
Table of Contents
Part I About Report-IT
Part II Home Screen Controls
Part III Configuration Settings Explained
Part IV Getting Started: Report-IT Live
................................................................................................................................... 111 Dialing Favourites or Contacts
Part V Transmit Recordings or Insert
Live Wraparounds
Part VI Connection Quality & Statistics
Part VII Recording a Report
Part VIII Managing Reports
................................................................................................................................... 201 Renaming a Report
................................................................................................................................... 202 Playback of Reports
................................................................................................................................... 213 Trim Reports for Playback
................................................................................................................................... 224 Editing with iSnippet
................................................................................................................................... 245 Cutting and Pasting Audio
................................................................................................................................... 286 Adding and Deleting Playlists
................................................................................................................................... 297 Add and Remove Reports from Playlists
................................................................................................................................... 308 Locking Reports
................................................................................................................................... 309 Deleting Reports
................................................................................................................................... 3010 Backup Reports
................................................................................................................................... 3111 Sharing Reports
4
5
7
9
14
15
17
19
Part IX Common Configuration Tasks
................................................................................................................................... 321 Changing Report-IT IP Addresses
................................................................................................................................... 332 Changing Port Settings
................................................................................................................................... 343 3G and Wi-Fi Network Coverage
................................................................................................................................... 354 Configuring File Sharing
................................................................................................................................... 385 Configuring Audio Encoding Settings
................................................................................................................................... 396 Purchase Additional Live Time
................................................................................................................................... 417 Upgrade to Report-IT Live Pro
................................................................................................................................... 418 Editing Favourites and Contacts
................................................................................................................................... 439 Customising Screen Logos
Part X Multilingual Support
32
44
Tieline Pty. Ltd. © 2013
Page 3

3Contents
Part XI Customer Support
Part XII Report-IT Live Software
Licensing
Part XIII Credit Notices
Index 46
44
45
45
Tieline Pty. Ltd. © 2013
Page 4

4 Report-IT Live v3.2.5
CMS
Codec Management System
FTP
File Transfer Protocol
GUI
Graphical User Interface
NAT
Network Address Translation
PAT
Port Address Translation
TCP
Transmission Control Protocol
UDP
User Datagram Protocol
1 About Report-IT
Tieline's Report-IT Live changes newsgathering and live remotes by turning your
iPhone® into a pocket-sized portable 15kHz live IP audio codec and ultra-slim high fidelity
20kHz audio recorder. It is a simple application which allows a reporter to:
Broadcast 15kHz live two-way interviews between the talent/reporter and the studio
live to air.
Use the inbuilt 20kHz quality mic on all 3GS/4/4S/5 iPhones to prerecord interviews
to the phone and then transfer these 20kHz audio quality files to the studio via file
sharing servers.
Prerecord interviews, trim them offline, build a user-friendly playlist of edited clips
and insert them into your live cross to the studio later (sometimes called wraparounds).
Report-IT Live and Report-IT Live Pro
Report-IT is available as a free trial version called Report-IT Lite with limited recording
features. To purchase Report-IT Live go to the iTunes App Store and download the
Report-IT Live app. Upgrading to Report-IT Live Pro is performed via an in-app
purchase on the iTunes App Store and delivers unlimited Live Time.
Where should I start?
If you want to learn how to get started go to Getting Started: Report-IT Live.
Terminology and Abbreviations
Tieline Pty. Ltd. © 2013
Page 5
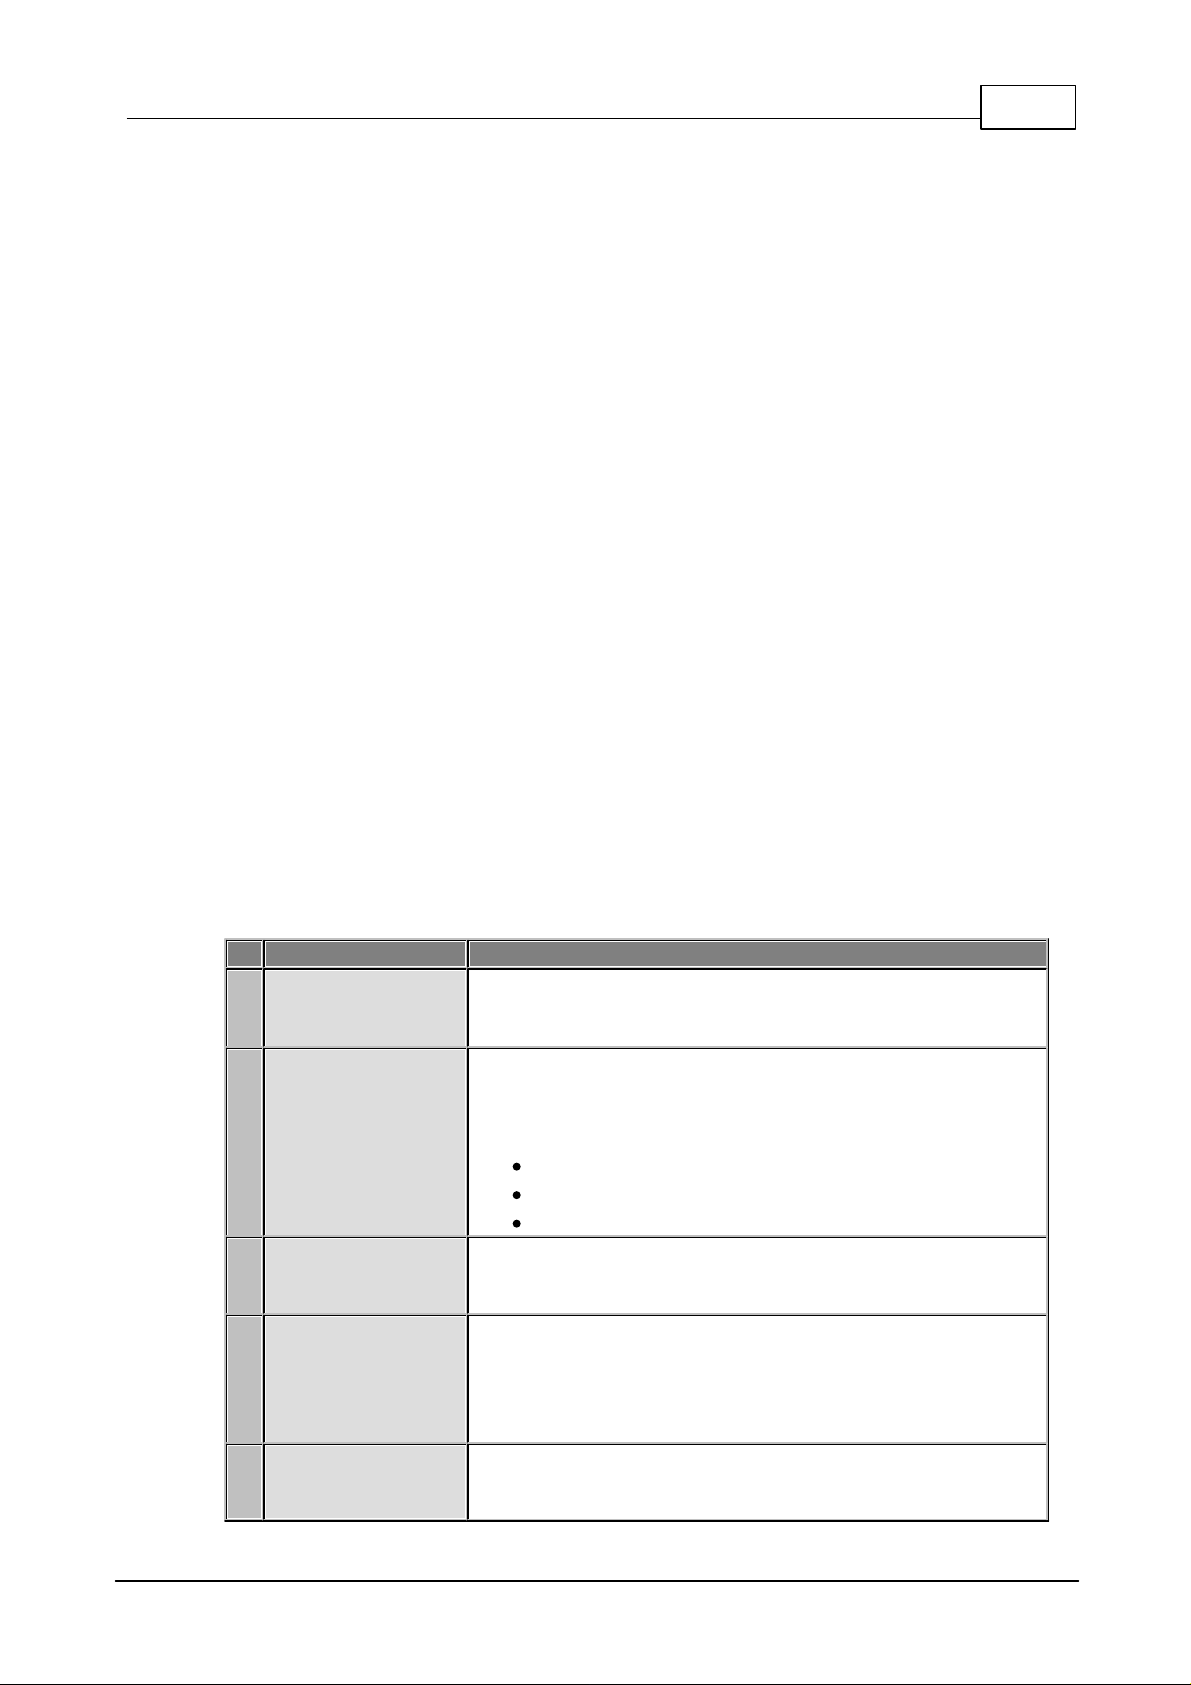
2 Home Screen Controls
Feature
Description
1
Record/Connected
indications
Displays flashing green symbol when connected live
(orange symbol while connecting) and REC flashes red
when recording
2
Input PPM
Displays microphone input level; keep levels peaking in the
green region of the PPM (as displayed). the PPM meters in
Report-IT display average power for audio and represent
the following:
First green indicator is -29.5dB.
First yellow indicator is -13.0dB.
First red indicator is -5.5dB
3
Return PPM
Displays return audio level from the studio codec when
connected and monitored input (if enabled); keep levels
peaking in the green region of the PPM (as displayed)
4
Codec connection
Displays the codec to which Report-IT is configured to
connect; tap the arrow to select or configure a new
address (Note: IP address details are never displayed in 10
Pack and Enterprise 25/50/100 Pack versions of ReportIT)
5
Connect/
Disconnect button
Tap the Connect button to establish a connection to the
studio codec; when connected, tap the red Disconnect
5Report-IT Live v3.2.5
Tieline Pty. Ltd. © 2013
Page 6
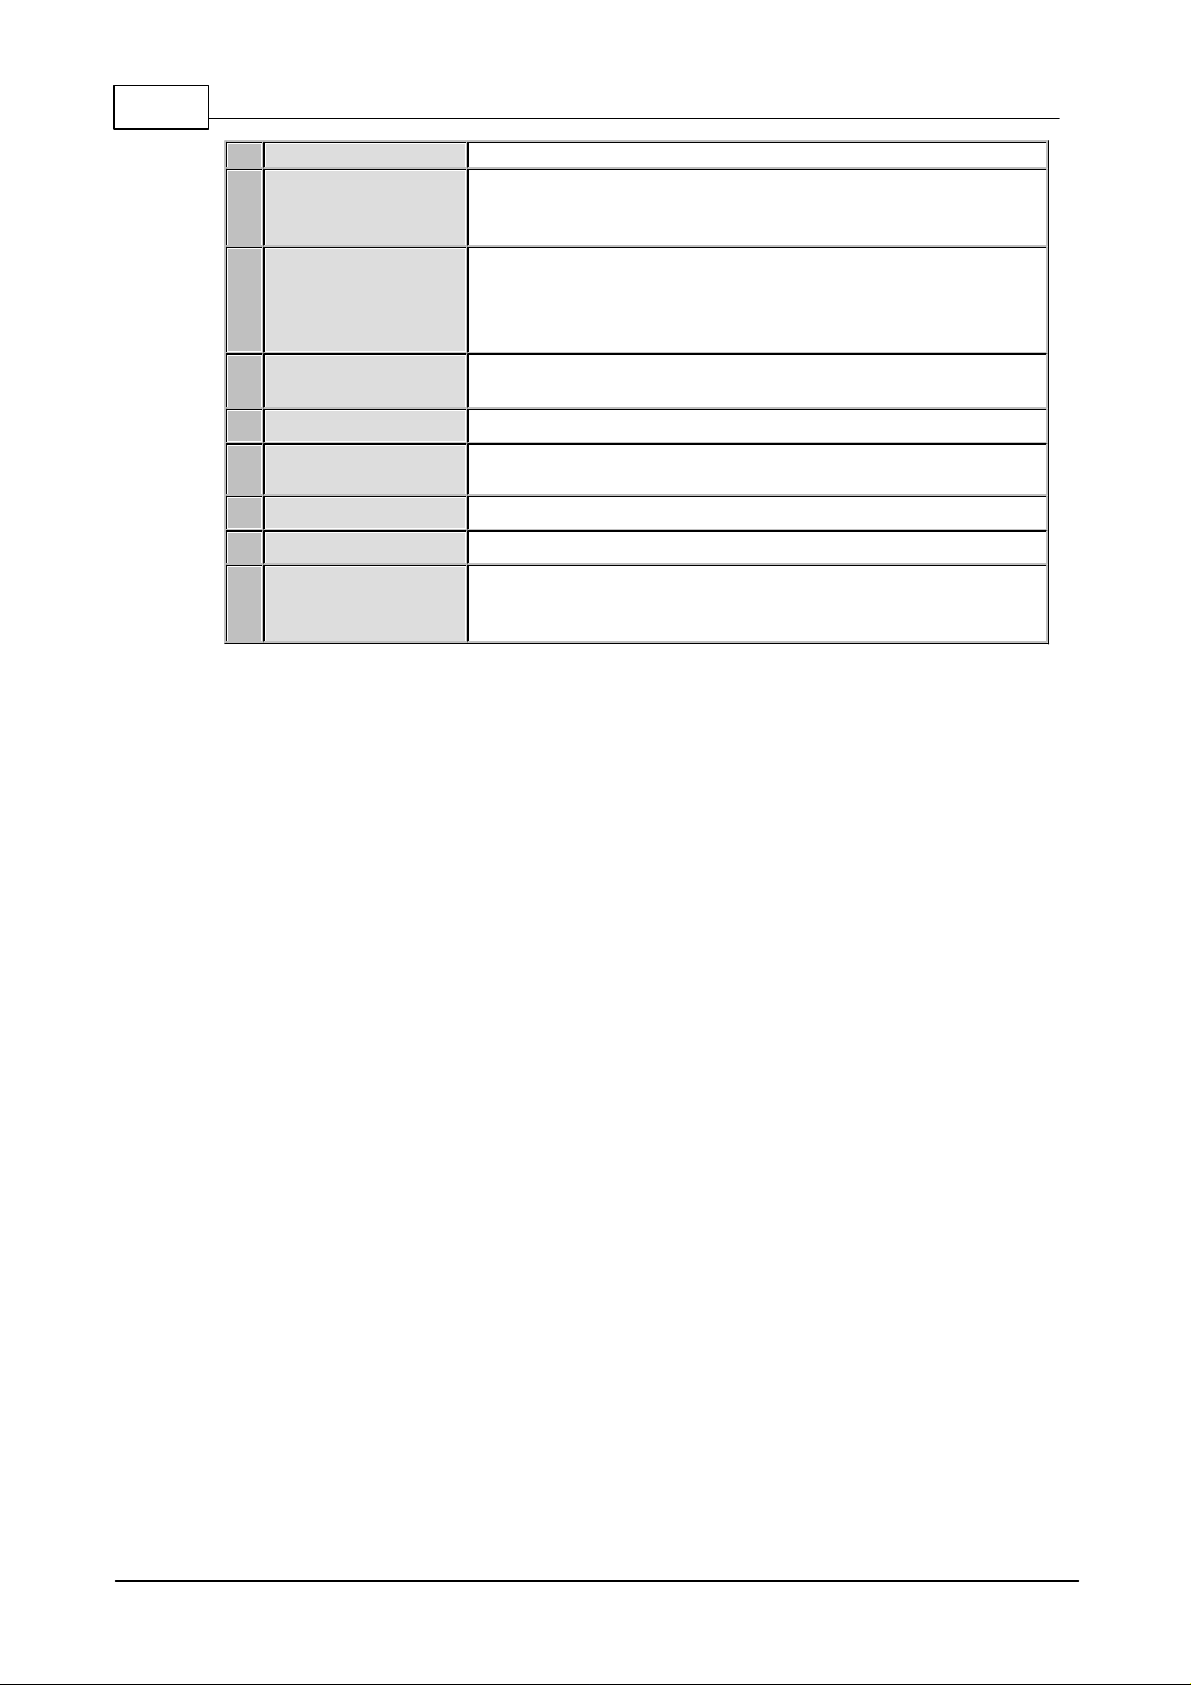
6 Report-IT Live v3.2.5
button to disconnect.
6
Screen lock button
Tap to lock screen controls when connected to ensure
settings cannot be accidentally adjusted; buttons and
sliders are greyed out and disabled when locked
7
Home/Statistics
page toggle
Tap to toggle between the Home screen and the
Statistics screen to view connection statistics. A swipe
gesture left/right can also be used to navigate between the
screens.
8
Configuration
Information
Tap to open the Configuration screen and adjust
Connection and Audio settings
9
Return slider/fader
Slide to adjust return/monitor audio levels
10
Mute button
If displayed, Tap to mute return audio from the studio
codec (turns blue when muted)
11
Input Slider/Fader
Slide to adjust microphone input levels
12
Record Symbol
Indicates a report is either recording or not recording
13
Activity button
Tap to select the activity you want to perform with ReportIT Live; Report Live, Record a Report or Manage Your
Reports
Tieline Pty. Ltd. © 2013
Page 7

3 Configuration Settings Explained
Setting
Purpose
1
Codecs
Tap to select or configure a new codec
2
Stream Encoding
Selectable audio encoding; Tieline Music or Opus (Voice)
algorithms. Note: Do not select Opus if the codec you
connect with does not support this algorithm, or the
connection will fail. Commander and i-Mix G3 codecs do not
support Opus.
3
Initial Audio Bitrate
Configures the initial audio bit-rate of connections when they
are first dialed
4
Advanced
Opens the Advanced screen menu with additional
reconnection and Live Time options
7Report-IT Live v3.2.5
Tieline Pty. Ltd. © 2013
Page 8

8 Report-IT Live v3.2.5
5
Record On Connect
Configures Report-IT to record talent audio on the iPhone
simultaneously when connected live to a studio codec
6
Share On
Disconnect
If enabled, opens the Share Report screen automatically
when a user disconnects to facilitate a file transfer
7
Purchase Live Time
Tap to purchase additional hours of Live Time
8
Upgrade
Tap to purchase Report-IT Live Professional
9
Monitor Input
Enables audio monitoring of the iPhone mic input
10
Return Channel
Enables audio monitoring of the return audio from the studio
11
Bluetooth Input
Turn ON to pair a Bluetooth device with Report-IT; turn OFF
to avoid a device being accidentally paired with Report-IT
12
FTP
Tap to select FTP for sharing
13
Nétia Radio-Assist
Tap to select Radio-Assist for sharing
14
Share Settings
Tap to configure server and encoding settings for sharing
15
Logo
Use to configure a new logo into Report-IT
16
Backup Reports
Click to include all recordings in iOS backups
17
Support
Tap to view Tieline support options
18
Register
Tap to register Report-IT
Tieline Pty. Ltd. © 2013
Page 9

4 Getting Started: Report-IT Live
Getting Started
Once installed, tap the Report-IT app symbol to run the app on the iPhone.
When the app is opened for the first time you are prompted to register Report-IT with
Tieline. This is essential with Report-IT Lite and Report-IT Live versions in order to
receive free live time hours. It is also important to register Report-IT Live Pro to
receive important information about new features as they are implemented. If you
choose to register later, tap the Information symbol from within the 'live' or
'record' mode screens to open the Configuration page, then tap Register and fill in
the required information.
9Report-IT Live v3.2.5
After the registration screen is closed the Configuration screen is displayed. This
will only appear when the app is used for the first time.
1. Tap the Codecs field in the Configuration screen.
2. Tap the Codec field underneath Favourites and Contacts.
3. Tap Codec Address and use the on-screen keypad to manually enter the IP
address of the codec to which you will connect.
4. Use the keypad to enter the numeric IP address of the codec.
5. Tap the Codec button in the top left-hand corner to save the settings and
return to the previous screen.
6. Tap Ports to adjust TCP and UDP port settings if required.
7. Optional: Tap the Add to Favourites and Add to Contacts buttons at the
Tieline Pty. Ltd. © 2013
Page 10

10 Report-IT Live v3.2.5
Sharing and Other Connection Notes:
To connect with a codec saved in Contacts or Favourites, tap the blue
arrow symbol on the Report Live screen to open the Codecs
screen. Select Favourites or Contacts to choose a codec from those
listed and then select the codec URL (see Dialing Favourites or
Contacts).
If you are Sharing recorded files (e.g. performing FTP file transfers) then
enter the server settings and audio encoding settings for recordings that
will be transferred (see Configuring File Sharing and Sharing Reports for
more info).
bottom of the screen to save the settings for retrieval from Contacts or
Favourites.
8. Tap the Codecs button in the top left-hand corner of the screen to return to
the Codecs screen.
9. Tap the Configuration button at the top of the Codecs screen to return to the
Configuration screen.
10.Tap Done in the top left-hand corner to exit Configuration and return to
the Home screen, where the connection you have just configured will be
visible in the Codec pane.
By default:
Auto Reconnection is ON (i.e. Report-IT will attempt to automatically
reconnect to the studio codec if the connection is temporarily lost). Note: Tap
the Information symbol to open the Configuration page, then tap
Advanced > Auto Reconnection to adjust this setting.
The Initial Audio Bitrate of the connection is configured for 33.6 Kbps. Note:
Tap the Information symbol to open the Configuration page and tap
Initial Audio Bitrate to adjust the bit-rate setting prior to connecting. This
setting is retained for all connections until it is changed.
The Return PPM meter on the Home screen displays no audio until a
connection to the studio codec is created.
Recording of a report when connecting live is not enabled by default. See
Recording a Report for more details on recording reports.
Establishing a Connection
1. Use your finger to move the Input Slider to adjust input audio levels.
2. Tap the Connect button on the Home screen to establish the connection to the
studio codec.
3. Use your finger to adjust the Return Slider to adjust return audio levels from the
studio codec.
Adjusting Input/Output Audio Monitoring
Input audio monitoring via the iPhone headphone output or speakers is switched off
by default prior to a connection being made. After a connection is made return audio
can be monitored via either the iPhone earphone output or the receiver.
If earphones are being used you can listen to input audio prior to connecting by
tapping the Information symbol to open the Configuration page and then swipe
Tieline Pty. Ltd. © 2013
Page 11

the Monitor Input switch to ON. After making a connection return audio will be
Important Note: If input audio is being monitored and earphones are not being
used, audio may be affected by echo caused by input audio being emitted from
the iPhone receiver.
WARNINGS - To ensure your live or recorded operations are not interrupted by
incoming phone calls and other applications:
1. Configure call forwarding to voice-mail or another number; tap Settings >
Phone > Call Forwarding and then slide the switch to ON.
2. Turn off the RINGER on the left-hand side of the iPhone to avoid SMS tone
interruptions. IMPORTANT NOTE: This will not prevent incoming SMS
messages and will only stop alert tones. If Report-IT is being used and an
SMS is received, a dialog box with Close and Reply buttons is displayed.
ONLY press Close in response to an SMS. If you press Reply Report-IT will
shut down and suspend your recording or transmission.
3. If you are recording a report only you can switch on Airplane mode via the
iPhone Settings application. In Airplane mode no phone calls or SMS
messages will be sent to the iPhone. When you have finished recording,
Airplane mode must be turned off to retransmit or FTP your recording.
4. In the Calendar application, ensure that there are no event alarms enabled
during the planned live/recording period.
5. Ensure that no Clock application alarms are enabled during the planned
recording period.
6. Do not plug in or unplug a headset during recording. Likewise, do not dock or
undock the device during recording.
7. Do not plug the iPhone into a power source during the recording. When an
iPhone gets plugged into power, it beeps or vibrates, according to user
settings.
8. DO NOT press the iPhone HOME button when reporting live or recording, or
you will exit the Report-IT Live application.
If you can't enable call forwarding before your report and you receive an
incoming call, decline the call ASAP using the Decline button on the iPhone
screen. From the time that the incoming call alert is shown, to the time the
decline button is pressed, recording will cease and silence will be transmitted.
monitored if Return Channel ON in the Configuration screen remains selected
(this setting is on by default).
Disconnecting a Connection
1. Tap the Disconnect button on the Home screen to end the connection.
11Report-IT Live v3.2.5
¹ iPhone is a trademark of Apple Inc., registered in the U.S. and other countries.
4.1 Dialing Favourites or Contacts
Dialing using Report-IT Favourites
1. Tap the arrow symbol on the Report Live home screen to open the Codecs
page.
Tieline Pty. Ltd. © 2013
Page 12

12 Report-IT Live v3.2.5
2. Tap Favourites, then tap to select a codec from those listed.
3. Tap the codec URL to load it into Report-IT and return automatically to the Report
Live Home screen.
4. Tap the Connect button on the Home screen to establish the connection to the
studio codec.
5. Use your finger to move the Return Slider, or use the iPhone volume buttons to
adjust return audio levels from the studio codec.
Dialing using Contacts
It is also possible to dial using codec 'contacts' entered into your iPhone contact list.
Tieline Pty. Ltd. © 2013
Page 13

13Report-IT Live v3.2.5
1. Tap the arrow symbol on the Report Live home screen to open the Codecs
page.
2. Tap Contacts, then navigate to the contact you want.
3. Tap the contact to select it and tap the URL to load it into Report-IT.
4. Tap the Connect button on the Home screen to establish the connection to
the studio codec.
5. Use your finger to move the Return Slider, or use the iPhone volume buttons
to adjust return audio levels from the studio codec.
Tieline Pty. Ltd. © 2013
Page 14

14 Report-IT Live v3.2.5
Feature
Description
1
Playlist button
Tap to display all reports in the selected playlist
2
Now playing button
Tap to display the currently selected recording
3
Current playlist
The name of the currently selected playlist
4
Select playlist arrow
Press to select a new playlist
5
Current report
selected
Indicates the currently selected report
6
Playback indicator
Elapsed playback indication
7
Playback controls
Play, pause,and skip report controls
5 Transmit Recordings or Insert Live Wraparounds
Recordings can be retransmitted to the studio or inserted into live reports (wraparounds)
using playlists displayed on the Playback Reports screen. (See Add and Remove
Reports from Playlists for more info)
1. Tap the Activity button in the top-right corner of the Home screen and then
tap Report Live.
2. Tap the Connect button on the Home screen to establish a connection to the
studio codec.
3. Swipe your finger to the left to reveal the Playback Reports screen.
4. Tap the arrow to select the playlist you want from the default and custom
playlists displayed.
5. Tap the Report Live button in the top-left hand corner of the screen to return to
the Playback Reports screen.
6. Tap a report to select it from the playlist of recordings.
7. Press the play symbol to play the report. Note: this automatically mutes the iPhone
microphone during playback.
8. Tap Now Playing if you want to adjust the report playback level.
9. Swipe your finger to the right to return to the Report Live screen at the completion
of playback.
10.Tap the Disconnect button on the Report Live Home screen to end the
connection.
Tieline Pty. Ltd. © 2013
Page 15

6 Connection Quality & Statistics
When a connection is live and you are viewing the Report Live screen, swipe to the left
twice to view the Statistics screen and view current connection statistics.
In order of viewing from the top of the screen you can see:
1. Cxn Duration: The duration of the current or last connection.
2. Cxn Data: the amount of data used over the current or last connection.
3. Bitrate: the bit-rate of an active connection.
4. Link Quality: the local and remote link qualities of an active connection.
5. Live Time Left: the amount of live time remaining if Report-IT Live Pro is not
purchased.
15Report-IT Live v3.2.5
How to Adjust the Audio Bit-Rate when Connected
1. Use your finger to swipe left across the screen twice to view the Report Live
Statistics and Renegotiate screen.
2. Tap Up to increase the audio connection bit-rate, or Down to decrease the
audio connection bit-rate.
Latency and Report-IT Jitter Buffering
Behind the scenes Report-IT uses automatic Jitter Buffer settings with the default
setting being 'Best Compromise", which is the same default setting in all Tieline IP
audio codecs. It is designed to provide the safest level of good audio quality without
introducing too much extra delay. Tieline’s Jitter-buffer is smart because of its ability
to:
Remove duplicate packets.
Re-order packets if they arrive out-of-order.
Repair the stream in the event of packet loss (error concealment).
Manage delay dynamically based on current network congestion.
Manage forward error correction (FEC).
Over LANs, WANs and wireless networks the automatic jitter buffer generally works
extremely well and very reliably. It adapts automatically to the prevailing IP network
conditions to provide continuity of audio streaming and minimise delay.
Tieline Pty. Ltd. © 2013
Page 16

16 Report-IT Live v3.2.5
Want to Learn More about Tieline Codecs?
To learn more about the audio functions available within the Report-IT app and Tieline
codecs, please visit www.tieline.com/support, select the codec that you have
installed at the studio and download the user manual for that codec. Online support is
also available via [email protected] and the Tieline forums at http://
forums.tieline.com.
Tieline Pty. Ltd. © 2013
Page 17
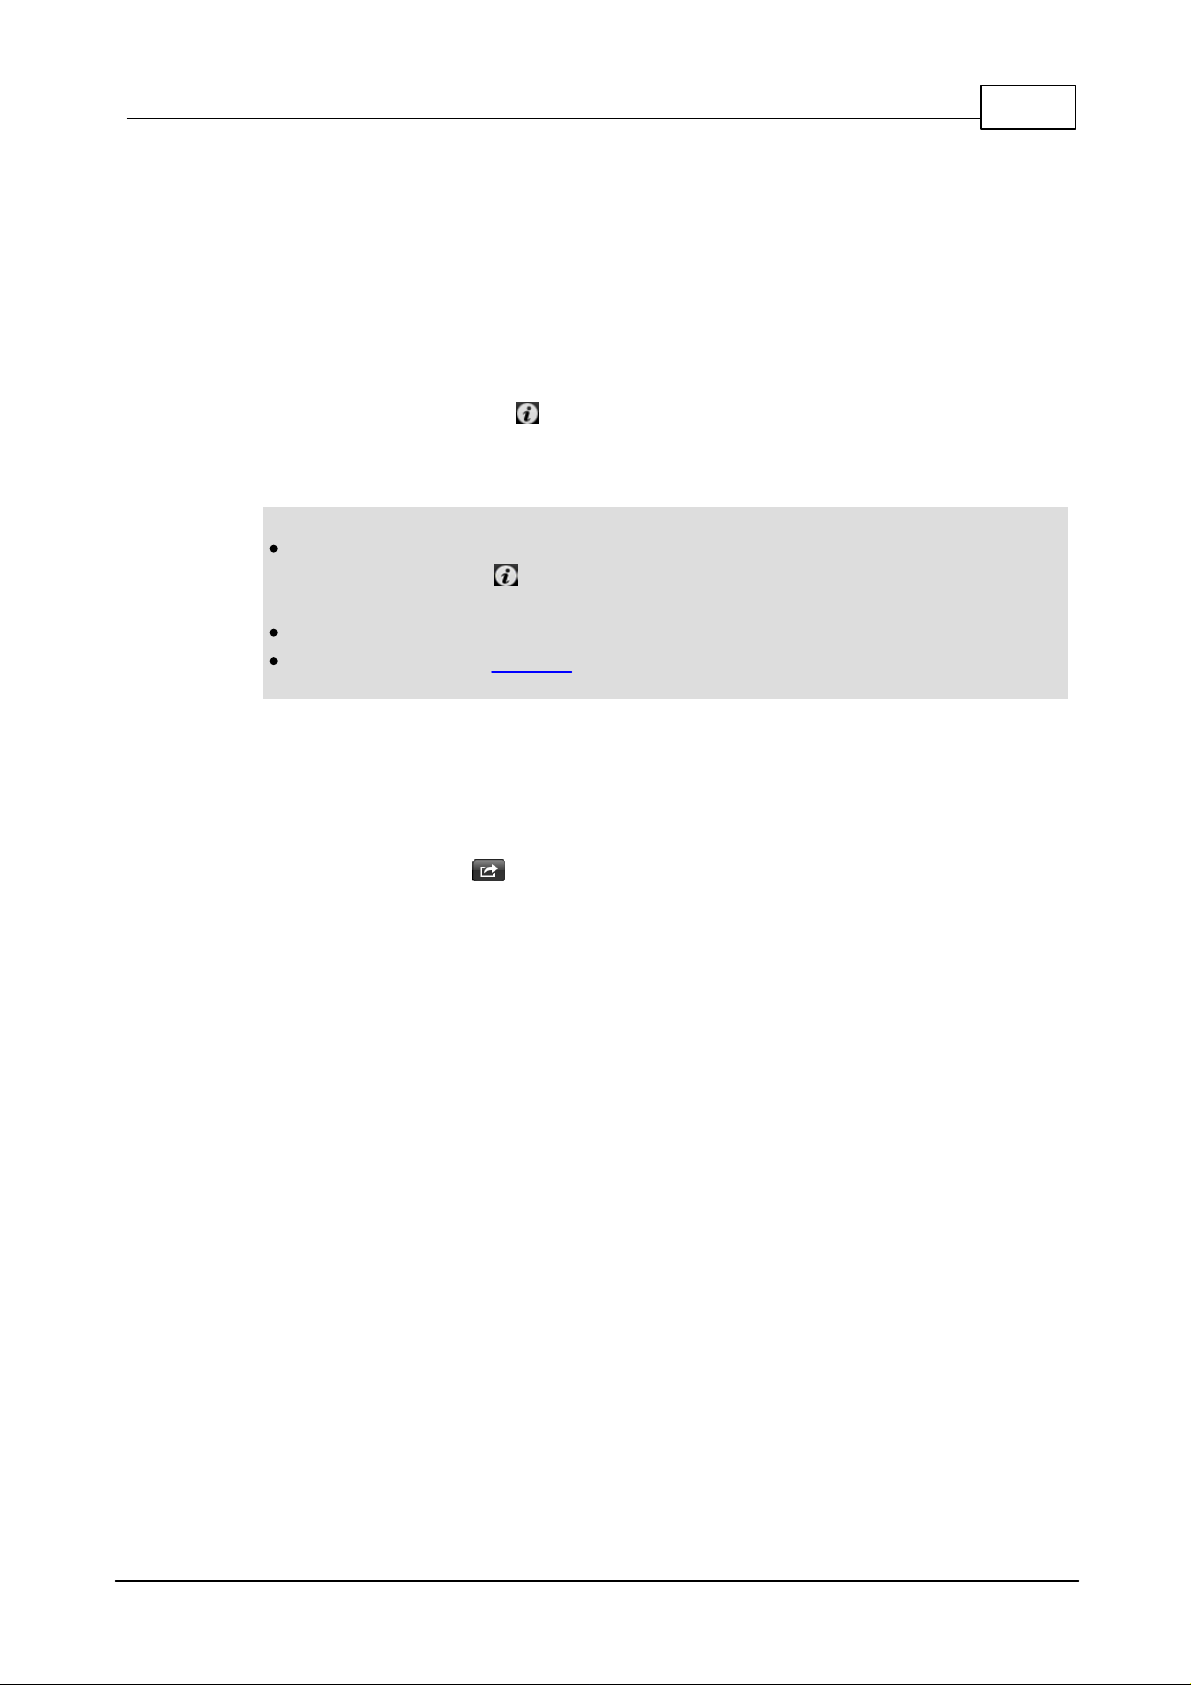
7 Recording a Report
Important Notes:
If Auto Reconnect is On then recording will not stop if disconnection occurs.
Tap the Information symbol to open the Configuration page, then tap
Advanced > Auto Reconnection to view and adjust this setting.
If Auto Reconnect is Off then recording will stop if disconnection occurs.
If the app runs out of live time when connected then recording will stop
immediately after disconnection.
When Report-IT is used to record audio, it makes use of whatever free memory is
available on your iPhone. The maximum duration of a recording is entirely dependant
upon how much memory you have available on your iPhone.
Automating the Recording of All Live Reports
It is possible to simultaneously record all reports and stream live audio after a live
connection to a studio codec is established.
1. Tap the Information symbol in the bottom-right corner of the Home
screen.
2. Use your finger to slide the Record ON Connect switch from Off to On.
17Report-IT Live v3.2.5
Record a Report without a Live Connection
Off-line interviews can be recorded for retransmission to a studio codec later or for
FTP file transfers.
1. Tap the Activity button in the top-right corner of the Home screen and
then tap Record A Report.
2. Use your finger to move the Input Slider and adjust audio input levels.
3. Tap the Record button to start recording.
4. Tap the Stop Recording button when you have finished recording.
Managing Recorded Reports
Tap Manage Report in the Record a Report screen immediately after you stop
recording to edit recording settings.
Tieline Pty. Ltd. © 2013
Page 18

18 Report-IT Live v3.2.5
Recorded reports can also be managed by tapping the Activity button in the top-
right corner of the Home screen and selecting Manage Your Reports. For more
information see Managing Reports.
Tieline Pty. Ltd. © 2013
Page 19

8 Managing Reports
To manage reports that have been recorded tap the Activity button in the top-right
corner of the Home screen and then tap Manage Your Reports. The Manage Reports
screen categorizes recorded reports and allows you to:
1. View reports easily.
2. Add and view playlists of reports.
Tap a category to find the report you want to select and open the Manage Report
screen.
19Report-IT Live v3.2.5
Tap a report listed in the Manage Report screen to view it in the Report screen. From
here you can perform a variety of editing functions. Options include:
Renaming the report.
Locking the report.
Viewing and editing report details, including metadata.
Playback the report.
Share the report.
Tieline Pty. Ltd. © 2013
Page 20

20 Report-IT Live v3.2.5
Metadata Details
Tap Details to view and edit metadata information associated with a report.
8.1 Renaming a Report
1. Tap the Activity button in the top-right corner of the Home screen and then tap
Manage Your Reports.
2. Tap a playlist to find the report you want to select, then tap the report to view it in the
Report screen.
3. Tap the Name field on the screen.
4. Rename the report and tap the Report button or Done to return to the
Report screen.
5. Tap the Done button in the bottom-left corner of the Report screen to save
changes.
Report-IT Enterprise user accounts can be configured with custom default report names
using the TieServer Console user account configuration tool.
8.2 Playback of Reports
1. Tap the Activity button in the top-right corner of the Home screen and then tap
Manage Your Reports.
2. Tap a playlist to find the report you want to select, then tap the report to view it in the
Report screen.
3. Tap Play Report on the Report screen.
4. Tap the Play/Pause symbols to play and pause the current report.
5. Use your finger to slide the Playback Level Slider (top) and adjust audio playback
level.
6. Use your finger to slide the play-head along the Scrubber Bar and skip to any point
along the report timeline.
Tieline Pty. Ltd. © 2013
Page 21
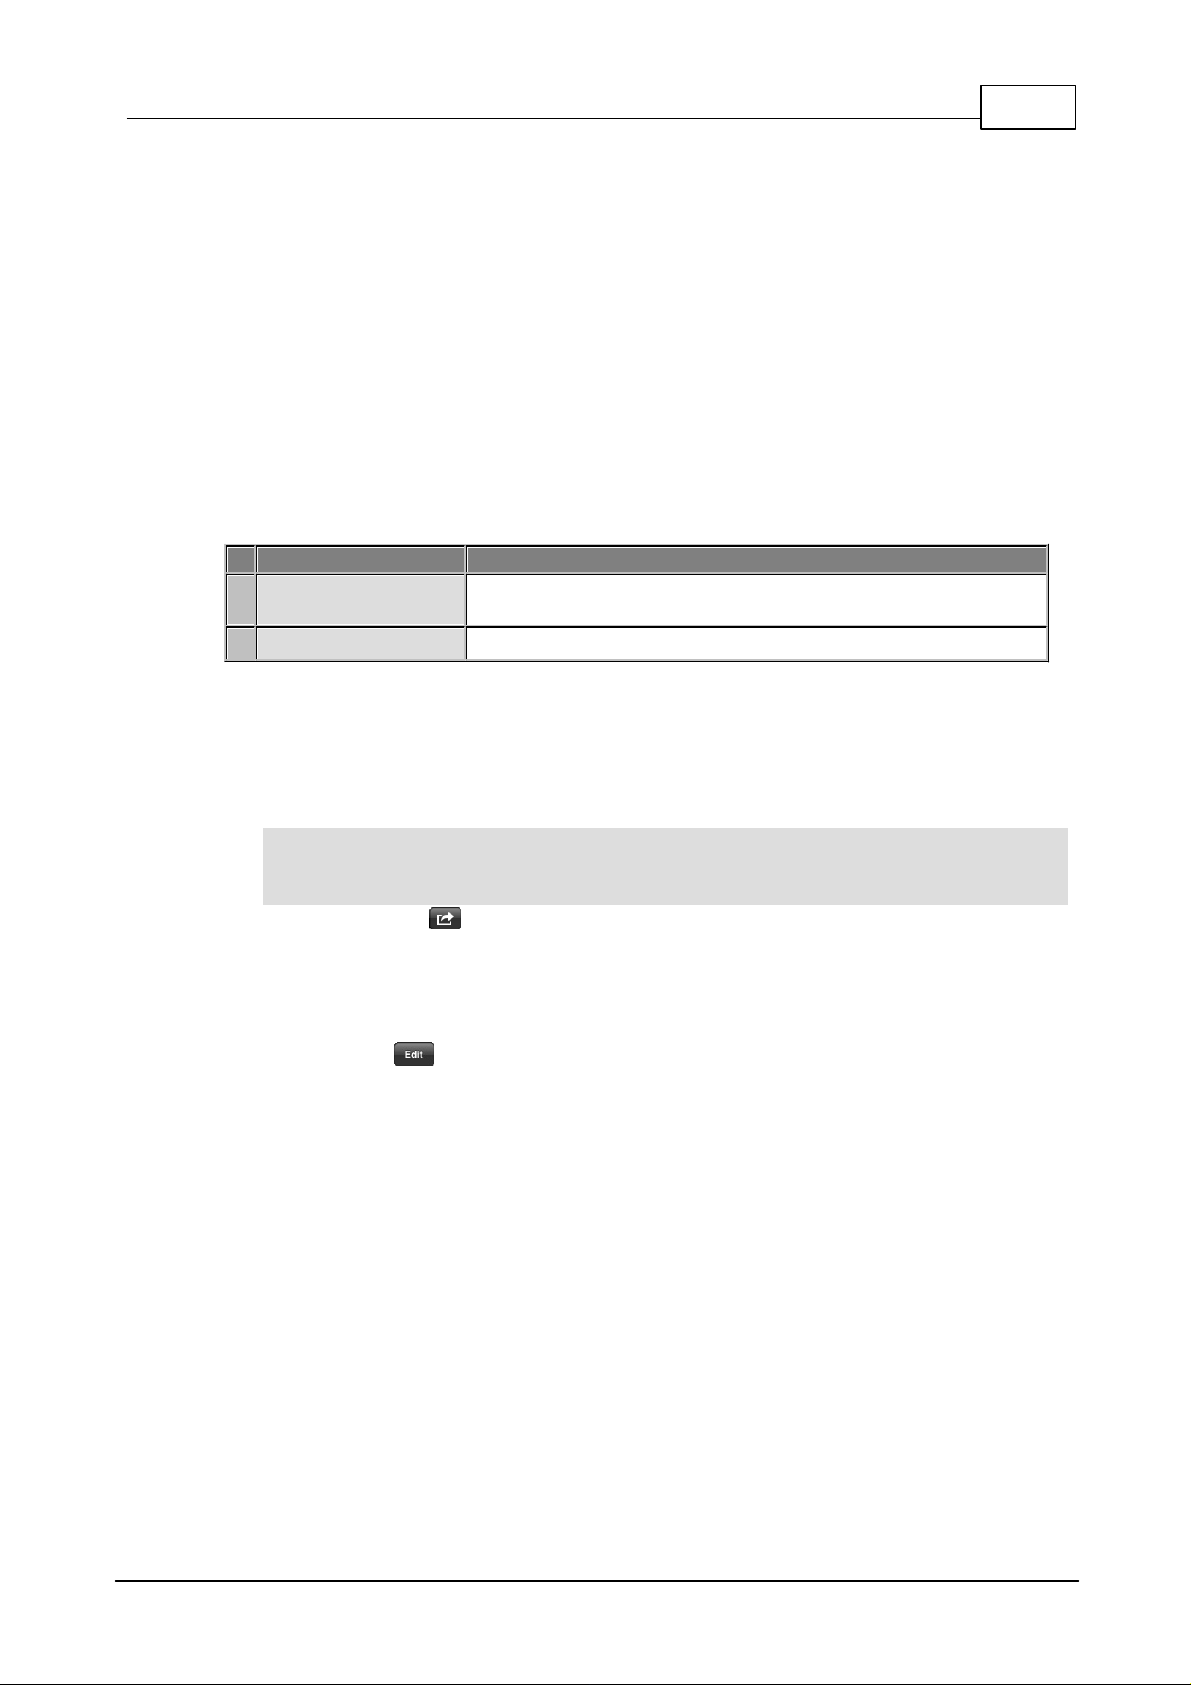
21Report-IT Live v3.2.5
Feature
Description
1
Playback Level
Slider
Slide the marker to adjust playback audio levels
2
Scrubber Bar
Slide the marker to skip to a point along the report timeline
Important Note: Trimming a report will not affect the original recording and only
affects live report playback of recordings. Reports that are sent via file servers are
not trimmed.
8.3 Trim Reports for Playback
It is possible to trim the top and tail of a recorded report and store this setting for
playback.
1. Tap the Activity button in the top-right corner of the Home screen and then
tap Manage Your Reports.
2. Tap a category playlist to find the report you want to select and open Report
screen.
3. Tap Play Report on the Report screen.
4. Tap the Edit button in the bottom left-hand corner.
5. Tap the play symbol to playback audio and determine the playback start point for
the report. You can also use your finger to slide the play-head along the Scrubber
Bar and skip to any point along the report timeline.
6. When you are happy with the position tap Start to position the playback start
marker.
7. Next playback audio to determine the end-point of the report, then tap End.
8. Tap Done in the bottom-left corner of the screen to save the report settings.
Tieline Pty. Ltd. © 2013
Page 22
22 Report-IT Live v3.2.5
Feature
Description
1
Play/Pause Symbol
Tap to play and pause the recording
2
Start button
Tap to configure the start point for report playback
3
End Button
Tap to configure the end point for report playback
4
Start/End markers
Time indication for start and end markers
5
Done/Edit button
Tap to edit and store settings
Important Note: It is also possible to access archived reports by tapping the
Activity button in the top-right corner of the Home screen and selecting
Manage Your Reports.
8.4 Editing with iSnippet
iSnippet from Nétia is a user-friendly editing app which integrates seamlessly into ReportIT (from v3.2.5) to allow editing of recordings. Tieline partner Nétia provides iSnippet free
to all Radio-Assist customers, or it can be purchased via the iTunes app store.
Edit a Recording with iSnippet
1. Tap Manage Report in the Record a Report screen after you stop recording.
Tieline Pty. Ltd. © 2013
Page 23

2. Tap Edit with Nétia iSnippet.
Important Note: This option is only visible if the iSnippet App is installed.
3. The iSnippet app will be launched and allow Report-IT files to be imported. See
iSnippet user documentation for app editing details.
23Report-IT Live v3.2.5
Importing Edited Files into Report-IT
Files are imported back into Report-IT via iSnippet. When mastering an edit in
iSnippet the app provides two options.
1. Select To Report-IT.
2. Report-IT will be launched and allow the following options:
Select Create Copy to create a copy of the original recording in Report-IT.
Select Overwrite to overwrite the original recording in Report-IT.
Select Cancel to cancel the file import.
Tieline Pty. Ltd. © 2013
Page 24

24 Report-IT Live v3.2.5
8.5 Cutting and Pasting Audio
It is possible to copy and paste audio between Report-IT and other iPhone Apps that
support either MAPI AudioCopy & AudioPaste or the Intua Paste Board (See http://
www.sonomawireworks.com/iphone/audiocopy and http://code.google.com/p/intua-
audio-sharing/wiki/CompatibleApps). Such apps include non-linear editing and effects
apps. Two common ways of integrating the cut and paste functions with Report-IT
include:
Copy a report from Report-IT into a non-linear iPhone editing app, edit the report
and then paste it back into Report-IT as a new report. Alternatively you can append
or overwrite a previous recording.
Copy a report recorded and/or edited within a non-linear iPhone editing app and
then paste it into Report-IT as a new report.
Copy a Report into an Editing App
1. Tap the Activity button in the top-right corner of the Home screen and then
tap Manage Your Reports.
2. Tap a playlist to find the report you want to select, then tap the report to view it in
the Report screen.
3. Tap Audio Copy and Paste Tools.
4. Tap the Audio Copy symbol.
Tieline Pty. Ltd. © 2013
Page 25

25Report-IT Live v3.2.5
5. Tap the name of the file to open the onscreen keyboard and edit the name, or just
tap Copy Audio.
6. This initiates audio rendering and may take several seconds if the recorded file is
large.
7. Tap to either launch a compatible installed app, or download (from the iTunes App
Store) one of the listed compatible apps and use it edit the audio file. See http://
www.sonomawireworks.com/iphone/audiocopy/ for more details on AudioCopy
and AudioPaste.
Tieline Pty. Ltd. © 2013
Page 26

26 Report-IT Live v3.2.5
8. Consult your editing app's user documentation for details on how it performs nonlinear editing functions and exports audio files to compatible apps.
Paste Audio Back into Report-IT
1. After editing your report within a compatible non-linear editing app, choose the
audio copy function and select the file you want to transfer into Report-IT.
2. Select Report-IT Enterprise Edition when prompted to select the app you want
to paste the audio into.
3. Navigate to a report within the Manage Your Reports screen within Report-IT
(Tap the Activity button in the top-right corner of the Home screen,then tap
Manage Your Reports, tap a playlist to find the report you want to select, then tap
the report to view it in the Report screen).
4. Tap Audio Copy and Paste Tools.
5. Tap the Audio Paste symbol.
Tieline Pty. Ltd. © 2013
Page 27

27Report-IT Live v3.2.5
5. You can tap Paste, then tap OK to overwrite the currently selected audio report, or;
6. Alternatively you can tap either:
Paste to and End if you want to append the current recording by pasting to the
end of the selected report, then tap Done .
or Paste to and scroll to New Report if you want to create a new report, then
tap Done .
7. Tap Paste to past the recording.
Tieline Pty. Ltd. © 2013
Page 28

28 Report-IT Live v3.2.5
8. Confirmation is displayed if the paste is successful.
Closing the Audio Copy and Paste Function
Tap the arrow button in the top-right of the screen to close the Audio Copy and
Paste screen.
8.6 Adding and Deleting Playlists
It is possible to create playlists for sequential playout of recordings and management of
recordings. The three default playlists in Report-IT to which reports are automatically
added are:
1. All Reports.
2. Today's Reports.
3. Most Recent 10 Reports.
Adding a New Custom Playlist
Custom playlists can be created to allow you to manually add a recording to your own
playlist.
1. Tap the Activity button in the top-right corner of the Home screen and
then tap Manage Your Reports.
2. Tap Add New Playlist.
3. Use the on-screen keypad to enter a playlist name.
4. Tap Done to create the new playlist.
Deleting a Custom Playlist
1. Tap the Activity button in the top-right corner of the Home screen and then
tap Manage Your Reports.
2. Tap the Edit button in the bottom left-hand corner of the screen.
3. Tap the red delete symbol adjacent to the playlist you want to delete.
4. Tap the Delete button to remove the playlist.
Tieline Pty. Ltd. © 2013
Page 29

8.7 Add and Remove Reports from Playlists
Custom user playlists need to be created before attempting to manually add a recording
to these playlists. Custom playlists are easily identifiable because they are displayed
separately below the default playlists. (See Adding and Deleting Playlists for more details
on adding playlists)
29Report-IT Live v3.2.5
Adding a Report to a Playlist
1. Tap the Activity button in the top-right corner of the Home screen and then
tap Manage Your Reports.
2. Tap the default or custom playlist that contains the report you want to add to
another playlist.
3. Tap to select the report you want to configure.
4. Tap Playlists in the Report screen to view all custom playlists, then tap to select
each individual playlist the recording needs to be added to.
5. Tap the Report button to return to the Report screen and save all changes.
Removing a Report from a Playlist
Removing a report from a custom playlist does not delete the actual recording itself.
To delete a recording see Deleting Reports.
1. Tap the Activity button in the top-right corner of the Home screen and
then tap Manage Your Reports.
2. Tap the playlist that contains the report you want to remove.
3. Tap the Edit button in the bottom left-hand corner of the screen.
4. Tap the red symbol adjacent to the report you want to remove.
5. Tap the Remove button to remove the report.
6. Tap the Done button to finish editing.
Tieline Pty. Ltd. © 2013
Page 30

30 Report-IT Live v3.2.5
8.8
Locking Reports
Locking a Report from Editing
1. Tap the Activity button in the top-right corner of the Home screen and then
tap Manage Your Reports.
2. Tap a category playlist to find the report you want to select, then tap the report to
view it in the Report screen.
3. Use your finger to slide the Lock Report switch from OFF to ON.
4. Tap the Done button in the bottom-left corner of the screen to save the new
setting.
8.9 Deleting Reports
Reports can only be deleted from one of the default playlists:
All Reports.
Today's Reports.
Most Recent 10 Reports.
1. Tap the Activity button in the top-right corner of the Home screen and then tap
Manage Your Reports.
2. Tap to select the default playlist that the report you want to delete is within.
3. Tap the Edit button in the bottom left-hand corner of the screen.
4. Tap the red delete symbol adjacent to the recording you want to delete.
5. Tap the Delete button to delete the report permanently.
6. Tap OK in the Confirm Delete dialog to confirm the deletion.
8.10 Backup Reports
When a backup of your iOS device is performed, Report-IT will also include any
recordings made. This may take a long time if large amounts of data are being backed up.
When your device is configured for iCloud and Wi-Fi backup, you may want to disable
backup of recordings to improve wireless performance/bandwidth available during a
backup, and to avoid using up iCloud data quotas.
1. Tap the Information symbol from within the 'live' or 'record' mode screens to
open the Configuration screen.
Tieline Pty. Ltd. © 2013
Page 31

2. Tap Backup Reports (default setting is ON) to toggle the setting ON/OFF.
8.11 Sharing Reports
1. Tap the Activity button in the top-right corner of the Home screen and then tap
Manage Your Reports.
2. Tap a category playlist to find the report you want to select, then tap the report to view
it in the Report screen.
3. Tap Share Report.
4. Tap Upload to upload the report to the file server configured in Report-IT (see
Configuring File Sharing for more details on sharing recorded files).
31Report-IT Live v3.2.5
Tieline Pty. Ltd. © 2013
Page 32

32 Report-IT Live v3.2.5
9 Common Configuration Tasks
Configuration of Report-IT Live is very simple and intuitive. It is very simple to:
Change the IP address of the device you are connecting to.
Change Port Settings.
Configuring File Sharing.
Configure Audio Encoding Settings.
Edit Favourites and Contacts.
Report-IT Live users also have 2 options for the purchase of Live Time for live
broadcasting:
Purchase additional pre-paid live time hours.
Upgrade to Report-IT Live Pro (Unlimited live time).
9.1 Changing Report-IT IP Addresses
1. Tap the Information symbol from within the 'live' or 'record' mode screens to open
the Configuration page.
2. Tap Codecs.
3. Tap the Codec field on the Codecs screen.
4. Tap the IP Address/Hostname field and use the on-screen keypad to add a new IP
address (or host name).
5. Tap to adjust TCP and UDP port settings if required.
6. Tap the Codecs button in the top left-hand corner to save the settings and return to
the Codecs screen.
7. Tap the Configuration button in the top left-hand corner to return to the
Configuration screen.
8. Tap Done at the top of the Configuration screen to exit the Configuration
screen.
9. Press the Connect button on the Report Live screen to connect to the studio. (Note:
Tap the Activity button in the top-right corner of the Home screen and then tap
Report Live if this screen is not displayed).
Tieline Pty. Ltd. © 2013
Page 33

33Report-IT Live v3.2.5
9.2
Changing Port Settings
As a default, Report-IT Live uses TCP port 9002 to send session data with connection
information and UDP port 9000 to send audio. The session port always uses the TCP
protocol because this protocol is the most likely to get through firewalls – ensuring critical
session data (including dial, connect and hang-up data) will be received reliably.
In TCP/IP and UDP/IP networks the codec port is the endpoint of your connection and by
using different ports, several codecs in your studio can use the same static public IP
address. When data is received from several remote codecs at a single static public IP
address at the studio, different ports are used to send the correct packets to multiple
studio codecs. This process is performed by PAT (Port Address Translation), which is a
feature of NAT (Network Address Translation) devices.
If you need to reconfigure the default Report-IT Live port numbers, please consult your IT
system administrator for assistance on port allocation.
Changing Report-IT Live Port Numbers
1. Open Report-IT Live and tap the Information symbol from within the 'live' or
'record' mode screens to open the Configuration page, then tap Codecs.
2. Tap Codec in the Codecs screen.
3. Tap Ports.
4. TCP Session Port and use the on-screen keypad to adjust the port number.
5. Tap Audio Port and use the on-screen keypad to adjust the port number.
6. Tap the Codecs button at the top of the screen to save all settings.
7. Tap the Configuration button in the top left-hand corner to return to the
Configuration screen.
8. Tap Done in the top left-hand corner of the Configuration screen to exit
configuration.
Tieline Pty. Ltd. © 2013
Page 34

34 Report-IT Live v3.2.5
Important Note: Tap Default Value to return the port setting to the factory default.
WARNING: The purchase price of Report-IT Live does not include network airtime/
data costs. Please check these fees and charges with your cell phone network
provider.
9.3 3G and Wi-Fi Network Coverage
Report-IT will operate over 3G wireless broadband networks and Wi-Fi connections. By
default the iPhone connects to an available Wi-Fi network that it has been registered to,
rather than a 3G network. With Report-IT Live it is possible to connect in the following
ways.
Connecting over Wi-Fi Only
1. Register your device with the wireless network you are operating within.
2. Open Report-IT Live and tap the Information symbol from within the 'live' or
'record' mode screens to open the Configuration page, then tap Advanced >
Auto Reconnect and ensure it is ON.
3. Ensure Across Networks is OFF.
4. Tap the Configuration button at the top of the screen to return to the
Configuration screen.
5. Tap Done at the top of the Configuration screen to confirm the new
settings.
Connecting over 3G Wireless Broadband Networks Only
There are two different ways to make sure the iPhone will only connect over 3G
networks.
1. Tap Settings > Wi-Fi for your iPhone and use your finger to swipe and turn
the Wi-Fi setting to OFF, or
2. If you connect initially over 3G but move across both 3G and Wi-Fi networks,
you can ensure that you will always connect over 3G if the connection is
temporarily lost. Open Report-IT Live and tap the Information symbol from
within the 'live' or 'record' mode screens to open the Configuration page,
then tap Advanced > Auto Reconnection > Across Networks and make
sure this setting is OFF. (Note: This allows you to use both Wi-Fi and 3G
when you are not using Report-IT Live).
To save the settings:
Tap the Configuration button at the top of the screen to return to the
Configuration screen.
Tap Done at the top of the Configuration screen to confirm the new
Tieline Pty. Ltd. © 2013
Page 35
settings.
Important Note: If a Wi-Fi network is not available it will connect over 3G with
these settings. If a 3G network is not available and Wi-Fi is available, then WiFi will be the network selected for connecting. You can tell which network you
are connected to by checking for the Wi-Fi symbol in the top left-hand corner of
the iPhone screen.
Wi-Fi
Symbol
Connect over Wi-Fi with Automatic Backup to 3G
Report-IT Live will connect over Wi-Fi by default if the iPhone is registered to a Wi-Fi
network. It can also failover to 3G if the Wi-Fi network becomes unavailable.
1. Tap Settings > Wi-Fi for your iPhone and use your finger to swipe and turn
the Wi-Fi setting to ON.
2. Open Report-IT Live and tap the Information symbol from within the 'live'
or 'record' mode screens to open the Configuration page.
3. Tap Advanced > Auto Reconnection and check:
Auto Reconnect is ON
Across Networks is ON
35Report-IT Live v3.2.5
4. Tap the Configuration button at the top of the screen to return to the
Configuration screen.
5. Tap Done at the top of the Configuration screen to confirm the new
settings.
When these settings are configured, if you lose a connection, the phone will attempt
to connect to the studio over 3G.
9.4 Configuring File Sharing
Report-IT Live supports file sharing via FTP or Nétia Radio-Assist. There are two
elements involved in configuring file transfers of audio recordings:
1. Configuration of file server settings.
2. Configuration of audio encoding settings.
Configuring Server Settings
Tieline Pty. Ltd. © 2013
1. Tap the Information symbol from within the 'live' or 'record' mode screens to
open the Configuration page.
Page 36

36 Report-IT Live v3.2.5
2. Scroll down and tap to select FTP or Radio-Assist.
3. Tap Share Settings.
4. Tap the Server Settings button if configuring an FTP server, or tap Radio-Assist
Site if configuring a new Nétia site.
5. Tap to select from the available options and use the on-screen keypad to enter
your preferred settings, then tap the Share button at the top of the screen.
6. Tap the Configuration button in the top left-hand corner of the screen and then
tap Done to confirm the new settings.
Automatic File Sharing
Report-IT can be configured to automatically allow you to share a recording after a
live connection is disconnected.
1. Tap the Information symbol from within the 'live' or 'record' mode screens
to open the Configuration page.
2. Tap the Record On Connect button to select ON.
3. Tap the Share on Disconnect button to select ON.
Sharing after Disconnection
1. Tap Disconnect to hang up the IP connection.
Tieline Pty. Ltd. © 2013
Page 37

37Report-IT Live v3.2.5
Important Notes:
Tap the File Name text box to display the onscreen keyboard and rename a
report prior to transfer if required. Tap Done when this is complete.
Tap Cancel to cancel a file transfer prior to completion.
2. Tap Upload to commence uploading the recording to the server.
3. The recording is first encoded and then transmitted. The data transfer upload
is displayed on the progress bar.
4. Data transfer may take several minutes, depending on the size of the report
and the upload connection bandwidth available. Confirmation is displayed at
the completion of the file transfer.
Tieline Pty. Ltd. © 2013
Page 38

38 Report-IT Live v3.2.5
Manually Configured File Sharing
Recordings can also be selected and transferred manually.
1. Tap the Activity button in the top-right corner of the Home screen and
then tap Manage Your Reports.
2. Tap a category to find the report you want to select, then tap the report to
view it in the Report screen.
3. Tap Share Report in the Report screen.
4. Tap the arrow to open the Select Share screen and choose a
different share option if required.
5. Tap the Upload button to upload the report using the share option
configured into Report-IT.
9.5 Configuring Audio Encoding Settings
Configuring Audio Encoding Settings
1. Tap the Information symbol from within the 'live' or 'record' mode screens to
open the Configuration page.
2. Scroll to the bottom of the screen and tap the Share Settings button.
3. Tap the Encoding Settings button.
4. Tap to select your preferred audio Encode Format and the encode sample rate for
your recordings, and then tap the Share button in the top left-hand corner of the
screen.
5. Tap the Configuration button at the top of the Share screen and then press Done
at the top of the Configuration screen to confirm the new settings.
Tieline Pty. Ltd. © 2013
Page 39

Broadcast Wave Format Support
Report-IT Live Pro supports Broadcast Wave Format (BWF) for file transfers of
recordings. BWF is an extension of the Microsoft® WAVE audio format and provides
additional metadata for facilitating the exchange of recordings between apps.
BWF will be listed in the Encode Format pane for Report-IT Live Pro as displayed.
If you purchase Report-IT Live Pro you can also add metadata details to individual
recordings to assist with filing of reports using file transfer options. These additional
configuration options are available within the Manage Reports screen.
1. Tap the Activity button in the top-right corner of the Home screen and
then tap Manage Your Reports.
2. Tap a category playlist to find the report you want to select and open the
Report screen.
3. Tap Details.
4. Tap to enter details into fields on this screen, e.g. City, Description,
Originator, Reference.
39Report-IT Live v3.2.5
5. Tap Done to save these settings.
9.6 Purchase Additional Live Time
Report-IT Pre-Paid Live Time is essentially a pay as you go licensing option that is similar
to pre-paid cell phones. If you have Report-IT Live Pro installed then you have unlimited
live time available.
Tieline Pty. Ltd. © 2013
Page 40

40 Report-IT Live v3.2.5
Caution: The iTunes store considers live time hourly purchases as a consumable
item, which means that once hours are purchased and downloaded to your
iPhone, they cannot be re-downloaded free of charge and used again. If you delete
Report-IT from your iPhone and do not have it backed up in iTunes from where it
can be restored from, your Pre-Paid Live Time is extinguished. Pre-Paid Live
Time is not transferable between devices.
WARNING: It is also possible to launch live time purchases by tapping the symbol
adjacent to Live Time Left in the Statistics screen. Ensure you are NOT
connected or recording if you launch a live time purchase from this screen, or your
report will be interrupted.
Once live time hours have been used in the Report-IT Lite and Report-IT Live versions of
Report-IT you will need to purchase additional hours to continue broadcasting live.
Report-IT Lite is a free trial version and if you have this installed we recommend you
purchase and download Report-IT Live from the iTunes App Store and receive two free
hours of live time, plus additional features.
To purchase additional hours of live time for connecting to a Tieline IP codec and
broadcasting live or retransmitting recordings:
1. We recommend that you are not connected or recording when live time is
purchased.
2. Tap the Information symbol to open the Configuration page and tap
Purchase Live Time (Note: price per hour subject to change at any time).
3. Tap to select the Hours text box in the Report-IT Live Time section and enter the
number of hours you want to purchase.
4. Tap the Purchase button to initiate the purchase.
5. Tap the Buy button to confirm your In App purchase of additional live time hours.
Live Time Remaining Notifications
Report-IT Live provides notifications automatically when live time is running low. The
factory default setting is 3 minutes and this can also be adjusted.
1. Open Report-IT Live and tap the Information symbol from within the 'live'
or 'record' mode screens to open the Configuration page, then tap
Advanced > Live Time Low Level.
2. Use the on-screen keypad to adjust the number of minutes warning required
prior to live time being exhausted.
Tieline Pty. Ltd. © 2013
Page 41

3. A pop-up dialog will be displayed on the screen when live time reaches this
point when connected live.
9.7 Upgrade to Report-IT Live Pro
Report-IT Live Pro gives you unlimited hours of live time for broadcasting live and
retransmitting recordings to a codec, as well as other unique features. To upgrade from
Report-IT Live to Report-IT Live Pro:
41Report-IT Live v3.2.5
1. Make sure you are not reporting live or recording audio.
2. Tap the Information symbol to open the Configuration page and tap Upgrade
(Note: purchase price is subject to change at any time).
3. Tap the Purchase button in the Upgrade screen to initiate the purchase.
4. Tap the Buy button to confirm your In App purchase of Report-IT Live Pro.
9.8 Editing Favourites and Contacts
Adding Codecs to Contacts and Favourites
1. Open Report-IT Live and tap the Information symbol from within the 'live' or
'record' mode screens to open the Configuration page, then tap Codecs.
2. Tap the Codec field underneath Favourites and Contacts.
3. Tap Codec Address and use the on-screen keypad to manually enter the IP
address of the codec to which you will connect.
4. Use the keypad to enter the numeric IP address of the codec to which you are
connecting.
5. Tap the Codec button in the top left-hand corner to save the settings and return to
the previous screen.
Tieline Pty. Ltd. © 2013
Page 42

42 Report-IT Live v3.2.5
6. Tap the Add to Favourites and Add to Contacts buttons at the bottom of the
screen to save the settings for retrieval from Contacts or Favourites.
7. Tap the Codecs button in the top left-hand corner of the screen to return to the
Codecs screen.
8. Tap the Configuration button at the top of the Codecs screen to return to the
Configuration screen.
9. Tap the Done button in the top left-hand corner to exit Configuration and
return to the Home screen.
Editing Favourites
1. Tap the arrow symbol on the Report Live home screen to open the Codecs
page.
2. Tap Favourites, then tap to select a codec from those listed.
3. Tap the Edit button in the bottom left-hand corner of the screen.
4. Tap the name to edit it and tap Done to save any changes, or tap the codec
URL to edit IP address and port settings and tap Info in the top left-hand corner of
the screen to save any changes.
5. Tap Done to finish editing.
Tieline Pty. Ltd. © 2013
Page 43

Editing Contacts
Contacts are created using the iPhone Contacts address book feature and cannot be
edited from within Report-IT Live. Use the iPhone address book editing functions if
any adjustment needs to be made to a Contact.
9.9 Customising Screen Logos
A cool feature on Report-IT Live is the ability to add your station logo to the screen when
reporting for additional branding opportunities in print and visual media.
Saving a Logo into Report-IT Live
Prior to adding your logo onto the Report-IT Live screen you need to save it into the
iPhone Camera Roll. One of the easiest ways to do this is to:
1. Email or SMS the image to your iPhone.
2. Tap the image, then tap the tap the Activity button in the bottom-left corner of
the screen.
3. Tap Save Image.
43Report-IT Live v3.2.5
Customising the Logo Screen
1. Open Report-IT Live and tap the Information symbol from within the 'live' or
'record' mode screens to open the Configuration page, then tap Logo.
2. Use your finger to swipe the Display Logo switch from OFF to ON.
3. Tap the image displayed in the Logo Image pane and select the Camera Role
that your logo is saved within.
4. Tap the logo to select it, then tap Choose in the bottom right-hand corner of the
screen.
5. The image should now be displayed in the Logo screen.
6. Tap Logo Byline to add a byline to your image, e.g. your station's call-sign or the
reporter's name, then tap Done .
7. Tap Configuration in the top left-hand corner of the Logo screen to exit logo
configuration.
8. Tap Done in the top left-hand corner of the Configuration screen to confirm
the new settings.
Viewing the Logo Screen when Live
1. Open Report-IT Live and navigate to the Report Live screen.
2. Connect live and then swipe to the left three times to view the Logo screen.
Viewing the Logo Screen when Recording
1. Open Report-IT Live and navigate to the Record a Report screen.
2. Commence recording and swipe to the left to view the logo screen.
Tieline Pty. Ltd. © 2013
Page 44

44 Report-IT Live v3.2.5
10 Multilingual Support
Report-IT has support for various languages. To change the default language:
1. Select iPhone Settings > General > International > Language > [your
language selection].
2. To change the default time and date settings in the phone to your country of choice
select iPhone Settings > General > International > Regional Format > [your
country selection]. This will ensure any date information within Report-IT is in the
format for your country of choice.
11 Customer Support
To access customer support elements within Report-IT tap the Information symbol
from within the 'live' or 'record' mode screens to open the Configuration page, then tap
Support.
Send Logs to Tieline
If technical support is required you may be asked to send logs of Report-IT usage to
Tieline. To do this tap Information > Support > Send Logs to Tieline. Add a
description relevant to the log and tap Upload.
Tieline Pty. Ltd. © 2013
Page 45

12 Report-IT Live Software Licensing
Report-IT Live has been approved for use with the Apple iPhone and is subject to Apple's hardware and
software End User Licence Agreements (EULAs) for use of this device. See http://www.apple.com/legal/
sla/
Disclaimer
Whilst every effort has been made to ensure the accuracy of this manual we are not responsible for
any errors or omissions within it, or for incidental or consequential damage in connection with the
furnishing, performance or use of this material. Tieline makes no warranty of any kind with regards to
this material, including the implied warranties of merchantability and fitness for a particular purpose.
The product specifications and descriptions within this manual will be subject to improvements and
modifications over time without notice, as changes to software and hardware are implemented.
Neither Tieline nor its suppliers shall be liable to you or to any third party for any damages either
direct, indirect, incidental, consequential or otherwise (including in each case, but not limited to,
damages for the inability to use the equipment or access and send data, loss of data, loss of
business, loss of profits, business interruption or the like) arising out of the use of or inability to use
Report-IT, even if Tieline has been advised of the possibility of such damages.
13 Credit Notices
1. iPhone, iCloud, Apple, App Store and iOS are trademarks and/or registered
trademarks of Apple Inc., registered in the U.S. and other countries.
2. AudioCopy and AudioPaste by Sonoma Wire Works.
3. Android is a trademark of Google Inc.
4. The Bluetooth® word mark and logos are registered trademarks owned by Bluetooth
SIG, Inc.
5. Other product names mentioned within this document may be trademarks or
registered trademarks, or a trade name of their respective owner.
45Report-IT Live v3.2.5
Tieline Pty. Ltd. © 2013
Page 46

Report-IT Live v3.2.546
Index
- 3 -
3G connections 34
- A -
About 44
Adding a playlist 28
Adding an IP address 9
Audio monitoring 9
Automatic Reconnection 9
- B -
Backup reports 30
Bit-rates 15
- C -
Configuration
settings explained 7
Configuration options 32
Connection bitrate 9
Connection quality 15
Connection statistics 15
Contacts 11
adding 41
editing 41
Controls 5
Credit Notices 45
Custom playlists 28
Customer Support 44
Cut and paste
cutting and pasting reports 24
- E -
Editing recordings
copy reports 24
non-linear editing 24
Editing reports
copy reports 24
non-linear editing 24
English 44
- F -
Favorites 11
Favourites 11
adding 41
editing 41
Features 9
French 44
FTP reports 31
- G -
Getting started 9
- H -
Home screen controls 5
- I -
Input monitoring 9
Insert reports live 14
IP address
editing 32
iSnippet
editing 22
- J -
- D -
Delay 15
Deleting a playlist 28
Deleting reports 30
Dialing
contacts 11
favourites 11
Disconnecting 9
Jitter Buffer 15
- L -
Latency 15
Live time
purchasing additional hours 39
Locking reports 30
Logs
send logs 44
Tieline Pty. Ltd. © 2013
Page 47

Logs
user logs 44
Index 47
- S -
- M -
Managing Reports
edit report details 19
lock reports 19
metadata 19
playback 19
rename reports 19
share reports 19
Multilingual support 44
- O -
Output monitoring 9
- P -
Playback report 20
Playlists
adding 28
adding reports 29
deleting 28
removing reports 29
Port Settings 33
Programming audio encoding settings 38
Purchasing Live-Time 39
Screen logos
customising 43
saving 43
viewing when live 43
viewing when recording 43
Sharing Settings
programming server settings 35
Support 44
Multilingual 44
- T -
TCP Port Settings 33
Trim report 21
- U -
UDP Port Settings 33
Upgrades 41
Upgrading Report-IT 41
- W -
Warnings 9
Wi-Fi connections 34
Wraparounds 14
- R -
Recording
automating recording 17
managing recording 17
Recording a Report 17
Register Report-IT 9
Registration 9
Renaming a report 20
Report-IT Live
about 4
features 4
in-app purchase 4
purchase options 4
Report-IT Live Pro
How to upgrade to 41
Report-IT Pro
about 4
features 4
Retransmit reports 14
Tieline Pty. Ltd. © 2013
 Loading...