

Page 1
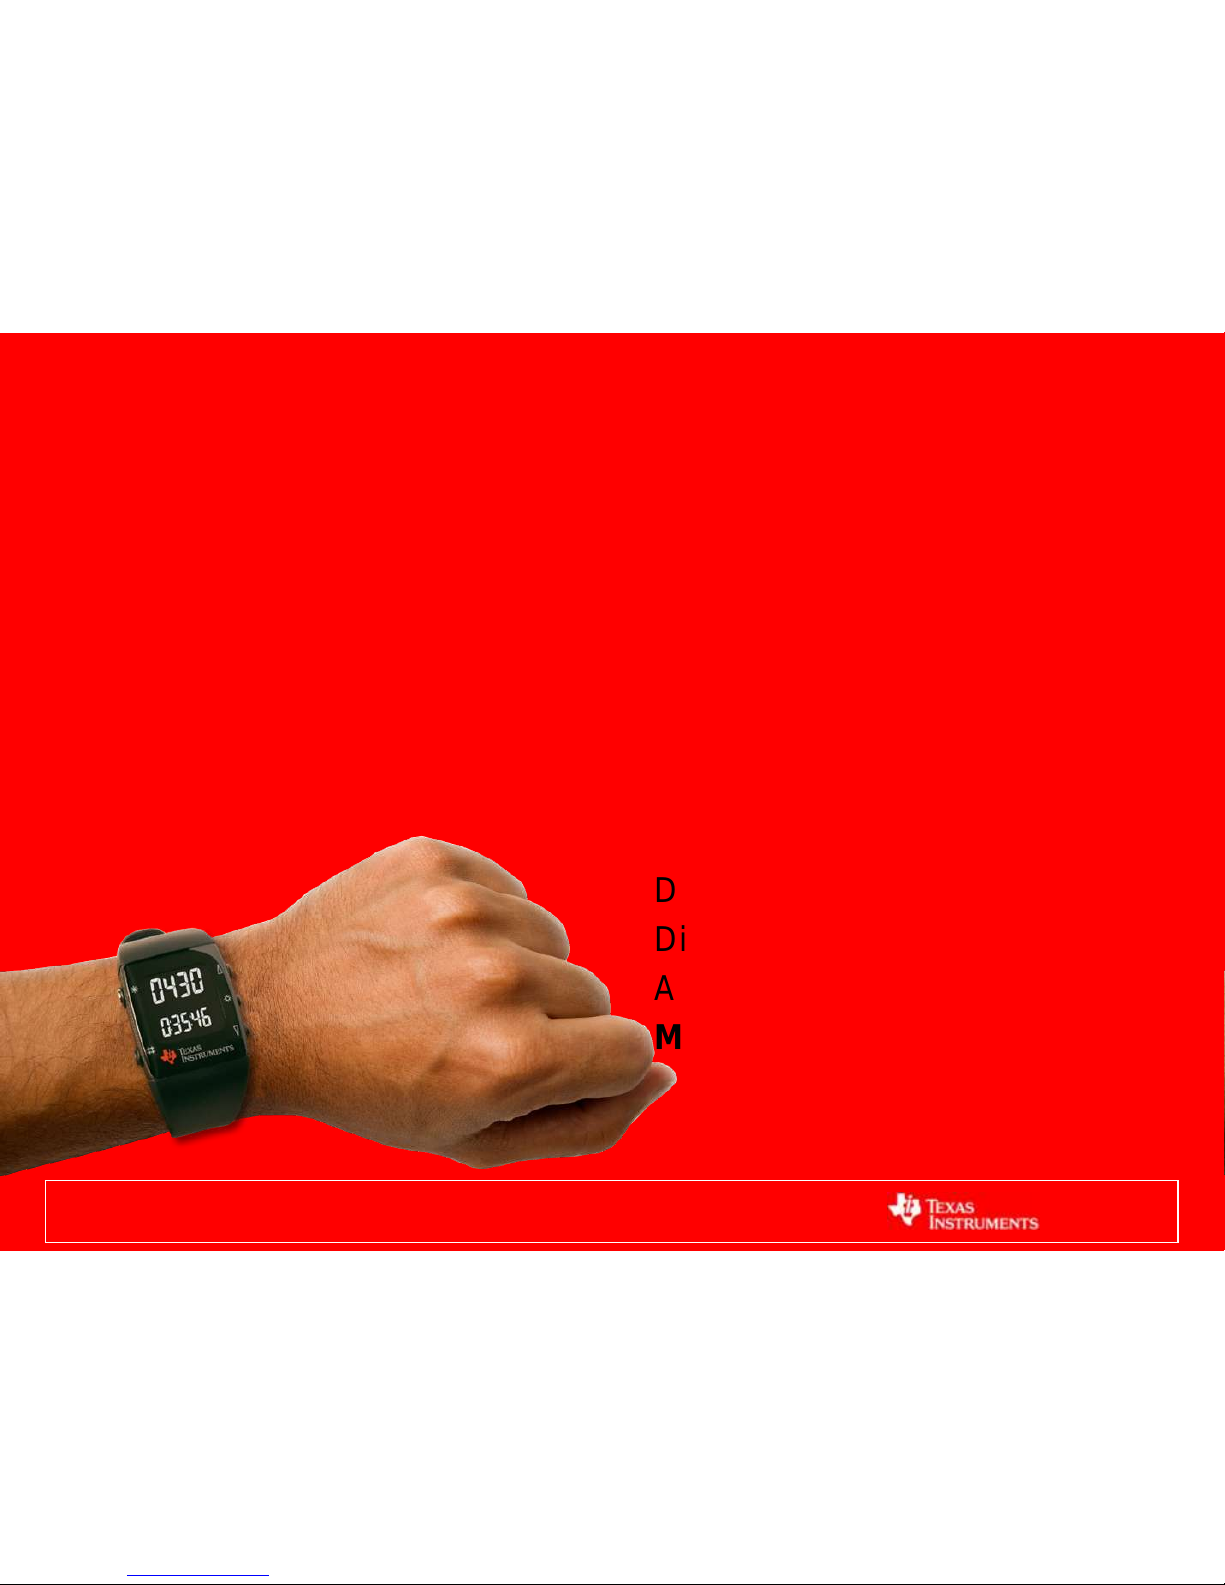
1
eZ430-Chronos Workshop
connecTIng people
Dung Dang
Dietmar Schneider
Adrian Fernandez
MSP430
Page 2
2
Overview of the eZ430-Chronos and CC430 is
presented and followed by a short demo
showcasing the features of the standard Chronos
package. The next lab aims at getting Chronos to
communicate in peer to peer mode. Attendees will
then work with SmartRF Studio to configure the
CC430 RF settings and reapply new RF
configurations to their Chronos. The workshop
wraps up with an optional lab demonstrating
power (RSSI) meter application with the Chronos.
Chronos Workshop | Abstract
Page 3

3
1. Introduction: Chronos & CC430
2. Lab 1: Enable RF in Chronos
3. Lab 2: Configure RF with SmartRF Studio
4. Lab 3: RSSI Meter with Chronos
5. CC430 Eco-system
Chronos Workshop
Agenda
1. Introduction: Chronos & CC430
Page 4
Introduction
Chronos & CC430
• CC430 Overview
• eZ430-Chronos
• Chronos Playtime
4
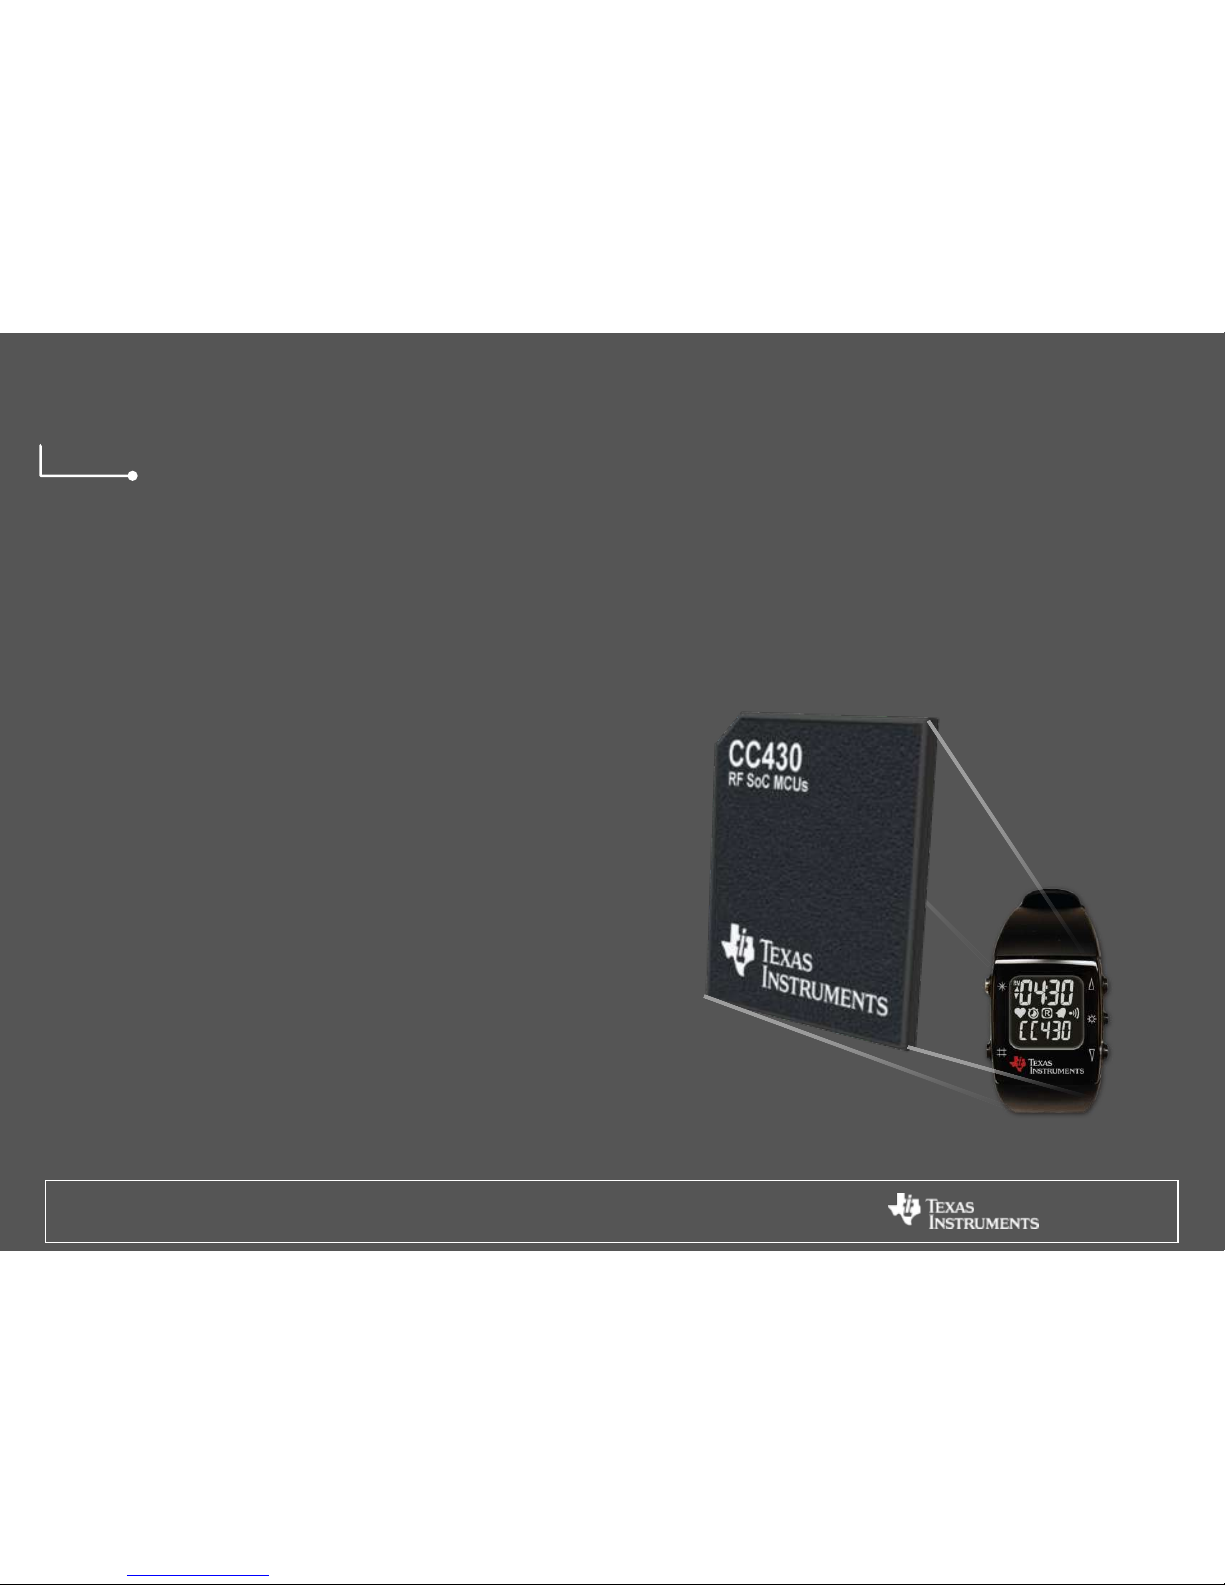
Page 5
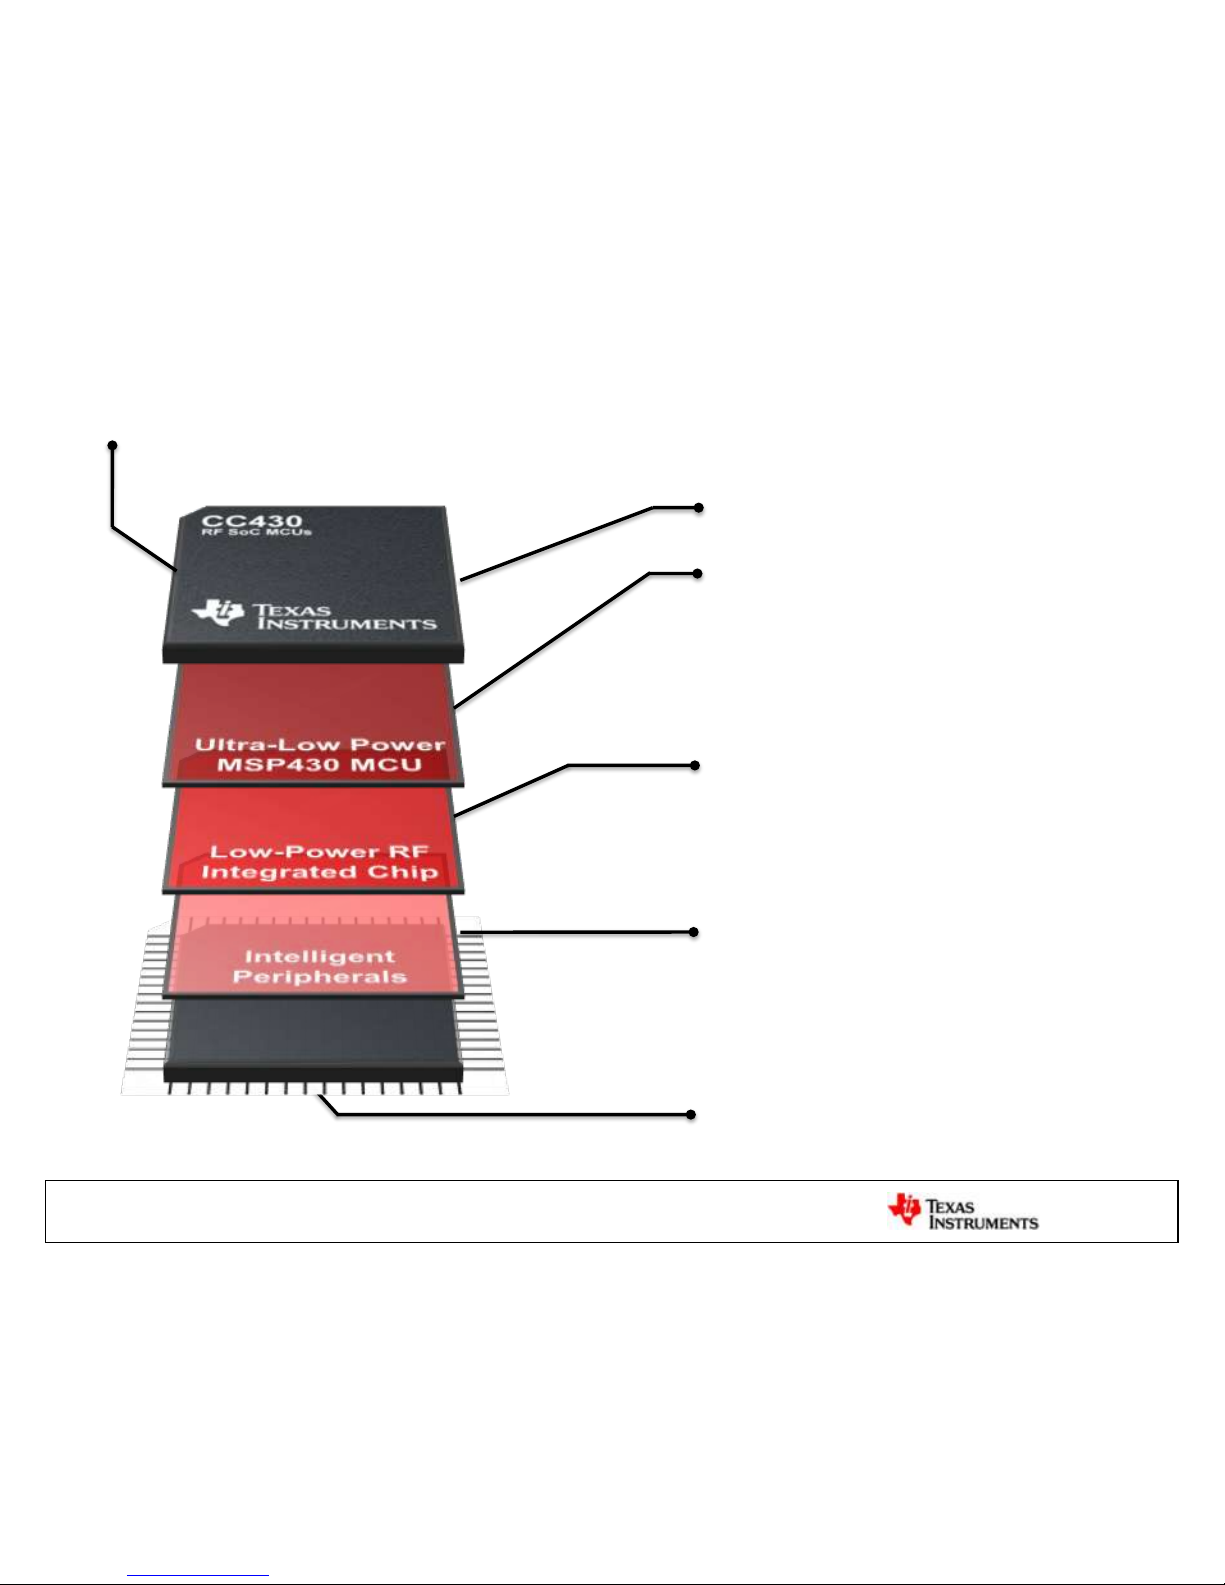
CC430 | RF + Ultra-Low Power MCU
CC1101 <1GHz RF Transceiver
• High sensitivity
• Low current consumption
• Excellent blocking performance
• Flexible data rate & modulation format
MSP430™ Microcontroller
• Industry’s lowest power MCU
• 16-bit RISC architecture
• 20 MHz processor
• High-performance analog
• Sensor interface
64/48QFN Pin Package
• 9.1/7.1 mm2area
Intelligent Peripherals
• 100 nA comparator
• 8ch 12-bit ADC offering 200-ksps
• 96 segment LCD controller
• 128-bit AES security encryption/
decryption coprocessor
5
Monolithic
• Single die package
Page 6
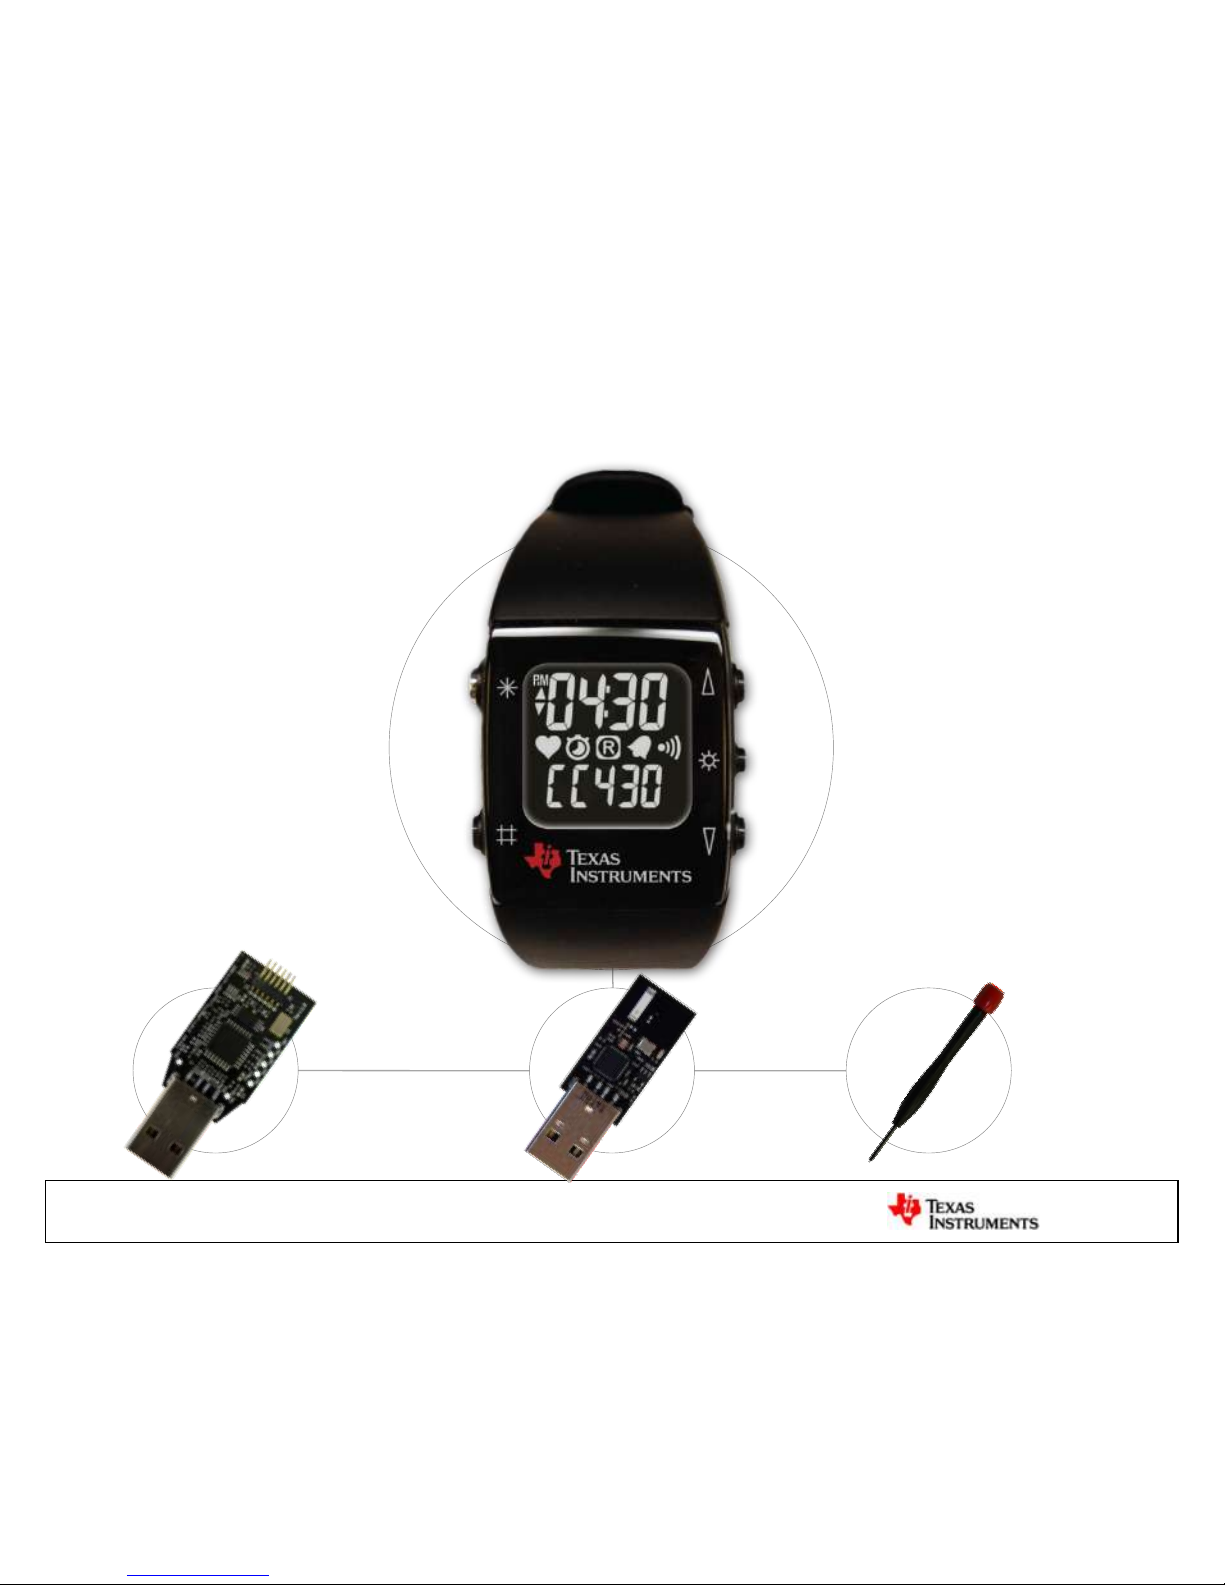
Chronos | Advanced Integration
6
3-Axis Accelerometer
Pressure & Altitude
Sensor
Buzzer
<1GHz RF
CC430F6137 MCU
Temperature
Sensor
Voltage & Battery
Sensor
2-Wire JTAG Access
96 segment LCD
eZ430
Programmer
RF Access
Point
Chronos
Disassembly
Tool
CR2032 Battery
• 433, 868 & 915 MHz
Page 7
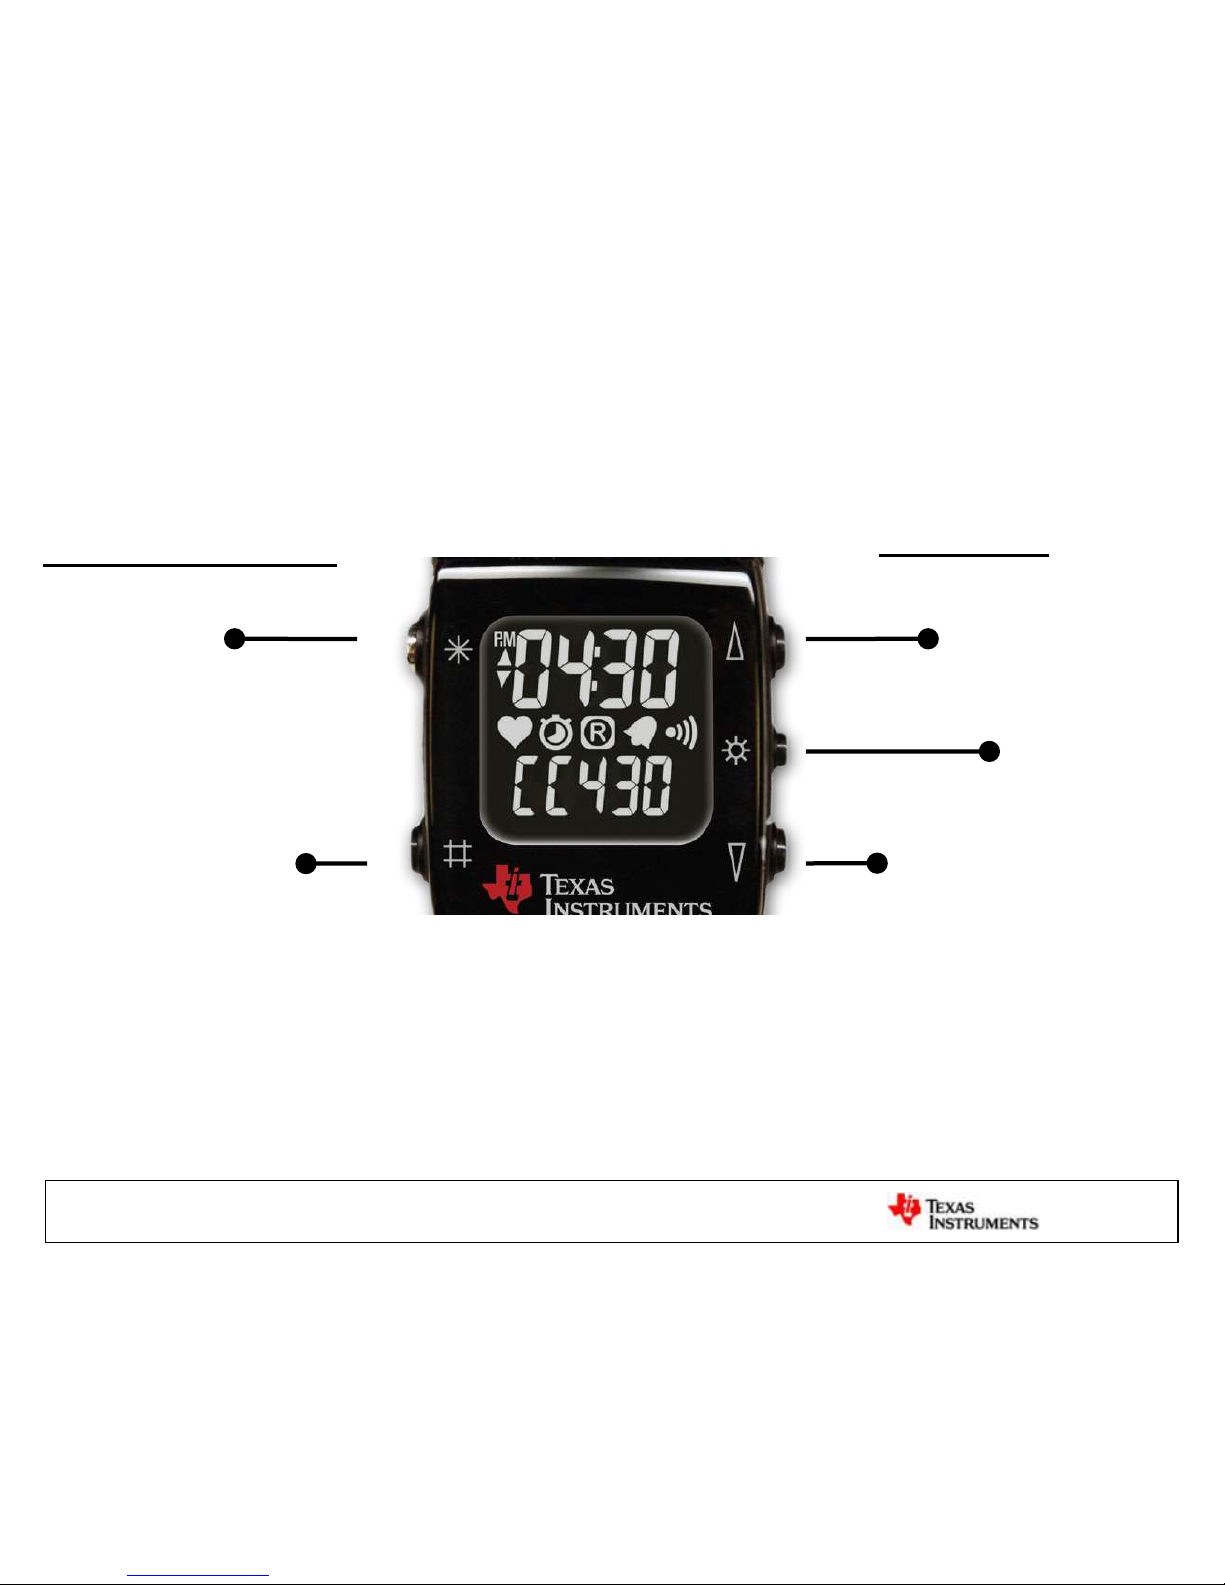
Top Menu:
Time Alarm Temperature Altimeter mi/h Accelerometer
Bottom Menu:
Date Stop Watch Battery RF [ Acc – PPT – Sync – BSL]
7
Chronos | Playtime [Non-RF]
Cycle through
Top Menu
Bottom Menu
Activate
Top Function
Bottom Function
Backlight
*unused in workshop
Page 8
8
1. Introduction: Chronos & CC430
2. Lab 1: Enable RF in Chronos
3. Lab 2: Configure RF with SmartRF Studio
4. Lab 3: RSSI Meter with Chronos
5. CC430 Eco-system
Chronos Workshop
Agenda
Page 9
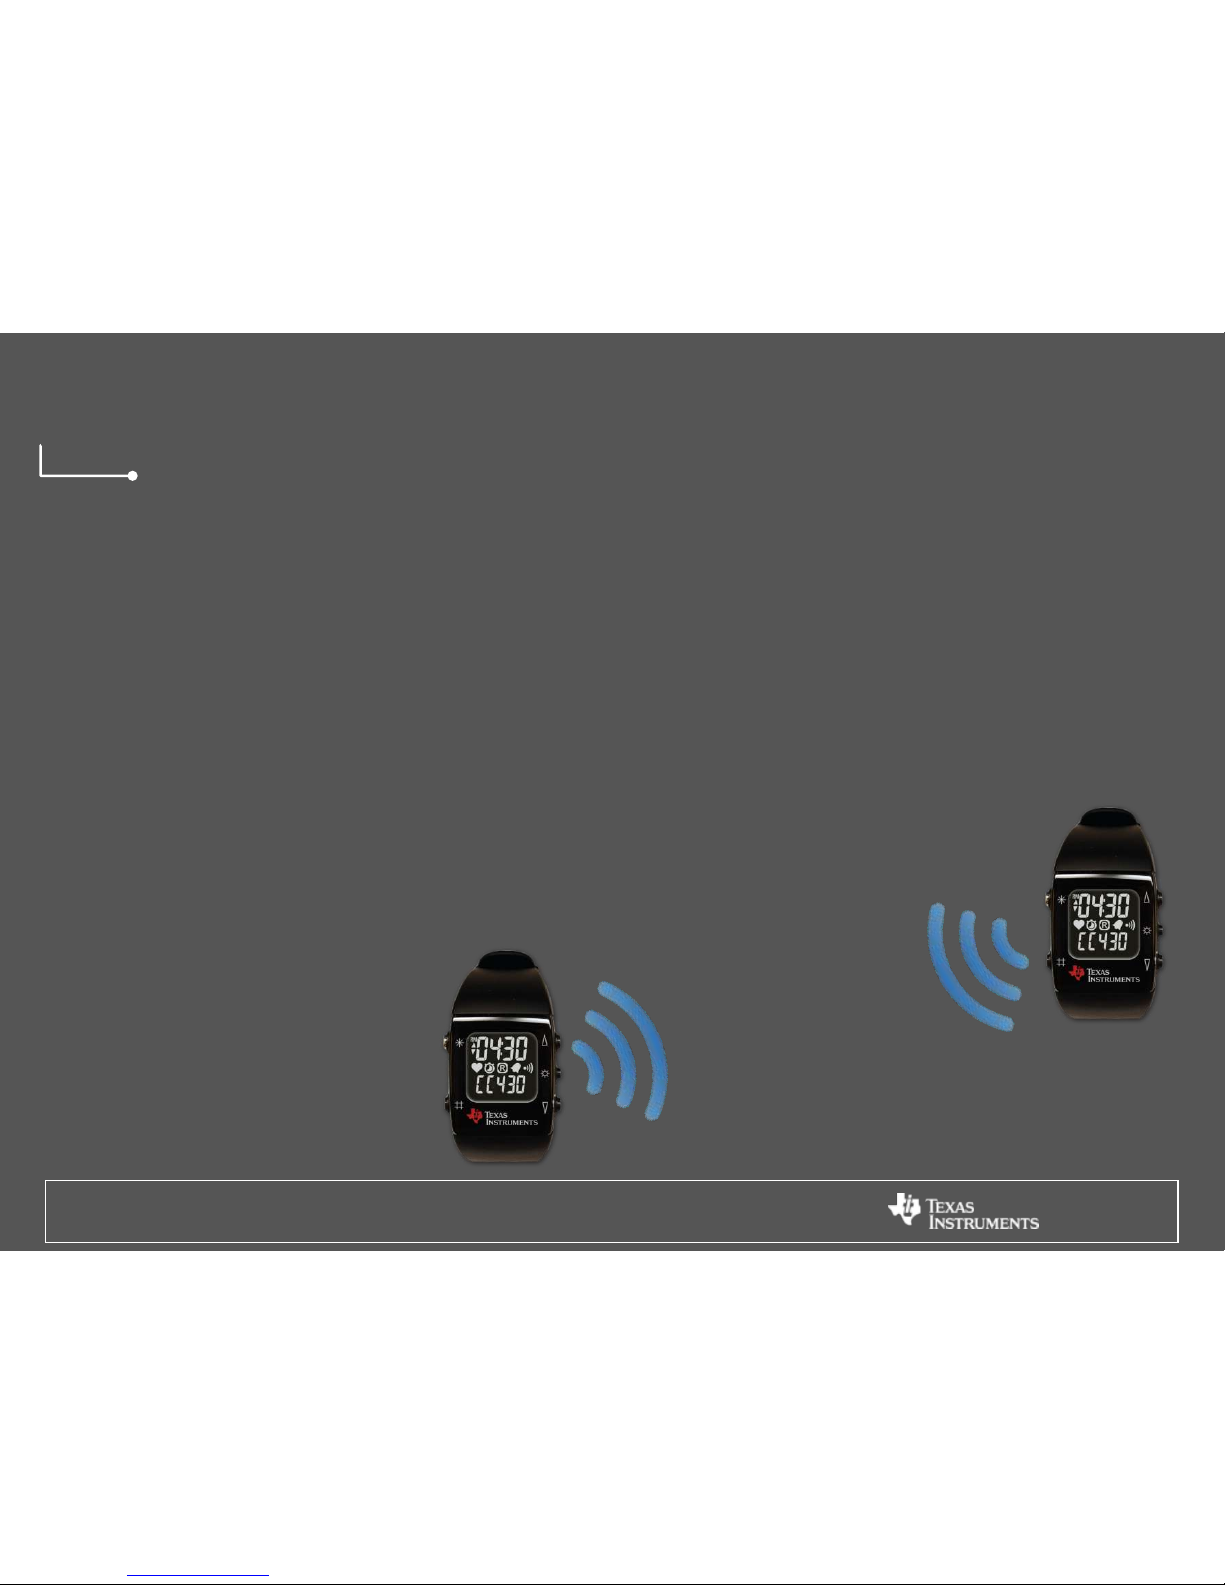
Enable RF in your Chronos
• Set your assigned RF channel
• Edit code with CCS
• Compile & Download to Chronos
• Link & find your partner
Lab 1
Chronos 2 Chronos
Page 10
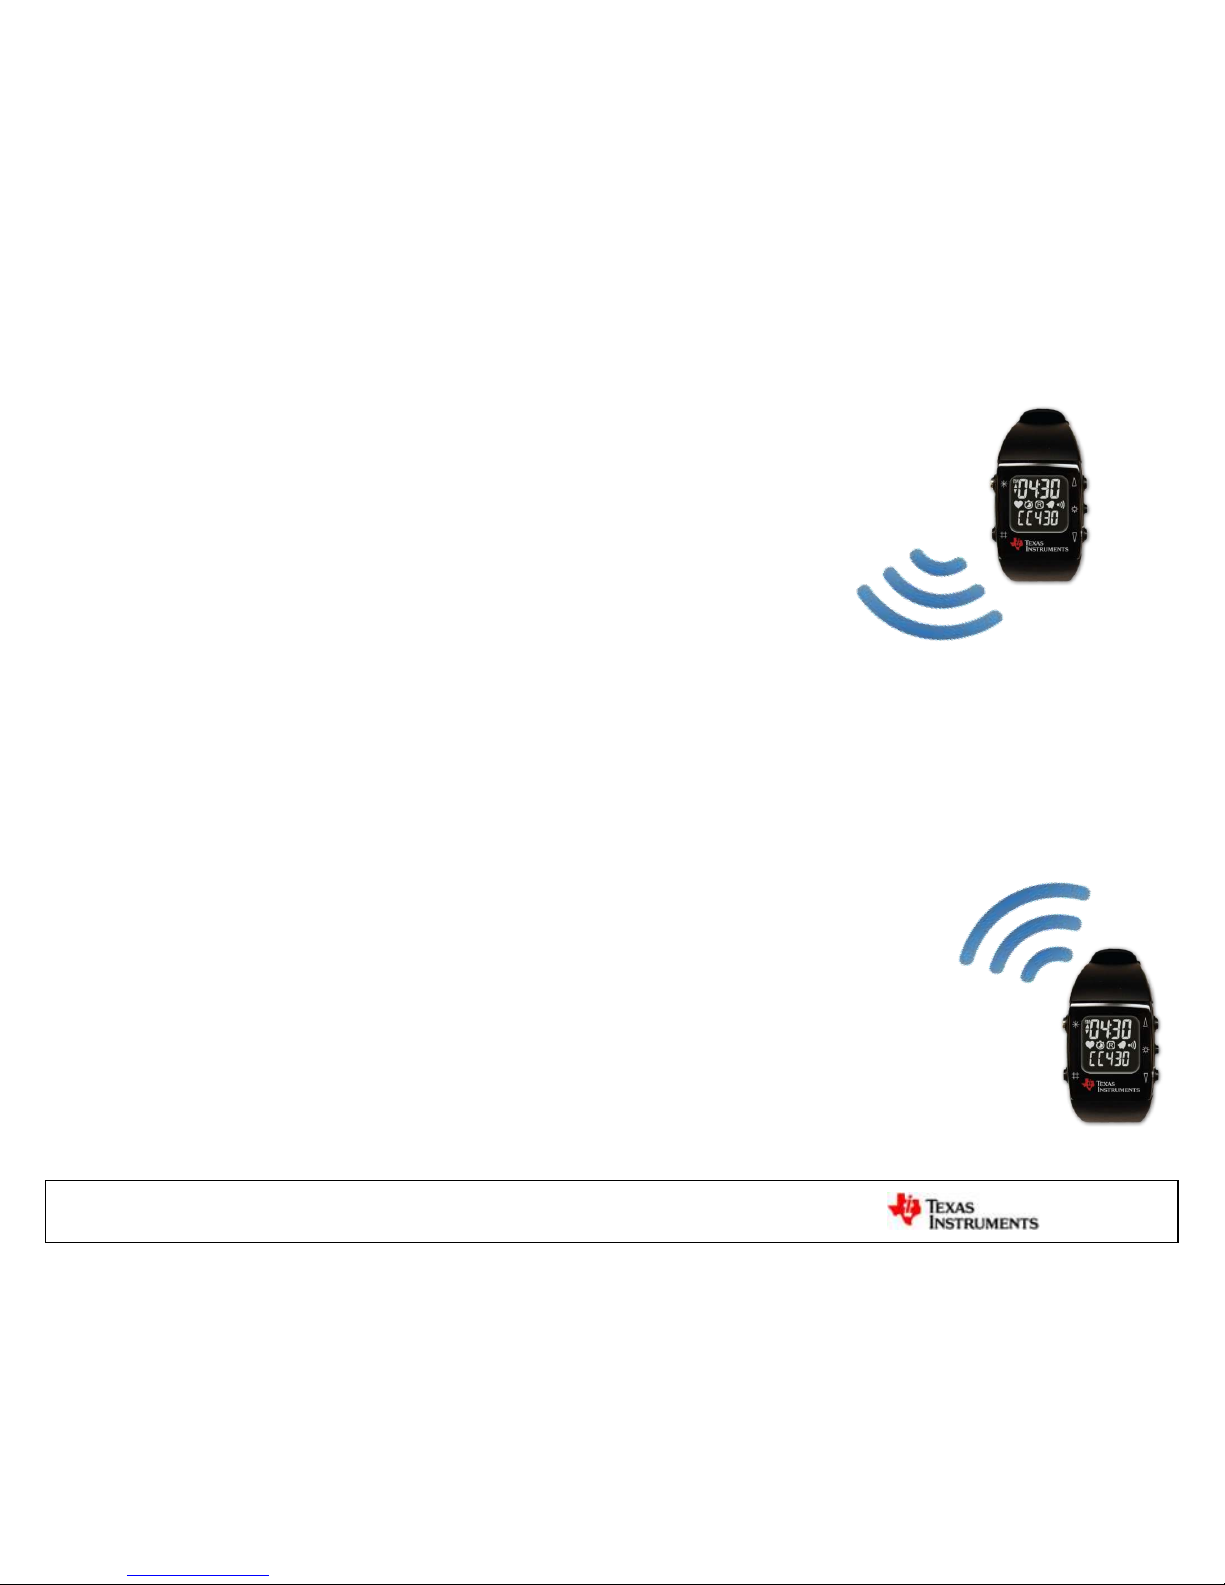
Chronos2Chronos | Goal
• Bottom Menu C2C
• Press “v” Turn on RF
• Press “#” increment your partner’s Chronos
counter
• Your Chronos counter changes your partner is
pressing their Chronos button
• Work as a team!
• Locate second team w/ same channel
10
Page 11

11
Chronos | Disassemble
*. After the workshop, if interested in replacing the battery:
Chronos Disassembly & Reassembly Video: http://www.youtube.com/watch?v=WDL3awjhLpw
Tips:
1. Press the screwdriver down firmly when unscrewing to prevent stripping
2. Pry against the edge of the eZ-connector to lift the PCB out
3. Do not take the battery out of the battery holder
Page 12

CCS | Import ChronosWorkshop Project
• Open CCS
– Select workspace, browse to
C:\ChronosWorkshop\Workspace\
– Close welcome screen
• Import Project
– Project > Import Existing CCS/CCE Eclipse Project
– Browse to C:\ChronosWorkshop\Workspace\
– Select ChronosWorkshop project
– Select Finish to import
• Default build configuration
– 915MHz – Unrestricted CCS Platinum (USA)
12
Page 13

Code | Modify RF channel
ROOT\simpliciti\Components\mrfi\smartrf\CC430\smartrf_CC430.h
13
#define SMARTRF_SETTING_CHANNR YOUR_CHANNELLine 26:
OPEN:
YOUR_CHANNEL to the assigned channel on your paperCHANGE:
Page 14

CCS | Compile & Download
1. Connect the bare Chronos to the eZ430 USB Emulator
2. Plug the PCBs into the USB port of your PC
3. In CCS, select debug to
1. Compile
2. Download … be patient...
4. Stop debugging
5. Unplug your Chronos
14
Page 15

Chronos2Chronos | Operate
1.
Bottom Menu:
“C2C”
15
2.
Link w/ Partner
Press “v”
3.
Connected
Partner not found in ~ 10 seconds?
Auto return to C2C screen
CounterChannel
ID
#
4.
Inc Partner’s
Counter
Press “#”
Page 16

Lab 2
SmartRF Studio + Chronos
Configure RF settings with SmartRF Studio
• Complete CC430 RF configuration in SW
• Modify register settings
• Generate c code
• See results
Page 17

RF Settings | How to Modify?
Change RF settings manually
– CHANNEL: simple, manageable
– Frequency, modulation, filtering: user’s guide
Change RF settings automatically
– Fully configure your system
– Instantly verify your settings with connected devices
– Template & code generation
17
Page 18

SmartRF | Configure Register View
10/1/2011 18
• Open SmartRF
– CC430 in Offline Mode
• Configure Register View
– Select View Expert Mode
– Enable checkboxes
• Register View
• RF Parameters
Page 19

SmartRF | Modify RF settings
10/1/2011 19
• Align with the partner you just found on a new frequency
• Note: This must be within your assigned frequency range
• Change to desired RF base frequency
• Notice the changes in the register view
Page 20

Code | Modify RF settings
20
• Open file smartrf_cc430.h again
• Find 3 #define lines for the FREQ (Lines 20 – 22)
• Copy new Hex values from SmartRF to appropriate lines
• Reset SMARTRF_SETTING_CHANNR to 0x00 (Line 26)
PASTE
0x00
Page 21

CCS | Compile & Download
• Recompile & download project
• … be patient…
• Stop debugging and unplug your Chronos
• Use Chronos2Chronos menu again
• Help your partner
• Make sure you are using the frequency band
assigned to you [check paper]
• Can you see similar results?
• Are you still able to connect to your partner?
21
Page 22

Lab 3 [BONUS]
RSSI Chronos Meter
Use your Chronos to measure TX signal
• We broadcast carrier freq. of 888MHz
• Notice how the RSSI value changes
Page 23

Operate | Power Meter
• Move closer/away from the CC430EM to see differences
in reading
• Reading changes with
– Distance
– Interference / obstacles
– Antenna radiation pattern / characteristic
• Instructor’s CC430 is broadcasting
– Continuous RF carrier @ 888MHz
• Chronos measures power
– RSSI readout from RF1A (Radio) module
– 888 MHz with 400 kHz filter
23
Page 24

Code | Add Power Meter to Menu
Open logic\menu.c in CCS
Uncomment & comment 2 code lines
Recompile & Download
24
Actual RSSI code: powermeter.c
Page 25

• Top Menu Cycle to rSSI
• Press “^” Turn on rSSI
• See measured power level in dBm
• Press “^” again Stop measurement
RSSI .. Received Signal Strength Indicator
Operate | Power Meter
25
Page 26

26
Chronos | Agenda
1. Introduction: Chronos & CC430
2. Lab 1: Enable RF in Chronos
3. Lab 2: Configure RF with SmartRF Studio
4. Lab 3: RSSI Meter with Chronos
5. CC430 Eco-system
Page 27

27
CC430 | Eco-System
CC430EM
[915/868/433MHz]
Chronos
[915/868/433MHz]
EXP-CC430 Experimenter’s Board
[915/868/433MHz] – SMA Connector
SA430 Spectrum Analyzer/Packet Sniffer
[Sub-GHz]– SMA Connector / Antenna
RF stacks:
SimpliciTI, BlueRobin, W-Mbus, 6LoWPAN, Dash 7, ...
RF Modules:
Page 28

Chronos | RF BSL
28
Use RfBSL menu in your Chronos
menu in conjunction Chronos Control
Center to program it without opening
it.
For example you can get the watch to
its initial state - with all the PPT and
Heart rate monitor features - by
flashing the standard code into it:
C:\Program Files\Texas
Instruments\ eZ430Chronos\Recovery\Chronos
Watch\Wireless
Updater\eZ430_Chronos_rfbsl_915M
Hz_1_0.txt
Page 29

Chronos <3 Beagle Board
Download Now for Linux (SLAC388)
Both windows and Linux versions are available @ www.ti.com/chronoswiki
Follow the install instructions in the eZ430-Chronos user’s guide
The Chronos RF USB dongle is not automatically recognized by BeagleBoard.
Install the appropriate drivers by following these commands in the terminal.
opkg update
opkg install kernel-module-cdc-acm
modprobe cdc-acm
Page 30

Chronos | Projects
30
Co-op Challenges [Dallas, Freising] Community
Chronos
Page 31

Chronos | Questions & Information
31
Chronos Links
TI Page http://focus.ti.com/docs/toolsw/folders/print/ez430-chronos.html
wiki: http://processors.wiki.ti.com/index.php/EZ430-Chronos
GoogleGroup: http://groups.google.com/group/ti-chronos-development-/topics
E2E: http://e2e.ti.com MSP430 Microcontroller Forum
Thank you!
Page 32

Appendix | Chronos Sport Watch
32
Also available on the Chronos booklet and user’s guide (online)
Page 33

Endless possibilities | Chronos serves as
a central hub for nearby wireless sensors
33
Control
ceiling fan
Raise & lower
blinds
Pair with
pedometer
Map Chronos buttons for
PC Automation, motionbased control and more
Adjust entertainment
system settings
Display GPS
data
Pair with heart rate
monitor
Adjust thermostat
 Loading...