

Page 1

testo 925 – Thermometer for TC type K
0560 0925
Instruction manual
Find Quality Products Online at: [email protected]
www.GlobalTestSupply.com
Page 2

Contents
1
2
3
4
5
6
7
8
Contents
About this document ........................................................................... 3
Safety and disposal .............................................................................. 3
2.1 Security .................................................................................................. 3
2.2 Disposal ................................................................................................. 4
Product-specific information ............................................................... 4
Intended use ......................................................................................... 5
Product description ............................................................................. 5
5.1 Instrument overview ............................................................................... 5
First steps ............................................................................................. 6
6.1 Inserting / changing batteries ................................................................. 6
6.2 Getting to know the product ................................................................... 7
6.2.1 Connecting probes ................................................................................. 7
6.2.2 Switching the instrument on and off ....................................................... 7
6.2.3 Switching the display illumination on and off .......................................... 7
6.3 Establishing a Bluetooth® connection ..................................................... 8
6.3.1 Establishing a Bluetooth® connection to the testo Smart App ................ 9
Using the product ............................................................................... 10
7.1 Controls on the measuring instrumen t .................................................. 10
7.1.1 Implementing settings .......................................................................... 11
7.1.2 Opening configuration mode ................................................................ 12
7.1.3 Setting the unit ..................................................................................... 12
7.1.4 Setting alarm thresholds ....................................................................... 13
7.1.5 Setting the alarm sound ....................................................................... 13
7.1.6 Carrying out a reset of the setting menus ............................................. 13
7.1.7 Carrying out a reset of the measuring instrument................................. 13
7.2 Measuring ............................................................................................ 14
7.2.1 Freezing a reading, displaying the maximum/minimum value .............. 14
7.2.2 Resetting maximum/minimum v alues ................................................... 14
7.2.3 Carrying out multi-poin t mean calcul at io n ............................................ 15
7.2.4 Carrying out continuous mean calculation ............................................ 16
7.3 Printing data ......................................................................................... 17
Controls via testo Smart App ............................................................ 18
8.1 Overview of operating controls ............................................................. 18
8.2 App options .......................................................................................... 20
Find Quality Products Online at: [email protected]
www.GlobalTestSupply.com
Page 3

Contents
9
10
11
8.2.1 Setting the language ............................................................................ 20
8.2.2 Displaying App Info .............................................................................. 20
8.2.3 Displaying the tutorial .......................................................................... 20
8.3 Application menus ............................................................................... 21
8.3.1 Selecting an application menu ............................................................. 21
8.3.2 Setting favourites ................................................................................. 21
8.3.3 Displaying information about an application ........................................ 21
8.4 Making measuring instrument settings ................................................ 22
8.4.1 Configuring the measuring inst rumen t menu ....................................... 24
8.4.2 Setting Auto Off ................................................................................... 25
8.4.3 Activating damping .............................................................................. 25
8.4.4 Configuring alarms ............................................................................... 26
8.4.5 Setting the surface inc rement .............................................................. 26
8.5 Display of the readings ........................................................................ 27
8.6 Adjusting the view ................................................................................ 27
8.7 Exporting readings ............................................................................... 28
8.7.1 Excel (CSV) Export .............................................................................. 29
8.7.2 PDF Export .......................................................................................... 29
8.8 Perform Firmware update .................................................................... 30
Maintaining the product .................................................................... 31
9.1 Inserting / changing batteries ............................................................... 31
9.2 Cleaning the instrument ....................................................................... 31
Technical data for testo 925.............................................................. 32
Tips and assistance ........................................................................... 33
11.1 Questions and answers ....................................................................... 33
11.2 Accessories and spare parts................................................................ 34
Find Quality Products Online at: [email protected]
www.GlobalTestSupply.com
Page 4

1
2
2.1
1 About this document
About this document
• The instructi on man ual is an integral part of the instrument.
• Keep this documentation to hand so that you can refer to it when necessary.
• Always use the complete original instruction manual.
• Please read this instruction manual through carefully and familiarize yourself
with the product before putting it to use.
• Hand this instruction manual on to any subsequent users of the product.
• Pay particular attention to the safety instructions and warning advice in order
to prevent injury and damage to the product.
Safety and disposal
Security
General safety instructions
• Only operate the product properly, for its intended purpose, and within the
parameters specified in the technical data.
• Do not apply any force.
• Do not operate the instrument if there are signs of damage to the housing or
connected cables.
• Dangers may also arise from objects to be measured or the measuring
environment. Always comply with the locally valid safety regulations when
carrying out measurements.
• Do not store the product together with solvents.
• Do not use any desiccants.
• Only perform maintenance and repair work on this instrument that is
described in this documentation. Follow the prescribed steps exactly when
doing the work.
• Use only original spare parts from Testo.
Batteries
• Improper use of batt eri es may cause the batteries to be destroyed, or lead to
injury due to current surges, fire or escaping chemicals.
• Only use the batteries supplied in accordance with the instructions in the
instruction manual.
• Do not short-circ uit the batteries.
• Do not take the batteries apart and do not modify them.
3
Find Quality Products Online at: [email protected]
www.GlobalTestSupply.com
Page 5
3 Product-specific information
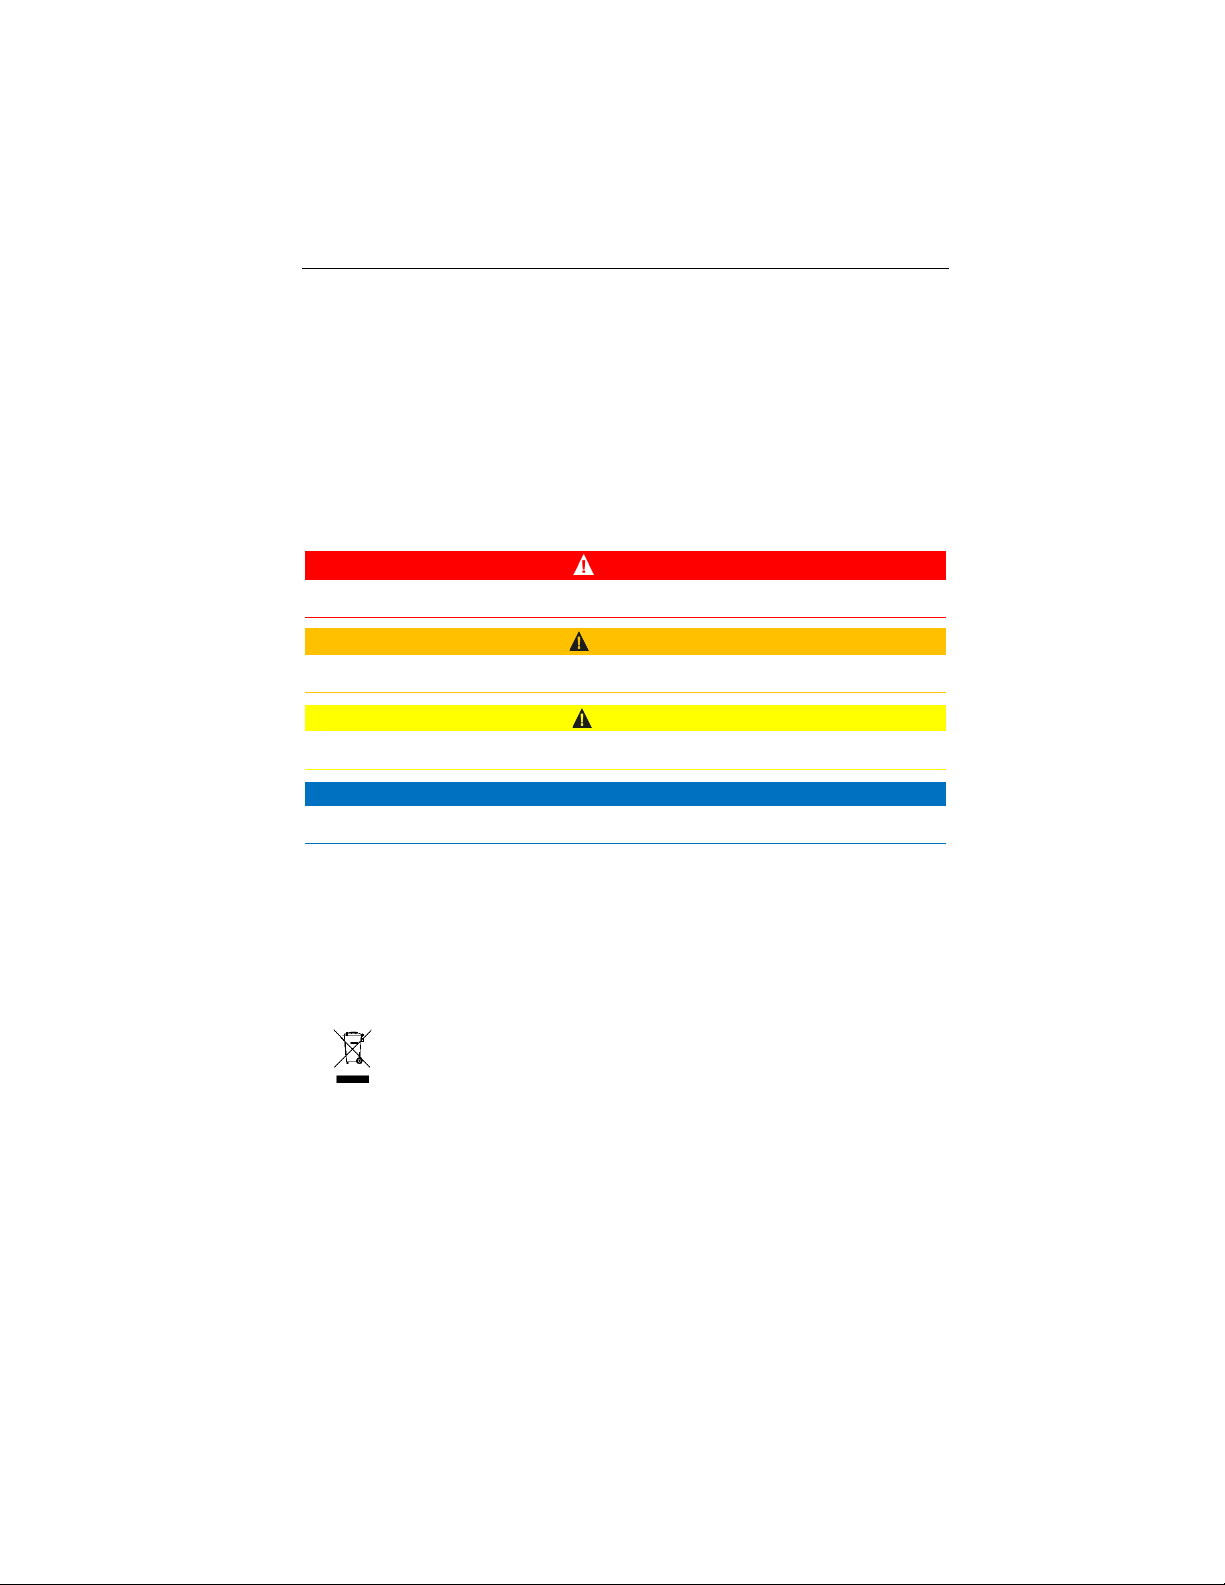
Risk of death!
Indicates possible serious injury.
Indicates possible minor injury.
CAUTION
Indicates possible damage to equipment.
2.2
3
• Do not expose the batteries to heavy impacts, water, fire or temperatures in
excess of 60 °C.
• Do not store the batteries in the proximity of metal objects.
• In the event of contact with battery acid: rinse affected areas thoroughly with
water, and if necessary consult a doctor.
• Do not use any leaky or damaged batteries.
Warnings
Always pay attention to any information denoted by the following warnings.
Implement the precautionary measures specified!
DANGER
WARNING
CAUTION
Disposal
• Dispose of faulty rechargeable batteries and spent batteries in accordance
with the valid legal specifications.
• At the end of its useful life, deliver the product to the separate collection
point for electric and electronic devices (observe local regulations) or return
the product to Testo for disposal.
• WEEE Reg. No. DE 75334352
Product-specific information
• Do not carry out measurements on live components.
• Do not expose handles and feed lines to temperatures in excess of 70°C
unless they are expressly approved for higher temperatures. Temperature
specifications on probes/sensors refer only to the measuring range of the
sensor system.
4
Find Quality Products Online at: [email protected]
www.GlobalTestSupply.com
Page 6

4
5
5.1
1
Control keys
2
Display
4 Intended use
• Only open the measuring instrument if this is expres s ly described in the
documentation for the purposes of maintenance or servicing.
Intended use
The testo 925 is a compact measuring instrument for measu r ing temp eratures. It
is intended for indoor use only.
The product is designed for the following tasks/areas:
• HVAC field
• M easurement of surface tem p er ature s
The product should not be used in the following areas:
• In potentially explosive atmospheres.
• For diagnosti c mea sure ment s in the medi cal fiel d.
Product descript ion
Instrument overview
5
Find Quality Products Online at: [email protected]
www.GlobalTestSupply.com
Page 7
3
Probe socket
4
Speaker for alarm sound
5
Battery compartment
6
6.1
The instrument is switched off.
1
Open the battery compartment (on the back of the instrument) via the
2
Insert or replace batteries (3 x AA
3
Close the battery compartment.
+ - +
6 First steps
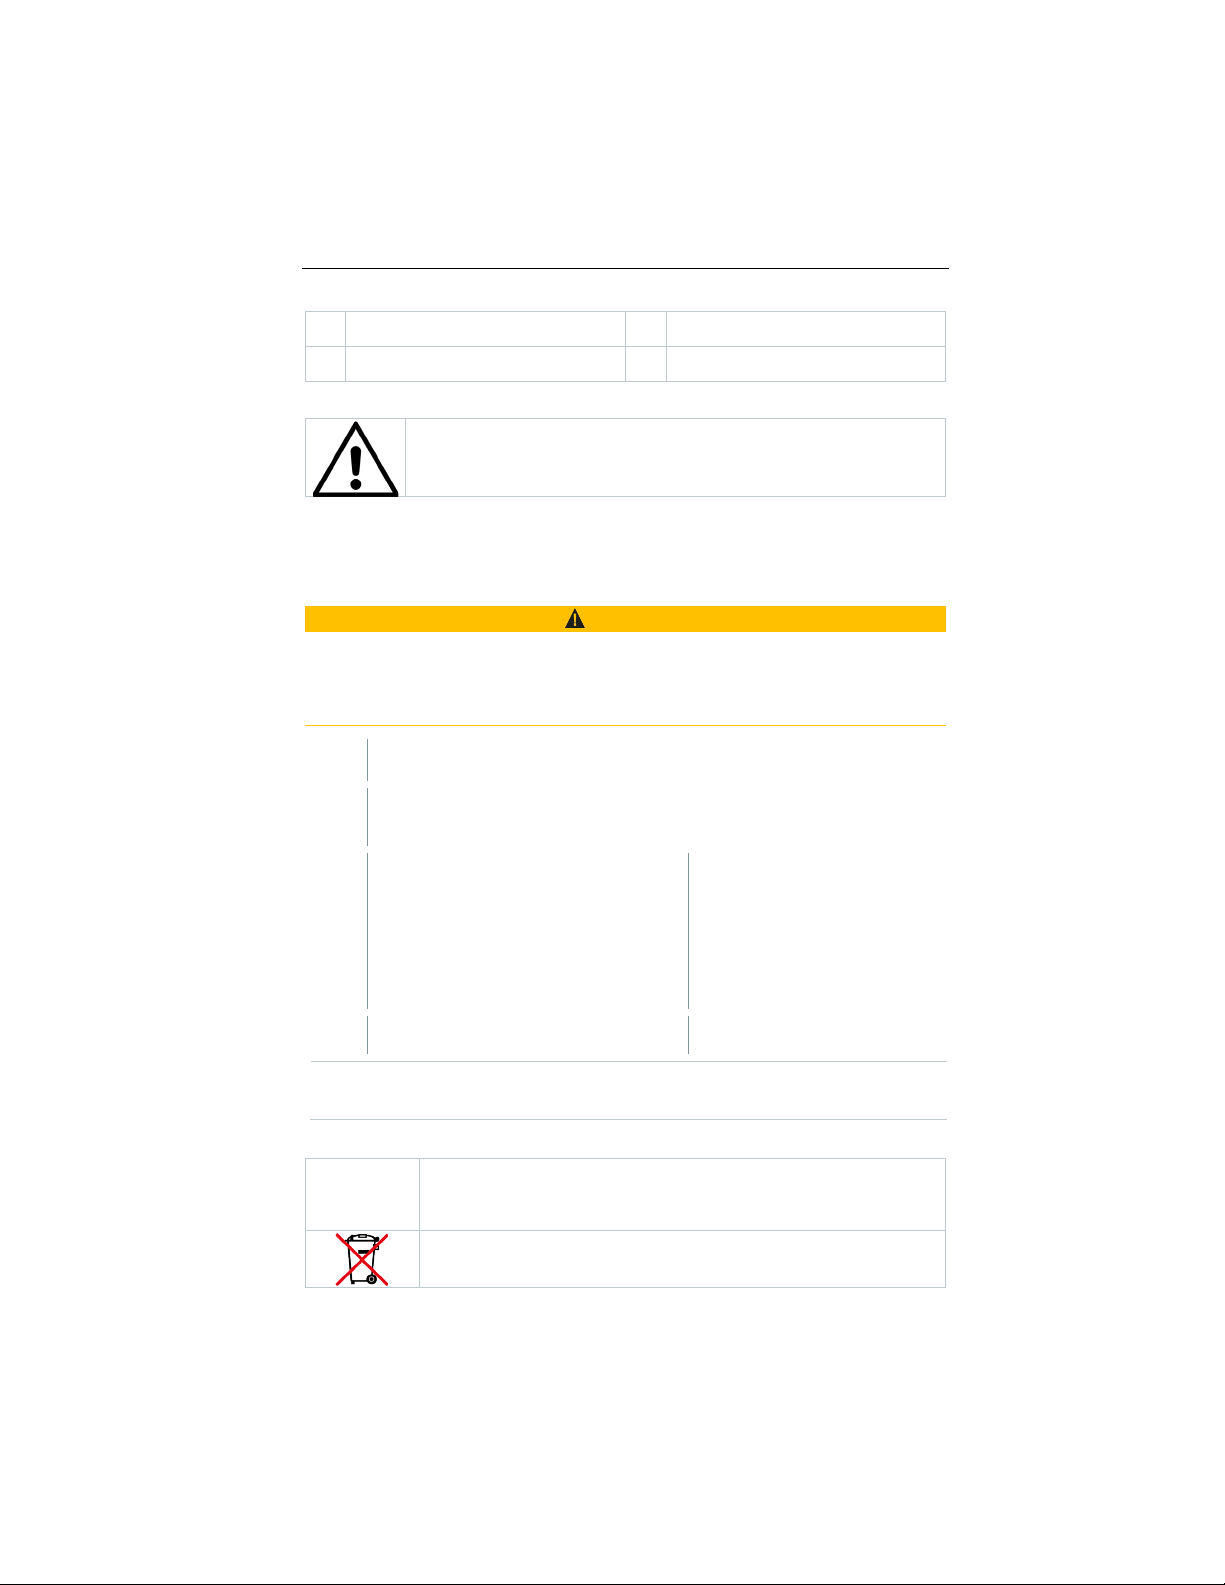
Explanation of icons
Refer to instruction manual
First steps
c
Inserting / changing batteries
WARNUNG
Serious risk of injury to the user and/or destruction of the instrument.
There is a risk of explosion if the batteries are replaced with ones tha t
are the wrong type.
- Only use non-rechargeable alkaline batteries.
snap lock.
alkaline batteries).
Observe the polarity!
When not in use for a long period: Take out the batteries.
Symbol explanation
Do not allow children under 6 years of age to play with batteries.
Do not throw batteries in the trash.
6
Find Quality Products Online at: [email protected]
www.GlobalTestSupply.com
Page 8
6.2
6.2.1
1
Plug the probe's connector into the measuring ins tr um ent’ s probe
6.2.2
1
Press the On/Off key (0.5 sec ).
1
Press and hold down (2 sec) the On/Off key.
6.2.3
The measuring instrument is switched on.
1
Press and hold down (2 sec) the MENU/ENTER key.
6 First steps
Do not charge batteries.
Do not place batteries near fire.
Batteries are recyclable.
Getting to know the product
Connecting probes
Plug-in probes can be connec ted via the probe socket(s) on the head of the
instrument.
socket.
Switching the instrument on and off
Switching on
Measurement view is opened:
The current reading is displayed or ----- lights up if no reading is
available.
Switching off
The display turns off.
Switching the display illumination on and
off
The display illumination is switched on or off.
7
Find Quality Products Online at: [email protected]
www.GlobalTestSupply.com
Page 9

6.3
The measuring instrument is switched on.
To enable the Bluetooth® connection
6 First steps
Establishing a Bluetooth® connection
The instrument can be connected to the testo Smart App via
Bluetooth
for the first time, press and hold
(approx. 2 sec) the ◄ key.
®
connection
While th e instrume nt is trying to
establish a Bluetooth
®
connection,
the icon flashes on the display.
Bluetooth
®
remains enabled until it is
disabled manually by pressing and
holding (approx. 2 sec) the ◄ key.
The measuring instrument saves the
Bluetooth
on the configuration, starts up with
Bluetooth
®
setting and, depending
®
enabled or disabled.
8
Find Quality Products Online at: [email protected]
www.GlobalTestSupply.com
Page 10
6.3.1
Bluetooth® is enabled in the measuring instru ment.
1
Open the testo Smart App.
The app automatically searches for Bluetooth® devices in the vicinity.
2
In the Sensors menu, check whether the required instrument is
If necessary, switch the instrument to be connected off and on again
When the testo Smart App is connected to the measuring instrument,
6 First steps
Establishing a Bluetooth® connection to the
testo Smart App
To establish a connection via Bluetooth
tablet or smartphone with the Testo Smart App already
installed on it.
You can get the App for iOS instruments in the App Store
or for Android instruments in the Play Store.
Compatibility:
Requires iOS 13.0 or later/And r oid 8.0 or later,
requires Bluetooth
®
4.2.
connected.
®
, you need a
to restart the connection module.
the icon appears on the measuring instrument display .
The measuring instrument automatically synchronizes its date and
time settings with the testo Smart App.
Once connected successfully, the current measured value from the
measuring instrument appears on the app screen in the Live view.
9
Find Quality Products Online at: [email protected]
www.GlobalTestSupply.com
Page 11

7 Using the product
7
7.1
The instrument is switched on.
The testo Smart App is installed on the smartphone and con nect ed
Settings and controls are implemented either on the instrument or via
1 On/Off
MODE/END
Bluetooth® / ◄ key
3
Battery indicator
4
Selected unit
6 Print / ► key
7 Illumination
MENU/ENTER
Using the product
Controls on the measuring ins trument
the app.
If the measuring instrument is connected to the testo Smart App,
settings can only be made via the app. The measuring instrument then
remains in the measurem ent view and other menus, e.g. Settings,
to the instrument via Bluetooth®.
cannot be opened.
/
2
5
Current measured value
/
key
key
10
Find Quality Products Online at: [email protected]
www.GlobalTestSupply.com
Page 12

7.1.1
1
Press the relevant key to select the functions
Bluetooth® (long press)
Switch the Bluetooth® connection on
Arrow left
Freeze reading (HOLD function),
Decrease value, select option
On/Off (long press)
Switches the instrument on or off
MODE/END
Select or end multi-point or co ntinu ous
Display illumination (long press)
OFF (display illumination not active) or
7 Using the product
Implementing settings
Selecting, opening and setting functions
Secondary assignment (long press)
All keys with a grey corner have a secondary assignment, which c an be
selected by pressing and holding the key for a longer time (2 sec).
Adjustable functions
Ensure correct settings: all setting s are transfer r ed imm edi at ely . There
is no Cancel function.
Function Setting options/comments
or off
display maximum/minimum value.
In configuration mode:
mean calculation.
ON (display illumination active)
11
Find Quality Products Online at: [email protected]
www.GlobalTestSupply.com
Page 13

7 Using the product
MENU/ENTER
Open configuration mode
ected
Confirm input
Print (long press)
Output readings via external printer
Arrow right
In configuration mode:
7.1.2
The instrument is switched on and is in the measurement view.
1
Press MENU/ENTER until the display changes.
Press MENU/ENTER to switch to the next function. You can leave
7.1.3
Configuration mode is open, “UNITS” is displayed.
1
Press ◄ / ► to choose between metric (“METR”) and imperial
2
Press ◄ / ► to set the required unit and confirm with MENU/ENTER.
Function Setting options/comments
Start continuous measurement /
record multi-point readings
(Operation also possible direct ly on
measuring instrument if it is conn
to the app)
In configuration mode:
Increase value, select option
Opening configuration mode
12
The instrument is now in configuration mode.
configuration mode at any time. To do this, press MODE/END until the
instrument has changed to the measurement view. Any changes that
have already been made in configuration mode will be saved.
Setting the unit
(“IMPER”) units of measurement and confirm with MENU/ENTER.
The currently set unit flashes.
Find Quality Products Online at: [email protected]
www.GlobalTestSupply.com
Page 14

7.1.4
1
Press ◄ / ► to set the lower alarm threshold value and confirm with
2
Press ◄ / ► to set the upper alarm threshold value and confirm with
7.1.5
1
Press ◄ / ► to enable/disable the alarm sound (“ON” / “OFF”) and
7.1.6
Configuration mode is open, “M. RES” (menu reset) is displayed.
1
Press ◄ / ► to select the required option and confirm with
via the testo Smart App are displayed again.
7.1.7
Configuration mode is open, “RESET” is displayed.
1
Press ◄ / ► to select the required option and confirm with
settings.
7 Using the product
Setting alarm thresholds
Configuration mode is open, “ min” is displayed.
MENU/ENTER.
“ max” is displayed.
MENU/ENTER.
Setting the alarm sound
Configuration mode is open, “ ” is displayed.
confirm with MENU/ENTER.
Carrying out a reset of the setting menus
MENU/ENTER:
o NO: Do not carry out reset.
o YES: Carry out reset. All concealed menus that were hidden
The instrument returns to measurement view.
Carrying out a reset of the measuring
instrument
MENU/ENTER:
o NO: Do not carry out reset.
o YES: Carry out reset. The instrument is reset to the factory
The instrument returns to measurement view.
13
Find Quality Products Online at: [email protected]
www.GlobalTestSupply.com
Page 15

7.2
The instrument is switched on and is in the measurement view.
1
Put the probe into position and take the readings.
7.2.1
1
Press ◄ several times until the desired value is displayed.
The following are displayed in turn:
o Current measuring value
7.2.2
1
Press ◄ several times until Max or Min is shown.
2
Hold down ◄ (approx. 2 s).
All maximum and minimum values are reset to the current reading.
7 Using the product
Measuring
With the alarm function on and if the alarm threshold is exceeded or
undershot:
• Alarm icon flashes and a signal tone is emitted until any key is
pressed.
• An arrow symbol at the bottom left indicates whether the upper
or lower alarm threshold has been exceeded or undershot.
Freezing a reading, displaying the
maximum/minimum value
The current reading can be frozen. The maximum and minimum values since
the last time the instrument was switched on in the standard view or during a
multi-point or continuous measurement can be displayed.
o Hold: frozen measured value
o Max: Ma ximum value
o Min: Minimum value
Resetting maximum/minimum values
The maximum/minimum values of all channels can be reset to the current
reading.
14
Find Quality Products Online at: [email protected]
www.GlobalTestSupply.com
Page 16

7 Using the product
7.2.3
1
Press MODE/END.
The number of readings recorded is displayed in the upper line, while
2
To record readings (in the desired quantity):
3
To end measurement and cal c ulate the mean valu e:
4
To switch back to the measuring view:
Carrying out multi-point mean calculation
flashes.
the current reading is displayed in the lower line.
Press MENU/ENTER (several times).
Press MODE/END.
and flash.
The number of measured values and the calculated multi-point mean
value are displayed.
Press MODE/END.
15
Find Quality Products Online at: [email protected]
www.GlobalTestSupply.com
Page 17

7 Using the product
7.2.4
1
Press MODE/END twice.
The elapsed measuring time (mm:ss) is display ed in the upper line,
2
Start measurement:
3
To interrupt/continue measure ment:
4
To end measurement and calculate the mean value:
5
To switch back to the measuring view:
Carrying out continuous mean calculation
flashes.
while the current reading is displayed in the lower line.
Press MENU/ENTER.
Press MENU/ENTER each time.
Press MODE/END.
and flash.
The measurement period and the calculated continuous mean value
are displayed.
Press MODE/END.
16
Find Quality Products Online at: [email protected]
www.GlobalTestSupply.com
Page 18

7.3
Printing data
A testo Bluetooth®/IRDA printer (order no. 0554 0621) is connected
1
Press and hold ► to transfer the data to the printer.
1
Instrum ent name
2
Firmware version and s erial
number
3
Date and time of printout
4
Measuring type and measured
duration
5
Measurment values
6
Measurement parameters
via Bluetooth and switched on.
When first setting up a connection between the testo measuring
instrument and the testo Bluetooth
phase can last up to 30 seconds.
7 Using the product
®
/IRDA printer, the initialization
Data is printed out (LED on the printer lights up green).
17
Find Quality Products Online at: [email protected]
www.GlobalTestSupply.com
Page 19

8
8.1
Switch between the views (live,
graphic, table)
Display of connected measuring
instruments including reading s
Measurement configuration (the
and the application selected)
8 Controls via testo Smart App
Controls via testo Smart App
If the measuring instrument is connected to the testo Sm art App, it is primarily
operated via the app. The measuring instrument remains in the measurement
view and settings menus cannot be opened on the measuring instrument.
Overview of operating cont rols
1
Choice of applications
3
menu changes depending on the
5
measuring instrument connected
18
Find Quality Products Online at: [email protected]
www.GlobalTestSupply.com
2
4
Start/stop
Configuration of the measuring
6
instrument
Page 20
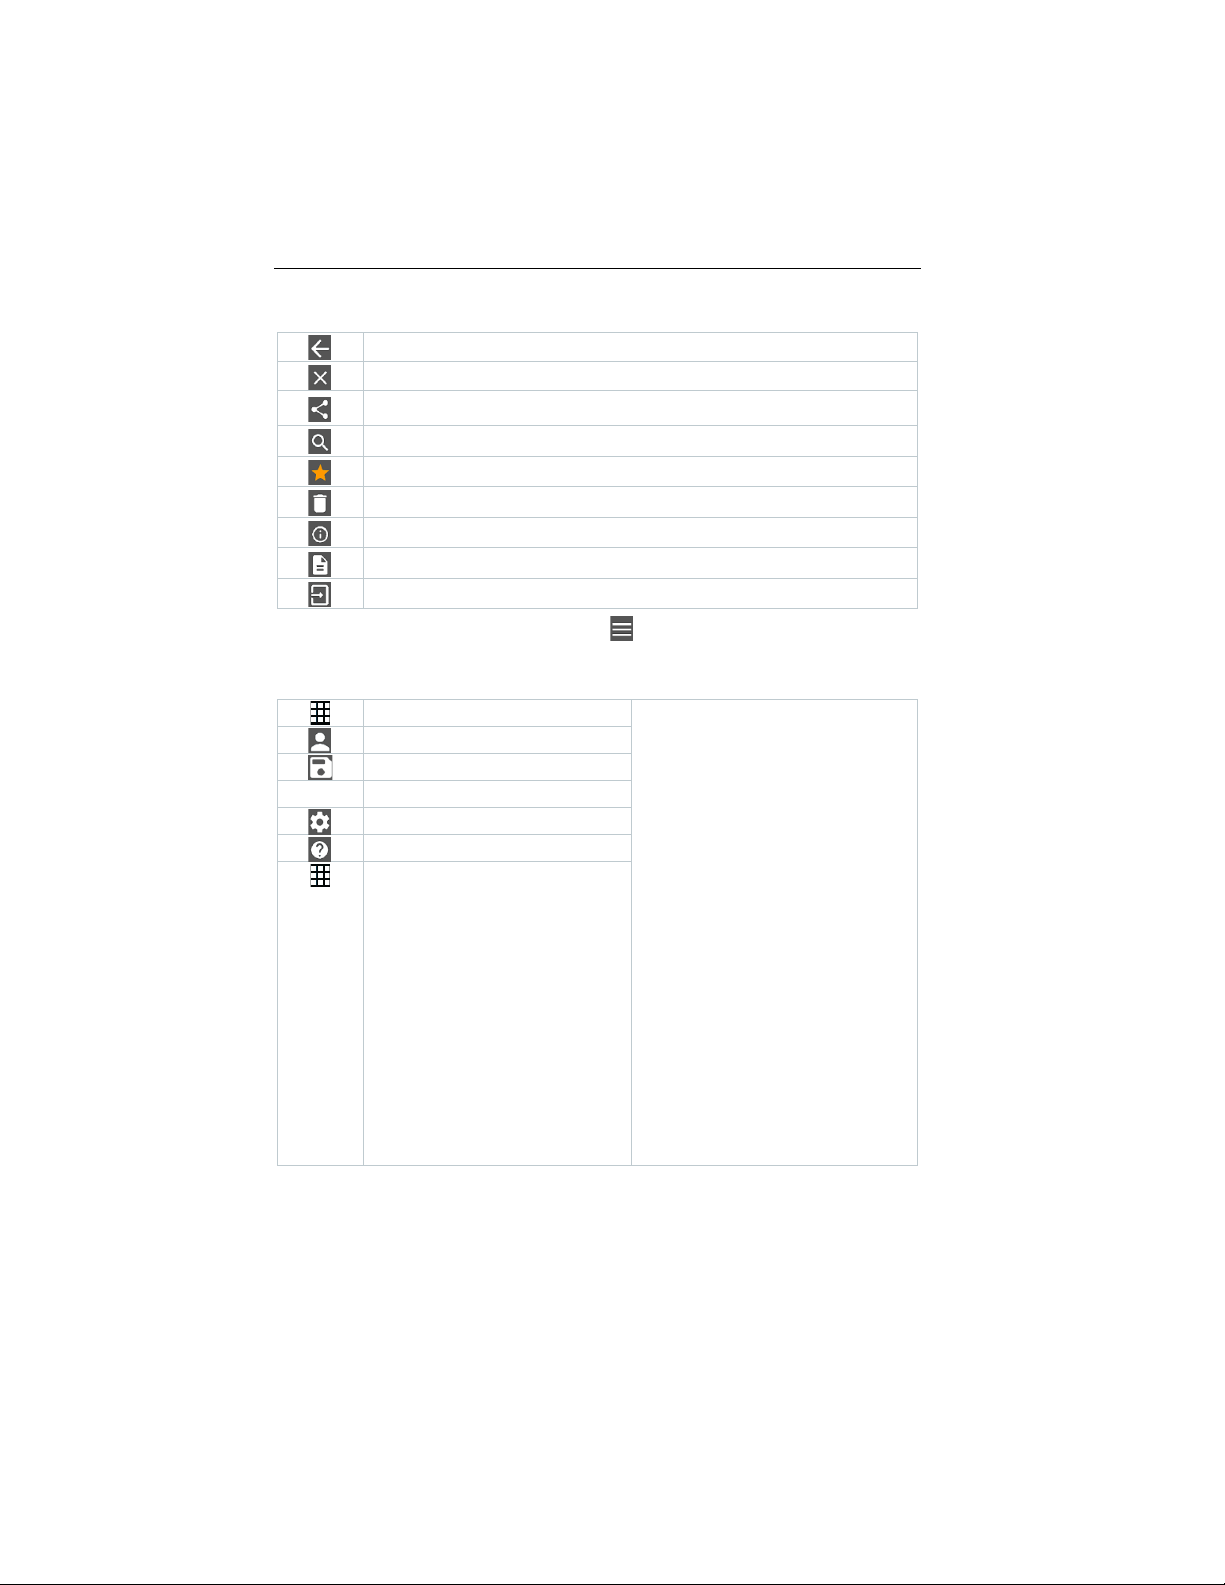
8 Controls via testo Smart App
Searching
Display report
Measure
Customer
Memory
Sensors
Settings
Help and Information
Other applications
Additional symbols on the user interface of the app (not numbered)
One level back
Exit view
Share measurement data/repo rt
Favourite
Deleting
Further information
Multiple selection
The Main menu can be accessed via the icon at top left. To exit the main
menu, select a menu or right-click on the guided menus. The last screen
displayed is shown.
19
Find Quality Products Online at: [email protected]
www.GlobalTestSupply.com
Page 21
8 Controls via testo Smart App
8.2
8.2.1
1
2
Select Settings.
3
Select Language.
4
Select the required language.
8.2.2
1
2
Select Help and Information.
3
Select Instrument information.
The version number of the app and the ID are displayed.
8.2.3
1
2
Select Help and Information.
3
Click X to quit the tutorial.
App options
Setting the language
Click on .
A selection list is displayed.
The language is changed.
Displaying App Info
In App Info you can find the version number of the installed App.
Click on .
Displaying the tutorial
The tutorial guides you through the first steps in operating the testo
Smart App.
Click on .
The tutorial is displayed. In the tutorial, swipe to display the next page.
20
Find Quality Products Online at: [email protected]
www.GlobalTestSupply.com
Page 22
8.3
Application menus
8.3.1
1
A selection of menus for various applications is displayed.
2
Select the required application.
8.3.2
1
A selection of menus for various applications is displayed.
2
Select the application you want to set as a favourite.
3
8.3.3
1
2
Selecting an application menu
Click on .
8 Controls via testo Smart App
Your selected application is displ ay ed.
Setting favourites
Click on .
Click on .
The star is displayed in orange: .
Displaying information about an application
Click on .
A selection of applications is displayed.
Click on .
The information about an application is displayed.
21
Find Quality Products Online at: [email protected]
www.GlobalTestSupply.com
Page 23

8.4
The measuring instrument is connected to the testo Smart App.
1
2
3
Click on the required measuring instrument.
Information about the model, order number, serial number and
4
Click on the Settings tab.
A window with settings for the respective measuring instrument
8 Controls via testo Smart App
Making measuring instrument settings
Click on .
The main menu opens.
Click on Sensors.
The Sensors menu opens.
firmware version is displayed.
opens.
In addition to the settings that can be performed on the measuring
instrument, additional setting s can als o be made.
22
Find Quality Products Online at: [email protected]
www.GlobalTestSupply.com
Page 24

8 Controls via testo Smart App
5
Click on the blue text under a
Changes to the measuring
settings heading to activate or
disable settings or to open an input
window to enter a specific value or
select a unit.
For details on the settings options,
see the following sub-sections.
instrument settings in the app are
transferred directly to the measuring
instrument. Synchronization with the
app is confirmed on the measuring
instrument via “SYNC DONE”.
23
Find Quality Products Online at: [email protected]
www.GlobalTestSupply.com
Page 25

8.4.1
The Settings tab in the Sensors menu is open.
1
- Activate Customization instrument
8 Controls via testo Smart App
Configuring the measuring instrument
menu
The testo Smart App can be used to set which settings menus should be
available or hidden on the measuring instrument itself.
menu and click on the blue text
Change instrument menu list
under the settings heading.
The Customization instrument
menu dialogue opens.
On the measuring instrument, the
following menus can be displayed or
hidden:
o Configuring alarms
o Alarm sound on/off
o Setting the unit
o Pitot tube factor (testo 512-1
only)
o Absolute pressure (testo 512-
1 only)
24
Find Quality Products Online at: [email protected]
www.GlobalTestSupply.com
Page 26

8 Controls via testo Smart App
2
Deactivate the checkboxes for the
8.4.2
The Settings tab is open.
1
Enable Activate Auto-off using the slider.
The measuring instrument switches off automatically if no key is
8.4.3
The Settings tab is open.
1
Enable Activate damping using the slider.
measuring instrument menus that
are no longer to be displayed on the
measuring instrument itself.
The menus belonging to the
deactivated entries will no longer be
displayed in the measuring
instrument menu after the next
synchronization.
These settings can be reset
via the menu reset “M.RES”
and then all settings menus
will be displayed on the
measuring instrument again.
Setting Auto Off
pressed for 10 min.
Exception: a frozen reading is shown on the display (“Hold” is
displayed).
Activating damping
If the readings fluctuate wildly, it is advisable to damp the readings.
25
Find Quality Products Online at: [email protected]
www.GlobalTestSupply.com
Page 27

2
Click on Average of the measured values.
3
Enter a value between 2 and 20 measured values.
Changes to the measuring instrument settings in the app are
8.4.4
The standard view with the LIVE tab is open.
1
2
Select Alarm configuration.
3
Click on the checkbox to activate a specific alarm.
4
Click on EDIT.
The input window for activating and defining upper and lower warning
5
Click OK to confirm the settings.
Changes to the measuring instrument settings in the app are
8.4.5
The Settings tab is open.
8 Controls via testo Smart App
The window for Average of the measured values opens.
transferred directly to the measuring instrument. Synchronization with
the app is confirmed on the measuring instrument via “SYNC DONE”.
Configuring alarms
Click on .
The menu with the overview of alarms that can be activated opens.
26
and alarm values is displayed.
transferred directly to the measuring instrument. Synchronization with
the app is confirmed on the measuring instrument via “SYNC DONE”.
Setting the surface increment
Surface probes withdraw heat from the measured surface immediately
after the initial contact. As a result, the measurement result is lower
than the actual surface temperature without the probe (the reverse is
true for surfaces that are colde r than the probe) . This effe ct can be
corrected by an increment in % of the reading.
Find Quality Products Online at: [email protected]
www.GlobalTestSupply.com
Page 28

1
Activate Surface increment using the slider.
2
Enter the value for the surface increment and confirm with OK .
8.5
8.6
1
2
Select Edit view.
3
Deselect the “check mark” to hide a measuring instrument’s
4
Click ▼ to select the unit of a measurement channel.
5
Click OK to confirm the settings.
8 Controls via testo Smart App
The changes are transferred to the measur ing ins trum ent an d
synchronization with the app is confirmed on the measuring instrument
via “SYNC DONE”.
Display of the readings
The available readings c an be displayed in different views.
• Live view:
The readings transmitted by the measuring probes can be displayed in a live
view. Readings from all connected measuring probes are displayed.
• Graphic view:
Up to four different readings can be displayed in graph format. Readings to
be displayed can be selec ted by tapping on a reading above the diagram.
• Table view:
In the table view, all readings are displayed in sequence according to date
and time. Different readings from the individual measuring probes can be
displayed by pressing ◄ ►.
Adjusting the view
Click on .
An overview of all measurement channels and their measurement
parameters is displayed.
measurement channel.
27
Find Quality Products Online at: [email protected]
www.GlobalTestSupply.com
Page 29

8.7
Export
Report
Delete
1
2
Select Memory.
3
Click on Select measurement.
8 Controls via testo Smart App
Exporting readings
Click on .
28
Find Quality Products Online at: [email protected]
www.GlobalTestSupply.com
Page 30

8 Controls via testo Smart App
8.7.1
1
2
Click on Start export.
3
Select the required sending/export options.
8.7.2
1
2
If required, activate the Create PDF with all readings button.
3
Click on Create.
4
Click on E-mail or Bluetooth®.
Excel (CSV) Export
Click on .
A selection of export options is displayed.
A selection of sending/export options is dis played.
PDF Export
Click on Report.
A selection window is displayed.
For measurements, please be aware that the option Create PDF with
all readings is only possible up to 30 pages, due to the resulting file
size and number of pages . In the testo DataControl software, however,
PDF reports can be created for all measurements without any
restrictions.
A report containing all the information is created.
A selection window is displayed. The report can be sent via e-mail or
Bluetooth
®
.
The report will be sent.
c
29
Find Quality Products Online at: [email protected]
www.GlobalTestSupply.com
Page 31

8.8
If a new firmware is available for your
8 Controls via testo Smart App
Perform Firmware update
Ensure that the option for Enable update for connected instruments
in Instrument Information is alway s enabled.
measurement instrument, an update
notification is shown after connecting
the instrument with the testo Smart
App.
30
Click Start Update to perform the
1
update.
If you click Later, the Update
notification is shown again during the
next connection.
During the instrument update the
Bluetooth connection must not be
disconnected.
The update needs to be performed
completely and takes approx. 5-10
minutes depending on the used
smartphone.
Find Quality Products Online at: [email protected]
www.GlobalTestSupply.com
Page 32
9
9.1
The instrument is switched off.
1
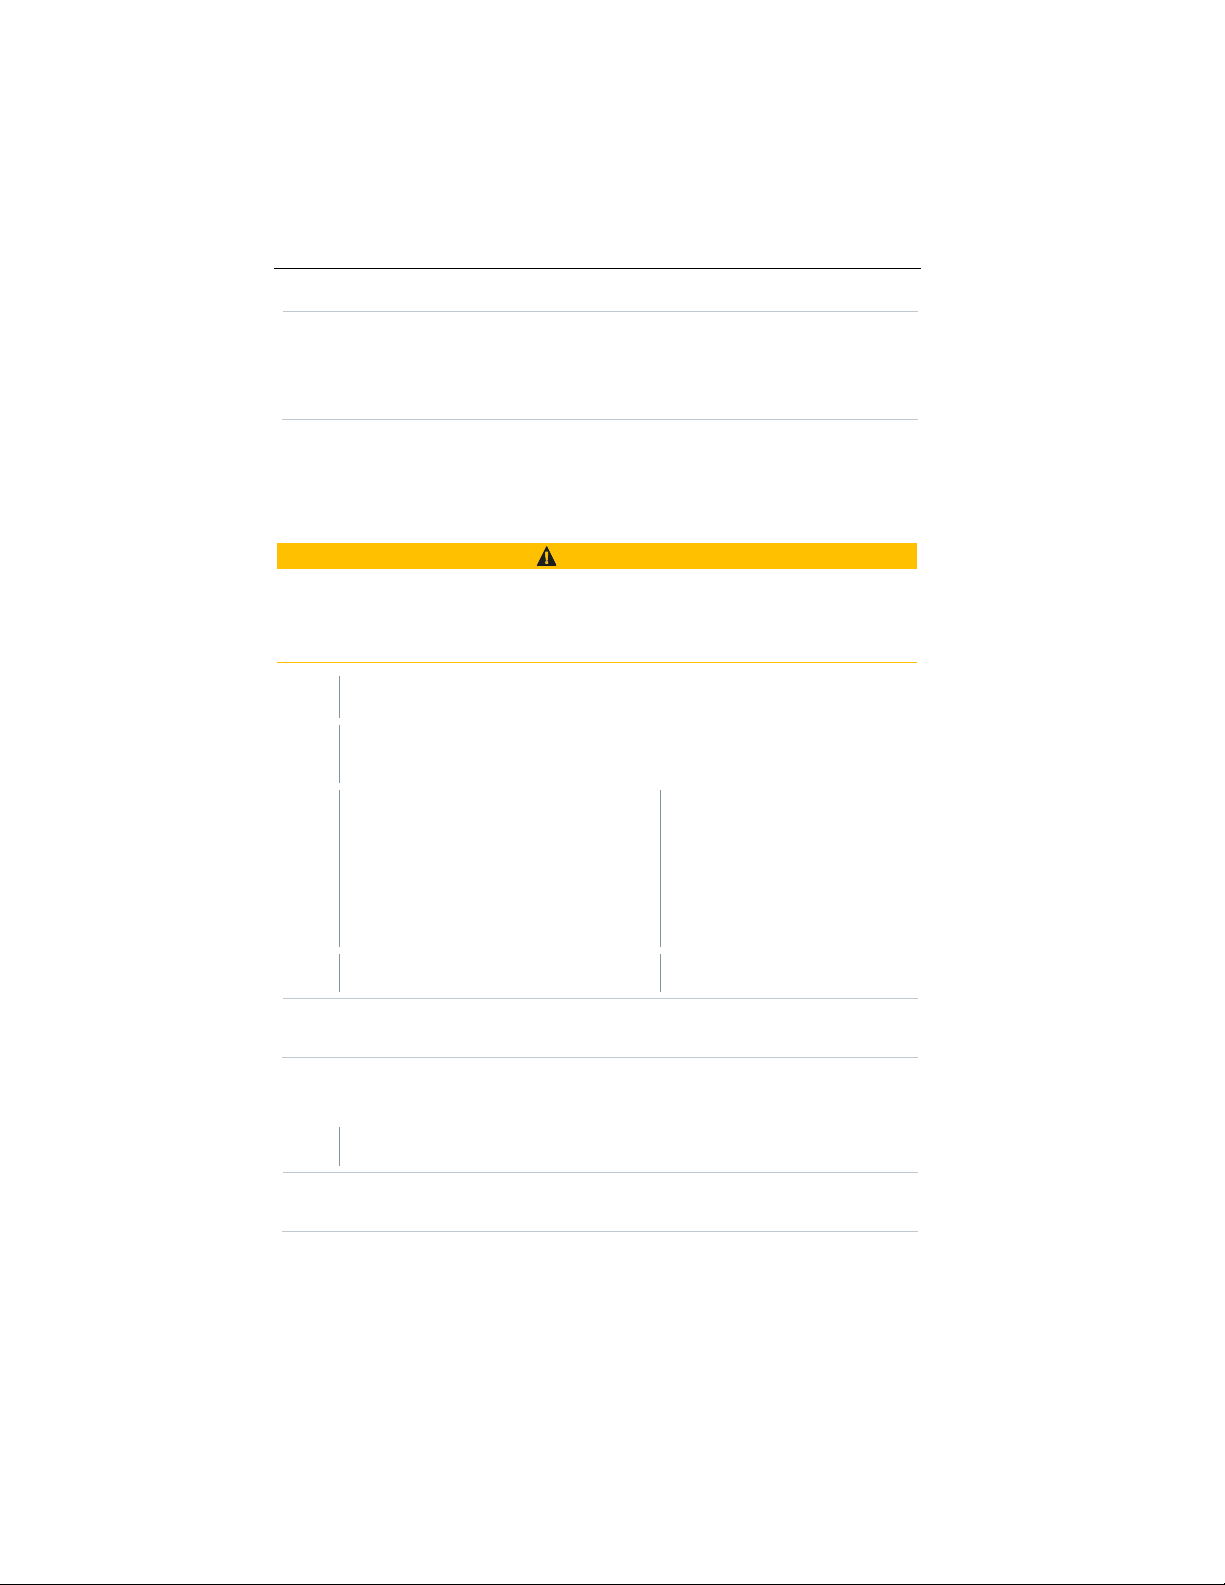
Open the battery compartment (on the back of the instrument) via the
2
Insert or replace batteries (3 x AA
3
Close the battery compartment.
9.2
1
If the housing of the instrument is dirty, clean it with a damp cloth.
ve cleaning agents or solvents! Mild hous eho ld
+ - +
9 Maintaining the product
After the update the measuring instrument is restarting.
The firmware can be checked in the instrument menu or via the app.
A restart of the testo Smart App is recommended after the instrument
update.
Maintaining the pr oduct
c
Inserting / changing batteries
WARNUNG
Serious risk of injury to the user and/or destruction of the instrument.
There is a risk of explosion if the batteries are replaced with ones that
are the wrong type.
- Only use non-rechargeable alkaline batteries.
snap lock.
alkaline batteries).
Observe the polarity!
When not in use for a long period: Take out the batteries.
Cleaning the instrument
Do not use any aggressi
cleaning agents and soap suds may be used.
31
Find Quality Products Online at: [email protected]
www.GlobalTestSupply.com
Page 33

10
Measurement parameters
°C, °F
Accuracy
±(0.5 °C + 0.3% of measuring value)
Resolution
0.1 °C (-50 to +499.9 °C)
1 °C (other ranges)
Measuring range
-50 to +1000 °C
Operating temperature
-20 to +50 °C (measuring instrument)
Probe depends on respective specificat ion
Storage temperature
-20 to +50 °C
Level of contamination
PD2
Max. operating altitude
≤ 2000 m above sea level
Nominal output
2 W @ 4,5 V DC
Battery type
3 x 1.5 V AA battery
(included in the scope of delivery)
Battery life
>150 h
Dimensions
135 x 60 x 28 mm
Weight
188 g
10 Technical data for testo 925
Technical data for testo 925
Feature Value
Operating humidity 0 to 80 %RH / For indoor use only
IP class IP20 (with connected probe IP40)
32
Find Quality Products Online at: [email protected]
www.GlobalTestSupply.com
Page 34
11 Tips and assistance
11
11.1
display)
Instrument battery is
Replace instrument battery
• Auto Off function is
•
• Switch off Auto Off
•
Display responds
sluggishly
Ambient temperature is
very low
Increase ambient
temperature
Display: -----
Sensor error
Display: OOOOO
Permissible measuring
range has been exceeded
Keep within the permissible
measuring range
Display: UUUUU
Permissible measuring
range has been undershot
Keep within the permissible
measuring range
Display: BT Fail
Bluetooth connection
• Check Bluetooth
®
•
Display: Print Fail
Printout could not be
• Check Bluetooth
®
• Switch printer off and then
Display: Probe Fail
Probe damage
Display: OTA Fail
The update process "over
completed successfully.
Restart the measuring
Bluetooth® connection.
Display: APP Lost
Connection to the testo
locked for 3 s.
Restart the measuring
Bluetooth® connection.
Tips and assistance
Questions and answers
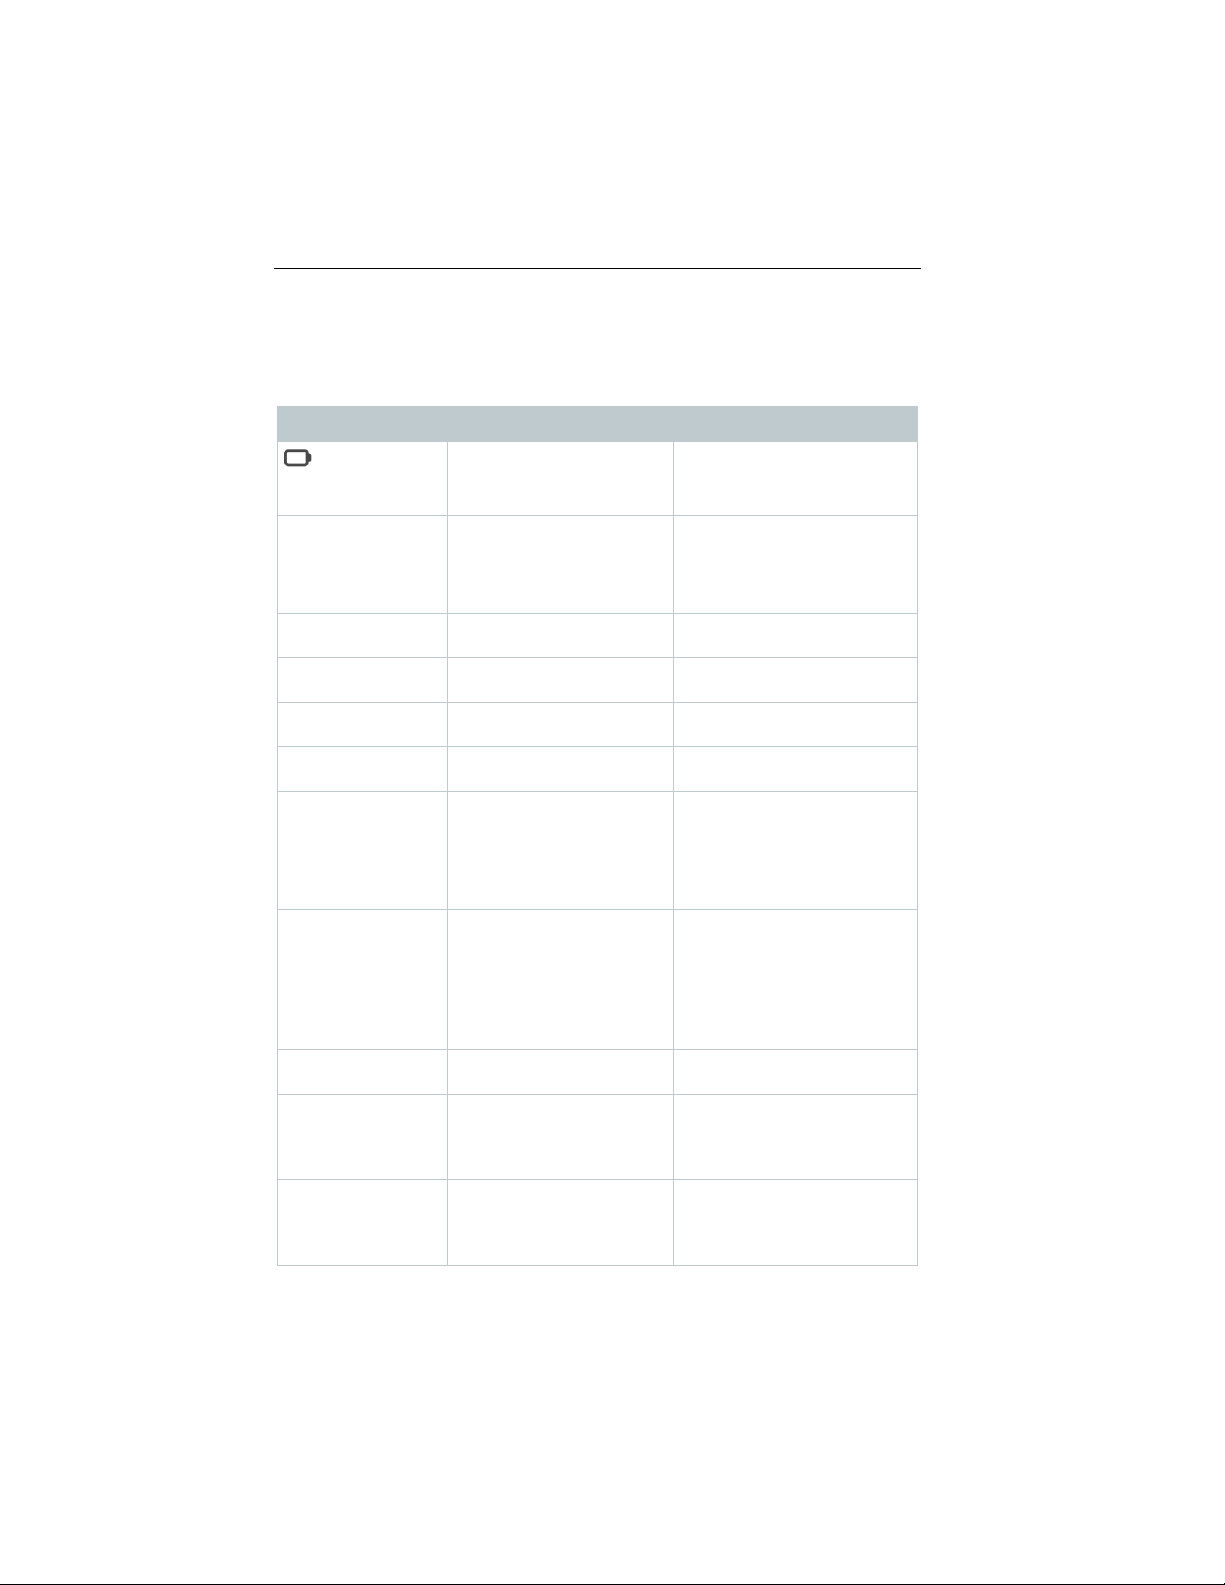
Question Possible cause Possible solution
is displayed
(top right on the
Instrument
switches itself off
almost spent
switched on
Remaining battery
capacity is insufficient
could not be established
performed successfully
function
Change the battery.
Please contact your dealer
or Customer Service.
connections.
Restart measuring
instrument, restart testo
Smart App.
connections, switch off
and then on again if
necessary.
on again.
Please contact your dealer
or Customer Service.
the air" of the measuring
instrument could not be
Smart App was
interrupted. Keys are
Find Quality Products Online at: [email protected]
www.GlobalTestSupply.com
instrument and testo Smart
App and check the
instrument and testo Smart
App and check the
33
Page 35

11 Tips and assistance
Temperature probe TC type K
Bluetooth®/IRDA printer
0554 0621
Topsafe protective case
0516 0224
11.2 Accessories and spare parts
Description Order no.
For a complete list of all compatibl e
temperature probes, please refer to
the product catalogues and
brochures
34
Find Quality Products Online at: [email protected]
www.GlobalTestSupply.com
 Loading...