

Terra AC Classic, FIVE Series Owners And Installation Manual
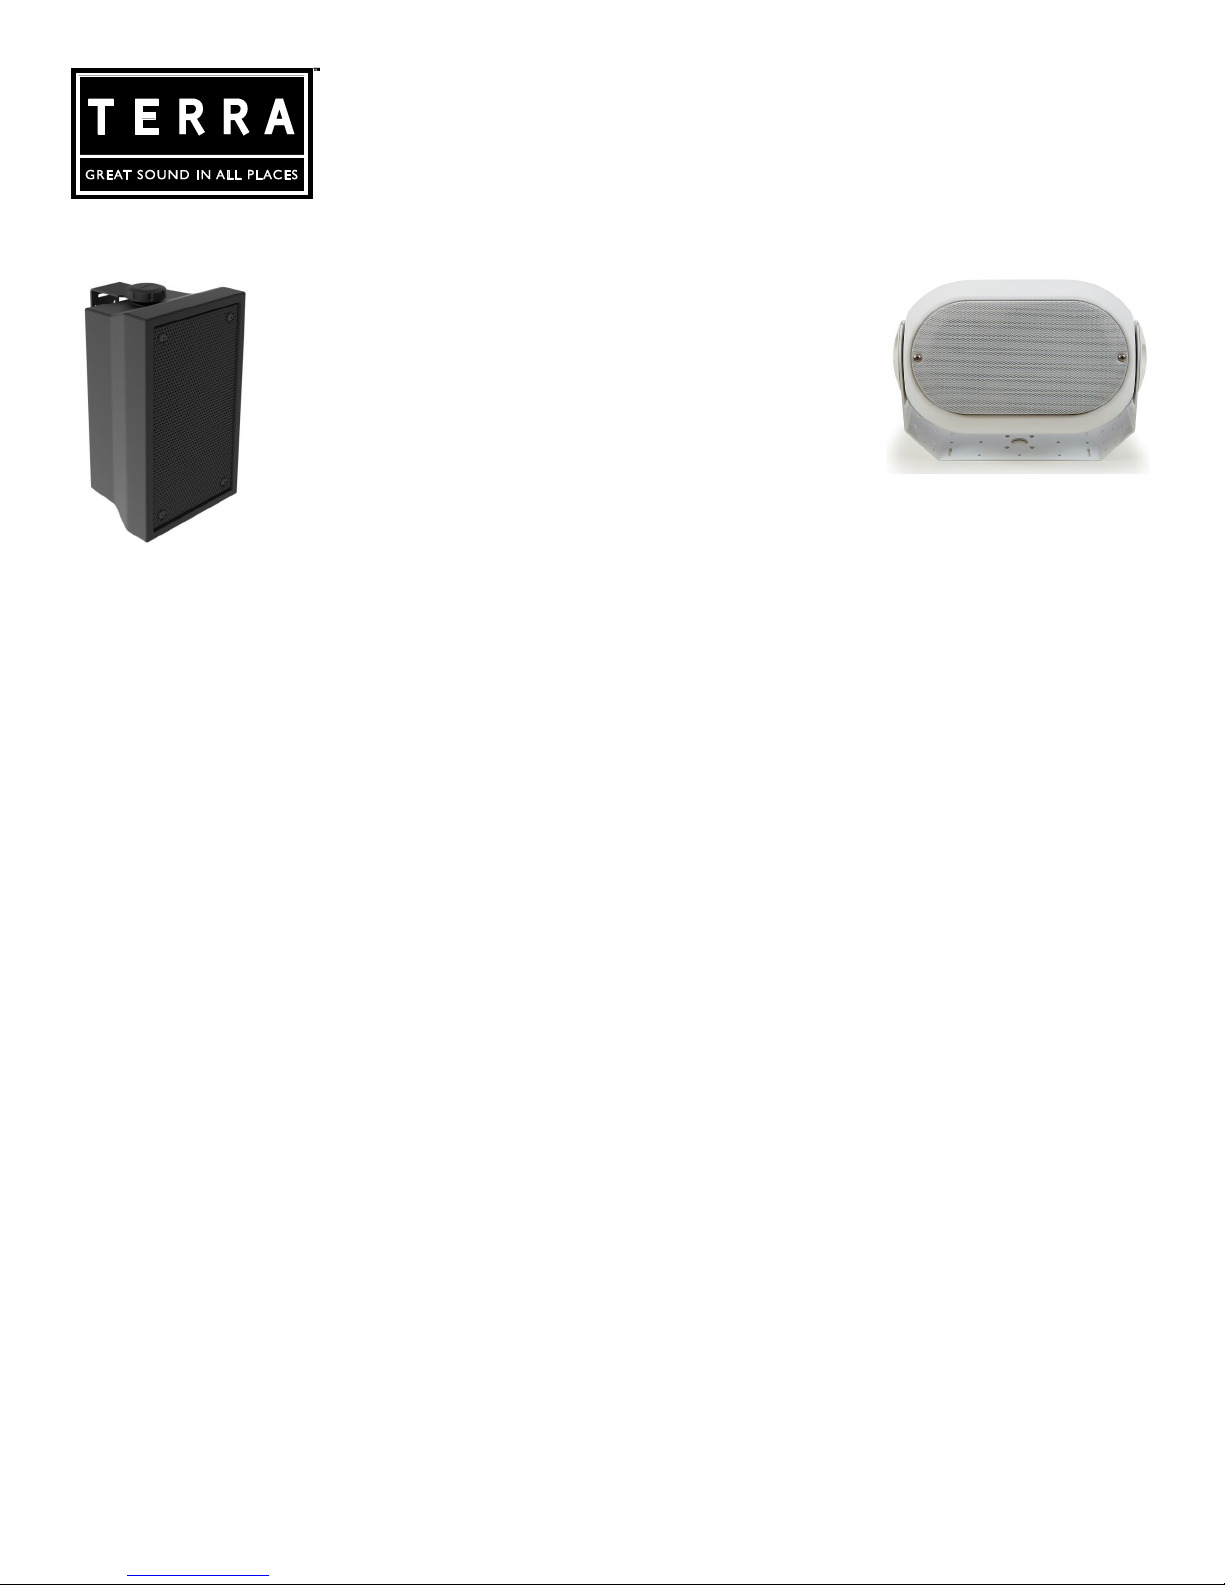
AC Classic and FIVE Series Loudspeakers
OWNER and INSTALLATION GUIDE
Thank you for purchasing these high performance Terra All-Climate loudspeakers. We’ve hand built them here in Maine to the highest quality standards. We
hope you’ll enjoy them for years to come.
Technical Highlights
Your new Terra AC Classic and FIVE series loudspeakers feature:
All Weather Design (IP 67 and MIL-spec rated) — ACAD™: Anodized-Ceramic
Aluminum Diaphragm bass/midrange drivers featuring our MFCS™: Magnetic Fluid
Centering System — Titanium or Aluminum dome fluid cooled tweeters (model
dependent)— Powder coated Aluminum grilles— Easy, flexible and secure mounting
— For more technical info go to www.terraspeakers.com
ADVISORY
Terra AC Classic and FIVE Series loudspeakers can be installed for a variety of indoor and outdoor applications. If you’re
not completely comfortable with speaker wiring, amplifier connections, or other aspects of the physical installation
please hire an audio/video installation professional and/or a licensed electrician to assure proper and safe installation.
During installation be sure to carefully follow all applicable local codes and laws.
IMPORTANT NOTE
When choosing a location for placement be sure to select an area that does not flood as these speakers are not designed to be submerged. Also avoid placing
them directly over a source of high heat, like sauna heating elements or steam room vents.
SPEAKER LOCATION, BASS PERFORMANCE
Speaker placement impacts distribution of sound and bass performance. Terra AC Classic and FIVE series speakers have exceptionally broad dispersion of sound and can be placed fairly far apart while providing excellent coverage. You can place them up to 8 feet apart without concern
about serious “dead spots”. More coverage information is located on the back of this sheet.
Simply mounting the speakers on a wall or low, close to the ground – rather than up on a post in free space – will increase the apparent bass
output of the speaker. Since outdoor speakers are almost always mounted in the former way, Terra speakers are acoustically balanced to provide
the smoothest response in such locations, taking into account the bass “bump” caused by adjacent surfaces. If you wish to maximize the speaker’s
bass output, place them in corners, along the base of a wall or directly under an eave (every directly adjacent surface will double the apparent
bass produced by each speaker). Of course, the best way to dramatically enhance outdoor bass performance is by adding one or more Terra AC
SUB all-climate subwoofers to the system.
GENERAL INSTALLATION TIPS
1. In general we recommend most indoor or outdoor distributed audio sound systems be configured for mono operation, not stereo, as rarely is
anyone listening in “the stereo sweet spot”. This makes 70/100 Volt system design all the more practical for multi-speaker installations.
2. Use a minimum of 16ga. twin conductor for short wire runs. Over 50 feet use a minimum of 14ga. Outdoors be sure to use burial grade wire.
If you’re pulling wire through walls be sure to use wire rated for in wall use (CL2 or CL3). If possible, we recommend running the wires through
burial grade conduit for all underground runs.
3. 70/100 Volt systems can use lighter gauge wiring but we still recommend a minimum of 18ga.
4. 100 Volt system wattage settings are halved from the marked values. They become 8, 16, 32 and 64. Do not use the 64 watt setting. See second page for more details.
5. Optimum reliability dictates the use of waterproof outdoor junction boxes for all connections, if possible.
6. The best connections will be made either by soldering and shrink wrapping or using silicone filled all weather connectors like the Terra BVS-2.
7. If you’re mounting speakers on a building, try to have at least one pair of bracket screws driven into a stud or header. If you’re not sure about
the location of the studs, use a “stud finder,” that indicates stud positions.
8. If the smoothest overall sonic performance is important, locate the speakers at least 18" from corners, adjacent walls and ceilings.
9. For installations with sensitive neighbors mount the speakers low and aim them up towards the listeners (avoiding reflective surfaces) or mount
speakers high and aim them down (where shrubbery and such will absorb sound). You should also consider placing the speakers around the perimeter of the listening area facing inwards as opposed to facing out.
10. For areas where serious listening may occur, locating the speakers 6 to 8 feet apart and aimed at the primary listening area will optimize performance. Also, stereo should be considered for these spaces.
Terra, 228 Old Portland Rd., Suite #4, Brunswick, Maine 04011
tel 207-725-1005 e-mail: info@terraspeakers.com www.terraspeakers.com rev2018_03

TERRA AC CLASSIC AND FIVE SERIES OWNER/INSTALLERS GUIDE
STEP 1: MARK SPEAKER LOCATIONS
1. Once a location is chosen, mark it using a flag, painters tape or other
device.
STEP 2: RUN THE WIRES TO THE LOCATION
1. Using properly chosen wire and conduit for burial installs (if possible), run wires to the speaker locations. If you are installing a 70/100
Volt system you can “daisy chain” from one speaker location to the
next. If you’re not using 70/100 Volts, use caution in connecting multi-
ple speakers together as you can reduce the load impedance to a point
that will overload the amplifier. Note that all AC and FIVE series models are rated at a nominal 8 Ohms. Need help with system design and
configuration? Contact us at 207-725-1005.
1. If mounting to a wall use a stud finder determine if there are studs
available for you to screw the mounting bolts into. The mounting
brackets have multiple pre-drilled holes for various situations. They are
also shaped to fit well into a 90-degree corner. You can mount the
speakers horizontally or vertically with little impact on performance.
2. We strongly recommend using stainless steel mounting bolts. Since
the brackets are aluminum we also recommend using plastic washers
under the bolt heads to prevent galvanic corrosion between the dissimilar metals.
3. If no studs are available be sure to use mollys or other hollow wall
anchors that are rated to hold at least twice the weight of the speaker
you’re mounting.
STEP 3: CONNECT THE SPEAKER WIRES
1. Packed in each AC Classic speaker only there is a small bag containing
two 1/4-inch stainless steel screws. These must be screwed into the open
threaded holes on the back of each speaker or bass performance will suffer
and the speakers will not be totally sealed to the elements.
2. Strip approximately 1/2-inch of the insulation from the
speaker wires.
3. Connect the pigtail lead from the speaker to the supply
wires using the BVS-2 silicon filled connector supplied.
There are three openings in the connector designed for
daisy chaining should you need that capability. Use one BVS-2 for each
lead being sure to note the correct polarity for the connections. All
speakers must be wired positive to positive and negative to negative
to achieve the best sound.
STEP 4: INSTALL THE SPEAKERS
1. Remove the screwed on mounting caps on either end of the speaker
and place the speaker within the pre mounted bracket.
2. Screw in the mounting caps and aim the speaker before tightening.
3. Wire tie the wires to convenient holes in the mounting bracket.
70/100 VOLT OPERATION
1. If you’re installing a 70/100 Volt system be sure to set the rear
mounted switch to the desired wattage. If necessary, connect one
speaker and experiment with the different wattage choices to determine how loud each setting plays.
2. The wattage settings determine how much power is fed to that
speaker by the amplifier (which in turn determines how loudly that
speaker will play).
3. It’s possible to connect multiple speakers without concerns about
Impedance in 70/100 Volt systems as long as you have adequate amplifier power. You can determine how much power you need using the
following formula:
Suggested amplifier power = [70/100 Volt transformer tap values set on
switches] x [number of speakers] x [120%] i.e. 32 watt tap x 4 speakers
=128 watts, plus 16 watt tap x 2 speakers = 32 watts, = 160 watts x
120% = 192 watts. (See 100 Volt wattage note below.)
LOW IMPEDANCE SYSTEMS (4, 8-Ohm)
When installing a system designed for low Impedance operation re-
member to check the amplifier’s low Impedance drive capability if
you’re connecting two or more speakers in parallel. You may need to
use a series/parallel arrangement, Impedance matching volume controls
and/or a low Impedance capable amplifier in order to have reliable
operation. Still, you’re limited as to how many speakers you can con-
nect together by power requirements and Impedance issues.
If you have any questions regarding installation or operation of Terra
speakers please call us at 207-725-1005 during normal US East Coast
business hours.
70/100 VOLT AND 8 OHM SETTINGS
Note: If you’re using a 100 Volt*
amplifier the switch positions are
equivalent as follows:
8W = 16W, 16W = 32W, 32W =
64W, 64W - DO NOT USE
AMPLIFIER POWER
With care and common sense your Terra speakers will provide years
of carefree entertainment. When properly installed they can be used
indoors or out with no concern about exposure to the elements. This
system is designed to provide background entertainment in a residential or light commercial setting. Although it can play fairly loud without
harm, it is not a rock concert system and shouldn’t be treated as such.
There’s a fairly complete explanation of how speaker damage can occur
on the Terra website (www.terraspeakers.com) in our Newsletters,
Volume 2, Issues 3 and 4. In any case, if you hear distortion from the
speakers (even if it doesn’t seem that loud and no matter where the
volume control is set) you should immediately turn down the volume.
Damage caused by such abuse is not covered under the warranty. If
you’re using a very powerful amplifier and over drive the speaker, this
too can cause non-warranted failure.
THE BREAK-IN PERIOD
You may play your Terra speakers immediately with excellent results.
However, subtle improvement can be expected as the ACAD/MFCS
drivers break in. Performance should stabilize between 50 and 100
hours. Operation in very cold climates (-10 degrees F and below) can
also impact their sound quality but will not harm them. In such cold
environments leave the volume low till the drivers can “warm up”.
*70-volt is commonly found in the USA. 100-volt is often used in other countries. Setting the switch to 8 Ohms bypasses the transformer windings and configures the speaker for low Impedance operation.
Terra, 228 Old Portland Rd., Suite #4, Brunswick, Maine 04011
tel 207-725-1005 e-mail: info@terraspeakers.com www.terraspeakers.com rev2018_03
 Loading...