

Page 1
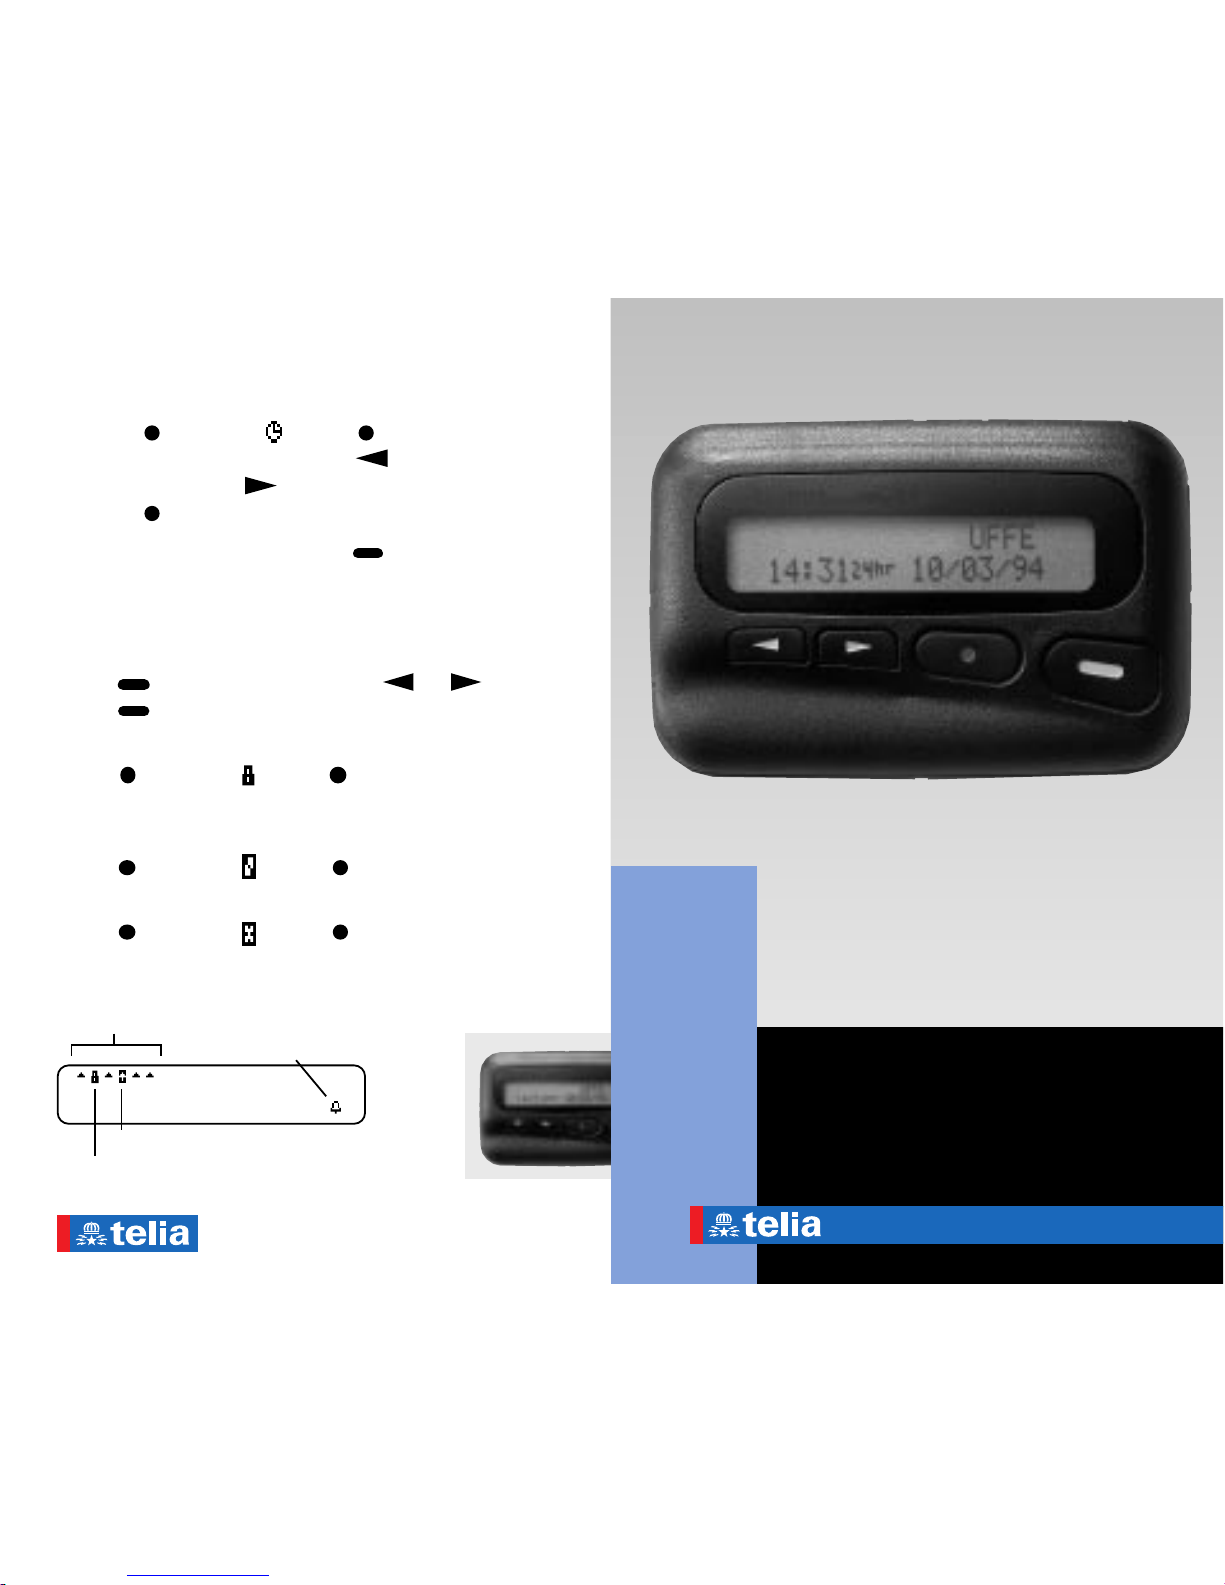
24 254
English version of
LZTA 804 3235, 95-06
QUICK GUIDE (continued on page 22)
Setting the clock:
1. Press
, move to , press .
2. Scroll blinking field with
. Step to
next field with
.
3. Press
.
Show time and date: Press
.
Stop alert signal:
Press any button.
Display message:
Press
, select message with or ,
press
several times.
Lock displayed message:
Press
, move to , press .
To unlock: Repeat the same steps.
Delete displayed message:
Press
, move to , press twice.
Delete all messages:
Press
, move to , press twice.
Incoming
messages
Alarm on
Current message
Locked message
User’s Manual
Telia VM -95
Page 2

2 3
CONTENTSCONGRATULATIONS ON
CHOOSING TELIA VM -95
Telia VM -95 pagers use the Telia Mobitel
Minicall network, which means that you
can be reached in all densely-populated
areas where 90 % of Sweden’s inhabitants
live.
Telia VM -95 can receive messages on two
different systems—Minicall Numeric and
Minicall Alphanumeric. The first is a
numeric service, which means that the
person paging you can send a numeric
message at the same time, usually the
telephone number for you to call. On the
other system, Minicall Alphanumeric, you
can also receive text messages. The pager
has a different paging number for each
system.
You can also use Telia VM -95 as a clock
with a reminder signal (alarm).
IF YOU’RE IN A HURRY
First read the instructions for setting
the clock on page 5. Then use the Quick
Guide on the back cover.
Installation ................................................... 4
Battery Information .............................. 4
Setting the Clock: .................................. 5
Overview ..................................................... 6
To page you ................................................. 7
Numeric paging .................................... 7
Alphanumeric paging .......................... 7
Receiving and Reading Your Messages ... 8
Backlighting................................................. 9
Locking Messages ..................................... 10
Deleting Messages .................................... 11
Turning Your Pager Off............................ 12
Additional Programming ........................ 13
Changing the Alert Mode
(Vibration/Audible) ........................... 13
Setting the Alert Pattern .................... 14
Setting the Alarm ................................ 15
Setting the Auto On/Off function .... 16
Other Features........................................... 18
Tips .............................................................. 19
Call diversion ...................................... 19
Mobilsvar (=Voice Mailbox) .............. 19
Digital messages other than the
telephone number ............................... 20
Instructions on your business card .. 20
Paging number in telephone directory 21
Special Minicall Services .................... 21
If you have any questions........................ 21
Technical data ............................................ 22
Quick Guide (continued on page 22) ..... 24
Page 3
4 5
INSTALLATION
Battery Information
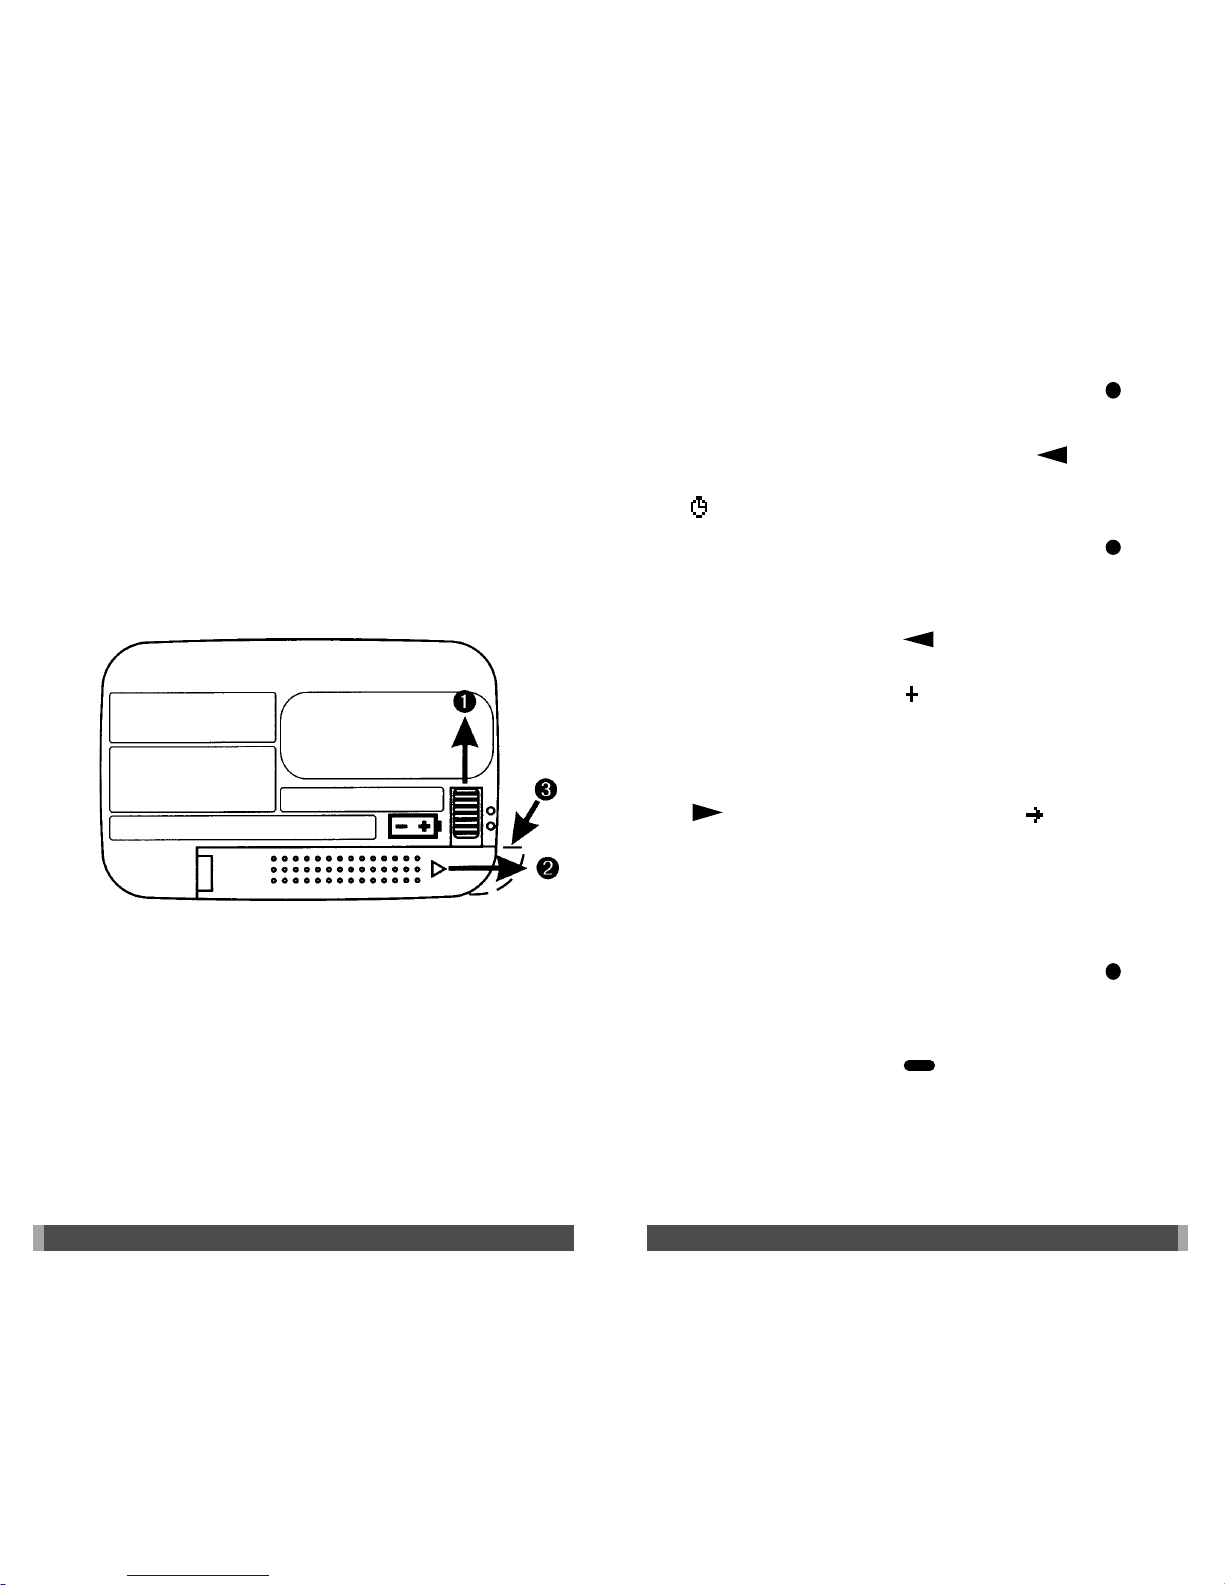
Your Telia VM -95 pager is designed to
operate with a AAA-size alkaline battery
(do not use carbon zinc batteries). See
diagram for battery door location. To
install or replace the battery, place the
pager face down in the palm of your
hand.
Setting the Clock:
• Press the FUNCTION/SELECT button
to display the function menu.
• Press the left directional button
to
move the cursor to the Set Clock icon
.
• Press the FUNCTION/SELECT button
to display the Set Time screen. The
cursor flashes in the hour position.
• The left directional
button
increments the flashing digits. This is
defined by the icon
shown above the
button.
• Advance to the desired minute by
pressing the right directional button
. This is defined by the icon above
the button.
• Repeat the process for each field hour,
minute, AM/ PM/24 hr., day/month/
year.
• Press the FUNCTION/SELECT button
to initiate the change.
To see the time and date, press the
READ/RESET button
.
1. Unlock the battery door by sliding the
door latch up with your thumb.
2. Slide the battery door to your right
(toward the outer edge).
3. Lift the battery door toward you.
CAUTION: Do not insert the battery
backwards. All messages stored and/or
locked in memory will be erased.
Page 4
6 7
OVERVIEW
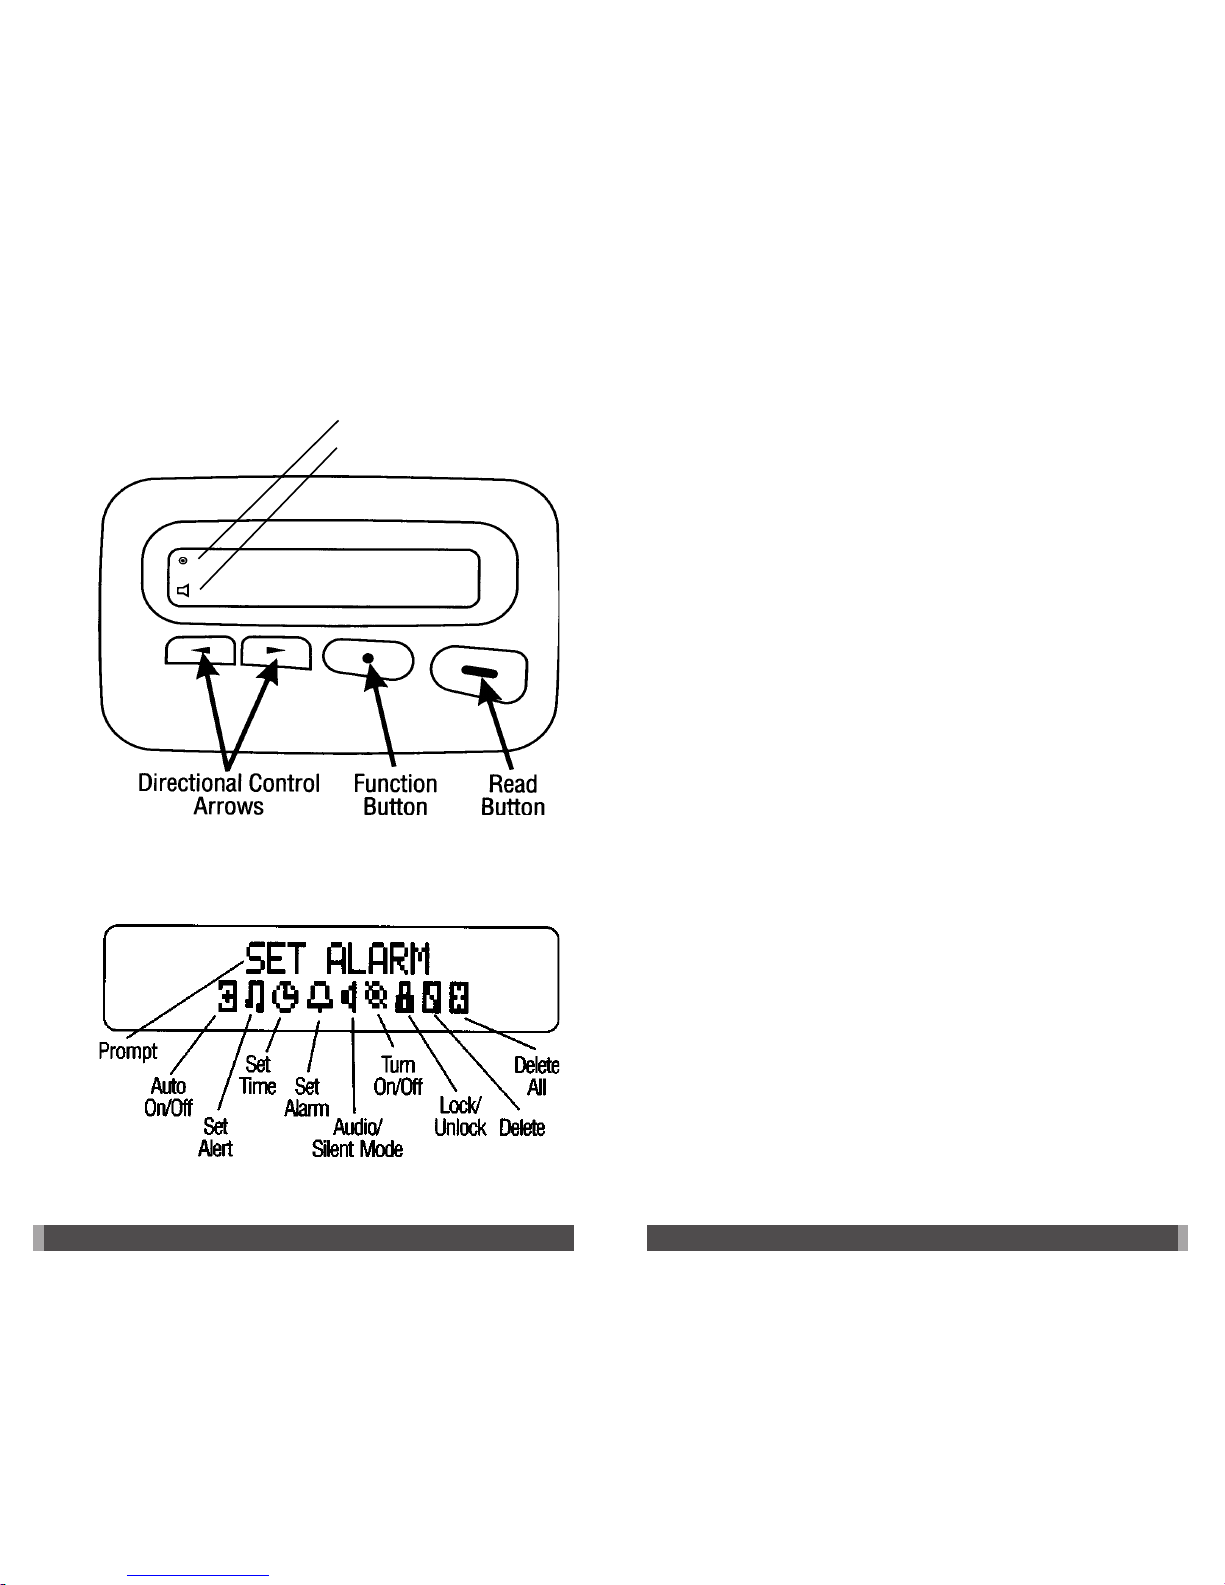
Pager Controls
Display Icons
On
Audible alert mode
TO PAGE YOU
Numeric paging
To page you, the caller must dial code 0746
followed by your personal number for
numeric paging. A recorded announcement gives the following message:
Welcome to the MBS and Minicall service.
Dial your telephone number complete with
area code. Finish with #.
When the caller has carried out the instruction, the following message is heard:
Paging now, please hang up.
Your pager should vibrate or sound within a few minutes.
Alphanumeric paging
There are two ways of using alphanumeric
paging. Up to 400 characters can be sent.
Alt. 1: Minicall Alphanumeric via computer
A special transmitter subscription is required.
Alt. 2: Minicall Alphanumeric via Telia
Mobitel Personal Message Service
Anyone wanting to send you a text message
must ring 0740-99 88 77, give the operator
your paging number for alphanumeric paging
and dictate the text for the operator to
send.
Page 5

8 9
RECEIVING AND READING
YOUR MESSAGES
When receiving a message, your pager
alerts and displays the incoming message
symbol
for approx. ten seconds. Then a
flashing ON
symbol indicates that there
is an unread message.
• Press any button to stop the alert.
A flashing ON
symbol indicates a
message has been received, but not read.
Your pager beeps at predetermined intervals to remind you of an unread message.
• Press the READ/RESET button
to
display your message.
If more than one message exists in your
pager’s memory, press the left
or
right
directional arrow buttons to
select the message you wish to read.
The reversed arrow cursor
indicates
the location of your message in
memory.
• Alt. 1, Numerik: Press
once again to
see the time and date it was received.
Alt. 2, Text: The flashing arrow at the
bottom right corner of the screen
indicates the message you received
continues beyond the first two lines of
the display. Each
press advances
the message to the next two lines. Press
and hold the READ/RESET
button
to rapidly scroll through your message.
Finally the time and date it was received are displayed.
BACKLIGHTING
To view your display in low light
conditions, turn on your pager’s backlight
by pressing and holding the FUNCTION/
SELECT button
for 1.5 seconds.
If no further buttons are pressed, the
backlight automatically turns off when
the display goes blank. You can also turn
off the backlight by pressing and holding
the FUNCTION/SELECT button
for 1.5
seconds.
Page 6

10 11
LOCKING MESSAGES
To lock
Up to 10 messages can be ”locked” in
memory, preventing them from being
replaced when memory is full or from
being deleted if the ”DELETE ALL”
function is chosen.
• Press the READ/RESET button
once or twice.
• Select the message you wish to lock by
using the left
or right directional
buttons.
• Press the FUNCTION/SELECT button
to display the function menu.
• Press the right directional button
to
move the cursor to the lock
icon.
• Press the FUNCTION/SELECT button
to lock the message. The padlock icon
appears, indicating the message has
been locked.
To unlock
To unlock a locked message, use the
same procedure outlined above.
DELETING MESSAGES
To delete one message
You can delete an unlocked message:
• Press the READ/RESET button
once or twice.
• Select the message you wish to delete
from memory by pressing the left
or right directional buttons.
• Press the FUNCTION/SELECT button
to display the function menu.
• Press the right directional button
to
move the cursor to the DELETE
icon .
• Press the FUNCTION/SELECT button
to receive confirmation of delete
request.
• Press the FUNCTION/SELECT button
to delete the message.
To delete all messages
If you wish to delete all unlocked
messages from memory:
•
Press the FUNCTION/SELECT button .
• Press the right directional button to
move the cursor to the Delete All icon
.
• Press the FUNCTION/SELECT button
twice.
Page 7

12 13
TURNING YOUR PAGER
OFF
• Press the FUNCTION/SELECT button
to display the function menu.
• The OFF icon
flashes when this
menu item first appears.
• Press the FUNCTION/SELECT button
to select the ”TURN OFF” function.
Press it again to turn the pager off.
Turning the Pager On
• Press the READ/RESET button.
Your pager will alert and show the ON
indicator
in the upper left corner of
the display. Then the time and date
appear at the bottom of the display
ADDITIONAL
PROGRAMMING
Changing the Alert Mode
(Vibration/Audible)
• Press the FUNCTION/SELECT button
to display the function menu.
• Press the left directional button
to
move the cursor to the speaker
or
speaker slash
icon.
The speaker icon appears if the pager already is in
the silent alert mode (prompting you to enter that
mode, if desired). The speaker slash icon
appears
if the pager is in the audible alert mode (prompting
you to enter that mode, if desired).
• Press the FUNCTION/SELECT button
to select the desired alert.
Page 8
14 15
Setting the Alert Pattern
• Press the FUNCTION/SELECT button
to display the function menu.
• Press the left directional button
to
move the cursor to the alert
icon.
• Press the FUNCTION/SELECT button
to display the ”SET ALERT” screen.
The selected alert number flashes
• Move to the desired alert and press the
FUNCTION/ SELECT button to
initiate the alert change. A 2 second
sample of the selected alert plays
through the internal speaker.
Setting the Alarm
If you wish to set the alarm:
• Press the FUNCTION/SELECT button
to display the function menu.
• Press the left directional button
to
move the cursor to the alarm
icon.
• Press the FUNCTION/SELECT button
to display the set alarm screen.
• When the screen first appears, the
cursor will be at the left-most position.
This icon defines the alarm status:
either alarm enable
, or alarm
disable
. Press the left directional
button
to toggle the alarm status.
• Press the right directional button
to
move the cursor to the hour field. The
left directional button
increments
the flashing digits.
• Repeat the process for each field (hour,
minute).
• Press the FUNCTlON/SELECT button
to make the change.
The alarm indicator
appears in the
lower right corner of the display if an
alarm has been set. At the selected time,
your pager either vibrates or emits a
unique 8-second alert, depending on the
alert mode.
NOTE: To escape without making any
changes, press the READ/RESET
button
.
Page 9

16 17
Setting the Auto On/Off function
During certain hours of the day you may
not want to be paged, and at the same
time want to save battery life.
• Press the FUNCTION/SELECT button
to display the function menu.
• Press the left directional button
to
move the cursor to the AUTO ON/OFF
icon
.
• Press the FUNCTION/SELECT button
to display the Auto On/Off screen.
When the screen first appears, the
cursor will be at the left-most position.
This icon defines the Auto On/Off
status: either Auto On/Off Enabled
,
or Disabled
.
• Press the left directional button
to
toggle the status.
• Press the right directional button
to
move the cursor to the hour field. The
auto ON time is shown on the left and
the auto OFF time is shown on the
right.
• Repeat the process for each field for
both the ON time and the OFF time
(hour, minute, and AM/PM if your
pager is set to display time in the 12
hour mode).
• Press the FUNCTION/SELECT button
to activate the Auto On/Off function.
The Auto On/Off indicator
appears on
the display if the Auto On/Off function
has been enabled.
If the ON time is equal to the OFF time, the pager will
not enable the auto On/Off function.
NOTE: To escape without making any
changes, press the READ/RESET button
.
Page 10

18 19
OTHER FEATURES
Low Battery Alert: A low battery icon
appears in place of the date at the onset of
low battery conditions.
Duplicate Message: If the same message is
received more than once, ”DUPLICATE”
appears at the beginning of your new
message to indicate that your message has
already been received. Your new message
will contain the latest time stamp.
Out of Range: With this option installed,
whenever you are too far away from your
paging system’s transmitter to reliably
receive messages, your pager displays an
”OUT OF RANGE” message and an outof-range icon
.
TIPS
Call diversion
If your ordinary phone is a PLUS phone,
you can use the Call Diversion service to
connect your call to your pager. You pay the
paging charge every time someone rings.
To switch Call Diversion on:
1. Lift the receiver on your ordinary
phone and dial
21 , then dial code
0746 followed by your paging number.
Finish with #.
2. A recorded message confirms the connection. Replace the receiver.
To switch Call Diversion off:
1. Dial #21# on you ordinay phone.
2. A recorded message confirms.
Mobilsvar (=Voice Mailbox)
If you have an NMT or GSM mobile phone
with a Telia Mobitel subscription, you can
subscribe to the Mobilsvar, one of Telia
Mobitel’s value added services. Then Mobilsvar can be associated with your pager.
This means that—if someone has left a
message for you—Mobilsvar calls your
pager and your NMT or GSM number
appears on the display.
Page 11

20 21
Digital messages other than the
telephone number
Instead of leaving his telephone number,
the caller can leave another digital
message. For example, you can agree with
your wife/husbond that digital code 111
means you should buy some milk on the
way home.
Instructions on your business
card
On the back of your business card, you
can write down brief instructions on how
to page you. For example, you can use the
following text:
To page me, dial 0746-<give your paging
number for numeric paging> from a tone-dial
telephone. Wait for the recorded message and
then dial the number (including area code)
which you want me to ring. Finish with #.
Wait for the recorded message saying that
paging is in progress, and then hang up. I will
then call you.
You can also send a text message. Our
switchbord operator <give telephone number>
will gladly help you send a message to my
pager on the following number <give your
paging number for alphanumeric paging>.
Paging number in telephone
directory
If you wish, you can have your paging
number included in the telephone
directory. Call TeleMedia customer
service on 020-91 00 36.
Special Minicall Services
The Minicall system and Telia Mobitel
also offer Mobilsvar (=Voice Mailbox),
Repeterad sökning (=Repetition) and
Meddelandelagring (=Message Storing)
services. Talk to your dealer or call Telia
Mobitel’s Customer Service for companies
on 90 350 for more information.
IF YOU HAVE ANY
QUESTIONS
If you have any questions on your
Minicall subscription, call Telia Mobitel’s
Customer Service for companies on
90 350.
If you have any questions on your
Minicall pager, call Teli Service on
020-72 00 95.
Page 12
22 23
TECHNICAL DATA
General: Pager for tone, numeric and
alphanumceric paging on the Minicall
system. Vibrator. Clock. Alarm signal.
Backlighting. Time stamp.
Memory: Max. 20 characters per numeric
message. Max. 400 characters per
alphanumeric message. In total, 1200
characters can be stored. 20 messages can
be stored, of which 10 can be locked.
Battery: 1 x 1.5 alkaline battery, type IEC
LR03 (American standard AAA).
Sufficient for 800 hours’ operation.
Dimensions: 77 x 51 x 18 mm.
Weight: 72 g.
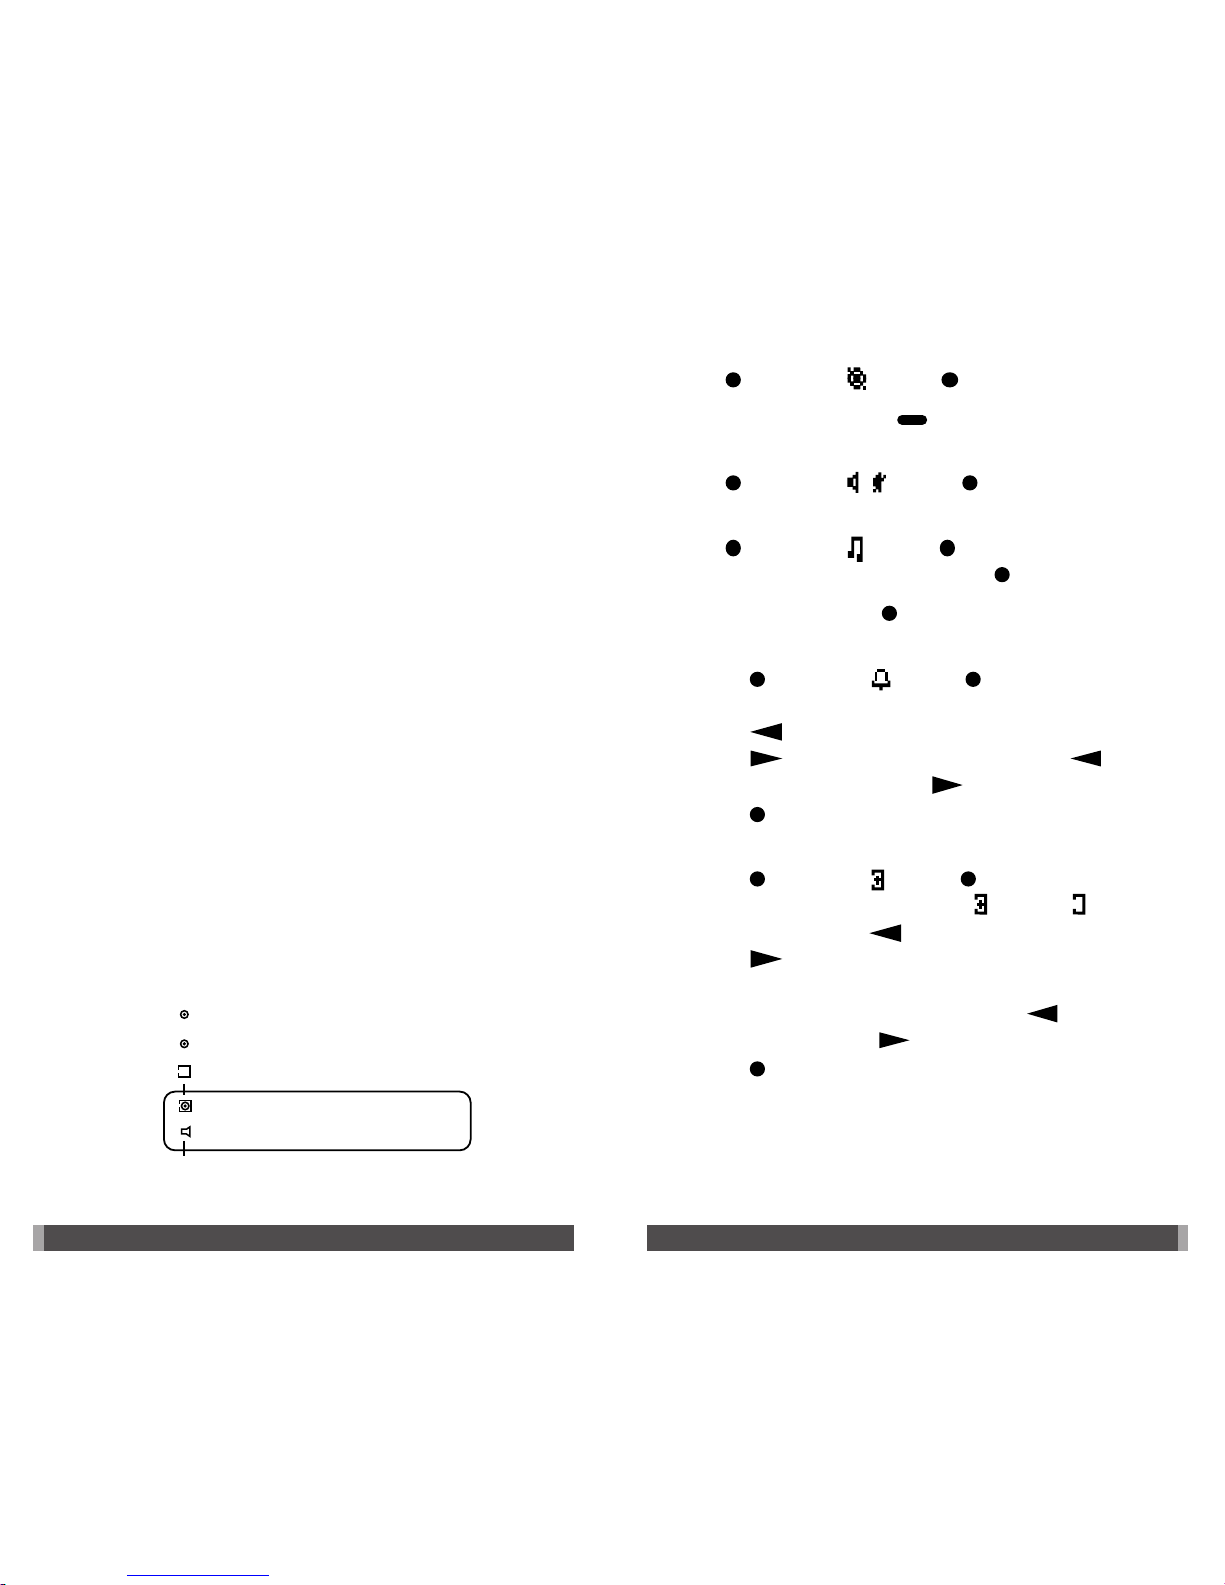
QUICK GUIDE
(continued from page 24)
Lit=ON
Flashing=Unread message
Auto on/off
Audible alert
Turn off pager:
Press
, move to , press twice.
Turn on pager: Press
.
Change audible alert/vibration:
Press
, move to / , press .
Set alert pattern:
Press
, move to , press , move to
desired pattern number, press
.
Backlighting: Press
for 1.5 sec.
Set alarm:
1. Press
, move to , press .
2. If you want to change alarm status,
press
.
3. Press
. Scroll blinking field with .
Step to next field with
.
4. Press
.
Set auto on/off function:
1. Press
, move to , press .
2. If you want to change ON
to OFF or
vice versa, press
.
3. Press
. The ON time is displayed to
the left, the OFF time is displayed to the
right. Scroll blinking field with
. Step
to next field with
.
4. Press
.
 Loading...