

Page 1
Model 2290-10-RMK-1
071316800
1
Keithley Instruments, Inc.
Screws removed from the instrument
28775 Aurora Road
Cleveland, Ohio 44139
1-888-KEITHLEY
http://www.keithley.com
Single Rack-Mount Kit Instructions
Introduction
This document provides instructions for the Model 2290-10-RMK-1 single fixed rack-mount kit. The kit contains
mounts needed to install one Model 2290-10 High Vo lt age Sup ply in a standard 19-inch rack. Hardware is
included to attach the instruments to the rack ears (use existing hardware to mount the assembly into the rack).
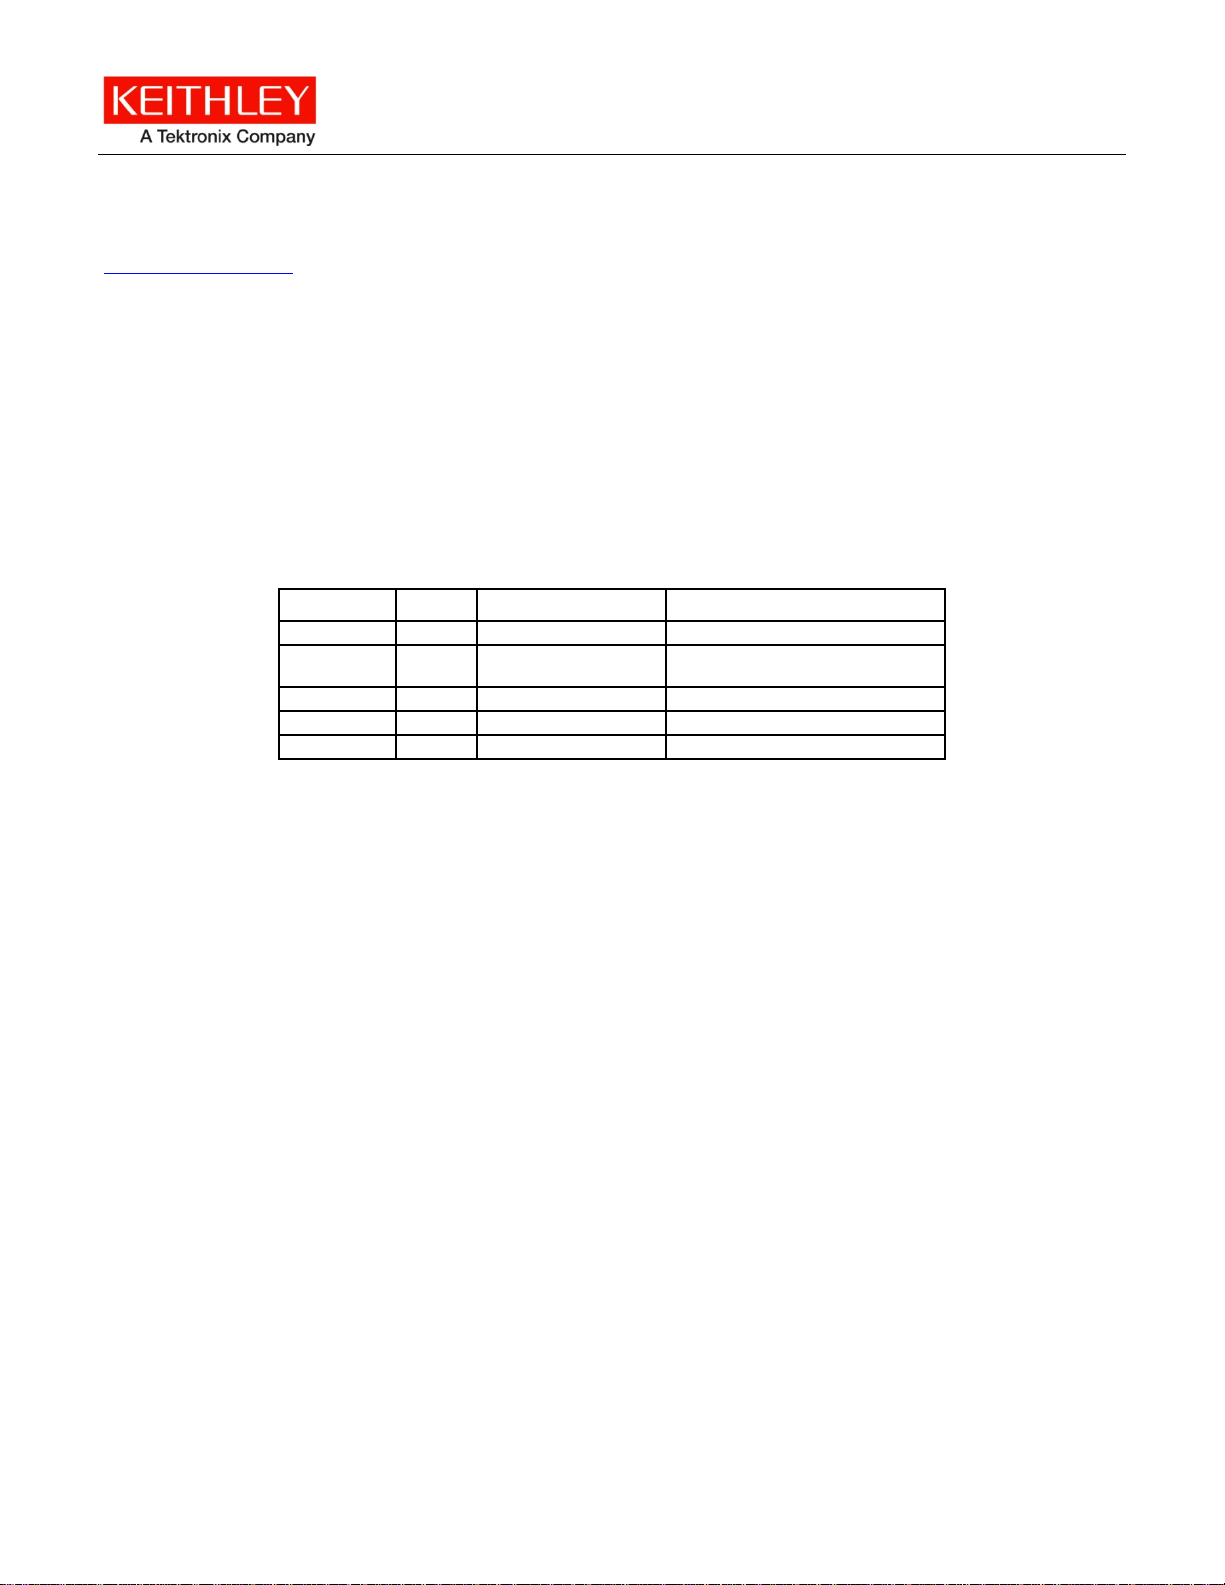
Parts list
The parts list below contains a description of the parts supplied with the Model 2290-5-RMK-1 single fixed
rack-mount kit.
Item number Quantity Description Use
1 2 Handle Attached to rack ears
2 4 Truss head screws
3 4 Flat head screws Handle
4 1 Rack ear Instrument side rack ear
5 1 Rack ear Blank side rack ear
to secure rack ears to instrument
*P071316800*
Page 2
2290-10 kV Single Rack Mount Kit
2 071316800
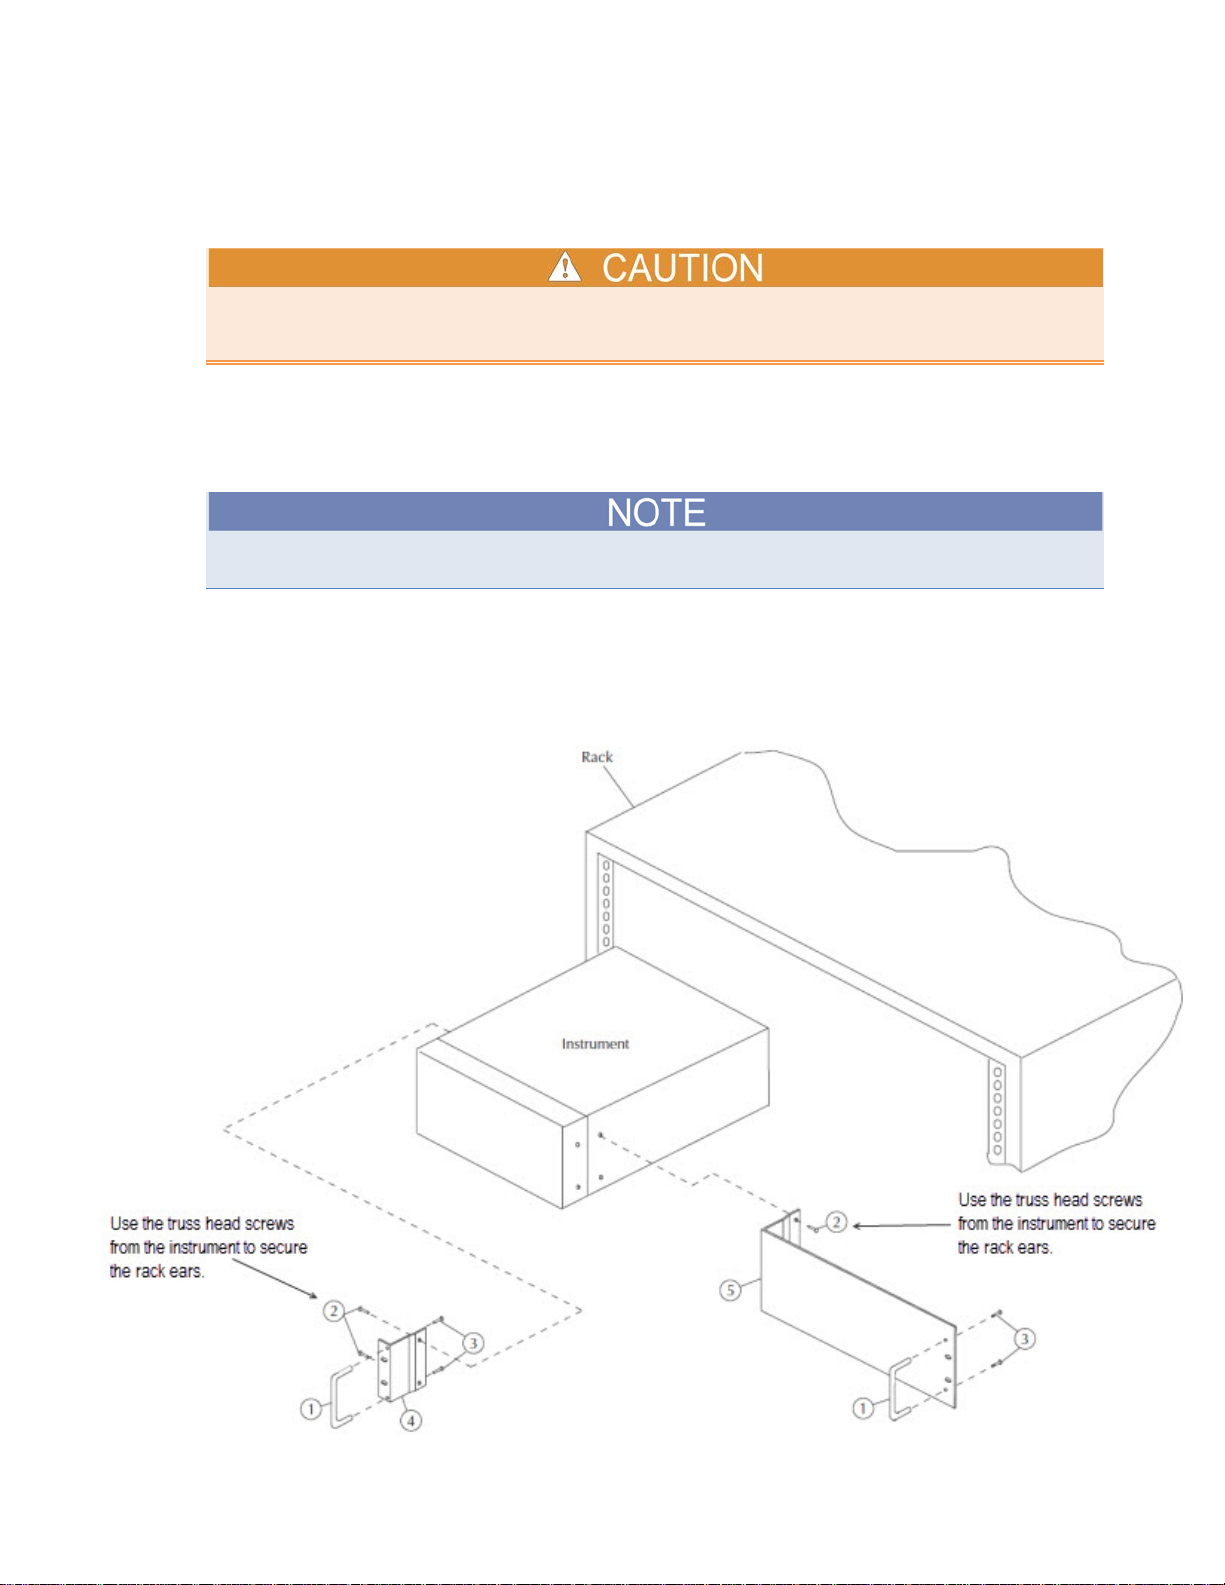
Installation
The next figure provides an exploded view of the rack mounting kit, the instrument, and the rack face.
Step-by-step assembly and mounting instructions are given below.
Before installing the instrument in the rack, be sure that the rack angle bracket or shelf is in place and
adjusted to accept and support the instrument. Under no circumstances should the instrument’s entire
weight be supported solely by the hardware and brackets supplied in the mounting kit.
1. Mount handles (1) to both rack ears (4 and 5) securing each handle with two flat head screws (3).
2. Determine which side of the rack (left or right) will contain the instrument.
3. Install the instrument side rack ear (4) to the instrument and secure with two truss head screws that were
removed from the instrument (2). The next figure shows the instrument mounted on the left side of the rack.
When you remove the truss head screws to install the rack ears, you will need to re-use the screws to
secure the rack ears on the outside edge of each instrument.
4. Install the blank side rack ear (5) and secure with two truss head screws that were removed from the
instrument (2).
5. Install assembly (instrument and installed rack ears) in the rack. Secure the assembly with existing hardware
(see the next figures).
Figure 1: Model 2290-10 single rack mount kit installation
Page 3

2290-10 kV Single Rack Mount Kit
071316800 3
Figure 2: Model 2290-10 suggested single rack fastener installation
Page 4

2290-10 kV Single Rack Mount Kit
4 071316800
The next figure shows the hardware that you will receive with your rack mount kit. You can use this figure, the
Parts list (on page 1
), and the previous figures to ensure that you have all of the necessary hardware to mount
your instruments.
Figure 3: Model 2290-10 single rack mount kit hardware
 Loading...