

Page 1
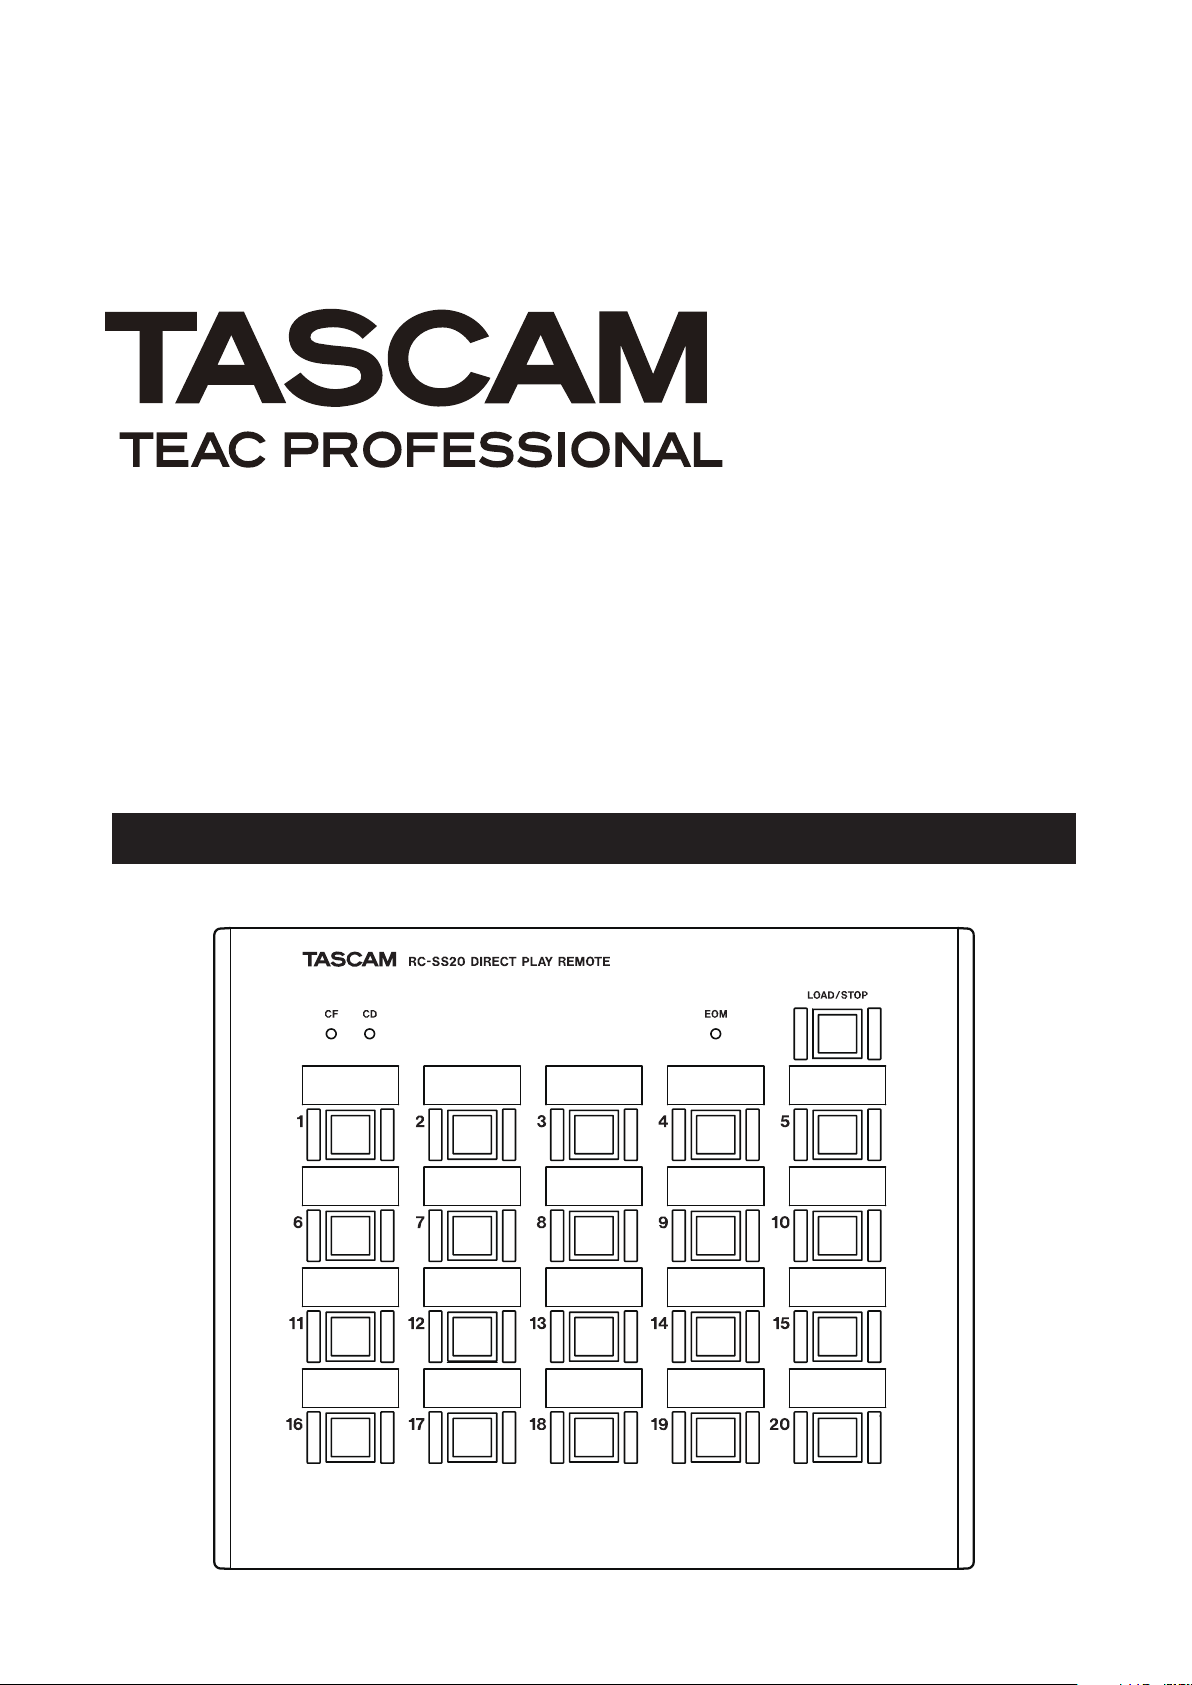
RC-SS20
Direct Play Remote Control
D01051920A
OWNER'S MANUAL
Page 2

2 TASCAM RC-SS20
1–Introduction
Thank you very much for purchasing the TASCAM
RC-SS20. This wired remote control provides a direct
play start function when connected to the PARALLEL
connector of a TASCAM SS-R1, SS-CDR1 or HD-R1
unit. This allows you to start playing tracks from the
location of this unit.
Contents
1–Introduction ......................................................2
Main functions ..................................................... 2
Supplied accessories ............................................2
Beware of condensation ...................................... 2
Cleaning the unit .................................................. 2
2–Names and Functions of Parts ...................3
Top panel .............................................................. 3
Rear panel ............................................................ 4
Connection cables ................................................ 4
Cable specifications ....................................................4
3–Use with an SS-R1 or SS-CDR1 ..................5
Connecting with an SS-R1/SS-CDR1.................... 5
Please read this Owner’s Manual carefully and store it
in a convenient place for future reference.
Setting the SS-R1/SS-CDR1 recorder .................. 5
Flash-starting tracks ............................................. 5
4–Use with an HD-R1 ......................................... 6
Connecting with an HD-R1 .................................. 6
Setting the HD-R1 recorder ................................. 6
Starting a track with direct play .......................... 6
5–Specifications .................................................... 7
Physical ................................................................. 7
Dimensional drawings .......................................... 7
Main functions
•
Direct play of 20 tracks when connected with an
SS-R1 or SS-CDR1 and 16 tracks when connected
with an HD-R1.
Flash-start function allows instantaneous playback
•
starting when connected with an SS-R1 or
SS-CDR1.
Supplied accessories
The following items are included with this product.
RC-SS20•
Owner’s Manual (this document)• ...............................1
Warranty card• .............................................................1
unit ............................................................1
Beware of condensation
If the unit is moved from a cold to a warm place, or
used in a room that has just been heated, there is a
danger of condensation. If this occurs, let the player
sit for one or two hours at the new room temperature
before turning the power on.
Illuminated track playback keys for separate tracks.
•
EOM indicator shows the end of track playback.•
Contact TASCAM if any of these items are missing or
appear to have been damaged during transport.
When opening the packaging, please remove the items
carefully to avoid damage. Please keep the box and
packaging for transportation of the unit in the future
Cleaning the unit
Use a soft cloth to wipe the unit clean. Do not clean it
with chemical-based wipes, benzene, thinner, alcohol
or similar substances. This could damage the surface
or cause the color to change.
Page 3
RC-SS20 3
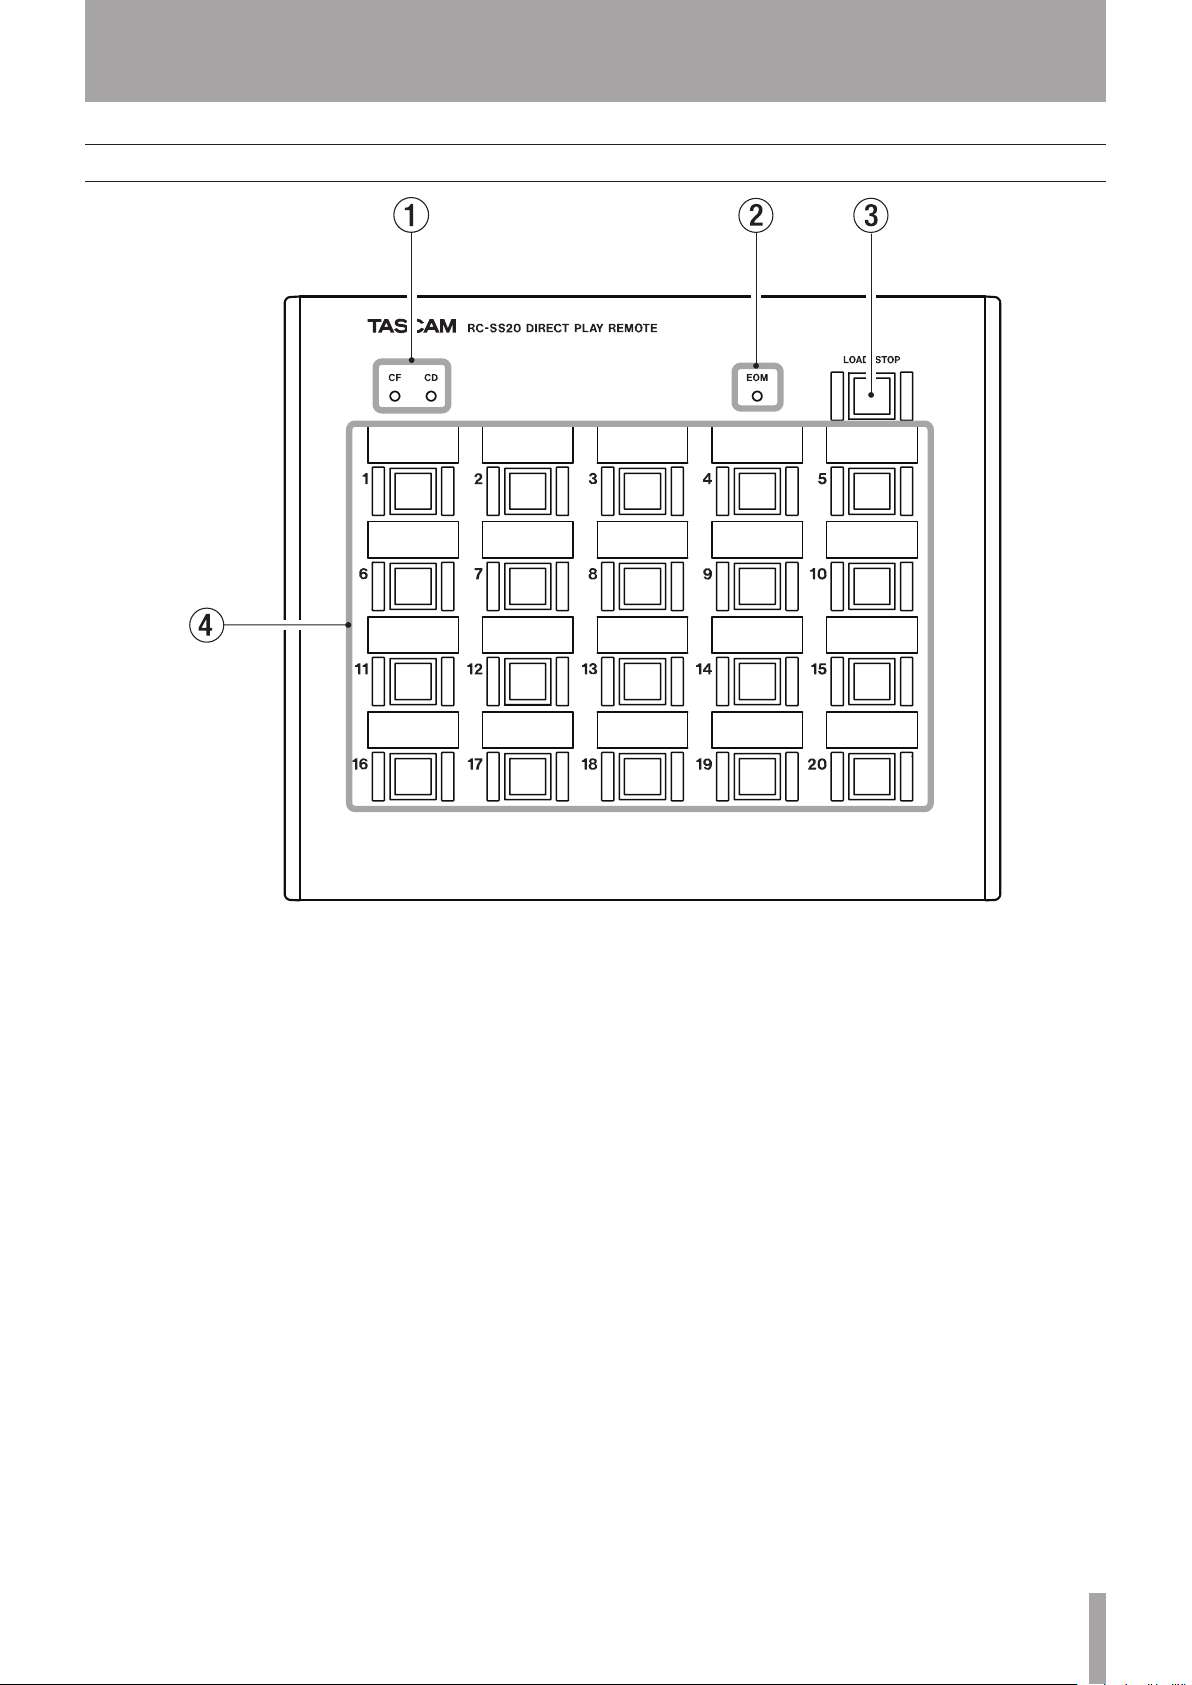
Top panel
2–Names and Functions of Parts
1 Media indicator (CF, CD)
When an SS-R1 is connected:
The CF indicator is always lit.
When an SS-CDR1 is connected:
The indicator for CF or CD is lit according to
the selection made with the SS-CDR1
SELECT key.
When an HD-R1 is connected:
The CF indicator is always lit.
EOM indicator
2
Lights when the unit is receiving an EOM tally
signal from the attached unit.
When used with an SS-R1 or SS-CDR1, the EOM
tally signal output conditions can be set in detail.
When used with an HD-R1, lighting is according
to the signal set by
LOAD/STOP key
3
When an SS-R1/SS-CDR1 is connected:
Press this key when stopped to load the data
for the beginning of each track in the current
playback area of the SS-R1/SS-CDR1 into that
unit’s internal memory. The indicator lights
BUSY2
.
DEVICE
when loading completes. When not in flash start
operation mode or during playback, this indicator
does not light.
Press this key during playback to stop playback.
When an HD-R1 is connected:
Does not function when stopped.
Press this key during playback to stop playback.
Playback keys (1–20)
4
When an SS-R1/SS-CDR1 is connected:
Pressing any key instantaneously starts playback
of the track number corresponding to that key.
The key lights during playback. The indicator
extinguishes when playback ends.
After starting playback, if the unit is put into
playback standby, the indicator blinks.
When an HD-R1 is connected:
Only playback keys 1–16 are usable. Playback keys
17–20 do not function.
Pressing any key between 1–16 instantaneously
starts playback of the track number corresponding
to that key. The indicator lights during playback.
The indicator extinguishes when playback ends.
Page 4

4 TASCAM RC-SS20
2–Names and Functions of Parts
D-SUB25 Male (Plug)
D-SUB25 Male (Plug)
UL2464 AWG24
Screw
:
#4-40 (inch)
Screw
:
#4-40 (inch)
Ground Shield
(Connect to Connector Frame)
L = 10 m or less
CAUTION
Rear panel
1 REMOTE 1 connector
Connect an SS-R1 or SS-CDR1..
REMOTE 2 connector
2
Connect an HD-R1.
Do not connect devices to both the REMOTE 1 connec-•
tor and the REMOTE 2 connector at the same time.
Turn OFF the power of the SS-R1, SS-CDR1 or HD-R1 •
unit before connecting or disconnecting the connection
cable. Connecting or disconnecting the cable while the
power is ON could cause malfunction.
Connection cables
The PW-SS20 connection cable designed for this unit
is available for purchase separately. Please inquire at a
retailshoporTASCAMsalesofce.
Cable specifications
D-SUB connector
Case: Hirose Electric HDB-CTH1 (4-40) or equivalent
Plug: Hirose Electric HDBB-25P (05) or equivalent
Cable UL2464 AWG24
Hitachi Cable UL2464-SB 25P x 24AWG(7/0.203) LF
or equivalent
If you choose to make your own cable, please make
it with straight wiring between D-SUB 25-pin
connectorsbasedonthefollowingspecications.
Length
10 m or less
Wiring
Straight connections for all pins 1–25
Page 5

RC-SS20 5
3–Use with an SS-R1 or SS-CDR1
CAUTION
CAUTION
Playback keys (1–20)
Connecting with an SS-R1/SS-CDR1
Connect the SS-R1/SS-CDR1 rear panel CONTROL
I/O (PARALLEL) connector with the RC-SS20
REMOTE 1 connector using a suitable cable. (See
“Connection cable” on the previous page.)
Setting the SS-R1/SS-CDR1 recorder
When connecting an SS-R1/SS-CDR1 to the REMOTE 1 •
connector, do not connect anything to the REMOTE 2
connector.
Turn OFF the power of the SS-R1 or SS-CDR1 unit •
before connecting or disconnecting the connection
cable. Connecting or disconnecting the cable while the
power is ON could cause malfunction.
Make the following settings.
Set the playback mode to
•
Single
. (See
“Specifying the playback mode” in “5–Playback”
on page 24 of the SS-R1 Owner’s Manual or page
27 of the SS-CDR1 Owner’s Manual.)
Set the EOM function as necessary. (See “End of
•
disc/track message (EOM)” in “5–Playback” on
page 33 of the SS-R1 Owner’s Manual or page 37
of the SS-CDR1 Owner’s Manual.)
The remaining time for the track or the playback
•
area can be set as a trigger. This remaining time
trigger can be set to OFF or between 1–99 seconds.
Flash-starting tracks
1 Press the RC-SS20
remote control FLASH LOAD key, to load the
start data for the tracks in the playback area.
When loading completes, the RC-SS20
STOP key lights and the FLASH icon appears
at the bottom right of the home screen of the
SS-R1/SS-CDR1.
This completes the preparation.
If these procedures are not conducted, ordinary
direct play occurs instead, resulting in a little
time before the first sound is heard.
2 Press the playback key (1– 20) that corresponds
to the track that you want to flash-start.
The track begins playback instantaneously.
During playback, the key lights. When playback
ends the key indicator extinguishes.
LOAD/STOP key or the
LOAD/
Set the playlist or folder that contains the tracks
•
that you want to flash start as the current playback
area. The first 20 tracks in the playback area
become available for flash start. (See “Play area”
in “5–Playback” on page 21 of the SS-R1 Owner’s
Manual or page 24 of the SS-CDR1 Owner’s
Manual.) (See also “Flash start function” on page
32 of the SS-R1 Owner’s Manual or page 36 of the
SS-CDR1 Owner’s Manual.)
The RC-SS20 indicators might not match the status of the
connected unit if that unit is set to any playback mode
other than Single or if operation is conducted from that
unit.
Page 6

6 TASCAM RC-SS20
4–Use with an HD-R1
CAUTION
CAUTION
Connecting with an HD-R1
Connect the HD-R1 rear panel PARALLEL connector
with the RC-SS20 REMOTE 2 connector using a
suitable cable. (See “Connection cable” on page 5.)
Setting the HD-R1 recorder
When connecting an HD-R1 to the REMOTE 2 connector •
do not connect anything to the REMOTE 1 connector.
Turn OFF the power of the HD-R1 unit before connect-•
ing or disconnecting the connection cable. Connecting
or disconnecting the cable while the power is ON could
cause malfunction.
Make the following settings.
Select the Parallel Port sub-menu from the System
•
Settings menu (from the Main menu) and make
the following settings. (See “System settings” in
“3–Screens and Menus” on page 18 of the HD-R1
Owner’s Manual.)
• SettheParallelModeitemtoDirectPlay.
• SettheBusy1SignalitemtoPlayback.
• TheBusy2Signalitemiswhatappearsin
the EOM indicator.
Starting a track with direct play
Starting a track with direct play
Press the playback key (1–16) that corresponds with
the track that you want to start using direct play.
The RC-SS20 indicators might not match the status of the
connected unit if that unit is set to any playback mode
other than Single or if operation is conducted from that
unit.
Use the
• MODE key on the HD-R1 panel to set
the playback mode to
Single
. (See “Setting the
playback mode” in “5–Playback” on page 14 of the
HD-R1 Quick Start Guide.)
Set the playback mode to playlist (or folder) and
•
select the current playlist (or current folder) that
contains the tracks that you want to be able to play
directly. Make sure the number of tracks is 16 or
less.
Page 7

RC-SS20 7
Physical
237 kk
200 kk
58.5 kk
Dimensional drawings
5–Specifications
Required power supply DC 5 V (supplied by the attached unit)
Power consumption 500 mW or less
External dimensions (WxHxD) 237 x 58.5 x 200.5 mm
Weight 1.2 kg
Page 8

RC-SS20
TEAC CORPORATION
Phone: +81-42-356-9143
1-47 Ochiai, Tama-shi, Tokyo 206-8530, Japan
TEAC AMERICA, INC. www.tascam.com
Phone: +1-323-726-0303
7733 Telegraph Road, Montebello, California 90640 USA
TEAC CANADA LTD. www.tascam.com
Phone: +1905-890-8008 Facsimile: +1905-890-9888
5939 Wallace Street, Mississauga, Ontario L4Z 1Z8, Canada
TEAC MEXICO, S.A. De C.V www.tascam.com
Phone: +52-55-5010-6000
Río Churubusco 364, Colonia Del Carmen, Delegación Coyoacán, CP 04100, México DF, México
TEAC UK LIMITED www.tascam.co.uk
Phone: +44-8451-302511
Suites 19 & 20, Building 6, Croxley Green Business Park, Hatters Lane, Watford, Hertfordshire, WD18 8TE, UK
TEAC EUROPE GmbH www.tascam.de
Phone: +49-611-71580
Bahnstrasse 12, 65205 Wiesbaden-Erbenheim, Germany
www.tascam.com
Printed in China
 Loading...