

Targus PA610U Installation Manual
Targus Low Power
™
Ethernet Card
Mobile Computer
Low Power Ethernet Card
™
Installation Guide


INTRODUCTION
This installation guide describes how to install the software
required to use the Targus Low Power Ethernet Card (LP-E card)
in a mobile computer and how to set up a network connection.
You can install the LP-E card in these mobile computers:
❖Windows Powered Pocket PCs
❖Windows CE-based devices, v2.11 or greater
For information about using your LP-E card to connect to a
network and synchronize data with a host PC, refer to the Low
Power Ethernet Card
PDF format on the Low Power Ethernet Card Installation CD and
on the Web at www.targus.com.
™
User’s Guide. This guide is available in
POCKET PC SETUP
Overview
This chapter describes how to install the LP-E card software and
set up a network connection for use with a Pocket PC.
HINT: Before installing the LP-E card, consult your network
administrator and back up all important data.
Software Installation
This procedure applies only to Pocket PCs.
To install software for Windows CE-Based Palm-size PCs,
Handheld PC Pros, or pen tablets, refer to Windows CE Setup,
“Software Installation.”
1

NOTE: Begin these steps BEFORE inserting the LP-E card.
1 Connect your Pocket PC to a host PC using the
synchronizing cradle and cable that came with your Pocket
PC.
2 Insert the Low Power Ethernet Card Installation CDinto the
host PC.
WARNING: The host PC must already be actively connected to
your Pocket PC and have an established partnership.
3 Click Start/Runon the host PC, then type D:\SETUP(Use the
drive letter of your CD-ROM drive in the place ofD:).
Follow the instructions on the host PC.
NOTE: If your Pocket PCprompts you to confirm file replacing,
tap “Yes to All” to continue.
When complete, your Pocket PC displays the message
“Application Downloading Complete.”
4 Click OK, then reset your Pocket PC to load the new
software.
Your Pocket PC then displays the Setup Complete screen.
5 Click OK.
6 Remove your Pocket PC from it’s cradle.
7 Connect the LP-E card into an active Ethernet connection.
HINT: The host PC must be connected and currently logged into
the same network as your Pocket PC.
8 Insert the LP-E card into your Pocket PC’s CompactFlash
card slot.
NOTE: For instructions on how to insert the LP-E card into your
Pocket PC, refer to the Low Power Ethernet Card User’s Guide,
Chapter 3: Hardware Setup - Connecting the LP-E card to Your
Computer.
2
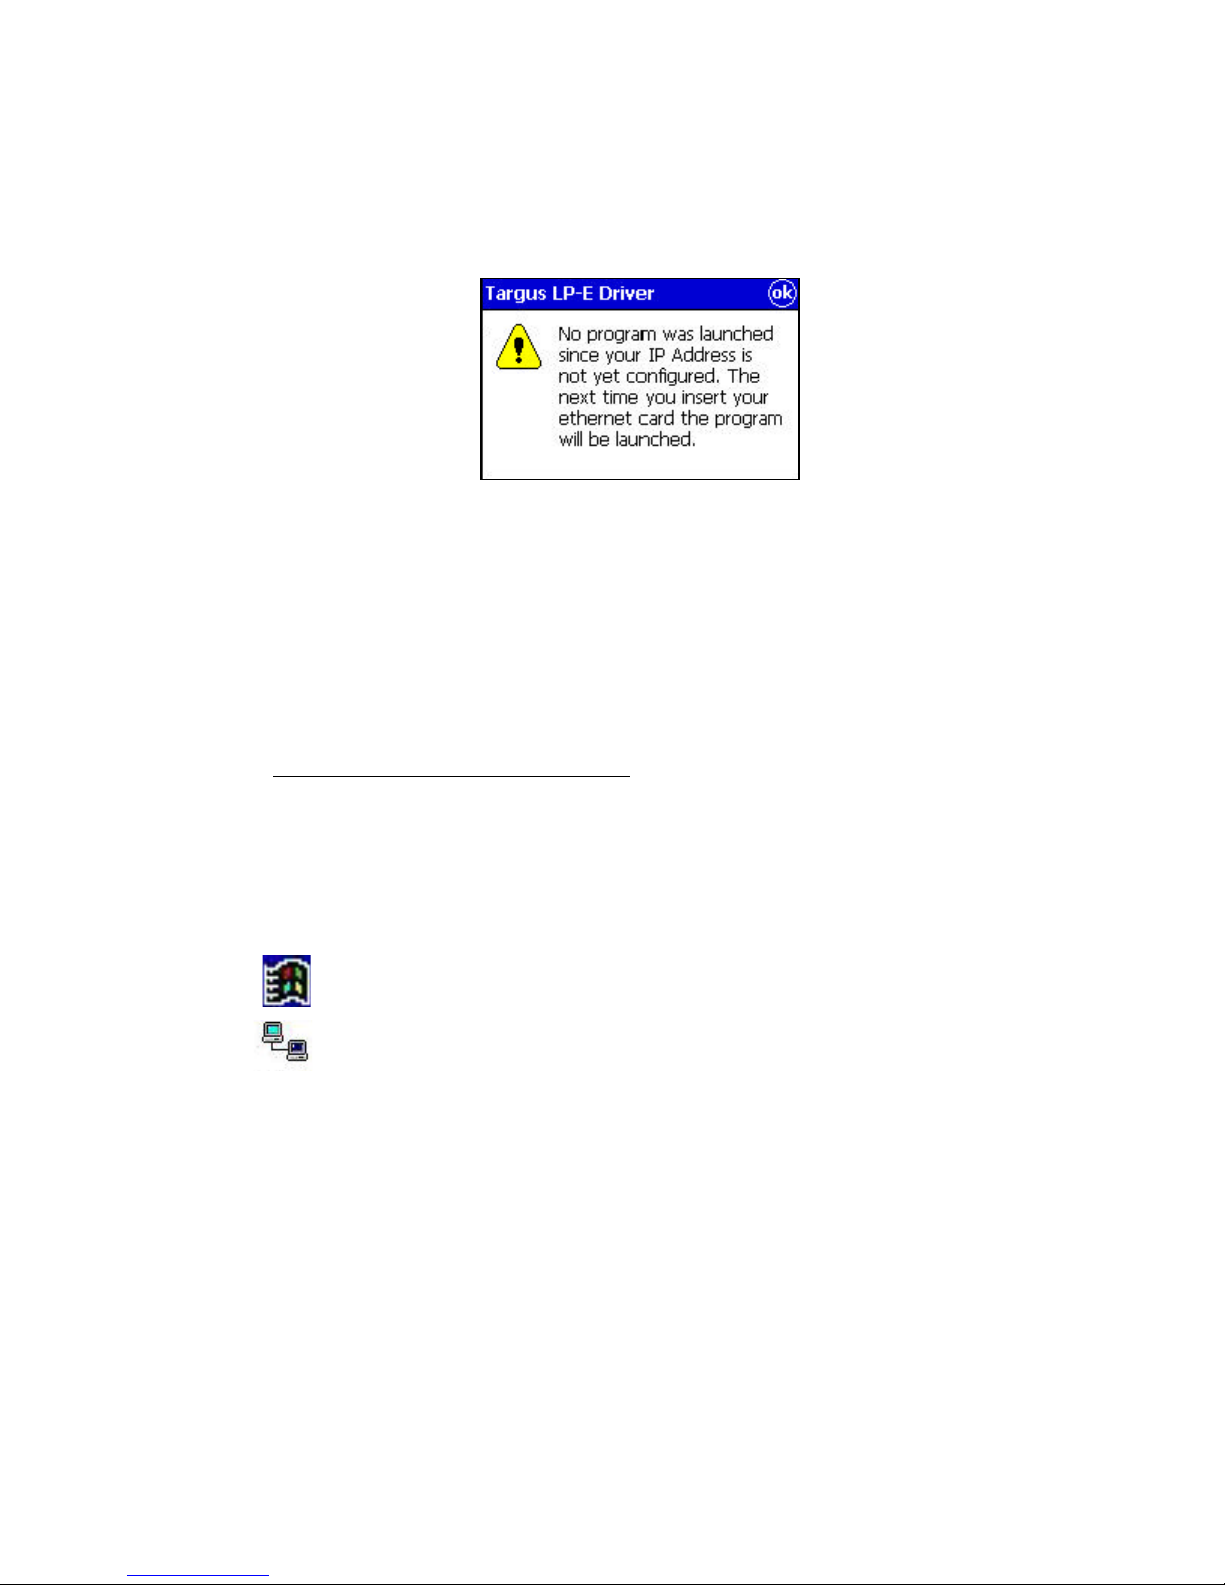
After approximately 10 seconds, your Pocket PC displays
the following message:
9 Tap OK.
The IP Address screen displays.
Use this screen to configure your network settings. To enter
the settings now, proceed to “Configure Network Settings,”
step 5.
To enter the network settings at any time, refer to
“Configure Network Settings,” step 1.
Configure Network Settings
You can change the network configuration at any time using the
IP address screen on your Pocket PC.
NOTE: Before configuring network settings, be sure the LP-E
card is connected to an active Ethernet connection and inserted
into your Pocket PC.
1 Tap Start, then Settings.
2 Tap the bottom Connectionstab.
3 Tap the Networkicon.
4 Select the Targus LP-E Driveron the Network Connections
screen.
3
 Loading...