

Tannoy Arenaccessories User Manual

Centre Channel Stand / Wall Bracket Accessory Manual

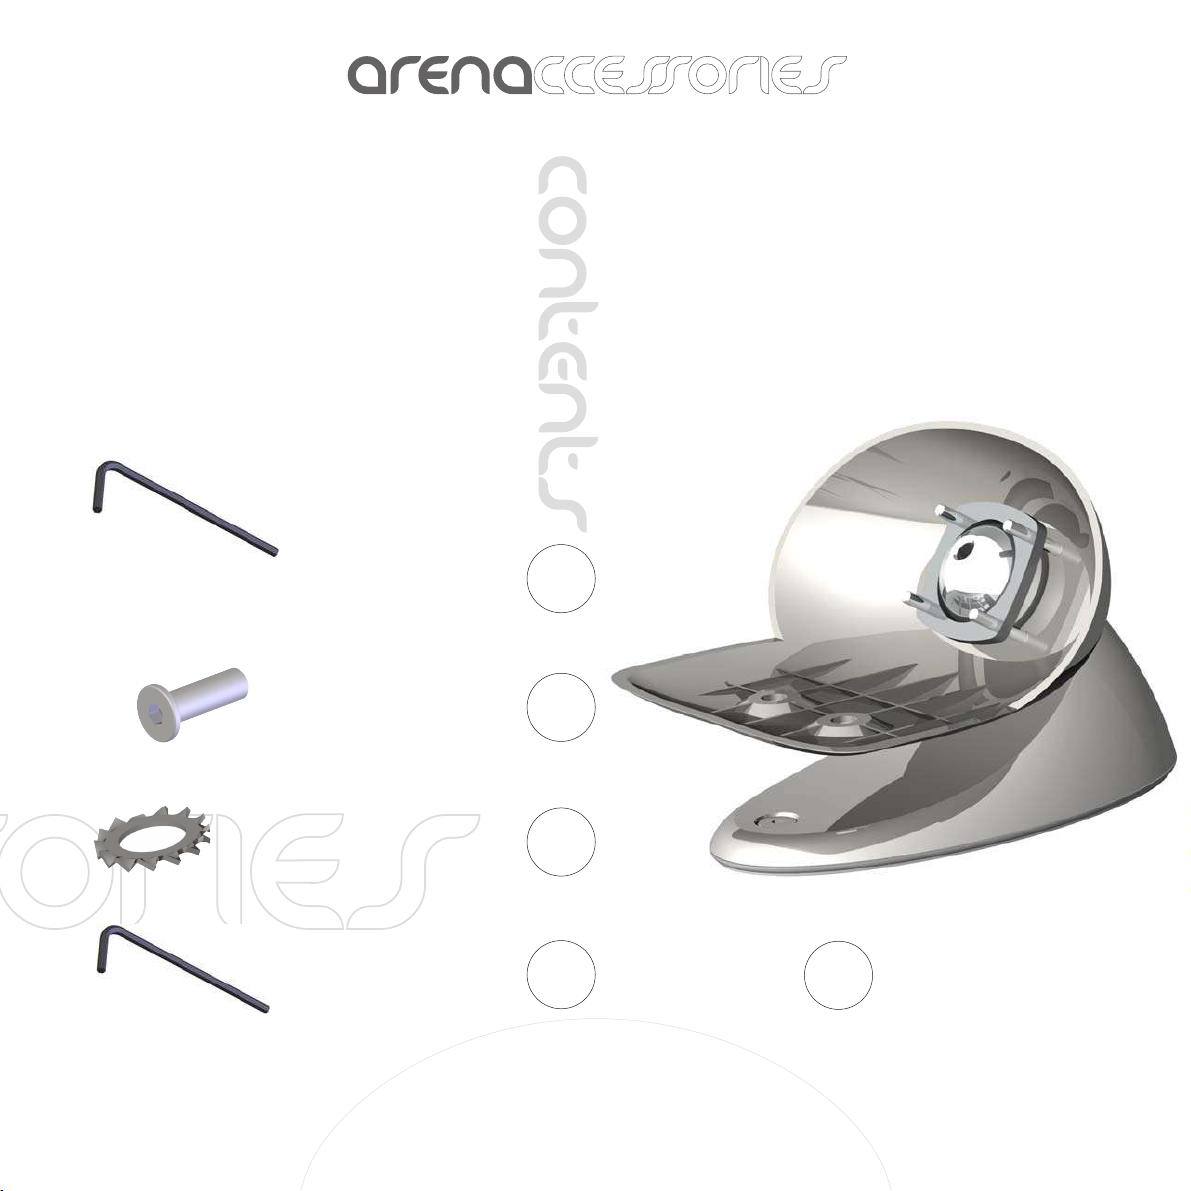
4mm Allen key for stand to centre fixing screws
x 1
stand to centre fixing screws
shake proof washer for stand fixing screws
3mm Allen key for ball joint screws
x 2
x 2
x 1
Table stand
3
x 1
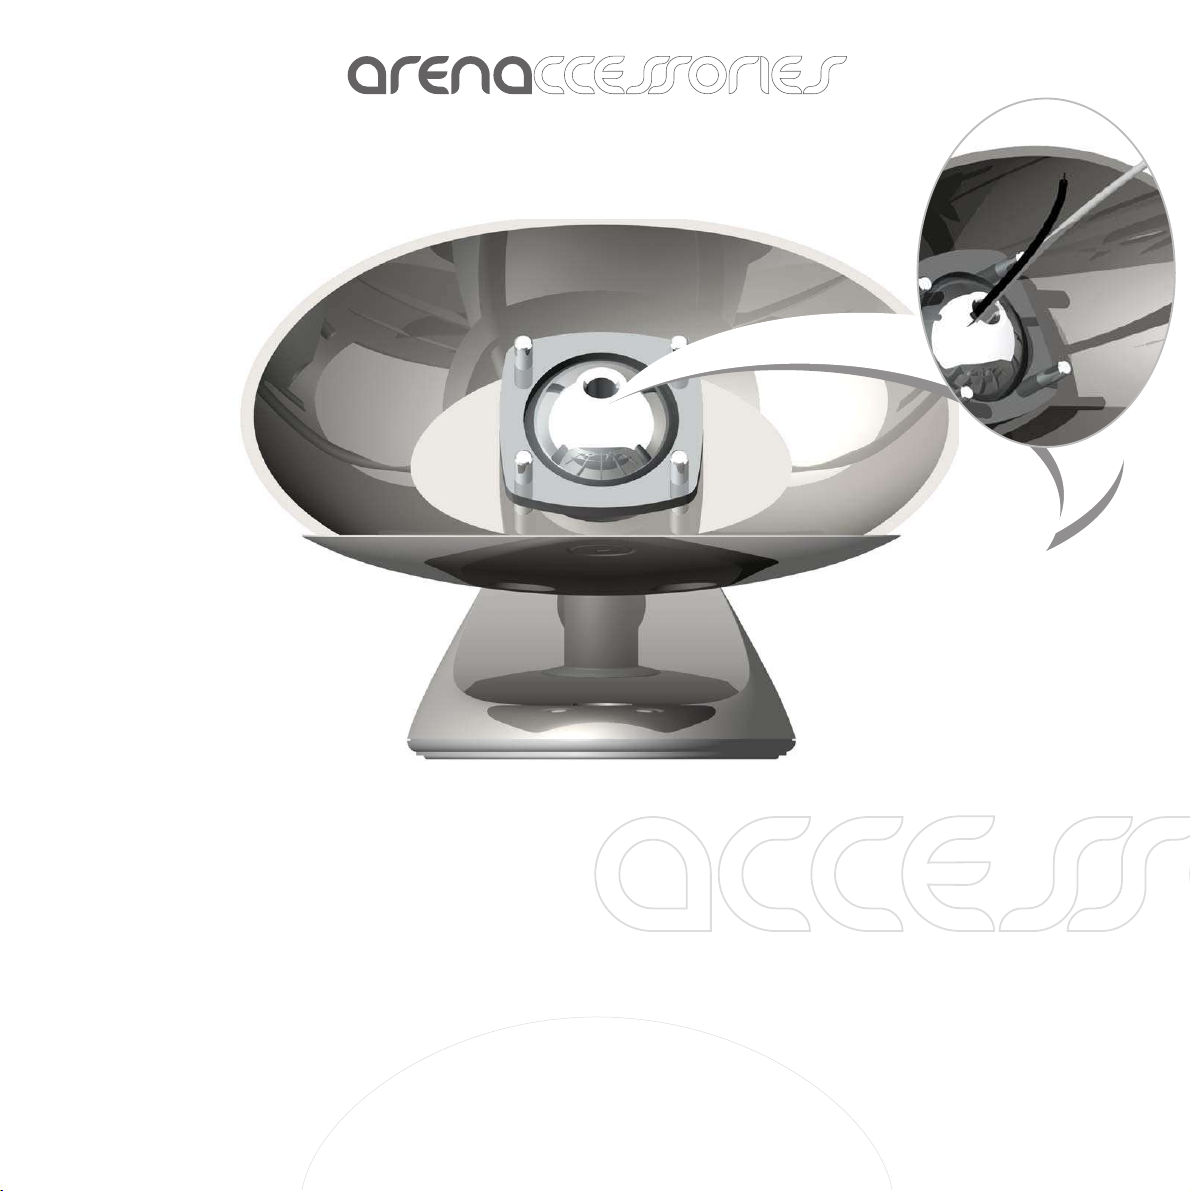
Step one: Satellite fixing bracket
Step two: Cable management – table
stand application
Ensure that the audio system amplifier is switched
off and then feed the speaker cable up through the
base and ball joint of the stand. Prepare the speaker
cable by stripping 6mm (1/4 inch) of insulation and
connect to the relevant terminal on the base of the
centre speaker unit.
Cable management routing through ball joint
The positive conductor (marked with line, text print
or raised rib) connects to the terminal with the red
insert ring while the negative cable goes to the
terminal marked with the black insert.
4
 Loading...