

Symmons Naru 413RH, Naru 413TB-18, Naru 413TB-24, Naru 413TP, Naru 413TRR Operation & Maintenance Manual
...Page 1
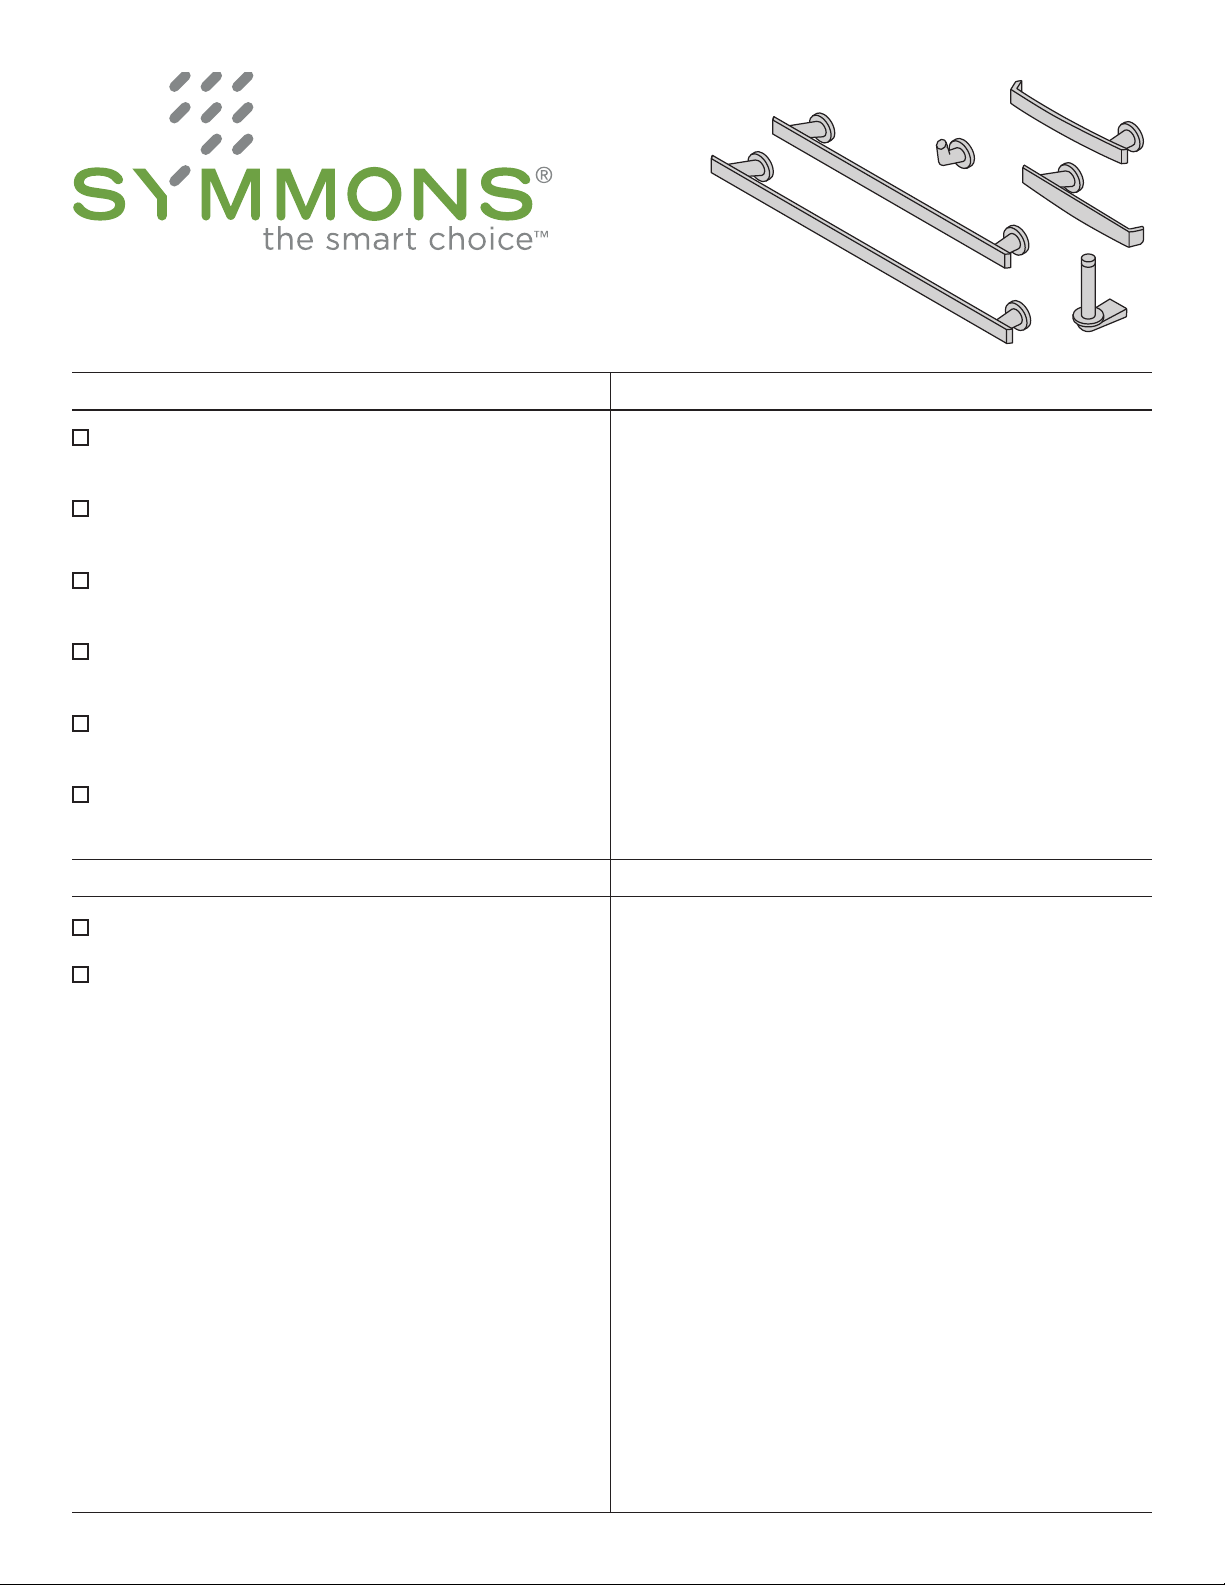
413RH, 413TB-18, 413TB-24, 413TP, 413TRR, 413TRL
Naru
®
Accessories
Operation & Maintenance Manual
Model Numbers Specifications
413RH Robe Hook
413TB-18 18" Towel Bar
413TB-24 24" Towel Bar
413TP Toilet Paper Holder
413TRR Right Mount Towel Ring
413TRL Left Mount Towel Ring
All premium accessories made from metal construction,
plated in standard polished chrome nish.
Modifications Warranty
-PNL Polished nickel finish
-STN Satin nickel finish
Limited Lifetime - to the original end purchaser in
consumer installations.
5 Years - for commercial installations.
Note: Append appropriate -sufx to model number.
1
Refer to www.symmons.com/warranty for complete
warranty information.
Page 2
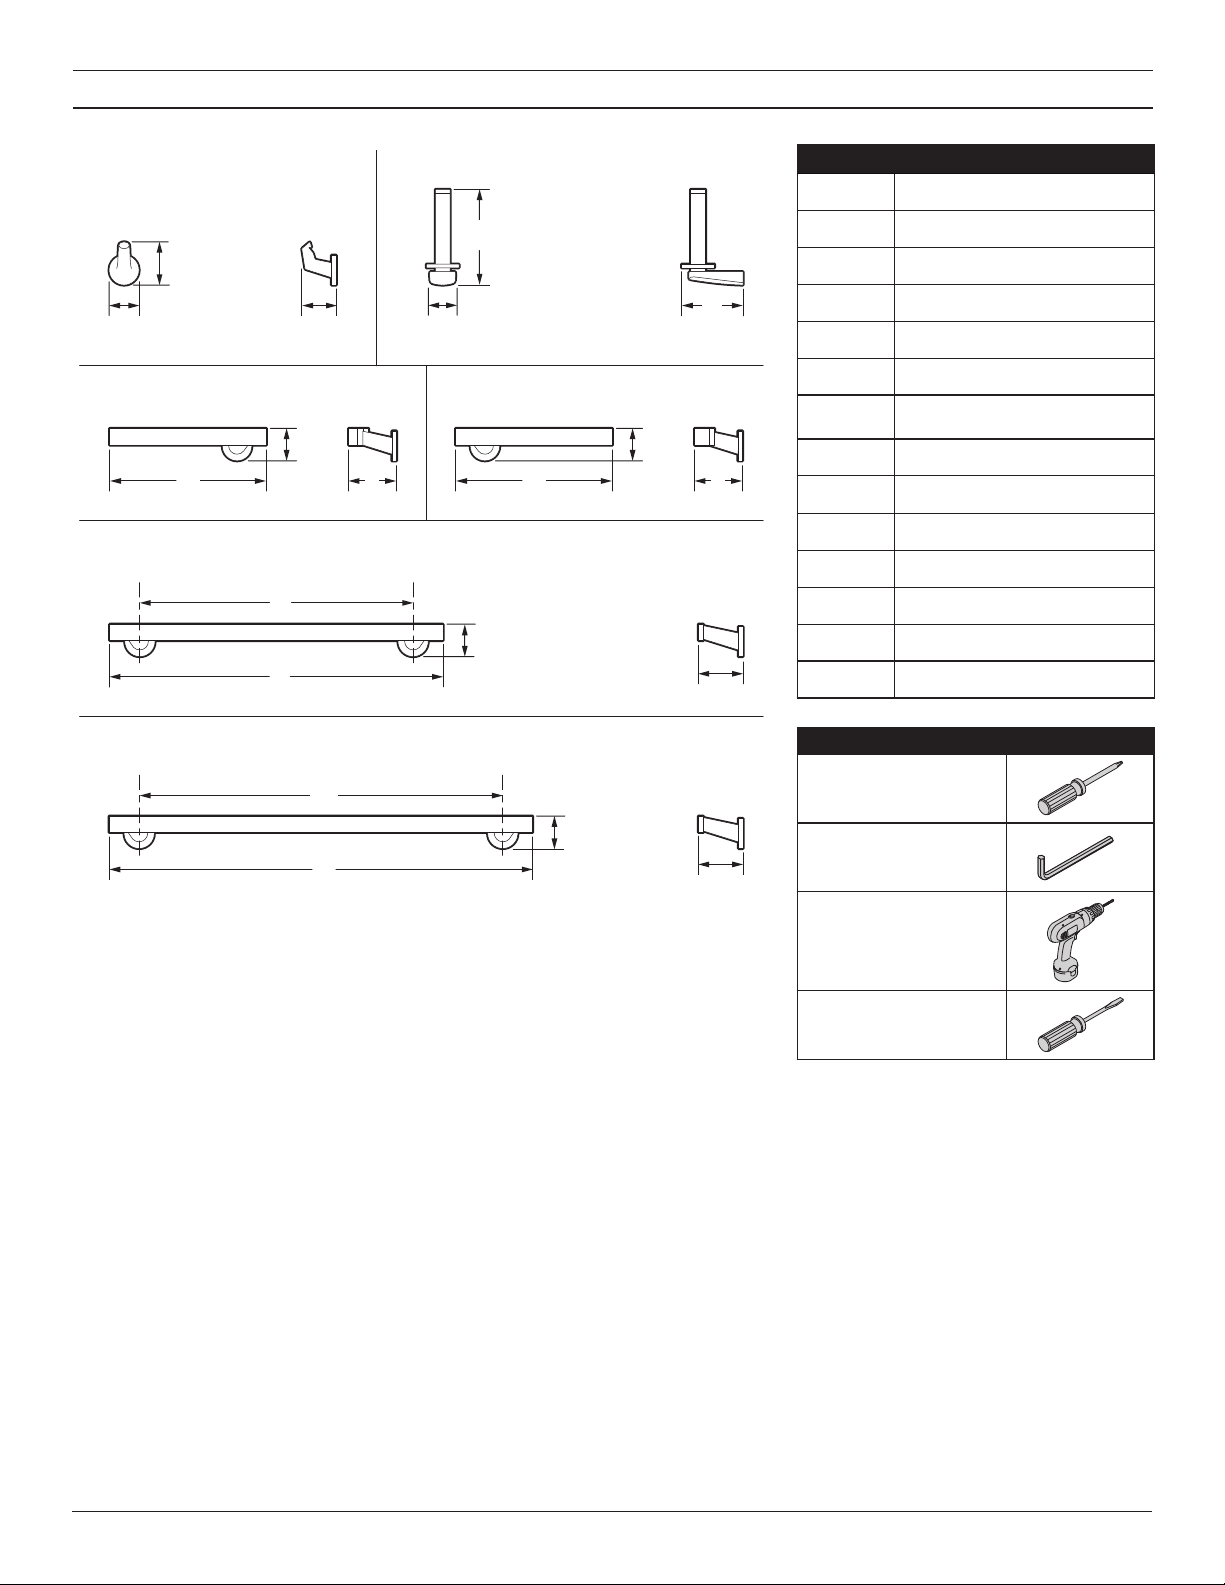
Dimensions
413RH
A
A
B
B EE
413TRR
C
C
H
H
GG II
413TB-18
J
J
K
K
413TP
413TRL
DD
GG II
HH
Measurements
A 2 7/8", 73 mm
B 2", 51 mm
C 2 1/4", 57 mm
F
F
H
H
L
L
D 6 3/8", 162 mm
E 1 3/4", 44 mm
F 4 1/8", 105 mm
G 10 1/2", 267 mm
H 2 1/8", 54 mm
I 3 1/8", 79 mm
J 18", 457 mm
K 22", 559 mm
L 2 15/16", 75 mm
M 24", 610 mm
N 28", 711 mm
413TB-24
M
M
N
N
Required for Installation
Phillips head
screwdriver
H
H
L
L
Allen wrench
(2mm)
Power drill
Flathead screwdriver
Note: Dimensions are subject to change without notice.
2
Page 3

Installation
2
2
1) Measure and mark centerlines
for mounting bracket installation
using dimensions on page 2.
Notes: 413TB-18 and 413TB-24 only.
Make sure both centerline
level.
2a)
Dry Wall Option: Place
mounting brackets into desired
position. Using brackets as a
guide, carefully drill 5/16” holes
into wall.
marks are
2b) Stud Option:
brackets into desired position.
Using brackets as a guide,
carefully drill 3/16" holes
into wall.
Note: For 413TP go to step 6b.
3) With mounting brackets in
position, secure to wall using
screws.
Place mounting
4) Hang top of accessory on
mounting bracket. Lower into
position.
1
2
5) Secure with set screw.
1
3
3
2
Note: For plaster walls 1/2” thick or
less, insert toggle tool into toggle
anchor to secure behind wall prior to
installing accessory trim.
1
1
3
Page 4

Installation
2
3
6a)
413TP Dry Wall Option:
mounting brackets into desired
position. Using brackets as a
guide, mark holes. Screw
self-drilling anchors into wall.
Place
6b) 413TP Stud Option:
Place
mounting brackets into desired
position. Using brackets as a
guide, carefully drill 3/16" holes
into wall.
7) With mounting brackets in
position, secure to wall using
screws.
1
3
4
1
2
8) Slide accessory into position on
bracket and secure with set screw.
1
Care and Cleaning
1) Clean nished trim area with a soft cloth using mild soap and water or a non-abrasive cleaner and then quickly rinse
with water.
WARNING: This product can expose you to chemicals including lead, which is known to the state of California to cause cancer, birth defects,
or other reproductive harm. For more information, go to www.P65Warnings.ca.gov.
Symmons Industries, Inc. ■ 31 Brooks Drive ■ Braintree, MA 02184 ■ (800)796-6667 ■ Fax: (800)961-9621
4
Copyright © 2019 Symmons Industries, Inc.■ symmons.com ■ gethelp@symmons.com ■ ZV-3091 REV A 060619
 Loading...