

Page 1
swisherinc.com
OWNER’S
MANUAL
MODEL NO.
WB80024
WB80024S
WB8524
Read and follow all Safety
Rules and Instructions
before operating this
equipment.
Rev. 02.14.02
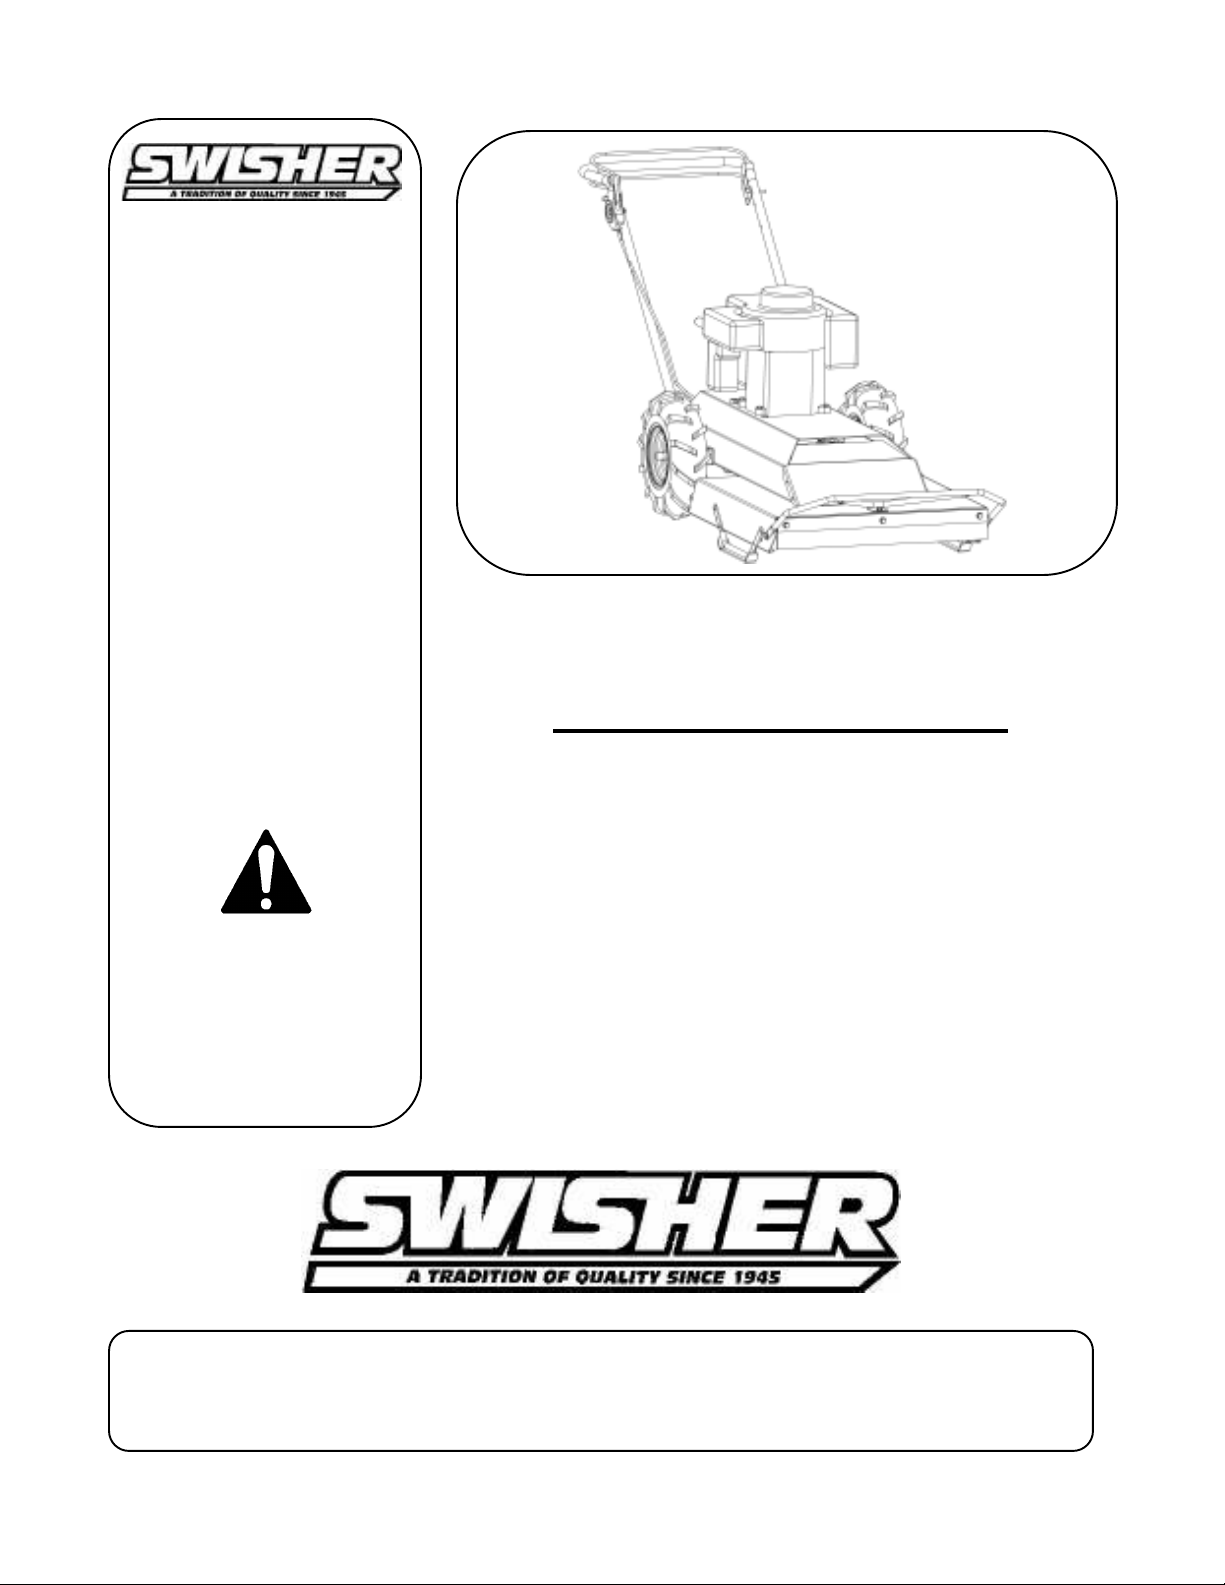
THE PREDATOR
THE PREDATOR
THE PREDATORTHE PREDATOR
24” ROUGH CUT
24” ROUGH CUT
24” ROUGH CUT 24” ROUGH CUT
WALK BEHIND CUTTER
WALK BEHIND CUTTER
WALK BEHIND CUTTERWALK BEHIND CUTTER
Assembly
Operation
Service and Adjustment
Repair Parts
1602 CORPORATE DRIVE, P.O. BOX 67, WARRENSBURG, MISSOURI 64093
PHONE (660) 747-8183 FAX (660) 747-8650
Manufacturing quality lawn care equipment since 1945
ONWB824
Made In The
USA
Page 2

LIMITED WARRANTY
Excluded from this warranty are normal wear, normal adjustments,
this warranty, you must return the product to an authorized
service dealer. All transportation charges, damage, or loss incurred during transportation of parts
d
8183.
The model number, serial number, date of purchase, and the name of the authorized Swisher
warranty claim can be
THIS WARRANTY DOES NOT APPLY TO ANY INCIDENTAL OR CONSEQUENTIAL
DAMAGES AND ANY IMPLIED WARRANTIES ARE LIMITED TO THE SAME TIME
PERIODS STATED HEREIN FOR ALL EXPRESSED WARRANTIES. Some states do not
f consequential damages or limitations on how long an implied warranty
may last, so the above limitations or exclusions may not apply to you. This warranty gives you
is a
The manufacturer’s warranty to the original consumer purchaser is: This product is free from
defects in materials and workmanship for a period of one (1) year from the date of purchase by
the original consumer purchaser. We will repair or replace, at our discretion, parts found to be
defective due to materials or workmanship. This warranty is subject to the following limitations
and exclusions:
1) Engine Warranty All engines utilized on our products have a separate warranty
extended to them by the individual engine manufacturer. Any
engine service difficulty is the responsibility of the engine
manufacturer and in no way is Swisher Mower Co., Inc. or its
agents responsible for the engine warranty. The Briggs & Stratton
Engine Service Hot-Line is 1-800-233-3723. The Tecumseh
Engine Service Hot-Line is 1-800-558-5402.
2) Commercial Use The warranty period for any product used for commercial or rental
is limited to ninety (90) days from the date of original purchase.
3) Limitations This warranty applies only to products which have been properly
assembled, adjusted, and operated in accordance with the
instructions contained within this manual. This warranty does not
apply to any product of Swisher Mower Co., Inc., that has been
subject to alteration, misuse, abuse, improper assembly or
installation, shipping damage, or to normal wear of the product.
4) Exclusions
and normal maintenance.
In the event you have a claim under
submitted for replacement or repair under this warranty shall be borne by the purchaser. Shoul
you have any questions concerning this warranty, please contact us toll-free at 1-800-222-
dealer from whom you purchased the mower will be needed before any
processed.
allow the limitation o
specific legal rights and you may have other rights, which vary from state-to-state. This
limited warranty as defined by the Magnuson-Moss Act of 1975.
Page 3

SAFETY PRECAUTIONS AND DECALS
manual. When you see this symbol, carefully read the message that
This Safety Alert Symbol indicates important messages in this
follows and be alert to the possibility of personal injury.
Read this manual completely. This machine is capable of amputating hands and
feet, and throwing objects. Failure to observe the following safety instructions could
result in serious injury or death.
• Read the manual. Learn to operate this machine safely.
• Always disconnect the spark plug wire and place the wire where it cannot contact
the spark plug, to prevent accidentally starting the engine when setting up,
transporting, adjusting or making repairs.
• Keep all shields and guards in place.
• Understand the speed, steering and stability of this machine. Know the positions
and operations of all controls before you operate this machine. Check all of the
controls in a safe area before starting to work with this machine.
• Allow only responsible adults who are familiar with these instructions to operate
this machine. Never allow children to operate this machine.
• Clear the area of objects such as rocks, toys, wire, etc. that can be picked up and
thrown by the blade.
• Be sure the area is clear of other people before mowing. Be aware of the mower
discharge direction and do not point at anyone. Stop the machine if anyone enters
the mowing area. Children are often attracted to the machine and the mowing
activity. Never assume that children will remain where you last saw them.
Keep children under the watchful care of another responsible adult.
• No riders!
• Do not put hands or feet near or under rotating parts. Keep clear of the discharge
opening at all times.
• Do not mow in reverse. Always look down and behind before and while backing.
Page 4

•
Turn off the blades when not mowing. Before leaving the machine, turn off the
blades and stop the engine.
• Watch for traffic when operating near or crossing roadways.
• Do not operate the mower if it has been dropped or damaged in any manner or if
the mower vibrates excessively. Excessive vibration is an indication of damage.
Repair mower as necessary.
• Dress properly. Do not operate the mower when barefoot or wearing open
sandals. Wear only solid shoes with good traction when mowing.
• Do not operate the machine while under the influence of alcohol or drugs.
• Operate self-propelled machines up and down slopes. There is significant risk of
overturns when operating across slopes. Operate walk-behind machines across
slopes. There is a significant risk of slipping under a walk-behind machine when
operating up and down slopes.
• Never tamper with safety devices. Check their proper operation regularly.
• Stop and inspect the equipment if you strike an object. Repair, if necessary,
before restarting.
• Never make adjustments or repairs with the engine running.
• Mower blades are sharp and can cut. Wrap the blades or wear gloves, and use
extra caution when servicing them.
Page 5
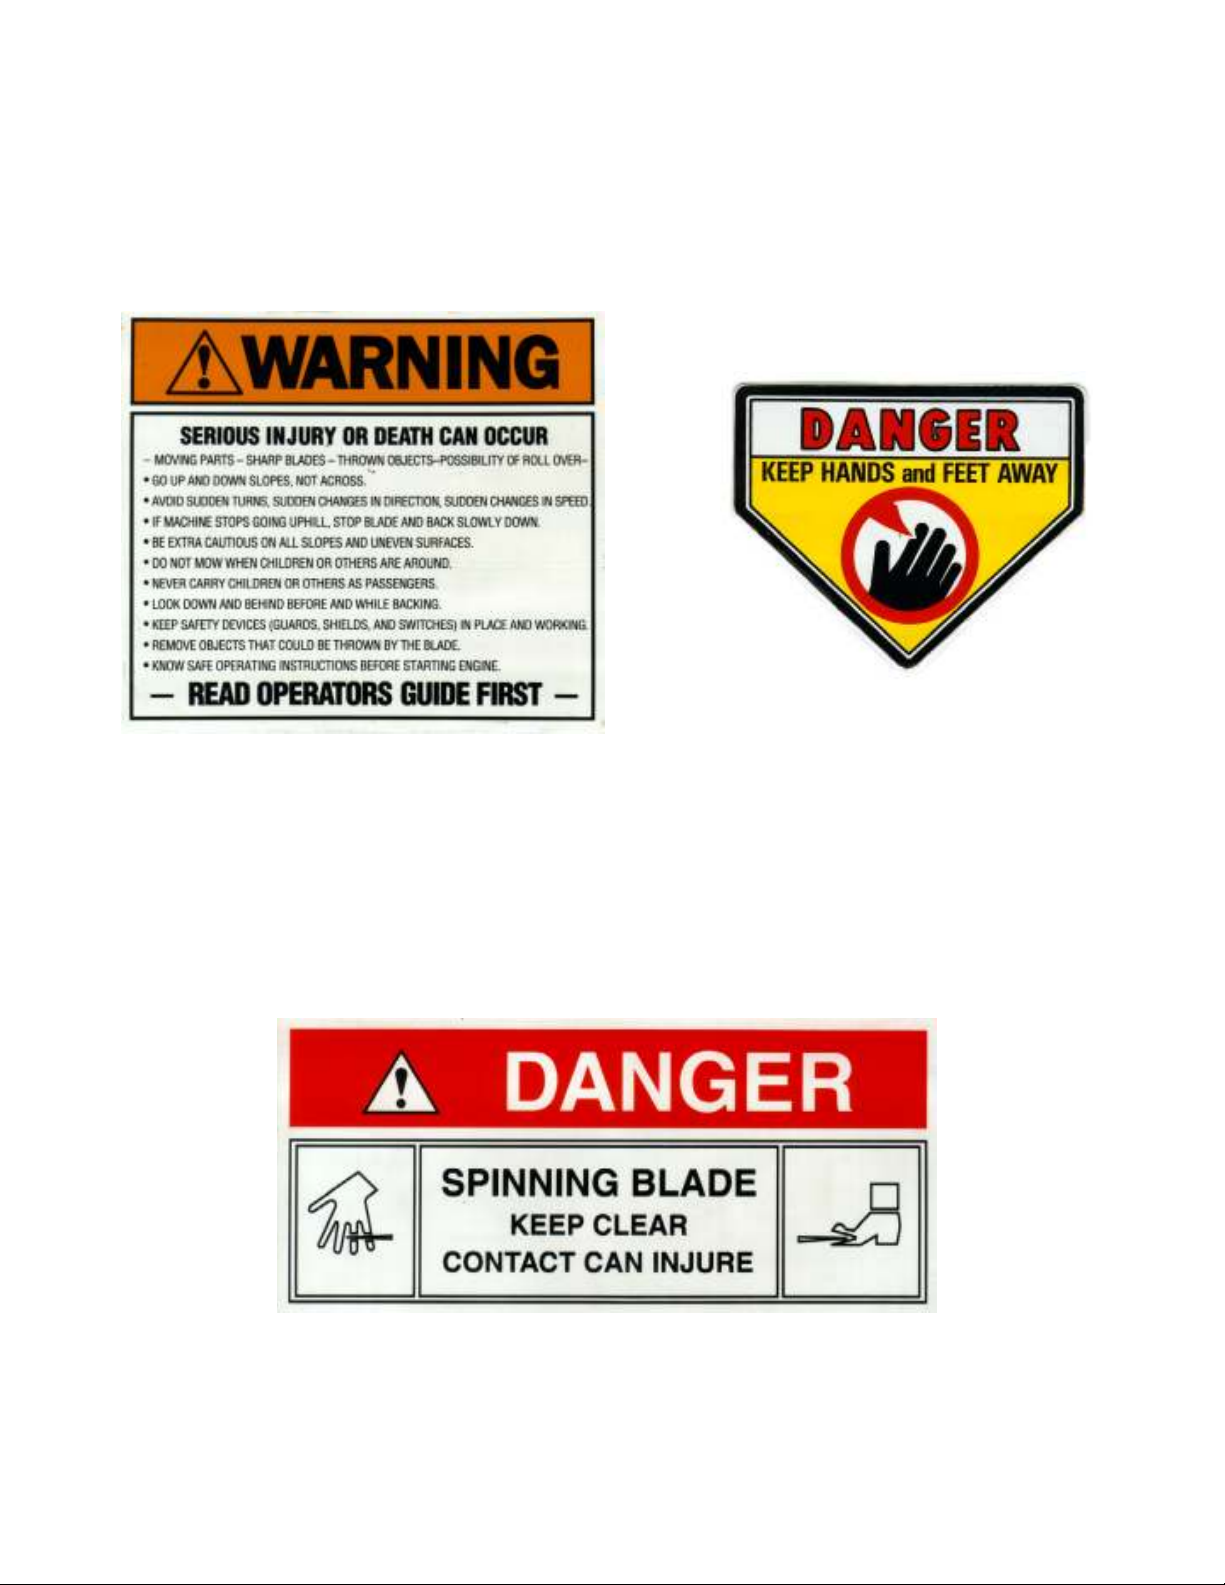
SAFETY PRECAUTIONS AND DECALS
Replace decal immediately if damaged. Order by part number from Swisher Mower and Machine Co. Inc.
D55 – DANGER DECAL
OD45 – WARNING DECAL
D29 – SPINNING BLADE DECAL
Page 6

OPERATING YOUR NEW CUTTER
The operation of any cutter can produce foreign objects to be thrown into the eyes,
resulting in severe eye damage. Always wear certified safety glasses or widevision safety goggles before starting any cutting machine and while operating such
a machine.
The operation of any cutter produces sound waves that are damaging to the
human ear. Ear protection is recommended.
CAUTION!
Tragic accidents can occur if the operator is not alert to the presence of
children. Children are often attracted to the machine and the mowing
activity.
Never assume that children will remain where you last saw them.
INTENDED USE
This is not a lawn mower. The Predator is designed for cutting overgrown brush, weeds,
and other types of organic growth. This unit is capable of clearing small saplings of 11/2” in diameter or less.
PROPULSION
The Predator is self-propelled, and is controlled by a “GROUND CONTROL” bail. To
engage the drive, put the transaxle in a gear and activate the lower bail. Releasing the
bail will disengage the self-propel.
Under most conditions cutting should be done in a low gear (1
should be used for conditions where weeds and brush are thinned out or not as tall. In
confined areas the machine can be pushed forwards or backwards by releasing the
“GROUND CONTROL” bail, placing the transaxle in neutral, and pushing the machine.
TRAVEL SPEED
lever at the rear of the machine or by changing the engine speed with the engine throttle.
Do not adjust speed with blades engaged. To shift the cutter into reverse, release
“GROUND CONTROL” bail, disengage blade, and rotate the shift lever to the left.
When the lever stops lift up and continue to turn it to the left until it stops again.
will not engage while cutter is in the “reverse” gear.
can be varied by choosing a higher or lower gear using the gearshift
st
or 2nd). Upper gears
Blade
Page 7

BLADE ENGAGE
An “OPERATOR PRESENCE” bail and a “BLADE ENGAGE” lever control engaging
the Predator’s blade. Both devices must be activated before the blade will work.
Releasing the “OPERATOR PRESENCE” bail will disengage both the blade and the
“BLADE ENGAGE” lever.
STARTING THE ENGINE
• See engine manufacturer’s instructions for the type and amount of oil and fuel
used. Engine must be level to accurately check and fill oil.
• Make sure unit is level, blades disengaged, and transaxle in “NEUTRAL”.
• Check spark plug wire, oil, and fuel.
• Turn key switch to the “ON” position.
• Set engine idle to the “CHOKE” position.
• With feet clear of cutter deck, pull engine coil rope. Do not pull rope recklessly.
• Set engine speed by moving “CHOKE” to the desired RPM.
STOPPING
• Bring cutter to a complete stop.
• Disengage the blade.
• Place transaxle in the “NEUTRAL” position.
• Turn key to “OFF” position.
• Remove keys to avoid irresponsible usage.
CUTTER HEIGHT ADJUSTMENT
• There are two height settings.
• Place two 6” wooden blocks under the deck on the side being adjusted.
• Remove nuts and bolts from the side runner.
• Slide runner to the other position.
Replace the nuts and bolts making certain they are secure.
•
• Repeat to other side. Runners should be at the same height.
BREAKING IN YOUR CUTTER
• Start engine properly.
• Slowly, engage blade control.
• Under supervision, allow blades to rotate and engine to idle for 5 minutes.
• Disengage blades.
• Shift through each gear. While in each gear engage the “GROUND CONTROL”
and travel 20 yards to ensure transaxle works properly.
CAUTION!
Disconnect spark
plug wire and place
the wire where it
cannot connect the
spark plug before
servicing unit.
Page 8

BEGIN CUTTING
• Make sure area is clear of all bystanders.
• Make sure that all guards, belt guides, and the spark plug wire are properly
attached.
• Start engine, setting desired engine speed.
• Slowly, engage blade.
• Move transaxle into low gear and activate “GROUND CONTROL” bail.
• Turning is done by rotating the handles left or right. This machine has significant
weight and may take more effort to turn than one may expect. Turning could take
practice.
CAUTION!
Chock wheels
when parking
on a hillside.
BACKING UP
• Disengage blade.
• Check safety behind you.
• Move transaxle into “REVERSE” position.
• Activate “GROUND CONTROL” bail.
TRANSPORTING
• Disengage blade.
• Shut off engine and remove keys.
• Using 3 persons to lift cutter is recommended.
• Secure in place while unit is being transported.
• Unit should be left in low gear to avoid any slight rolling.
SUGGESTED PRACTICES
• Always operate engine at full throttle when cutting to assure the best cutting
performance and proper discharge of material.
• If grass is wet, allow it to dry out. Wet grass clumps will collect on the bottom of
the deck.
• Go Slow when cutting dense areas. Some dense areas may need to be gone over
twice. Better results occur if the second cut is 90 degrees to the first cut.
Page 9

OVERALL ASSEMBLY
Some parts are grouped together in the
REPLACEMENT PARTS list (i.e. nuts, bolts,
washers, etc.)
Page 10

BLADE IDLER(2455) & BRAKE CONFIGURATION(2462
TRANSMISSION IDLER CONFIGURATION
Page 11

ENGINE-PULLEY CONFIGURATION
BLADE
CONFIGURATION
BELT
CONFIGURATION
WIRING
CONFIGURATION
Page 12

REPLACEMENT PARTS
ITEM NO. PART NO. DESCRIPTION
1 SEE DETAIL ENGINE PULLEY CONFIGURATION
2 2450* MOTOR BASE WELDMENT
2451* ADJUSTABLE BELT GUIDE
3 2418* FRONT GUARD
NB310 1/4-20 X 1/2 SSC BOLT
5 2448TK BRUSH GUARD
6 NB596 5/16-18 X 3/4 FLANGE BOLT
7 NB503 5/16-18 X 1 3/4 BOLT
8 2449* DECK WELDMENT
9 2406 RUBBER DEBRIS GUARD
10 2424TK RUBBER FLAP STRAP
11 2453* REAR COVER ASSEMBLY
2452* REAR COVER WELDMENT
2417* REAR COVER LATCH
2069 EXTENSION SPRING
NB501 5/16-18 X 1 BOLT
NB170 5/16-18 NUT
B99S SPACER
2077 YELLOW PLASTIC GRIP
12 SEE DETAIL BLADE CONFIGURATION
BA50 BA 50 BELT
13 SEE DETAIL BLADE IDLER…CONFIG.
14 2410 TRANSAXLE PULLEY
NB192 SET SCREW
2414 TRANSAXLE BELT
15 2447TK SKID RUNNER
17 2401L / 2401R POWER TRAX TIRE/WHEEL (SHOWN)
2415 SNOW HOG TIRE/WHEEL
18 2412 PEERLESS TRANSAXLE
19 2422TK SAFETY SWITCH MOUNT
NB250 1/4-20 X 3/4 BOLT
20 2456 GEARSHIFT LEVER
2427 GEARSHIFT GRIP
2423* GEARSHIFT MOUNT
NB596 5/16-18 X 3/4 FLANGE BOLT
NB503 5/16-18 X 1 3/4 BOLT
NB620 1/4-28 X 3/4 BOLT
21 2402TK HANDLE
22 2429TK BLADE ENGAGE BAIL
23 2458TK GROUND CONTROL BAIL
2432 TRANSAXLE CABLE
24 2431 BLADE LATCH & CABLE ASSY
NB278 1/4-20 X 1 3/4 BOLT
Page 13

ITEM NO. PART NO. DESCRIPTION
NB180 1/4-20 NYLOC NUT
25 T30F FINGER BELT GUIDE
26 NB213Z 1/2-13 NUT
27 NB566 3/8-16 NUT
28 NB107 3/8-16 X 1 1/2 BOLT
29 NB182 3/8-16 NYLOC NUT
30 T30V V-BELT IDLER PULLEY
31 NB275 5/16 SAE WASHER
32 B527 4" IDLER PULLEY
33 NB164 3/8-16 X 3 BOLT
34 BP370S BRAKE SPRING CLIP
35 9039 BRAKE PAD
36 BT297 BRAKE SPRING
37 2454TK BLADE IDLER WELDMENT
38 NB131 1/2-13 X 3 BOLT
39 2460TK TRANSAXLE IDLER WELDMENT
40 B27 FLAT SIDE IDLER PULLEY
41 2462 SEE …BRAKE ASSY DETAIL
43 9092 SAFETY SWITCH
44 NB621 E-CLIPS
45 NB524 1/4-20 FLANGE NUT
NB154Z 1/4-20 X 3/4 BOLT
46 2434 3/16 X 1 1/2 KEYSTOCK
47 T2SM SPRING
48 NB517 5/16-18 X 1 3/4 CARRIAGE BOLT
49 BB105S ENGINE PULLEY SPACER
50 2437 1/4 X 1 1/2 KEYSTOCK
51 BB105 LOWER ENGINE PULLEY
52 699 BELLEVILLE WASHER
53 NB166 3/8-24 X 1 1/4 BOLT
54 2411 UPPER ENGINE PULLEY
55 2413 BELT GUIDE
56 NB175 3/4-16 JAM NUT
57 6114 BLADE DRIVE PULLEY
58 NB179 THIN WASHER
59 6104RS PULLEY SPACER
60 9078 BLADE SHAFT
61 9091TK STRONG BEARING HOUSING
62 B98 SEALED BEARING
63 NB179 THIN WASHER
64 NB216 3/8-24 CENTER LOCK NUT
65 9008 BLADE MOUNT PLATE
66 90916 24" TOUGH BLADE
67 NB166 3/8-24 X 1 1/4 BOLT
68 NB607 BELLEVILLE WASHER SERRATED
69 NB238 3/8-24 X 1 BOLT
Page 14

swisherinc.com
OWNER’S
MANUAL
MODEL NO.
PREDATOR
24” WALK BEHIND
Each cutter has its own model number. Each engine has its
own model number. The model number for the cutter will be
found on the right hand side of the drive belt housing. The
model number for the engine will be found on the top of the
blower fan housing.
All cutter parts listed herein may be ordered directly from
Swisher Mower & Machine Co. Inc. or your nearest Swisher
dealer.
All engine parts may be ordered from the nearest dealer of the
engine supplied with your cutter
.
WB80024
WB80024S
WB8524
WHEN ORDERING PARTS, PLEASE HAVE THE
FOLLOWING INFORMATION AVAILABLE:
* PRODUCT – WALK BEHIND PREDATOR
* SERIAL NUMBER - _______________
* MODEL NUMBER - _______________
* ENGINE MODEL NUMBER - _______________
TYPE - _______________
* PART NUMBER
* PART DESCRIPTION
TELEPHONE - 1-800-222-8183
FAX - 1-660-747-8650
SWISHER MOWER & MACHINE CO. INC.
1602 CORPORATE DRIVE P.O. BOX 67
WARRENSBURG, MO 64093
SWISHER MOWER & MACHINE CO. INC.
 Loading...