

Page 1

H
H
2
2
0--
0
X
X
2
2
0
0
“
“
E
E
D
D
G
G
E
E
”
”
S
S
E
E
RII
R
E
E
S
S
These instructions are updated on a regular basis. Please visit our web site at www.swiftech.com
Copyright Swiftech 2010 – All rights reserved – Last revision date: 8-17-10 - Information subject to change without notice – URL: http://www.swiftech.com
Rouchon Industries, Inc., dba Swiftech – 151 West Victoria Street, Long Beach, CA 90805 – Tel. 310-763-0336 – Fax 310-763-7095 - E Mail: help@swiftech.com 1 of 16
Page 2

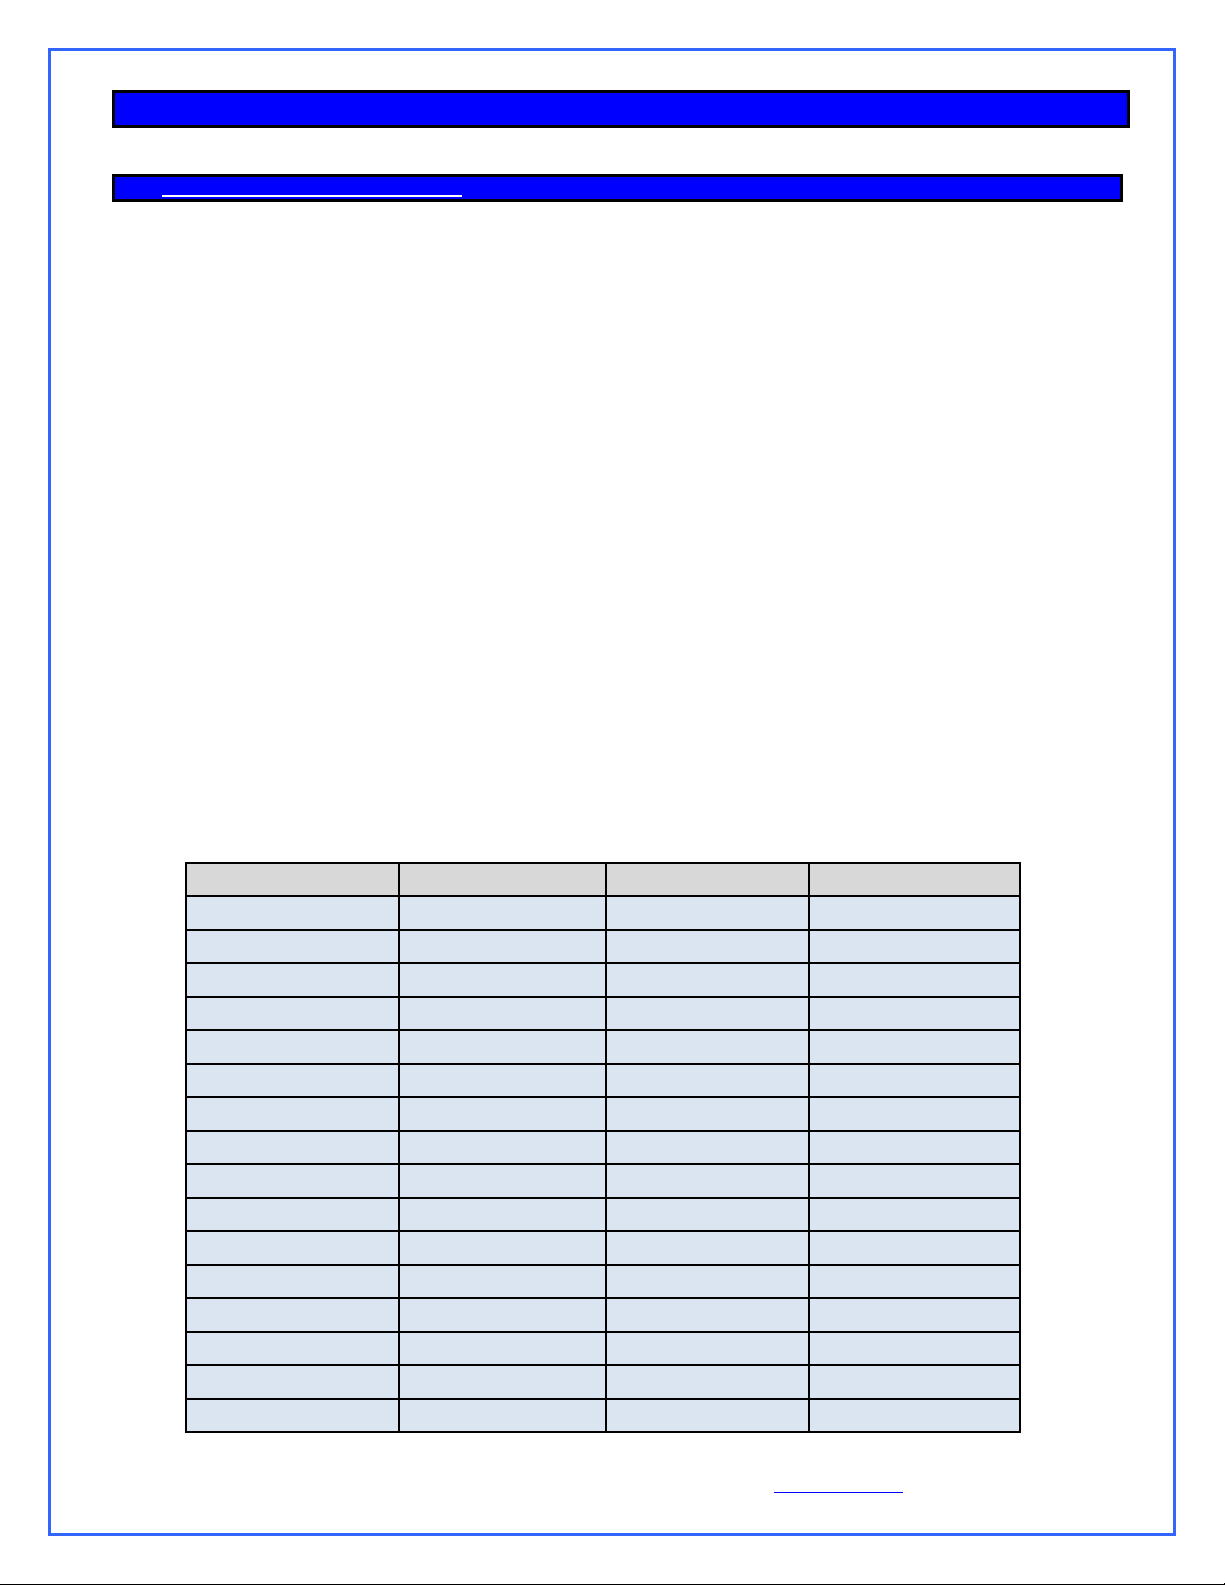
Packing List
QTY
ITEM
1
APOGEE™ XTL water-block, including socket 1366, socket 1156 and socket 775 hold-down plates for all
Intel Core® desktop microprocessors, (2) ½” chrome plated hose barb fittings, (2) hose clamps, and
Arctic Céramique thermal compound
Important note: Free Upgrade available (see terms and conditions) for AMD® socket 754, 939, and AM2,
as well as Intel® socket 771 (Xeon series) Server form factor
1
MCR220-DRIVE Radiator-pump assembly, including (2) pre-installed 120mm fans with fan guards, (2)
½” chrome plated hose barb fittings, (2) 12v to 7v adapters, (2) 12v to 5v 3-pin to 4-pin Molex adapters,
and (2) hose clamps.
OR (depending on model)
MCR320-DRIVE Radiator-pump assembly, including (3) pre-installed 120mm fans with fan guards, (2)
½” chrome plated hose barb fittings, (3) 12v to 7v adapters, (3) 12v to 5v 3-pin to 4-pin Molex adapters,
and (2) hose clamps.
1
MCB-120 Radbox, with mounting hardware & 3/8” PCI pass thru bracket
1
Grommet and cap for optional fill-port case mod.
1
Set of (4) corner braces and screws for alternate radiator mount #1
1
Set of short (6-32 x 3/8”) radiator installation screws and snap-rivets, for alternate radiator mount #2
6
Feet 1/2” industrial grade PVC tubing
1
2 Oz. Bottle of HydrX concentrated coolant and funnel
TOLL FREE (Continental US only)
1-888-85SWIFT (1-888-857-9438)
Mailing Address
Swiftech
151 West Victoria St.
Long beach, CA 90803
USA
Telephone
310-763-0336
Fax
310-763-7095
Warning!
The Apogee™ XTL water-block included with your kit is compatible with all the most popular
processors available on the market. In an effort to cut on waste however, some of the less popular
mounting mechanisms have not been physically included in the kit and are available for free on
demand. They are:
Hold-down plate for Intel® legacy server platforms (socket 771, Xeon)
Hold-down plate for AMD® socket 754, 939, F and AM2/AM3
If you own one of the above platforms, all you have to do is contact customer support and the part
will be shipped to you at no charge by express mail or equivalent. The following terms and
conditions apply:
Worldwide except EEC and Australia:
Please email within 90 days of your date of purchase (proof of purchase required), call, write or Fax
to Swiftech customer service at:
EEC: Please email rma@bacata.net within 90 days of your date of purchase (proof of purchase
required)
Australia: Please email pat@mittoni.com.au within 90 days of your date of purchase (proof of
Copyright Swiftech 2010 – All rights reserved – Last revision date: 8-17-10 - Information subject to change without notice – URL: http://www.swiftech.com
Rouchon Industries, Inc., dba Swiftech – 151 West Victoria Street, Long Beach, CA 90805 – Tel. 310-763-0336 – Fax 310-763-7095 - E Mail: help@swiftech.com 2 of 16
purchase required)
Page 3

TTAABBLLEE OOFF CCOONNTTEENNTTSS
I. PLANNING ................................................................................................................................................. 4
II. INSTALLATION OF THE COOLING COMPONENTS .............................................................................. 5
1. MCR-Drive Radiator-pump installation .................................................................................................... 5
A. Installation configuration table ....................................................................................................................6
B. External installation with Radbox ...............................................................................................................8
C. Internal installation .................................................................................................................................. 10
a. Air Flow Strategies ............................................................................................................................. 10
b. Fastening the radiator to the case: 3 different Strategies ................................................................. 10
c. Optional external panel fill-port (horizontal installations only) ........................................................... 12
2. Apogee™ XTL waterblock installation ................................................................................................... 12
3. Connecting the tubes between MCR Drive and Apogee™ waterblock ............................................... 12
4. Electrical Installation ................................................................................................................................ 12
A. Adjustable Pump Speed .......................................................................................................................... 12
B. Adjustable Fan speed .............................................................................................................................. 13
C. Electrical Installation diagrams ................................................................................................................ 13
5. Preparing the coolant ............................................................................................................................... 15
6. Completing the installation ..................................................................................................................... 15
7. Filling-up the loop .................................................................................................................................... 15
8. Troubleshooting ....................................................................................................................................... 16
9. Draining the system ................................................................................................................................. 16
10. Periodic Maintenance ............................................................................................................................... 16
11. Optional Components .............................................................................................................................. 16
Copyright Swiftech 2010 – All rights reserved – Last revision date: 8-17-10 - Information subject to change without notice – URL: http://www.swiftech.com
Rouchon Industries, Inc., dba Swiftech – 151 West Victoria Street, Long Beach, CA 90805 – Tel. 310-763-0336 – Fax 310-763-7095 - E Mail: help@swiftech.com 3 of 16
Page 4

INTRODUCTION
DISCLAIMER
While all efforts have been made to provide the most comprehensive tutorial possible, Swiftech assumes no liability expressed or implied for
any damage(s) occurring to your components as a result of using Swiftech cooling products, either due to mistake or omission on our part in
the above instructions, or due to failure or defect in the Swiftech™ cooling products.
In addition, Swiftech assumes no liability, expressed or implied, for the use of this product, and more specifically for any, and all damages
caused by the use of this product to any other device in a personal computer, whether due to product failure, leak, and electrical short, and or
electro-magnetic emissions.
WARRANTY
Our products are guaranteed for 12 months from the date of delivery to the final user against defects in materials or workmanship. During this
period, they will be repaired or have parts replaced provided that: (I) the product is returned to the agent from which it was purchased; (II) the
product has been purchased by the end user and not used for hire purposes; (III) the product has not been misused, handled carelessly, or
other than in accordance with any instructions provided with respect to its use. This guarantee does not confer rights other than those expressly
set out above and does not cover any claims for consequential loss or damage. This guarantee is offered as an extra benefit and does not
affect your statutory rights as a consumer.
IMPORTANT WARNINGS:
1. Never run your pump dry, even for testing purposes, this will cause permanent damage and void your warranty.
2. Always check that the screws used to fasten the fan to the radiator do not exceed the recommend length, or they will puncture the radiator
channels. Radiators damaged due such punctures are not covered by the warranty.
Congratulations on your purchase of a Swiftech™ H20-EDGE liquid cooling system!
This kit has been designed to facilitate the installation of the components with either a minimum or no case
modifications at all. While all attempts have been made to make the installation of this system user friendly, please
note that this system is intended for users that are well versed in installing computer components.
I. Planning
In order to facilitate the setup of your kit, an installation CD is included containing detailed 3D models that
illustrate 2 dozens of possible configurations with various types of chassis. Please take example on the
included 3D models for the installation of your new water-cooling system, as they accurately reflect
common and efficient configurations. A free 3-D viewer is included with the CD.
General considerations
Please read this guide carefully and entirely before you start this installation. Plan your installation ahead. Observe the
relative position of the components for possible interference with other components.
Never work with electricity connected to the computer while work is in progress.
Depending on your chassis, it might be necessary to drill or cut some holes in the computer panels; it is strongly
recommended that you remove all the components from the chassis prior to perform any modifications in order to avoid
possible contamination of the electronic components with metal shavings.
After the metal work has been completed if any, carefully clean the case to remove all metal shavings.
Once the time has come to re-install the motherboard and complete the liquid-cooling circuit, the motherboard should be
disconnected from the power-supply at all times during the entire testing phase of the installation. In case of a spill or leak
on the motherboard, do not panic! As long as the motherboard is not electrically connected, no harm is done. You must
however thoroughly dry the exposed area, using a hair dryer for example, and wait a minimum of 6 to 8 hours prior to reconnecting the motherboard to its power source.
Think about the airflow inside your chassis. In liquid-cooling environments, it is always better to draw fresh air from the
outside through the radiator, as opposed to using the warm air from inside the computer.
The tubing for the water-cooling system must be routed to form a complete loop that includes all elements of the system.
Copyright Swiftech 2010 – All rights reserved – Last revision date: 8-17-10 - Information subject to change without notice – URL: http://www.swiftech.com
Rouchon Industries, Inc., dba Swiftech – 151 West Victoria Street, Long Beach, CA 90805 – Tel. 310-763-0336 – Fax 310-763-7095 - E Mail: help@swiftech.com 4 of 16
When daisy-chaining components, the simplest and most natural route is usually the best. Always avoid sharp bends that
would kink the tubing!
The 3D models included in the installation CD describe common and efficient tube routing configurations. These are
guidelines only, and may change depending on the relative position of the components inside your chassis.
Page 5
II. Installation of the cooling components
Make
Model
MCR220 Drive
MCR 320 Drive
Antec
1200, DF85 Y N
Cooler Master
HAF932 (*) Y Y
Cooler Master
Cosmos S (*) Y Y
Cooler Master
ATCS 840 Y Y
Cooler Master
CM 690 II Y N
Cooler Master
Stacker 810 Y N
Corsair
CC800DW Y Y
Corsair
CC700DW Y Y
Lian Li
PC-P80 Y N
Lian Li
PC-A77F Y Y
Mountainmods
Most Models (*) Y Y
NZXT
Tempest (*) Y N
NZXT
Phantom (*) Y N
Silverstone
Raven RV01, RV02 (*)
Y
N
Silverstone
TJ09 , TJ010 (*) Y N
Thermaltake
Armor LCS Y N
1. MCR-DRIVE RADIATOR-PUMP INSTALLATION
Choosing where and how to install the MCR Drive radiator-pump is the primary focus of this installation. This choice is largely dictated by your
chassis mechanical layout, and your willingness and/or expertise in performing case modifications. From a general prospective, there can only
be two ways to install the unit: inside of the case or outside of the case.
Internal installation without extensive case modifications is now easier than ever thanks to the unit compact and integrated design, but still
remains confined to a limited number of cases, most of which are listed below. External installation is normally always possible without case
modifications thanks to the included “Radbox” enclosure, which allows you to hang the unit at the back of your chassis. Detailed schematics of
the Radbox installation are provided further in this chapter.
The installation configuration table presented hereafter provides snapshots of the 3D models that we have created for you in the installation CD,
and that represent common configurations in both internal and external installations. The CD folders are organized in the same fashion as the
installation configuration table. The configurations are generally presented in sets of 3 models:
Cooling of the CPU only,
Cooling of the CPU + (1) Graphics Card
Cooling of the CPU + (2) Graphics Card in SLI
The external installations are illustrated with a mid-tower case, since it is assumed that this type of chassis is generally too small to host a dual or
triple radiator internally. With the increased popularity of liquid-cooling, many chassis manufacturers now include rubberized tube routing holes
at the back of their cases; for this reason, two sets of configurations are presented: with the included ½” tubes routed thru pre-existing holes, and
with optional 3/8” tubes routed thru a PCI slot (a custom pass-thru PCI bracket is included for this purpose). In the event you needed to switch to
the 3/8” tubing configuration, please contact your Swiftech dealer to procure approximately 6 feet of tubing, anti-kink Smartcoils, and (2) set of
G1/4 3/8” barb fittings.
The internal installations are illustrated with a full-tower case. This 3D model has been modified for the purpose of illustrating various examples
of configuration. A list of cases made by several manufacturers is presented below that are known to allow internal installations of the MCR-Drive
radiator; some may require minor modifications, such as drilling a few screw holes to install the radiator, but they are generally stated as
compatible size wise with the MCR Drive units; please note that the (*) next to the listed model indicates that this model has either been
validated by us, or listed as compatible by the manufacturers. We do not guarantee the accuracy of the provided information other than those
models validated by us.
Copyright Swiftech 2010 – All rights reserved – Last revision date: 8-17-10 - Information subject to change without notice – URL: http://www.swiftech.com
Rouchon Industries, Inc., dba Swiftech – 151 West Victoria Street, Long Beach, CA 90805 – Tel. 310-763-0336 – Fax 310-763-7095 - E Mail: help@swiftech.com 5 of 16
Page 6

A. Installation configuration table
MCR220 Drive
External Installation (Mid-Tower Cases) with MCB120 “Radbox”
Using provided 1-2” tubing, and routing tubes thru pre-existing case holes
CPU cooling only
CPU + (1) Liquid Cooled VGA
CPU + (2) Liquid Cooled VGA
Using optional 3-8” tubing, and routing tubes thru provided PCI bracket
CPU cooling only
CPU + (1) Liquid Cooled VGA
CPU + (2) Liquid Cooled VGA
Internal Installation (Full-Tower Cases)
Horizontal, Top of Case
CPU cooling only
CPU + (1) Liquid Cooled VGA
CPU + (2) Liquid Cooled VGA
Vertical, Front of Case
CPU cooling only
CPU + (1) Liquid Cooled VGA
CPU + (2) Liquid Cooled VGA
Please view the actual 3D model in the installation CD; the icons listed below reflect the structure of the CD directories, and will help identifying a
suitable configuration for your own components.
Copyright Swiftech 2010 – All rights reserved – Last revision date: 8-17-10 - Information subject to change without notice – URL: http://www.swiftech.com
Rouchon Industries, Inc., dba Swiftech – 151 West Victoria Street, Long Beach, CA 90805 – Tel. 310-763-0336 – Fax 310-763-7095 - E Mail: help@swiftech.com 6 of 16
Page 7

Copyright Swiftech 2010 – All rights reserved – Last revision date: 8-17-10 - Information subject to change without notice – URL: http://www.swiftech.com
MCR320 Drive
External Installation (Mid-Tower Cases) with MCB120 “Radbox”
Using provided 1-2” tubing, and routing tubes thru pre-existing case holes
CPU cooling only
CPU + (1) Liquid Cooled VGA
CPU + (2) Liquid Cooled VGA
Using optional 3-8” tubing, and routing tubes thru provided PCI bracket
CPU cooling only
CPU + (1) Liquid Cooled VGA
CPU + (2) Liquid Cooled VGA
Internal Installation (Full-Tower Cases)
Horizontal, Top of Case
CPU cooling only
CPU + (1) Liquid Cooled VGA
CPU + (2) Liquid Cooled VGA
EXTREME PERFORMANCE SETUPS - MULTIPLE RADIATORS
Budget 1 - MCR220 Drive + MCR320 QP
Budget 2 – MCR320 Drive + MCR220 QP
Pump redundancy – MCR320 Drive +
MCR220 Drive
Rouchon Industries, Inc., dba Swiftech – 151 West Victoria Street, Long Beach, CA 90805 – Tel. 310-763-0336 – Fax 310-763-7095 - E Mail: help@swiftech.com 7 of 16
Page 8

B. External installation with Radbox
General concept schematic:
Installation
Place the radiator assembly on the back of the computer to roughly estimate where it will fit best.
You need to consider the following clearance issues:
Exit cables and connectors from various PCI devices: the Radbox base plate can be moved in both vertical and
horizontal directions to allow clearance for the cables
Opening the side panel once the Radbox is installed: the Radbox is supplied with various nylon spacers to separate
the base plate from the surface of the back-panel and to provide clearance for opening of the side-panel.
Note that a chassis with 80mm fan opening(s) is likely to provide a very good range of adjustments. Conversely, a
chassis featuring a single 120mm fan opening the base-plate is a direct bolt on, but offers no adjustments, which
may or may not suit our installation for the purpose of positioning the radiator. In that case, it will be become
necessary to drill (4) mounting holes of 0.150” (~3.5mm) in diameter to install the base plate at the desired location.
Copyright Swiftech 2010 – All rights reserved – Last revision date: 8-17-10 - Information subject to change without notice – URL: http://www.swiftech.com
Rouchon Industries, Inc., dba Swiftech – 151 West Victoria Street, Long Beach, CA 90805 – Tel. 310-763-0336 – Fax 310-763-7095 - E Mail: help@swiftech.com 8 of 16
Page 9

Securing the base plate at the desired location:
Once satisfied with the position, bolt down the Radbox
back-plate with the provided nuts.
Routing of the tubes thru the chassis:
Many of the current chassis offered on the market now
come with pre-drilled holes to route the tubing thru the
chassis. If your chassis does not have this feature, it will
be necessary to drill the holes yourself. Since the OD of
the tubing that comes with your kit is ¾” , we recommend
using a 1” (25mm) bi-metal hole saw (shown below) to
open up these holes. Once done, make sure to properly
deburr the edges of the hole to prevent damage to the
tubing.
Once the two holes are cut, de-burr the edges, and optionally
install grommets (not provided)
Install your radiator assembly onto the back plate and fasten
with the 4 provided short screws.
Finally, you need to route the fan wires through the back-
panel. This can be done easily with the provided PCI adapter
plate featuring a hole and grommet for protection of the wire as
shown below.
Fan speed adapters: please note that your kit includes fan
speed adapters that will allow you to tune the fan speed down
if desired. Please refer to the electrical installation chapter for
this purpose.
Copyright Swiftech 2010 – All rights reserved – Last revision date: 8-17-10 - Information subject to change without notice – URL: http://www.swiftech.com
Rouchon Industries, Inc., dba Swiftech – 151 West Victoria Street, Long Beach, CA 90805 – Tel. 310-763-0336 – Fax 310-763-7095 - E Mail: help@swiftech.com 9 of 16
Page 10

Double-check that the screw
does NOT hit the water-channel!
C. Internal installation
A word of caution before installing the screws to the radiator:
Depending on your configuration you might want to use your own screws either to attach the fan to the radiator, radiator to the chassis,
or using a “Radbox”. You can use either 6-32 thread or M3.5 thread. But always double-check the screw length before installation or
you might poke a hole in the radiator water channels! This will void your warranty.
a. Air Flow Strategies
In the majority of the cases, we recommend that the fans be installed in such a fashion that they draw fresh air from the outside of the
chassis: this will maximize cooling of the radiator, thus cooling of the CPU and of the GPU (if you are also liquid cooling your VGA).
Since the radiators will reject heated air inside of the chassis (just like a standard air cooled CPU cooler does), it remains essential to
maintain adequate exhaust for the heat.
If you own a high-end graphics card and do not intend to liquid cool it, and if you want to reduce air temperature inside of the chassis to
favor cooling of this graphics card, you may reverse the air flow direction from the radiator fans, but note that this will increase the CPU
temperature.
b. Fastening the radiator to the case: 3 different Strategies
Copyright Swiftech 2010 – All rights reserved – Last revision date: 8-17-10 - Information subject to change without notice – URL: http://www.swiftech.com
Rouchon Industries, Inc., dba Swiftech – 151 West Victoria Street, Long Beach, CA 90805 – Tel. 310-763-0336 – Fax 310-763-7095 - E Mail: help@swiftech.com 10 of 16
Page 11

Default: using the provided long Philips screws (M3,5 X 30mm or 6-32 x 1 1/4”), thru the computer panel, the fan and to the radiator
Short 6-32 x 3/8” screws
Snap-rivets
Long M3,5 x 30mm or 6-32 x 1 1/4” Philips screws
(with or without fan guard at your choice), as shown below. Note that your radiator is shipped with the long Philips screws already preinstalled. 3D illustrations are provided in the installation CD.
Using the provided short 6-32 x 3/8” Philips screws (or M3,5x10mm), to fasten the fans to the radiator first thru the lower lip of the fan,
and then using the provided snap-rivets to fasten the radiator assembly to the case:
Hanging the radiator with the provided alternate corner braces.
When there are no pre-drilled holes to fasten the MCR Drive radiator to the case, corner braces can be used to hang the unit between
two panels for example; use a #27 (.144” or 4mm) drill bit to drill the necessary holes in the panel. 3D Illustrations are provided in the
installation CD.
Copyright Swiftech 2010 – All rights reserved – Last revision date: 8-17-10 - Information subject to change without notice – URL: http://www.swiftech.com
Rouchon Industries, Inc., dba Swiftech – 151 West Victoria Street, Long Beach, CA 90805 – Tel. 310-763-0336 – Fax 310-763-7095 - E Mail: help@swiftech.com 11 of 16
Page 12

c. Optional external panel fill-port (horizontal installations only)
A rubber grommet and a plastic cap are provided with your kit to allow you to create a convenient and clean opening in the upper case
panel so you may access the fill-port for coolant refills at any time. In order to cut the hole, please use a 1” (25mm) bi-metal hole saw.
Center the hole using one of the adjoining 120mm fan holes as reference, as shown below (3D illustrations also provided in the
installation CD):
2. APOGEE™ XTL WATERBLOCK INSTALLATION
Please refer to the separate installation guide included inside of the waterblock box. Removal of the motherboard is generally
necessary to install the water-block back-plate.
Once the APOGEE™ waterblock securely fastened to the motherboard, go-ahead and install the motherboard into the chassis,
following the instructions provided in your motherboard installation guide.
3. CONNECTING THE TUBES BETWEEN MCR DRIVE AND APOGEE™ WATERBLOCK
For tube routing, simply follow the 3D model that corresponds to your own installation. Always avoid tight radii in the tubing to prevent it from
kinking. Whenever you encounter a tight spot disallowing sufficient radius in the tube, then use an aftermarket elbow. Please note that excessive
use of elbows in a loop creates substantial pressure drop in the coolant flow, and may affect the performance of your system. Use them
sparingly! With regards to after-market fittings, both the Apogee Water-block and the MCR Drive Radiators are compatible with the G ¼”
standard. Once all the tubes are connected, use the provided hose clamps to secure the tubes to the hose barbs.
4. ELECTRICAL INSTALLATION
Please follow the diagrams below for connecting the components to the motherboard and power supply.
A. Adjustable Pump Speed
Copyright Swiftech 2010 – All rights reserved – Last revision date: 8-17-10 - Information subject to change without notice – URL: http://www.swiftech.com
Rouchon Industries, Inc., dba Swiftech – 151 West Victoria Street, Long Beach, CA 90805 – Tel. 310-763-0336 – Fax 310-763-7095 - E Mail: help@swiftech.com 12 of 16
Page 13

Just like a CPU fan, your pump speed can be regulated by the motherboard. For this to happen, it must be connected to preferably the
CPU_Fan header (4 pins), or any other PWM (which are always 4 pin) connector of the motherboard. You will then need to access the
system BIOS to setup your preferred mode of operations. If the pump 4-pin connector is not attached to a PWM capable header, or
not connected at all, the pump speed will default to its maximum. While not connecting the 4-pin does not affect the reliability of the
pump, we strongly recommend that you do so for the overall safety of your system. In effect, should the pump fail while being
connected, most motherboards will typically alert you of a fan failure and perform an automatic shutdown (providing that you setup the
BIOS to do so).
At maximum speed (4500 rpm) the pump provides the maximum flow, thus performance to the system. Conversely, users sensitive to
noise may slow the pump down so that it will perform almost silently (in the 1500 rpm range). It should be noted that flow rate has a
relatively low impact on system thermal performance compared for example to fan speed. Unfortunately, there is no way for us to
accurately predict what the thermal performance impact of varying the pump speed in your particular system will be; however,
measuring this impact by yourself is simple enough by setting up the pump to a given speed, record the processor temperature at full
load, then tune the pump down to a lower speed and compare the results. Whenever you are temperature testing, always remember to
also record the ambient temperature, as this is your absolute baseline.
The following graph reports the pump speed response to % adjustments in the BIOS:
B. Adjustable Fan speed
Copyright Swiftech 2010 – All rights reserved – Last revision date: 8-17-10 - Information subject to change without notice – URL: http://www.swiftech.com
Rouchon Industries, Inc., dba Swiftech – 151 West Victoria Street, Long Beach, CA 90805 – Tel. 310-763-0336 – Fax 310-763-7095 - E Mail: help@swiftech.com 13 of 16
In order to satisfy the widest range of users, your kit is shipped with high speed fans (82 CFM). At maximum speed the audible noise
generated by these fans is also considered as relatively high. Fan speed can then be adjusted by several methods:
- With the provided adapters:
o The 12 to 7v adapters reduce the fan speed by approximately 40%; audible noise at this level is generally perceived as
moderate to low.
o The 12 to 5v adapters reduce the fan speed by approximately 60%; audible noise at this level is generally considered
as low.
- Thru the bios: most high-end motherboards include some built-in adjustments to fan speed, generally in % increments of the
maximum speed. If you are using the BIOS to adjust your fan speed, do not use the provided adapters.
- With after-market fan controllers (not included).
Thermal performance of your system is considerably affected by the amount of air cooling the radiator. As such, slowing the fan down
to reduce audible noise always has a significant impact on the temperature of the devices being cooled. Finding the perfect
compromise of audible noise vs. cooling performance will depend on your system components, the amount of overclock and voltage
applied to the CPU, quality of the air flow in your system, and ambient room temperature. Many users ask us what is normal or
acceptable for their system, and the only true measure of acceptability is that the system should be 100% stable under all operating
conditions, at a processor speed and audible noise levels that are suitable to your personal preference.
C. Electrical Installation diagrams
Page 14

FAN CONNECTIONS
FOR FULL SPEED
(12V)
FAN CONNECTIONS
FOR MEDIUM SPEED
(7V)
FAN CONNECTIONS
FOR LOW SPEED
To Motherboard 3-pin header or to power supply using a
standard 3-pin to Molex extension (not included)
To Motherboard 3-pin header or to power supply using
a standard 3-pin to Molex extension (not included)
12 to 7v adapter
(Included)
12 to 5v adapter
(Included)
To Power supply
To Power
supply
To Power
supply
To Motherboard
CPU_Fan 4-pin header
To Motherboard
CPU_Fan 4-pin header
To Motherboard
CPU_Fan 4-pin header
To Power
supply
Warning: do not use these adapters to connect
other components!
Copyright Swiftech 2010 – All rights reserved – Last revision date: 8-17-10 - Information subject to change without notice – URL: http://www.swiftech.com
Rouchon Industries, Inc., dba Swiftech – 151 West Victoria Street, Long Beach, CA 90805 – Tel. 310-763-0336 – Fax 310-763-7095 - E Mail: help@swiftech.com 14 of 16
Page 15

5. PREPARING THE COOLANT
13
14
1. Fill-up the reservoir with coolant
2. Close the cap
3. Tilt your system as shown so that the
reservoir is higher than the pump
4. Startup the pump for 2 to 3 seconds
5. Turn-off the pump
6. Rest the case back flat on your bench
7. Open the cap
8. Top-off the level in the reservoir
9. Close the cap
10. Restart the pump
11. Allow system to run 10 minutes
12. Inspect level, and refill as necessary
Your kit comes with a 2 Oz (60ml) bottle of Swiftech’s specially formulated HydrX concentrated coolant. This anti-freeze product was
formulated by the Valvoline Company for marine racing engines and its anti-corrosion and anti-fungal properties have been enhanced, whereas
the anti-freeze properties have been lowered. The product should be mixed to a 10% ratio exclusively with distilled water. Simply empty the
concentrated coolant into a 16 fl oz (1/2 liter) plastic bottle, and complete filling with distilled water. Your coolant is now ready for use.
Warning! Please keep this product away from children and animals; DO NOT DRINK this product, as it contains ethylene glycol which is
extremely toxic to human consumption. A bittering agent is included in the formulation to discourage ingestion of the product. The immediate
antidote in case of accidental ingestion is to drink a shot of whiskey or any other strong liquor such as gin or vodka; in case of
accidental exposure in the eyes, rinse abundantly with water. Consult with a Doctor immediately after accidental exposure or ingestion of the
product.
6. COMPLETING THE INSTALLATION
After you fill-up the circuit, you will need to power-up your PSU in order to start-up the pump and complete the filling procedure. You must be
able to start the PSU without it being connected to the motherboard. While the Internet contains numerous references on how to use a paper-clip
to short-out pin 13 (black or any other black wire) and pin 14 (green wire) of the 20 pin ATX connector as shown below, we nonetheless
recommend instead using a power-supply tester. A wide variety of these common devices are available on the Internet (Google key word: “PSU
tester”), and among Swiftech resellers.
7. FILLING-UP THE LOOP
Simply pour the coolant that you prepared into the radiator reservoir – carefully to avoid spills, allowing the circuit to fill-up
by simple gravity.
Once the reservoir is full, seal the fill port back with its cap in order to avoid any spills, and start-up the pump. Note that the
pump normally takes 2 to 3 seconds to start. Once the pump has started, the reservoir will quickly (within 1 second) empty itself.
Immediately turn off the pump, then top-off the reservoir with fluid to the maximum level, and restart the pump again. In a loop
composed of the CPU only, one refill will normally suffice. In a more complex loop with 1 or more VGA coolers in it, you might
need to refill 2 to 3 times. Warning Tip! When the radiator is completely full and you open the cap while the pump is NOT
working, it may overflow a little. Thus, always place an absorbing towel around the fill-port when you remove the cap. Conversely,
when the pump is running, it exerts a depression in the radiator, and the liquid will not overflow when you open-up the cap.
Once the reservoir is full, allow the system to run 10 minutes uninterrupted to clear all the micro-bubbles and foam, and
finally top-off the level one last time. If your system continues to foam up, turn-off the system and let it rest for a few minutes;
then restart it and let it run a little more; if the foam persists, then do not worry for now; once your leak-testing procedure has been
completed and you have re-installed all your components, you will be able to go into the BIOS and to slow the pump down to
minimum speed, and then let it run that way until all the bubbles are gone.
Important note regarding horizontal configurations: in configurations where the MCR Drive radiator is installed horizontally, it
is recommended to slightly tilt the system when you first fill-up from a completely empty state, in such a fashion that the reservoir
will be higher than the pump, as shown below. This will help the pump expelling any pocket of air located in the upper portion of
its impeller cavity, and allow it to prime properly. You may safely rest the case back down on the second refill and thereafter.
Applicable to horizontal installations only:
Copyright Swiftech 2010 – All rights reserved – Last revision date: 8-17-10 - Information subject to change without notice – URL: http://www.swiftech.com
Rouchon Industries, Inc., dba Swiftech – 151 West Victoria Street, Long Beach, CA 90805 – Tel. 310-763-0336 – Fax 310-763-7095 - E Mail: help@swiftech.com 15 of 16
Page 16

Finally, allow the system to run for (3) hours and frequently inspect all your connections for possible leaks before you
1/2" RFP-AL
Black anodized
aluminum body
1/2" RFP-CPB
High polish chrome
plated brass body
power-up your system.
8. TROUBLESHOOTING
CONGRATULATIONS, YOUR INSTALLATION IS NOW COMPLETE!
Air keeps circulating into the circuit, long after the pump has primed:
The pump does not prime.
9. DRAINING THE SYSTEM
You will need to disconnect a line from one of the lowermost components. The easiest way is usually to dismount the CPU from the
motherboard, then break one of its lines open. You need to procure a bucket large enough to receive approximately 1/2 liter of fluid, and place
the bucket underneath the connection that you intend to “break”.
Adding a drain line is also a simple way to facilitate draining if you perform frequent maintenance on your system. A drain line is typically
composed of a simple T connection, usually placed at the lowest point of the system, and some length of tubing terminated by a plug. “T’s” can
be procured at any hardware store; the following Swiftech parts can be used as termination plugs:
o The pump is cavitating; simply set it to half speed until all the bubbles are gone, then you can safely reset it to full speed.
o The fluid level is too low: top-off the reservoir to the appropriate level.
o One of the components connections is loose, or improperly tightened: Inspect each connection for traces of moisture, and
tighten all worm-drive clamps, and various connections in the circuit.
There is an air bubble in the pump. Tilt your case forward at a 30° angle, and start the pump; it should prime and you should see the
fluid circulating in the loop. Then immediately stop the system, and top off the reservoir.
10. PERIODIC MAINTENANCE
Every 6 months: dust off the radiator fins and fan. You can use a can of compressed air for example, available in most
electronic supply stores. If you live in a very dusty area, you should perform this task at closer intervals. It is essential to
maintain the optimum performance of your cooling system.
Inspect the liquid level inside the reservoir, and refill if necessary (no refills are normally necessary for 18 months of
continuous usage). Evaporation in this closed circuit is extremely limited, but still present due to some porosity in the vinyl
lines.
11. OPTIONAL COMPONENTS
Please visit our web site at www.swiftech.com on a regular basis, as we continuously release new products that could enhance the use of your
H20-220 EDGE Ultima liquid cooling kit!
Thank you for trusting Swiftech® for your computer-cooling needs!
Copyright Swiftech 2010 – All rights reserved – Last revision date: 8-17-10 - Information subject to change without notice – URL: http://www.swiftech.com
Rouchon Industries, Inc., dba Swiftech – 151 West Victoria Street, Long Beach, CA 90805 – Tel. 310-763-0336 – Fax 310-763-7095 - E Mail: help@swiftech.com 16 of 16
 Loading...