

English version
4
ST031 Sweex External 3.5" SATA Storage Solution USB 2.0
Introduction
In order to fully enjoy the Sweex External 3.5" Storage Solution, it is important to observe a number of things:
• Do not expose the Sweex External 3.5" Storage Solution to extreme temperatures. Do not place the device in direct sunlight or in the direct
vicinity of heating elements.
• Do not use the Sweex External 3.5" Storage Solution in extremely dusty or moist surroundings.
• Protect the device against powerful shocks or jolts - they may damage the internal electronics.
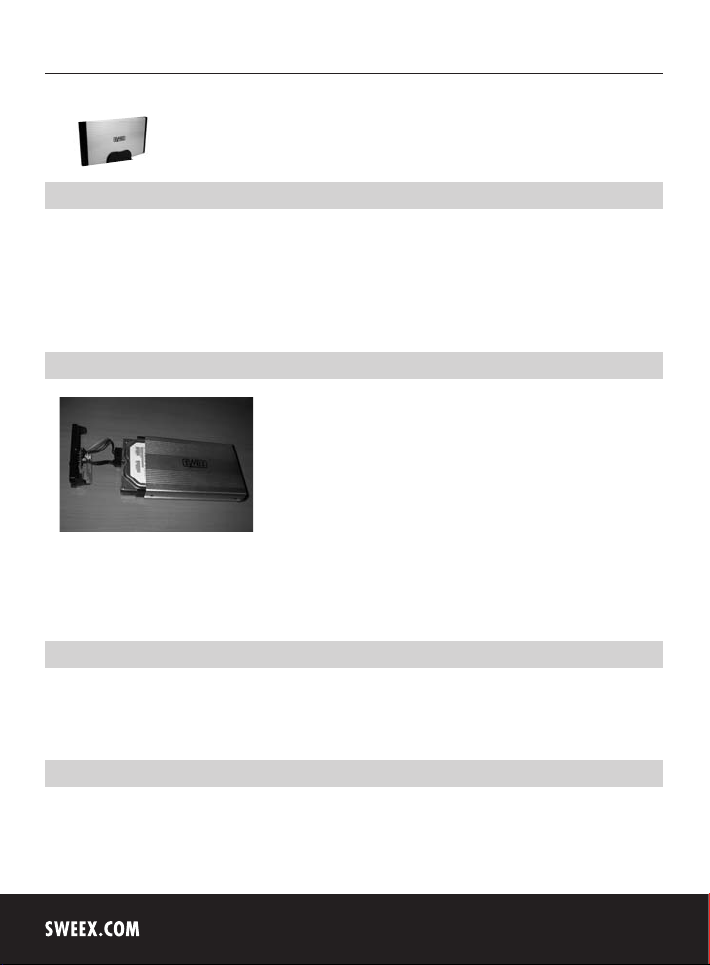
Hardware installation of the hard disk
1. Push the tabs on the side of the casing inwards in order to remove the top.
2. Tighten to secure the hard disk.
3. Connect the IDE cable and power supply plug to the hard disk.
4. Close the casing by clicking the tabs back into place. The hard disk has now been built in.
Connecting the Sweex External 3.5" Storage Solution SATA USB 2.0
1. Start up the computer and wait until Windows has started up fully.
2. Connect the USB cable to the Sweex External 3.5" Storage Solution and to a free USB port on the computer.
3. Connect the external power adaptor and plug it into the mains socket. Windows will detect and install the hard disk automatically.
4. Click on “My Computer” (My Computer) to access the new hard disk.
Activating a hard disk by initiating and formatting under Windows 2000, Windows XP, Windows Vista
If a new hard disk does not show up under “My Computer” (My Computer), it has probably not been formatted yet. This is often the case with
new hard disks.
English version
1. Go to the “Control Panel” (Control Panel) and then go to “Administrative Tools” (Administrative Tools).
2. Go to “Computer management” (Computer management) and “Disk Management” (Disk management).
3. A window to start up the procedure to format the disk will automatically appear. If it does not, right-click the new disk in the window. Please be
aware that your new disk may have a number that is different from the one in the picture.
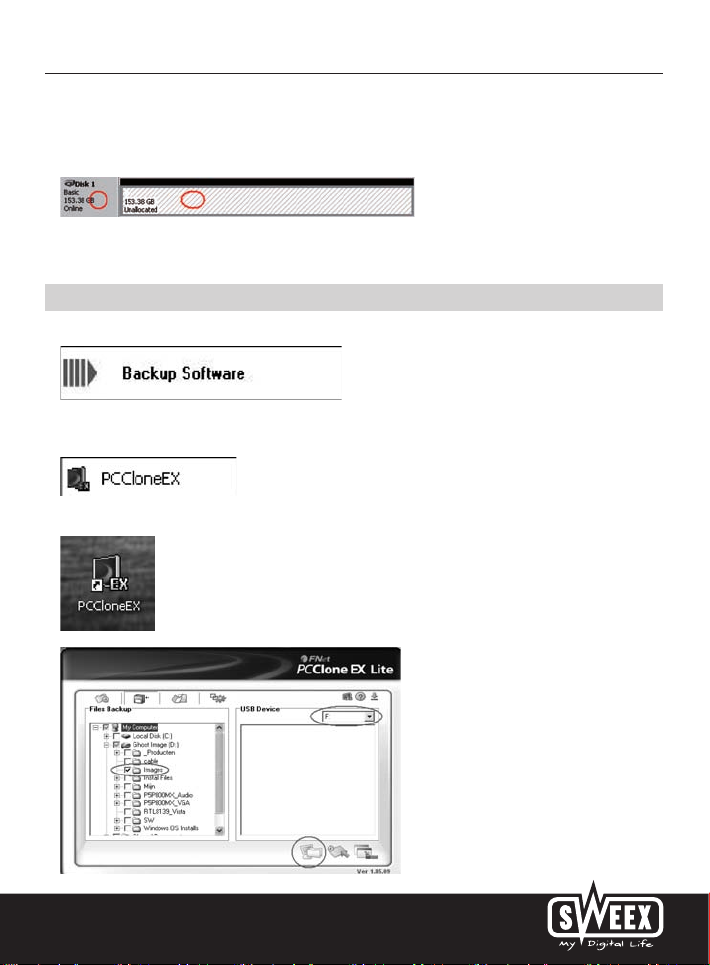
4. Right-click in the grey area on the left to initialise the disk. If this is not required, you can start formatting the disk by right-clicking in the white area.
After this procedure, the disk is ready for use.
Backup software
If you wish to use the backup function, put the Sweex CD-ROM in the CD-ROM player and click the button to install "Backup Software”.
You can start the software via “Start ---> Programmes ---> PCCLoneEx ---> PCCLoneEx”
(Start ---> Programmes ---> PCCLoneEx ---> PCCLoneEx).
Alternatively, click the icon on your desktop.
5

English version
6
Starting a backup
1.Under “Files Backup”, select the folders or files you wish to add to the backup procedure.
2.Under “USB Device”, select the location where the files will be stored. Select the drive letter of the Sweex External 3.5" Storage Solution.
3.Click on “Backup” to start the process.
The files will be saved on the “USB Device” using the same folder structure.
Note! The folders and files on the “USB device” are hidden.
In Windows Explorer, via “Tools ---> Folder Options ---> View” (Tools ---> Folder Options ---> View), you can select “Show hidden files and folders”
(Show hidden files and folders).
You can also use the backup button on the Sweex External 3.5" Storage Solution in order to start the backup.
Restore
1. The window on the right shows any previous backups made. Here you can select the required folders or files in order to restore.

English version
2. Click on “Restore” to restore the files from the backup location to the original location on the computer.
Warranty
All products under the Sweex brand are warranted for a period of three years. We do not grant support or warranties for any software and/or
(rechargeable) batteries included. Settlement of guarantee only takes place via the dealer where you have purchased the product in question.
The rightful owner has and retains title to all brand names and related rights mentioned in this manual.
7
 Loading...