

Swann SW-R-DVR4, DVR4000, DVR PRO 4000 Installation Manual
INSTALLATION GUIDE
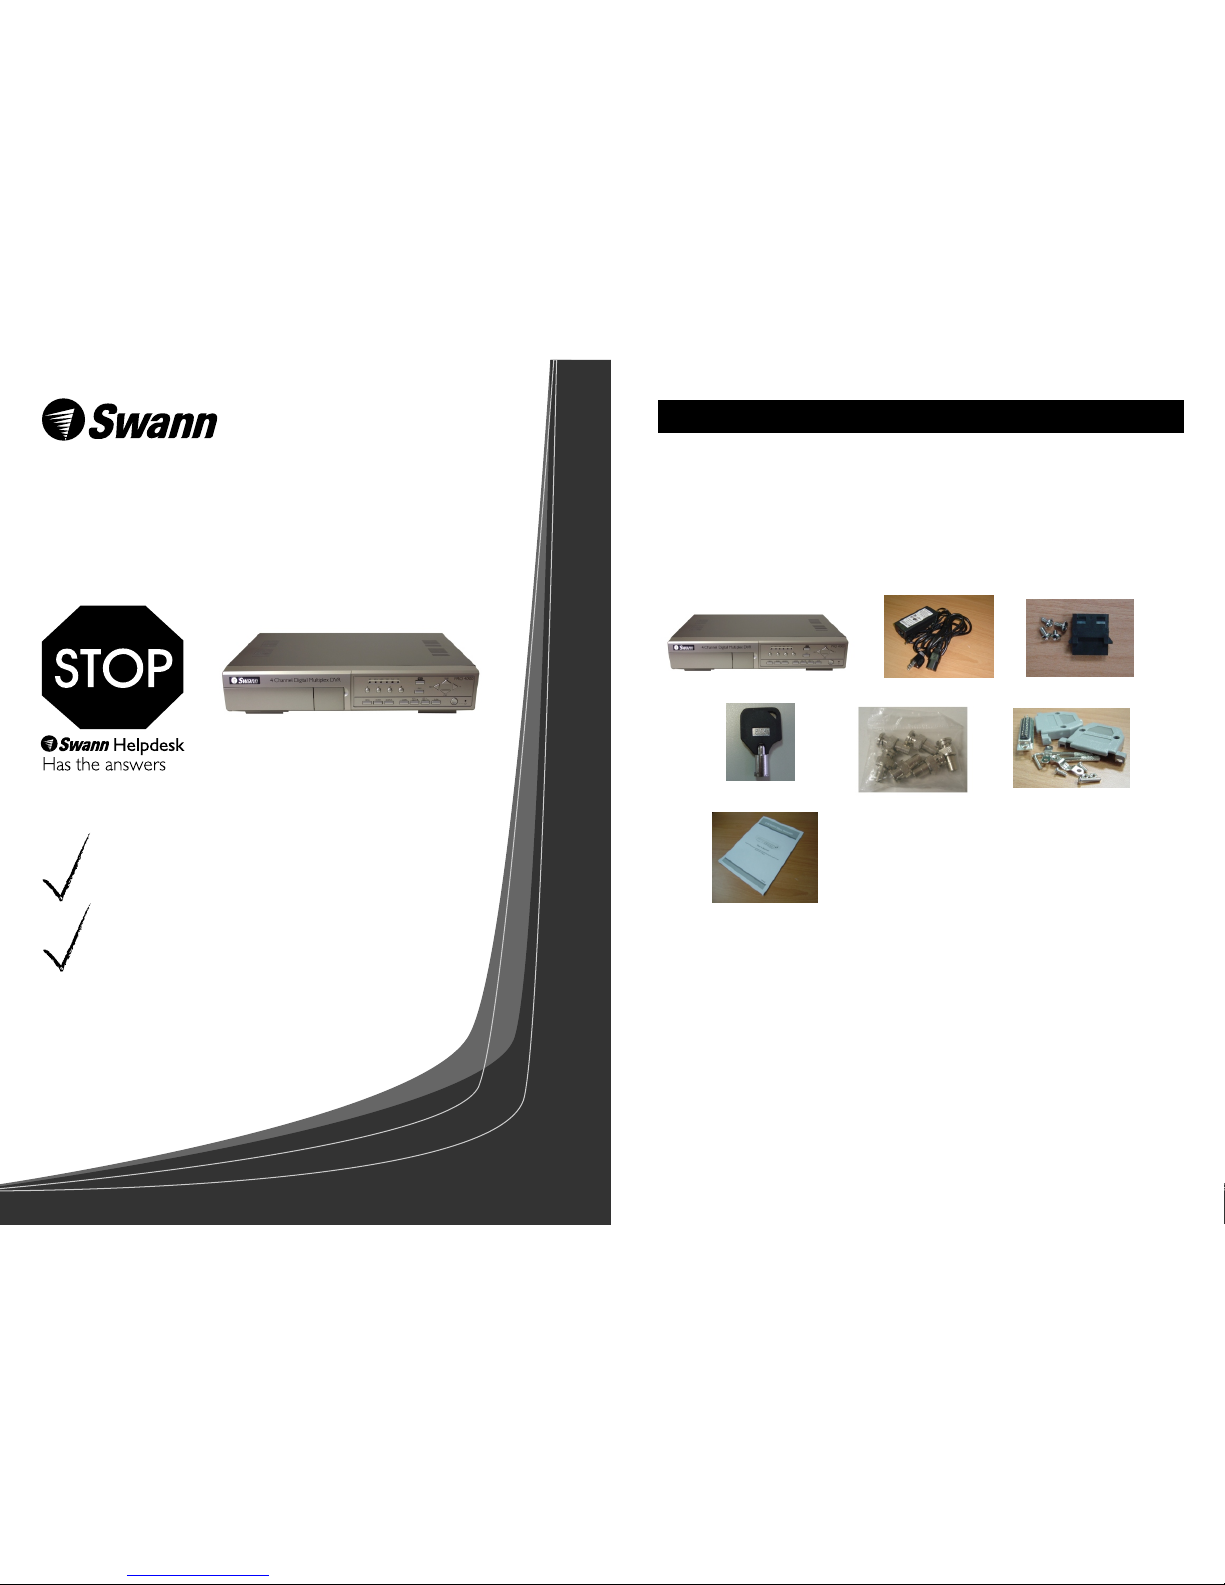
What's In This Package?
If this device does not work when you first
plug it in, do not take it back to the store.
Contact the Swann Helpdesk using one of the Toll-Free
numbers shown on the back cover of this booklet.
Most problems can be quickly and easily fixed with a
quick chat with one of our friendly technical staff.
(Toll-Free available in the US and Australia only)
DVR4000
4 Channel Digital Video Recorder
With Motion Detection & Audio
1. Swann DVR PRO 4000 Digital Video Recorder with Hard Disk Drive (HDD) caddy
2. Switching Power Adaptor and Power Cord
3. Molex Power Connector and 4 x Screws for HDD caddy
4. 2 x Keys for HDD caddy Key/lock
5. 6 x BNC male to RCA female adaptors
6. Pack of serial connection accessories
7. User instruction Manual
8. Quickstart guide (this document)
Index Page
What’s in this package? .................................. 1
Introduction ................................................. 2
Hard Disk Drive Installation ........................... 2
Hard Disk Drive Installation Steps .................. 3
Setting Time and Date ...................................4
Configuring Motion Recording ....................... 4
Manual Recording ......................................... 5
Playing Back Recorded Video ........................ 5
Searching for Recorded Video Events ............ 6
Note: Wireless Networks (WiFi) may interfere with and/or experience interference caused by the transmitter
in this unit. Changing the receiver to another channel/frequency or setting the Wireless Network (i.e. Wireless
Access Point) to a frequency further away from the camera’s set frequency can alleviate this problem.
Consult the documentation of your Wireless LAN device for information on how to change the transmission
frequency. These cameras work with most wireless camera receivers that support 2414MHz, 2432MHz,
2450MHz and 2468MHz.
1
2
3
4
6
5
7
Introduction
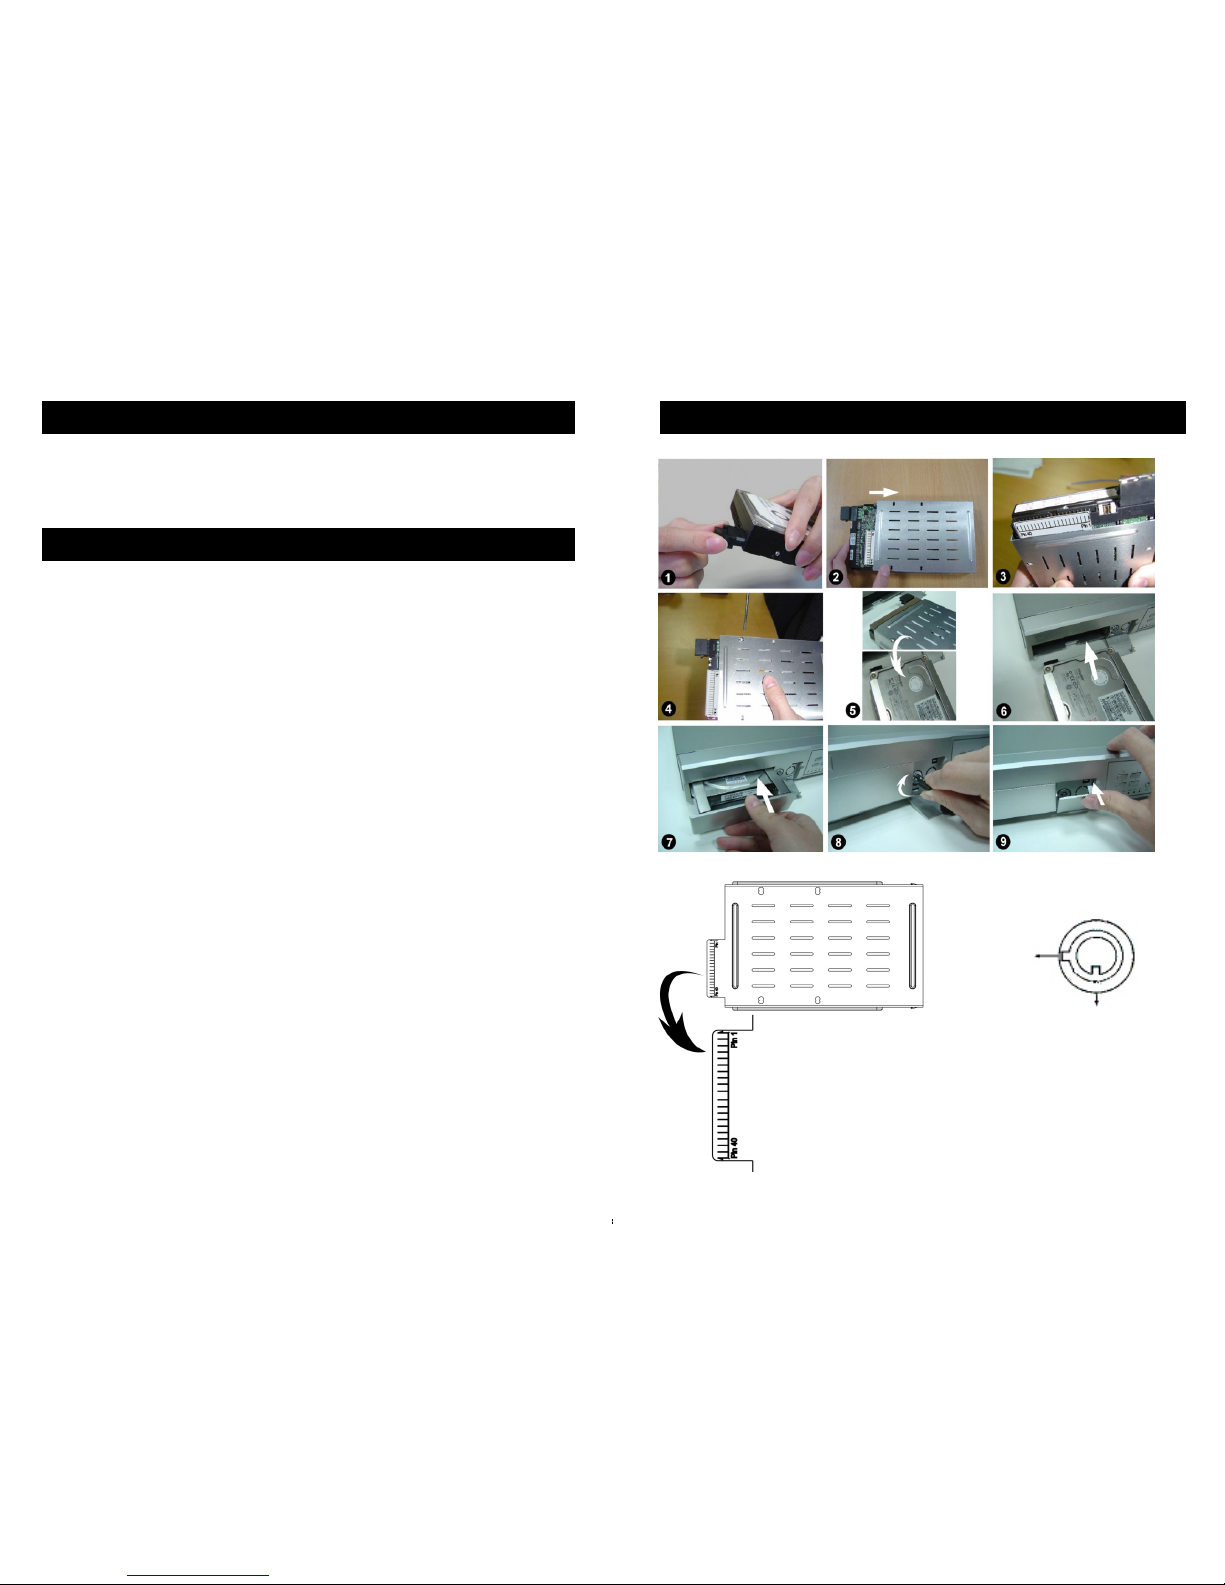
Hard Disk Drive Installation Steps
This Quickstart guide gives you a brief over view of the main features of the DVR PRO 4000 and
will allow you to set the basic functions required for you to monitor, record and play back security
video footage. Please consult the manual for more detailed descriptions of the various functions.
Note: Your hard drive must be jumpered for Master to work correctly while fitted to this
unit (most HDD are jumpered for Cable Select by default and this setting will not work in
this DVR). Please consult with your HDD supplier or manufacturer for more information on
how this is done. Do not try to view the contents of the HDD on a PC once it is formatted
for the DVR PRO 4000, as the HDD will not be recognised correctly and all information on
it will be erased.
Please use the step by step guide over the page for reference when installing the hard drive into
your Swann DVR PRO 4000.
Step 1 Connect the Molex connector to the HDD’s power socket (refer to Picture 1).
Step 2 Put HDD into the HDD cartridge. Please note the power connector goes to the bottom
of the caddy. (refer to Picture 2).
Step 3 Because the screw holes from different HDD brands can be in different alignment to the
data pins, you will have to align pin1of your HDD to the pin1mark on the base of the caddy, then
carefully screw the HDD to the cartridge using the supplied screws. (refer to Picture 3 and 4).
Step 4 Reverse the HDD and put it into DVR (refer to Pictures 5 and 6).
Step 5 Firmly push the HDD into the DVR until it is flush with the front panel
(refer to Picture 7).
Step 6 Lock the cabinet by turning the key clockwise (refer to Picture 8).
Step 7 Close the key-switch cover (refer to Picture 9).
Hard Disk Drive Installation
B
(unlocked)
A
(locked)
A
(locked)
 Loading...