

Page 1
Help Desk / Support Details
Swann Technical Support
All Countries E-mail: tech@swann.com.au
Telephone Helpdesk
UNITED STATES toll free
877-274-3695
(Sun-Thurs, 2pm-10.30pm PST)
800-627-2799
(Mon-Fri, 9am-1pm PST)
USA Exchange & Repairs
562-777-2551
(Mon-Fri, 9am-5pm PST)
AUSTRALIA toll free
1300 13 8324
(Mon-Fri, 9am-5.30pm Aus EST)
International
+61 3 8412 4610
(Mon-Fri, 9am-5.30pm Aus EST)
See http://www.worldtimeserver.com for information on different time zones
and the time in Melbourne Australia compare to your local time.
Warranty Information
English
Alert DVR Camera Kit
4 Channel DVR & 4 OutdoorCams
If this device does not work when you first plug it
in, do not take it back to the store.
Swann warrants this product against defects in workmanship and material for a
period of one (1) year from it’s original purchase date. You must present your
receipt as proof of date of purchase for warranty validation. Any unit which proves
defective during the stated period will be repaired without charge for parts or
labour or replaced at the sole discretion of Swann. The repair or replacement will
be warranted for either ninety days or the remainder of the original one year
warranty period, whichever is longer. The end user is responsible for all freight
charges incurred to send the to Swann’s repair centres.
responsible for all shipping costs incurred when
other than the country of origin. The warranty does not cover any incidental,
accidental or consequential damages arising from the use of or the inability to use
product
this . Any costs associated with the fitting or removal of this product by a
tradesman or other person or any other costs associated with its use are the
responsibility of the end user. This warranty applies to the original purchaser of the
product
Unauthorised end user or third party modifications to any component or evidence
of misuse or abuse of the device will render all warranties void.
only and is not transferrable to any third party.
product The end user is
shipping from and to any country
www.swannsecurity.com
Contact the Swann Helpdesk using our fast e-mail service
tech@swann.com.au or call us on one of the Toll-Free
numbers shown on the back cover of this booklet.
Most problems can be quickly and easily fixed with a simple
e-mail or a quick chat with one of our friendly technical staff.
(Toll-Free available in the US and Australia only)
Installation Guide
Page 2
CONTENTS
Tips for positioning your cameras
Introduction............................................................................................
Your package comes with.......................................................................
Basic Operation......................................................................................
Basic Operation (continued) ..................................................................
Basic Operation (continued)...................................................................
FAQs......................................................................................................
Tips for positioning your cameras...........................................................
Help Desk / Support Details...................................................................
Warranty Information..............................................................................
2
2
2
2
3
3
4
4
5
5
6
6
7
7
Back Cover
Back Cover
Back Cover
Back Cover
Introduction
The Swann DVR4 Alert is a 4 channel Digital Video Recorder which has many
advanced features which allow you to record footage from up to 4 security
cameras to a hard drive for later playback.
This DVR offers an affordable recording and monitoring solution for your home or
business. Simply connect your cameras and start your surveillance setup. The
DVR is ideal for usage in your home to watch over your premises and valuables
and in your business to monitor customers, your parking lot, staff and lobby area.
Having no tapes to maintain, replace or rewind means this recorder can be setup
once and virtually forgotten about until and unless a review of the video becomes
necessary. It also dramatically reduces the down time for maintenance or repair
that is generally associated with VCRs.
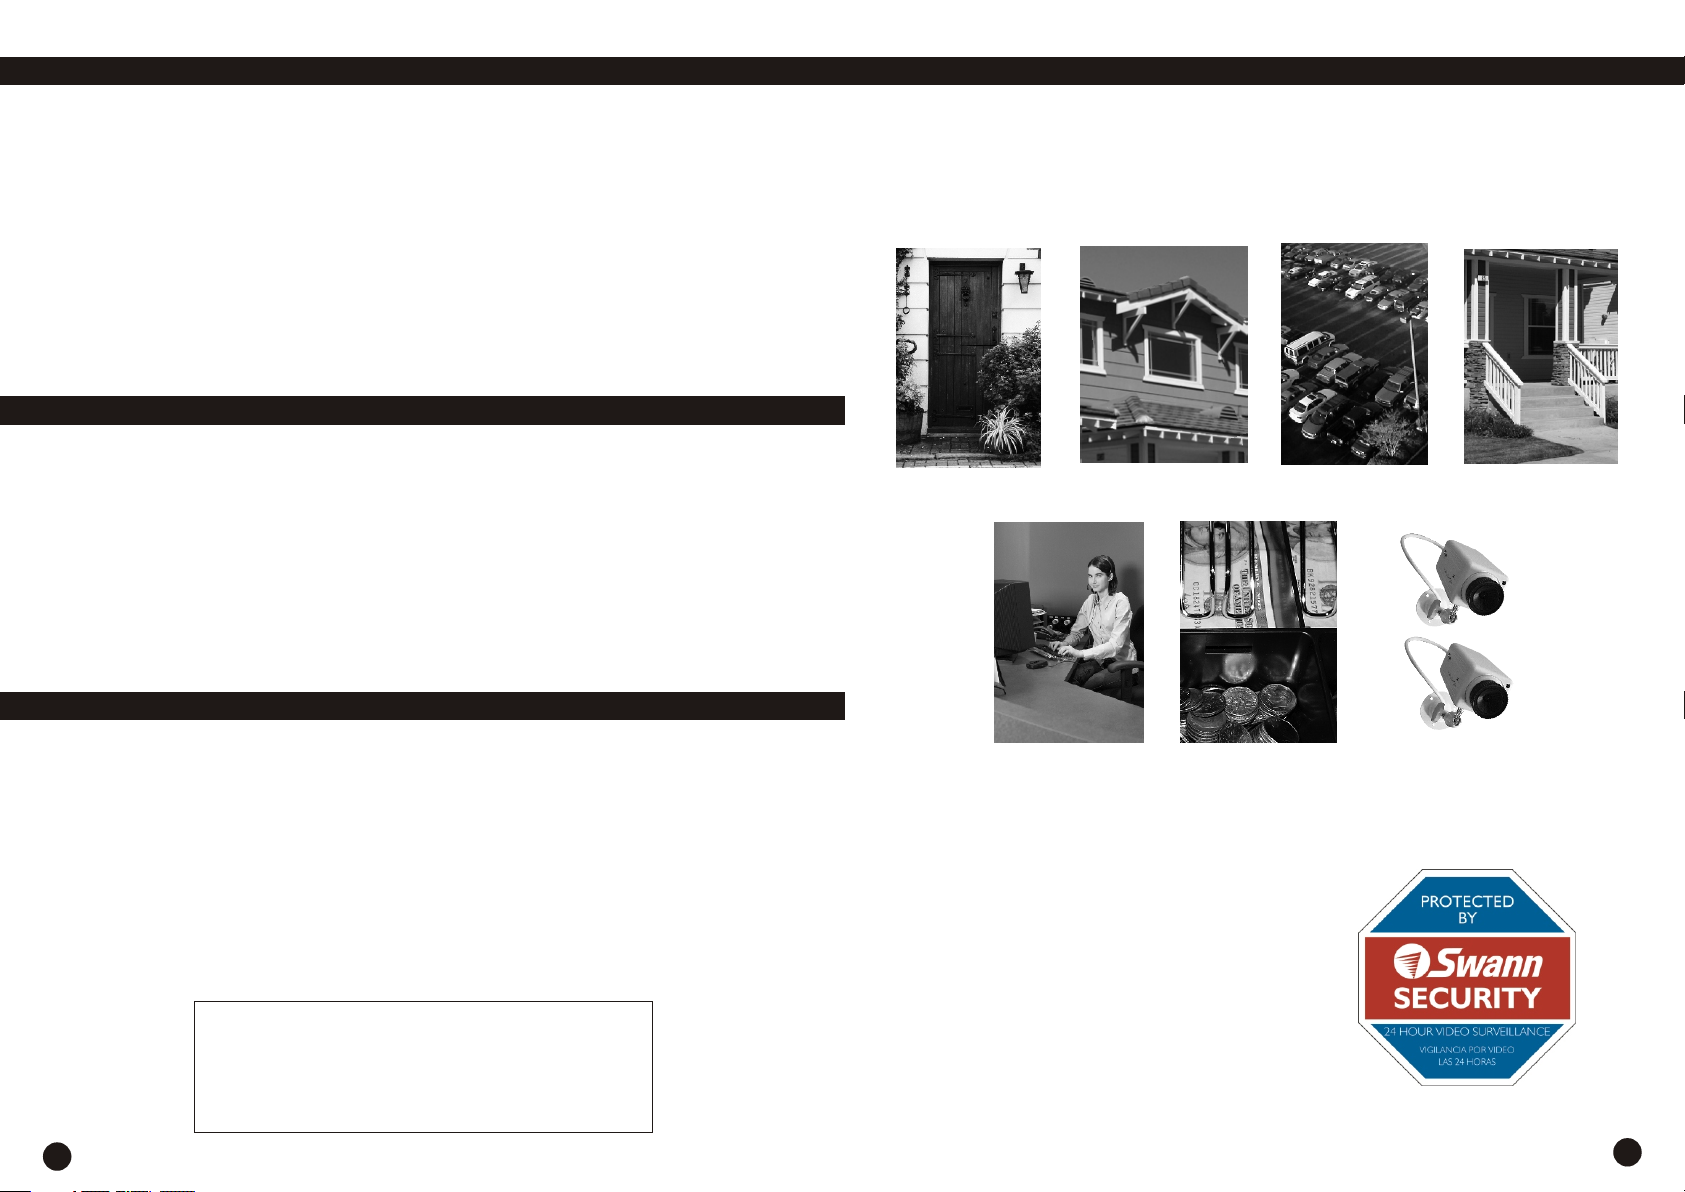
You should position your cameras to cover the areas most
exposed to risk. See our suggestions below for some ideas:
Direct exposure to the effects of the weather will void the
warranty of cameras not intended for outdoor use.
1. Doorways
2. Windows
3. Car Parks
4. Verandahs
Your package comes with...
• 1 x DVR4 Alert with HDD fitted
• 4 x Outdoor Cams
•
1 x Power Adapter & Power Cable for DVR (design may vary depending on
country)
• 1 x Power Adapter for Cameras
• 4 x Video Extension Cable
• 1 x Video-Out Signal Cable
• 1 x DC 5 way Splitter
• 1 x User Manual
• Security Stickers
• This Instruction Sheet
If any of these items are missing, please contact your retailer.
INSTALLATION
FC C WARN IN G STATEM EN T
This d evice complies with Part 15 of FCC Rule s.
Oper ation i s subject to the following two conditions:
(1) Th is device may not cause harmful interference , and
(2) th is device must accept any interference recei ved,
incl uding i nterference that may cause undesired opera tion
2
5. Reception
areas
Where to Place The Security Stickers:
1. On your front window
2. On side windows
3. Near entrance points - doors, gates
4. Next to a dummy camera mounted outside
5. On the front counter
6. On the cash register
7. Next to an obvious camera
6. Cash
register
7. Mix
dummies
& real
cameras
Design of sticker subject to
change without notice.
7
Page 3

FAQs
Using your DVR Using your DVR
Basic Operation
Q. What kind of camera should I buy for this DVR?
A. This unit is designed to work with any of Swann’s extensive Security Camera
range, but any existing composite video camera using BNC or RCA interface for
indoor/outdoor/infrared will work with the DVR. It doesn't matter whether it is color,
black/white or a mix of both camera types.
USB cameras are not suitable for use with the DVR4 Alert.
Q. I can't turn on the DVR.
A. Make sure that the power cord is plugged in correctly and the red power light on
DVR front panel is on. Make sure your power point is turned on.
Q. I see nothing but a black screen after I turn on the DVR.
A. Check the camera input and video output connection on DVR back panel. If you
can't find a problem with these connections, check whether the camera power
cable is firmly connected. Also make sure the monitor is on the correct AV
channel.
Q. My color cameras are showing as black & white on the DVR.
A. Make sure the system format of the DVR is set to either NTSC or PAL to match
your cameras and the TV standard.
Q. Can I prevent other people from stopping the recording while I am gone?
A. Set the password feature to ON in the menu. Now if the DVR is in schedule or
recording mode, no one can change the setting unless they use the correct
password. You should change the password during the initial setup of the unit.
Q. What kind of hard disk drive should I purchase to make the DVR run?
A. Any PC compatible IDE, ATA hard disk drive will work.
To help guide you through the process of setting up the DVR4 Alert, we have
outlined the steps and numbered each of the components required in the diagram
below.
Rear ViewRear View
VCR, TV or MONITOR
V O
I
D
E
O
I
D
U
A
O
U
T
N
I
V
I
D
E
A
O
U
D
I
O
VIDEO IN
7
1
CAMERA
6
Video-Out
55
Signal Cable
(only one provided)
Video Extension
Video Extension
2
Cable x 4
Cable x 4
Video OutputVideo Output
4
Video InputVideo Input
10
DC InputDC Input
DC 5 Way
DC 5 Way
3
Splitter
Splitter
9
DVR POWER
ADAPTOR
8
Camera Power
Camera Power
Adaptor
Adaptor
11
Q. I forgot my password. What should I do?
A. Contact Swann Technical Support, contact detail’s located at the back of this
instruction.
NOTE:
All jurisdictions have specific laws and regulations relating to the use of cameras.
Before using any camera for any purpose, it is the buyer’s responsibility to be
aware of all applicable laws and regulations that prohibit or limit the use of
cameras and to comply with the applicable laws and regulations.
The legality of watching people other than yourself changes from country to
country and even state to state. Contact your local government's privacy
information body or your local Police for more information on what if any
restrictions you may face.
6
WARNING: IMPORTANT
NOTICE ABOUT CORRECT
USE OF POWER ADAPTER
The correct orientation
for the enclosed power
adapter is in a vertical
or floor mount position.
L’orientation correcte pour
L’adapteur secteur fourni
est dans une position
verticale ou plancher-
monte.
La orientacion correcta para
el adaptador electrico incluido
es en posicion vertical o instalado
en el suelo.
Front ViewFront View
Please refer to user’s manual
Please refer to user’s manual
for advance operation.
for advance operation.
3
Page 4

Basic Operation (continued)
Step 1 - Installing the Hard Disk Drive (Skip this step if your DVR comes with a
Step 1 - Installing the Hard Disk Drive (Skip this step if your DVR comes with a
hard disk drive already installed)
hard disk drive already installed)
1. Remove the screws on the bottom of the DVR.
2. Slide the cover off carefully.
3. Connect the power cord and data cable to the hard disk carefully. Ensure the
jumper/s on the hard disk is set to MASTER.
4. Use screws to fix the hard disk onto the rack.
5. Then replace the cover on the case and fix it to the case.
CAUTION:
CAUTION:
Do not open the cover when DVR is running!
Do not open the cover when DVR is running!
Make sure the HDD is set to MASTER.
Make sure the HDD is set to MASTER.
Basic Operation
Basic Operation (continued)Basic Operation (continued)
Way Splitter (3), then plug the Camera Power Adaptor (11) into the mains power
point in your wall.
Step 5 - DVR boot up
Step 5 - DVR boot up
As the DVR boots up, it should detect the HDD installed. If your hard disk is not
detected, please redo step 1.
Step 6 - Accessing the Menu
Step 6 - Accessing the Menu
Press the “ Menu” button to enter the setup menu.
Use the “ Up” and “ Down” buttons to select an item.
Press the “ Select” button to the modify settings.
Step 2 - Connecting your cameras
Step 2 - Connecting your cameras
Connect your cameras (1) to the Video Extension Cable (2), connect the DC
5Way Splitter (3) to the other end of Video Extension Cable (2) using its DC
plug, and connect BNC plug on the Video Extension Cable (2) to the Video Input
(4) sockets (CH1 - CH4) on the rear panel of the DVR unit.
Step 3 - Connecting your DVR to your monitor
Step 3 - Connecting your DVR to your monitor
Connect Video-Out Signal Cable (5) to the Video Output connector (6) on the
back of the DVR, then connect the other end of the Video-Out signal cable (5) to
your TV or Security Monitor’s Video Input socket (7).
Make sure your monitor is on the appropriate AV input channel. If you have an AV
TV with RCA sockets, you will need to switch the TV to the AV channel on the TV
to view the DVR.
This channel may be activated by a button on your remote control which is marked
with this symbol , or L1, L2 or possibly AV, AV1 or AV2.
* To extend the operating distance from your TV or VCR you will need to purchase an A/V
extension cable (sold separately) which are available at most electronics stores.
Note: We do not recommend extending the camera cable length past 330 Feet/100 metres
with a single cable run to avoid loss of signal.
Multiple cable sections connected to make up one cable length can drastically reduce the
video signal run distance.
Step 4 - Powering your DVR & Cameras
Step 4 - Powering your DVR & Cameras
Connect the DC plug (8) at the end of the DVR Power Adaptor (9) into the DC
input socket (10) in the back of the DVR.
Plug the DVR Power Adaptor (9) into the mains power point in your wall.
Connect the DC plug at the end of the Camera Power Adaptor (11) in to DC 5
Press the “ Menu” button again to save your settings & exit.
Step 7 - Setting up the Time & Date
Step 7 - Setting up the Time & Date
Enter the menu system and select the “Sub Menu” option.
Highlight the “Time Setup” option and press the “ Select” button to the modify
settings.
Use the “ Up” and “ Down” buttons to select a time or date to change.
Press the “ Select” button to modify.
Press the “ Menu” button again to save your settings & exit.
Step 8 - Start & Stop Recording
Step 8 - Start & Stop Recording
Press the “ Record” button to start recording.
Press the ” Stop” button to stop recording. With the password option enabled,
you must correctly enter the password to stop recording.
Step 9 - Playback Recording
Step 9 - Playback Recording
Press the “ Play” button to play the last recording (which has not been
previously viewed).
During playback, press the “ Menu” button to initiate the Time Search feature
and display a list of all recorded video clips on the HDD.
Use the “ Up” and “ Down” buttons to select a time or date to change.
Press the “ Select” button to edit time line values and press the “ Play”
button to play the video clip.
4
5
 Loading...