

Page 1
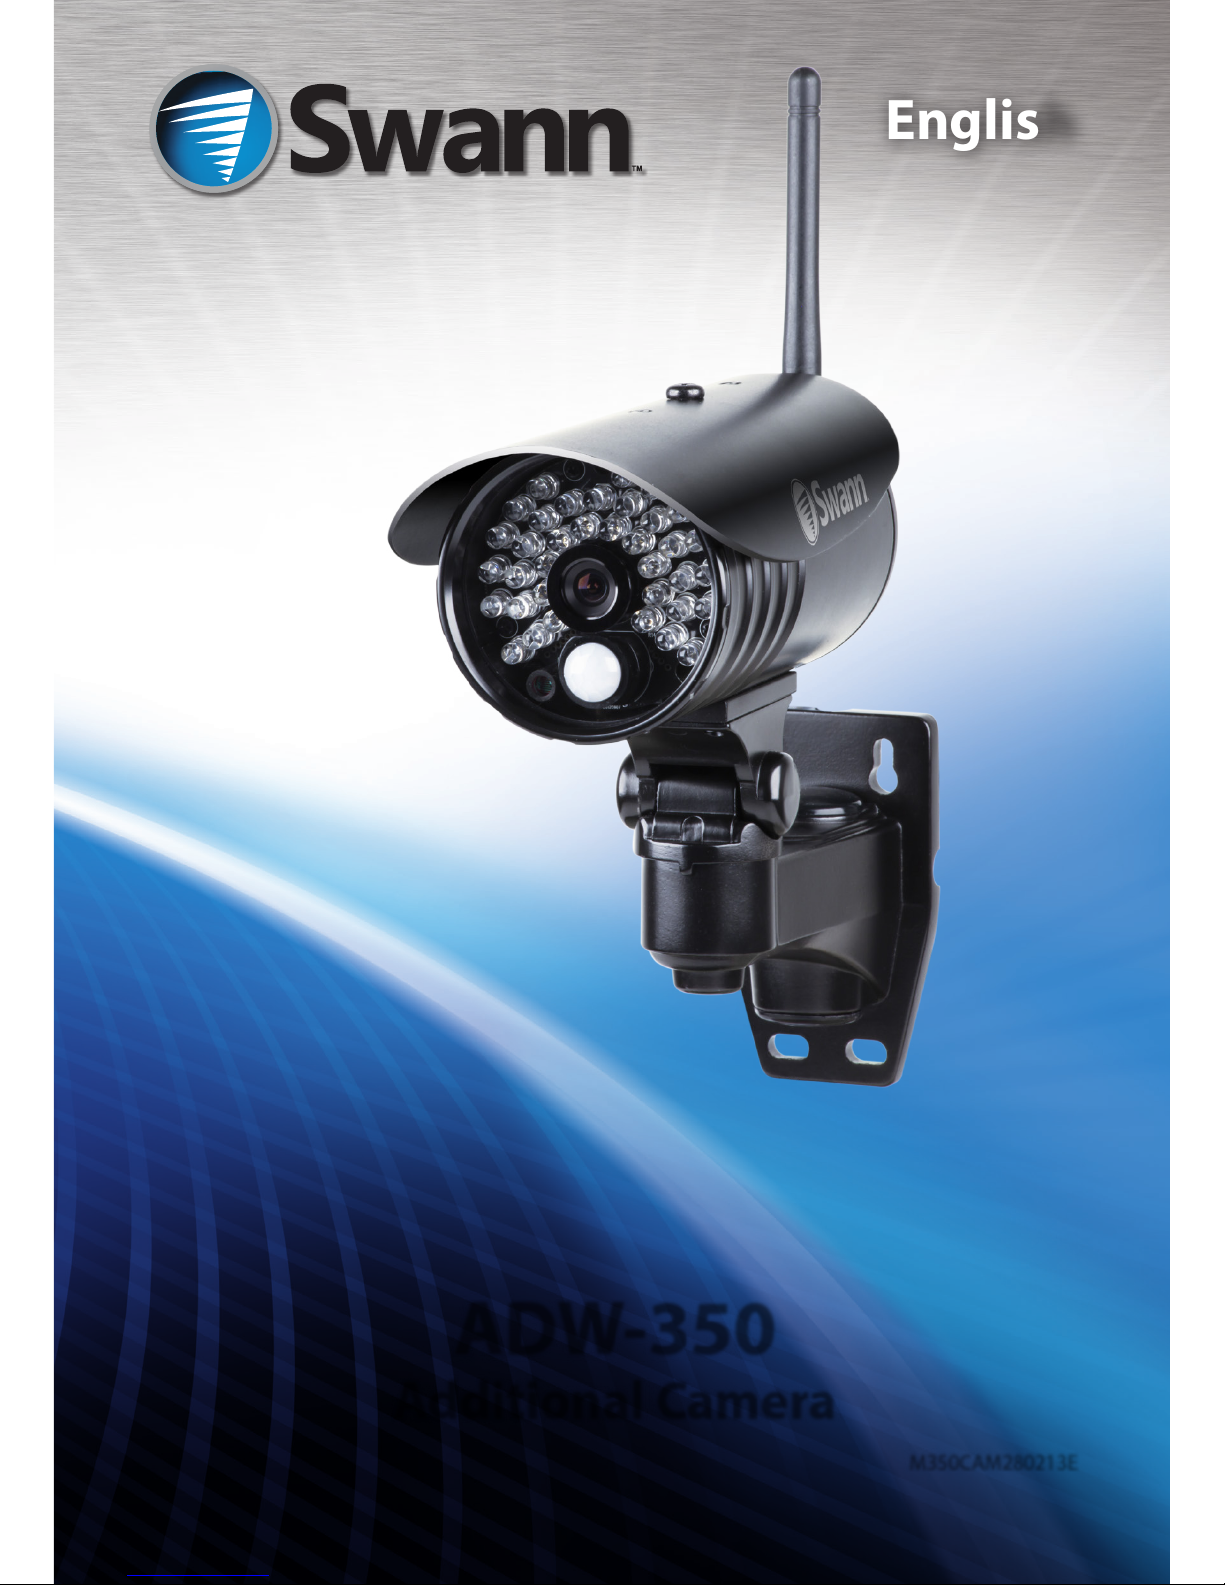
ADW-350
Additional Camera
M350CAM280213E
English
Page 2

This camera requires: a Swann ADW-350 DVR/receiver with at least one free channel.
This camera is not compatible with any other wireless camera system, and cannot be used
without the dedicated ADW-350 DVR/receiver.
Pairing the Camera
Before your cameras will be able to send video images to the DVR, they need to be paired to it.
Pairing is a process where you assign a certain camera to a certain channel on the DVR.
We pair the cameras to the DVR when we pack them as a kit, so you may never have to do this
unless modifying the system in some way, such as adding a camera or changing which camera
is paired with which channel.
A camera can be paired to only one channel on one DVR at a time. Attempting to pair a camera
to a second channel or DVR will cause the rst pairing to be removed.
To pair a camera:
• Open the menu by pressing the Menu button, and navigate to Camera (press OK) then
Pairing (press OK) on the DVR.
• Select the channel you wish to pair a camera to – it will indicate if there’s already a camera
paired to that channel or not.
• The DVR will initiate a 35 second countdown, indicated by the ashing blue LED.
• During this time, press and hold the PAIR button on the rear of the camera for two
seconds or longer.
• A message will appear on the DVR informing you when the pairing is successful.
• If no camera is paired within the countdown, the DVR will retain the previous pairing
settings.
Once a camera has been paired, it is now exclusively bound to the DVR. Unlike traditional
wireless systems where the camera simply transmits to anything in range, the digital wireless
connection is a secure, two way communication system which cannot be easily intercepted by
other receiving equipment.
For additional information, see the instruction guide that came with your ADW-350 kit.
Misplaced the original instructions? Download a copy from www.swann.com
How to Use This Camera
Page 3

Mounting Guide
Mounting the camera is quite straight forward. There are four screw holes in the at plate on
the rear of the camera’s stand (shown above) that can be screwed onto any suitable vertical
mounting surface.
• Use the included screws if attaching to a hardwood surface.
• The included wall plugs are for use with brickwork, concrete and other masonry.
• Due to the nature of the stand and the requirements of the antenna, direct ceiling
mounting is not an option for this camera. However, it could be suspended from the
ceiling by use of a suitable bracket or mounting block.
• Surfaces not suitable for screwing are not recommended as a mounting point for the
camera.
We suggest that between 2.5 and 3m (about 9 - 10 feet) o the ground is the ideal height for
the camera, looking downwards at between 10 to 15 degrees.
Of course, you should have the DVR with you when aiming the camera - and go with what looks
right to you, even if it diers from the suggestions above. We’ve never been to your house or
business, and we don’t know what it looks like.
Page 4

All Countries E-mail:
tech@swann.com
USA toll free
1-800-627-2799
USA Exchange & Repairs
1-800-627-2799 (Option 1)
(M-F, 9am-5pm US PT)
UK
0203 027 0979
AUSTRALIA toll free
1300 138 324
NEW ZEALAND toll free
0800 479 266
Helpdesk / Technical Support Details
Warranty Information
Swann Communications warrants this product against defects in workmanship and material for a period
of one (1) year from its original purchase date. You must present your receipt as proof of date of purchase
for warranty validation. Any unit which proves defective during the stated period will be repaired without
charge for parts or labor or replaced at the sole discretion of Swann. The end user is responsible for all
freight charges incurred to send the product to Swann’s repair centers. The end user is responsible for all
shipping costs incurred when shipping from and to any country other than the country of origin.
The warranty does not cover any incidental, accidental or consequential damages arising from the use
of or the inability to use this product. Any costs associated with the tting or removal of this product by
a tradesman or other person or any other costs associated with its use are the responsibility of the end
user. This warranty applies to the original purchaser of the product only and is not transferable to any
third party. Unauthorized end user or third party modications to any component or evidence of misuse
or abuse of the device will render all warranties void.
By law some countries do not allow limitations on certain exclusions in this warranty. Where applicable
by local laws, regulations and legal rights will take precedence.
For Australia: Our goods come with guarantees which cannot be excluded under Australian Consumer
Law. You are entitled to a replacement or refund for a major failure and for compensation for any other
reasonably foreseeable loss or damage. You are also entitled to have the goods repaired or replaced if the
goods fail to be of acceptable quality and the failure does not amount to major failure.
Warning: Modications not approved by the
party responsible for compliance could void
user’s authority to operate the equipment.
IMPORTANT SAFETY INSTRUCTIONS
• Make sure product is xed correctly and
stable if fastened in place
• Do not operate if wires and terminals are
exposed
IMPORTANT NOTE: All jurisdictions have specic laws
and regulations relating to the use of cameras and audio
devices. Before using this camera for any purpose, it is
the buyer’s responsibility to be aware of all applicable
laws and regulations that prohibit or limit the use of
cameras and to comply with the applicable laws and
regulations.
FCC Verication
NOTE: This equipment has been tested and found to
comply with the limits for Class B digital device, pursuant
to part 15 of the FCC Rules. These limits are designed
to provide reasonable protection against harmful
interference in a residential installation. This equipment
generates, uses and can radiate radio frequency energy
and, if not installed and used in accordance with the
instructions, may cause harmful interference to radio
or television reception, which can be determined by
turning the equipment o and on, the user is encouraged
to try to correct the interference by one or more of the
following measures:
• Reorient or relocate the receiving antenna
• Increase the separation between the equipment
and the receiver
• Connect the equipment into an outlet on a
circuit dierent from that to which the receiver is
connected
• Consult the dealer or an experienced radio/TV
technician for help
These devices comply with part 15 of the FCC Rules.
Operation is subject to the following two conditions:
• These devices may not cause harmful interference,
and
• These devices must accept any interference
received, including interference that may cause
undesired operation.
© Swann Communications 2013
 Loading...