

Swann ADS-453 QSG Quick Start Manual
1
EN
SwannEye HD Plug & Play
Wi-Fi Security Camera
Quick Start Guide
Welcome!
Lets get started.
QHADS453080414E | © Swann 2014
Congratulations on your purchase of this SwannEye HD Plug
& Play Wi-Fi Security Camera from Swann!
This quick start guide will familiarize you with the features
and functionality of your camera and walk you through the
basics of:
• Connecting the camera to your network
How to connect the camera to your wired or wireless network
• Using the SwannEye HD software/mobile app
How to install the SwannEye HD software/mobile app on
your computer and mobile device, and create an account to
access and control the camera.
1
Introduction
Before installing anything permanently, connect everything up and test the camera - just to make sure nothing was
damaged during shipping!

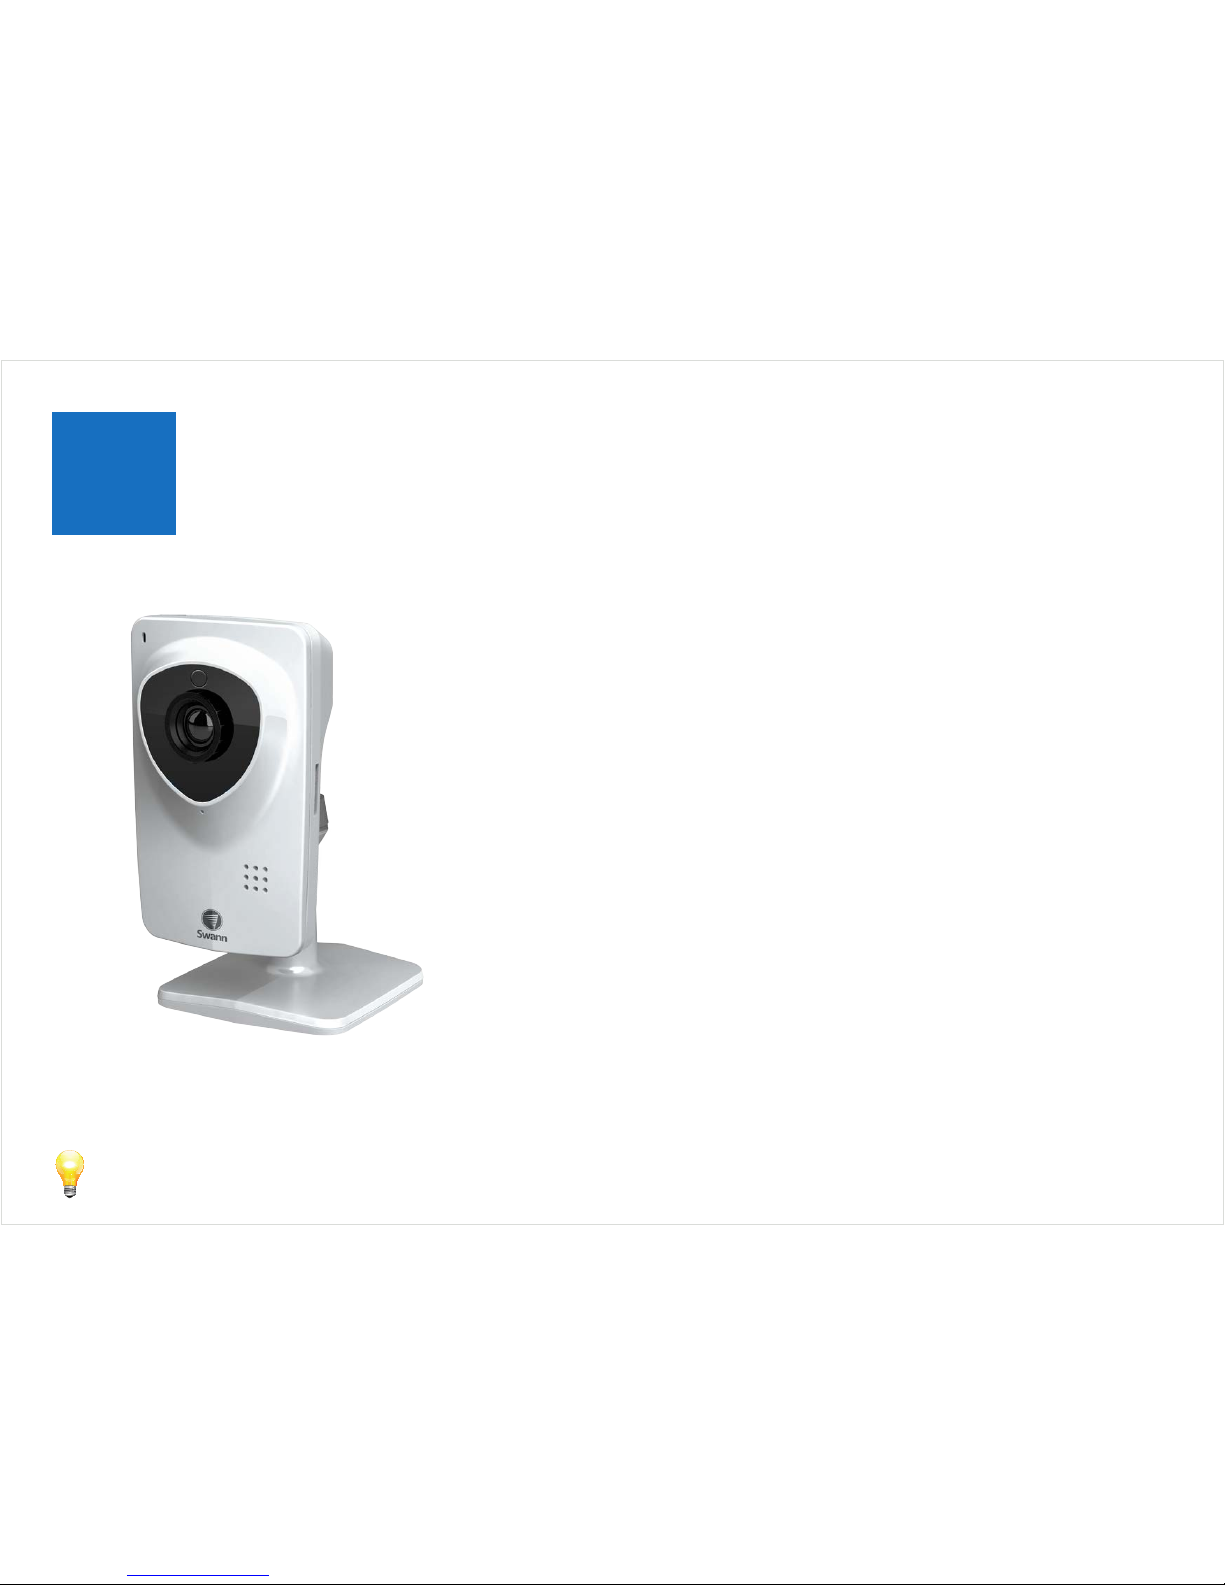
2
Getting to Know the Camera
Front View
1. Microphone - Allows the camera to hear nearby
sounds and stream them with the video.
2. Light Sensor - Detects the amount of incoming light
and turns on the IR LEDs for night vision when necessary.
3. Infrared (IR) LEDs - Illuminates targeted areas when
in near-total darkness.
4. Speaker - The various alerts and alarms will be heard
from here.
1
2
4
3
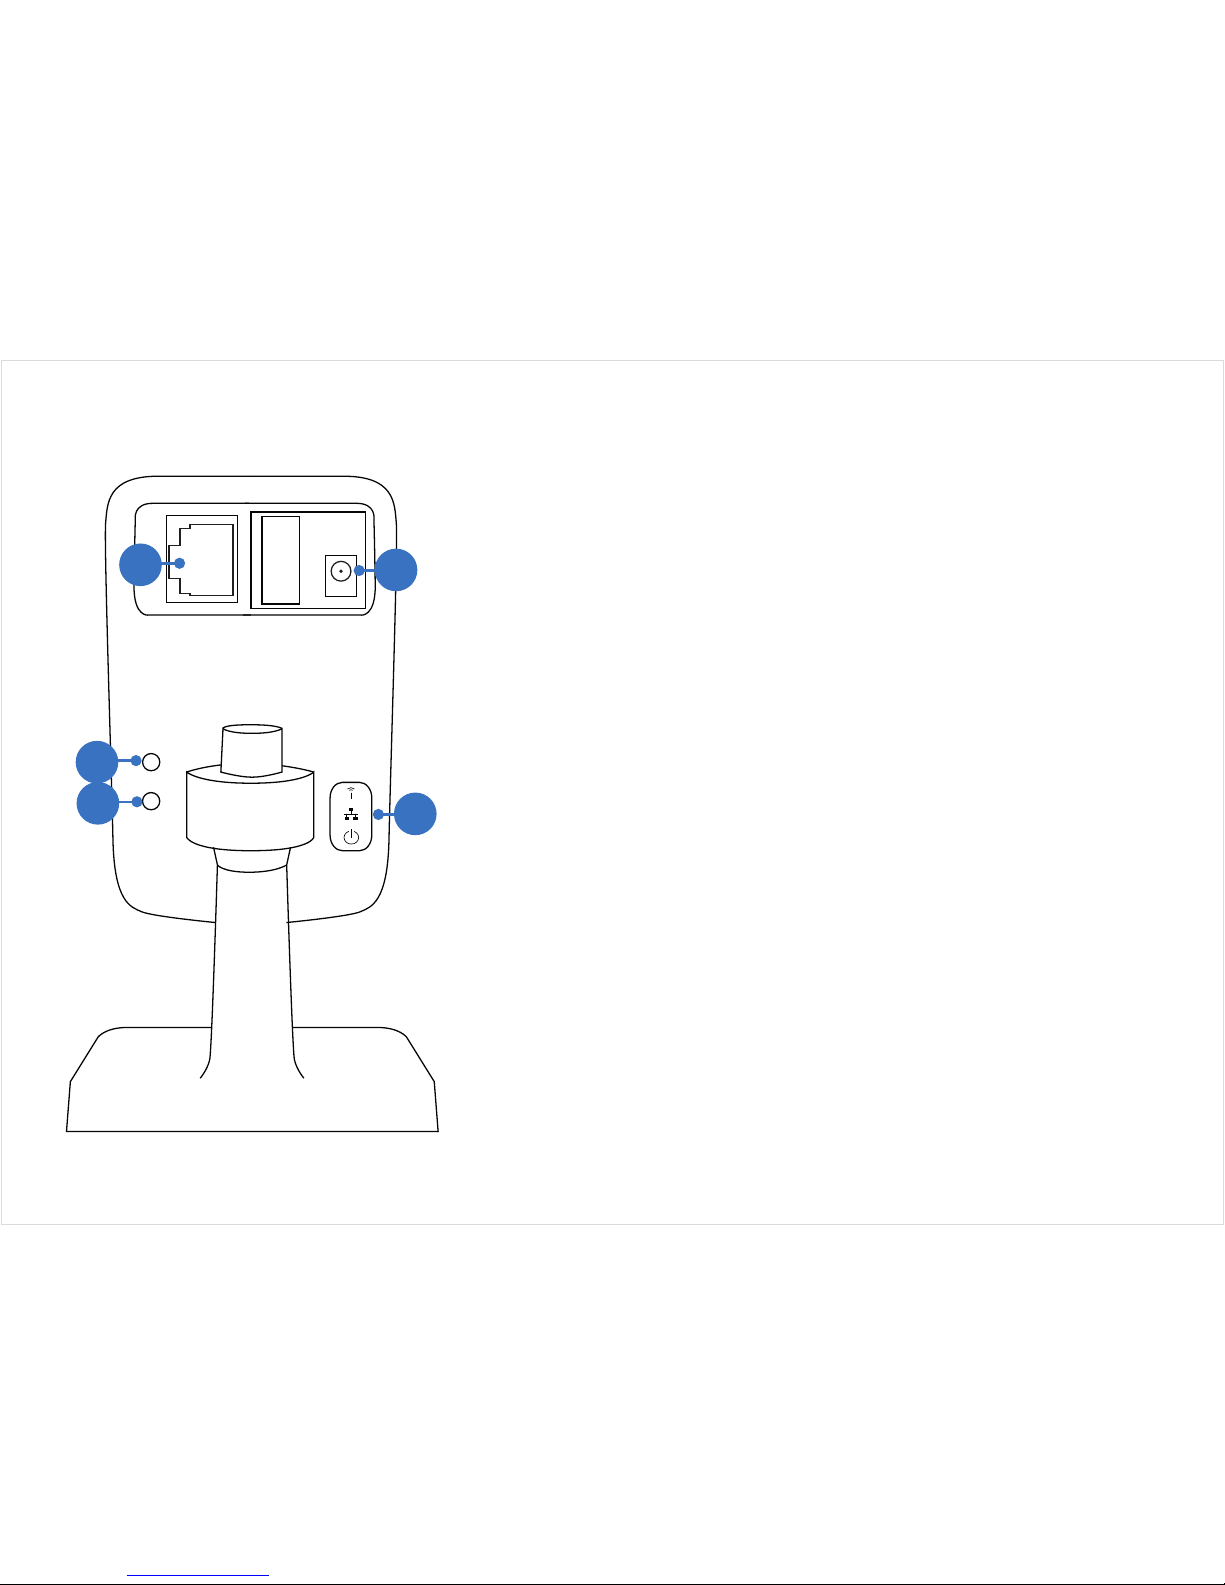
Back View
1. Ethernet Port - For a wired connection, connect
this to a spare port on your wireless router.
2. Power Connector - For connecting the supplied
power adapter.
3. Reset Button - Press and hold while disconnecting
and reconnecting the power supply to reset the
camera’s settings to factory defaults.
4. WPS Button - For connecting wirelessly to a WPS-
enabled router.
5. LED Indicators - These display the current status
of the camera.
•Wi-Fi LED - Lights up when the camera is
connected to your Wi-Fi network.
•LAN LED - Lights up when the camera is
connected to your network using the Ethernet
cable.
•Power LED - Lights up when the camera is
connected to power and switched on.
1
2
3
4
5
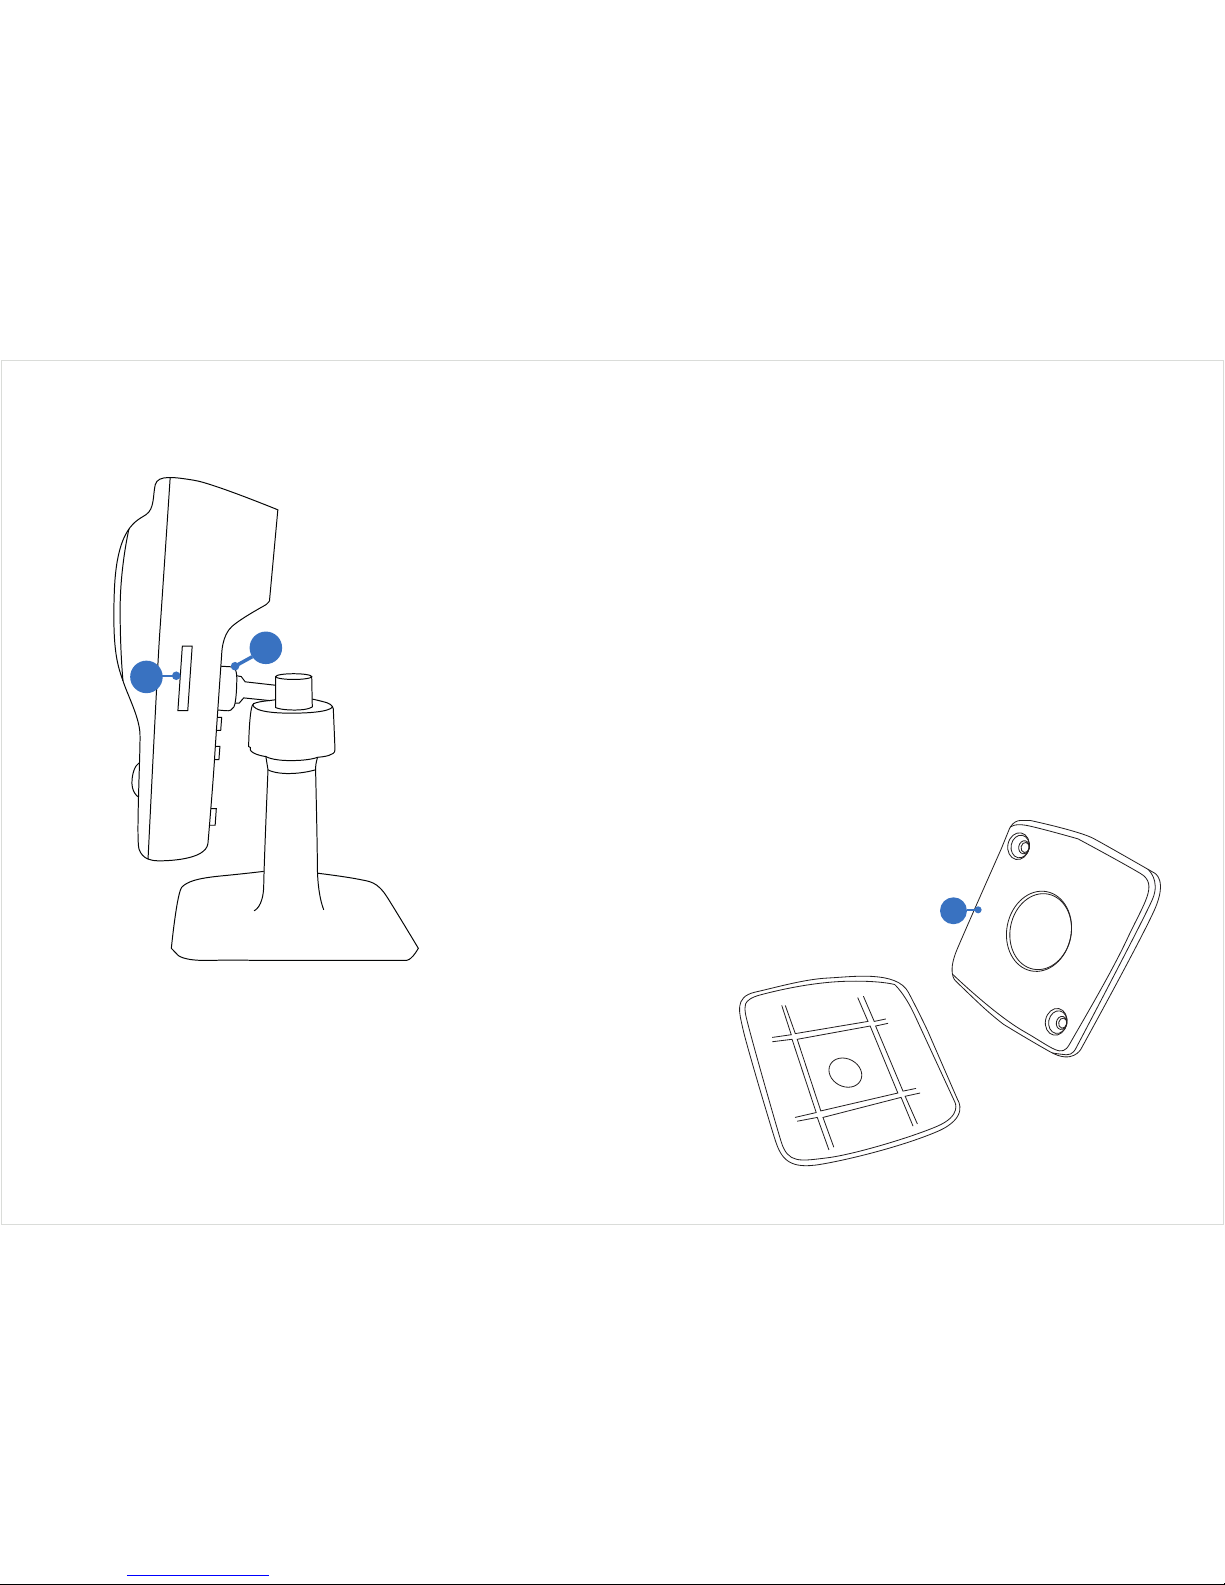
Side View
Stand
1. Micro-SD Card Slot - Inserting a Micro-SD card
allows you to capture snapshots and record
videos directly to the card. This is optional and is
recommended for advanced users only.
2. Bracket Mount - Attach the supplied camera
stand here.
1
2
3
3. Mounting Plate - Underneath the camera
stand is a mounting plate. You can use this
to mount the camera to a wall or ceiling.
A
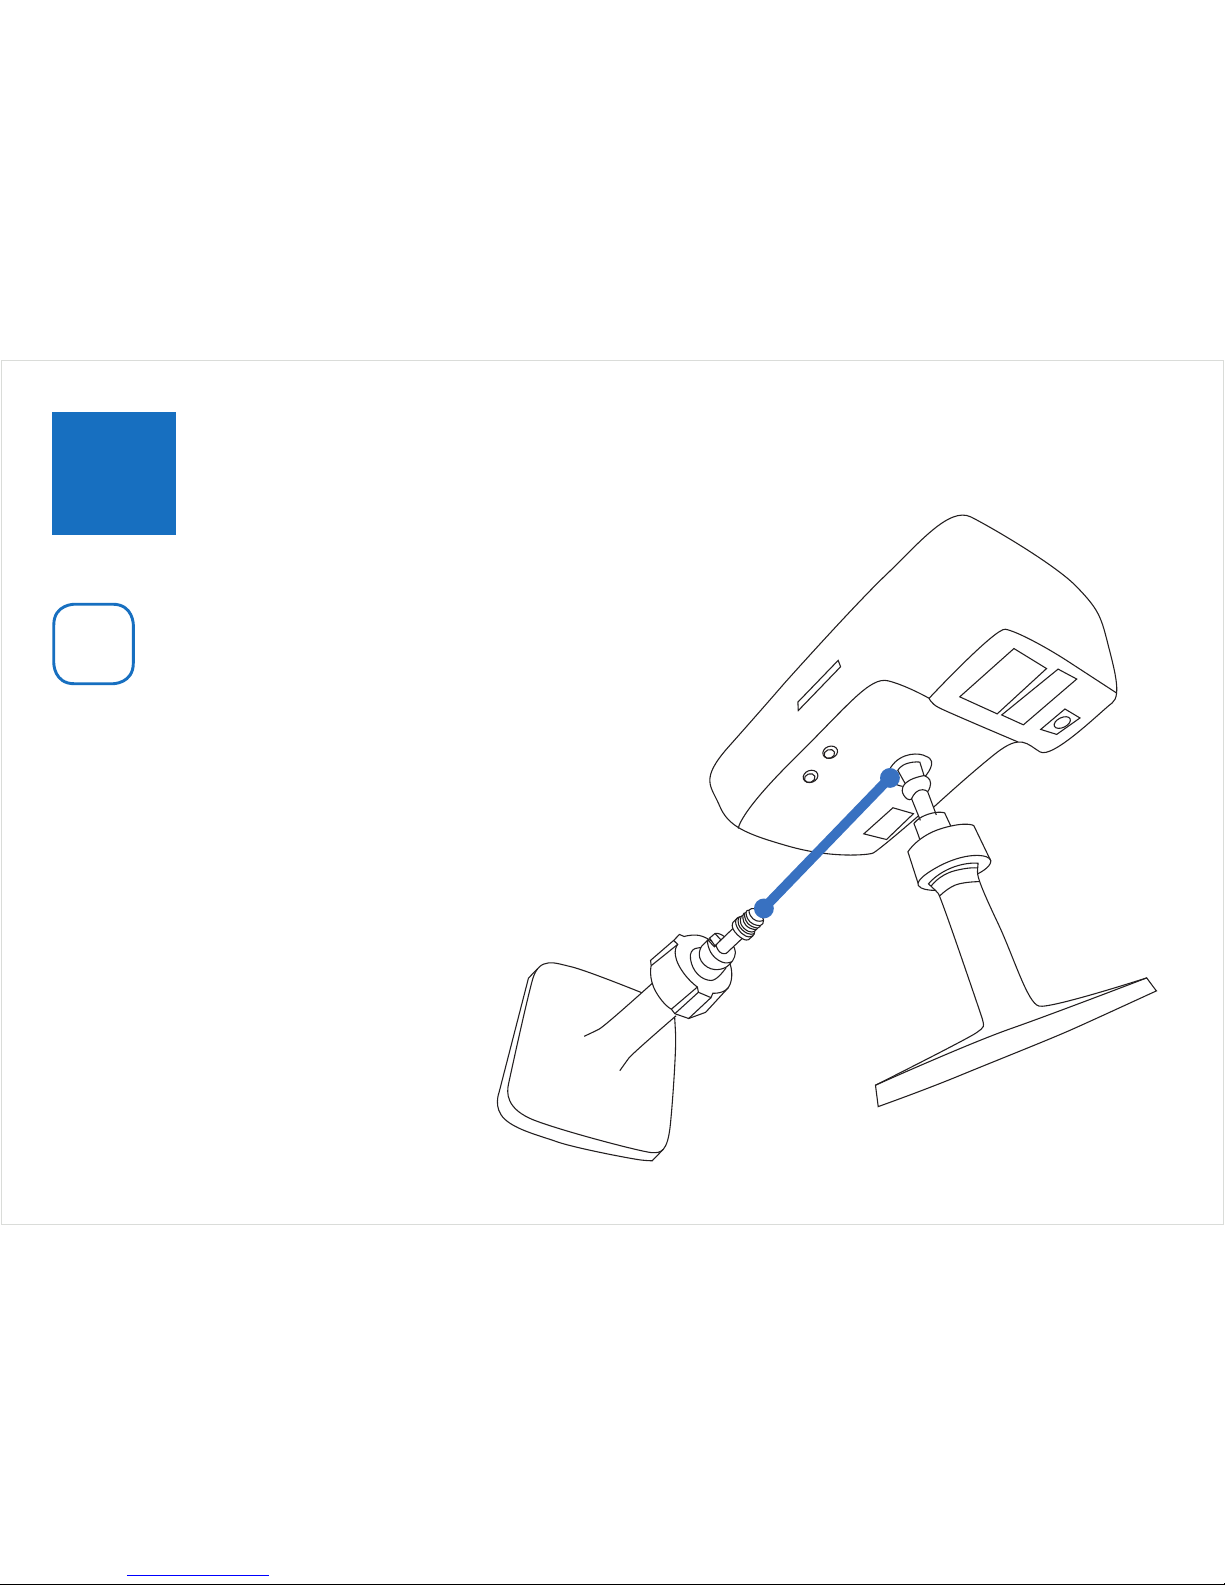
3
Installing the Camera
Screw the camera stand to the bracket
mount located on the camera. Use a
clockwise motion to connect. Adjust
the stand accordingly.
 Loading...