

©2010 IZZO Golf, Inc.
©2010 IZZO Golf, Inc.
USER
MANUAL
Izzo Golf
1635 Commons Parkway
Macedon, NY 14502
1-800-777-7899
www.izzo.com
sales@izzo.com
©2010 IZZO Golf, Inc.

TABLE OF CONTENTS
Package Contents & Computer System Requirements
SWAMI 1500
Registering & Charging SWAMI
USB attached to the Computer
Set-Up Instructions
Complete Steps to set up your SWAMI
Button Layout & Screen Layout
Button Description
Up/Down, FCB, ENT
Screen Icon Description
Battery Level
Satellite Signal
Hole #
Course #
FCB – Front, Center, Back
Yardage to the green
Mini USB Port
Using SWAMI Map Manager
Connecting SWAMI to your Computer
Selecting Courses
On the Course Database
Listed on the Course Database but not mapped
Not listed on the Course Database
Loading Selected Courses to SWAMI
Playing Golf
Turning SWAMI On/Distance to First Green
Using SWAMI
Turning SWAMI Off
Appendices
Troubleshooting
Error Messages
Helpful Hints
3
4
5
6
7-9
10
11-12
©2010 IZZO Golf, Inc.
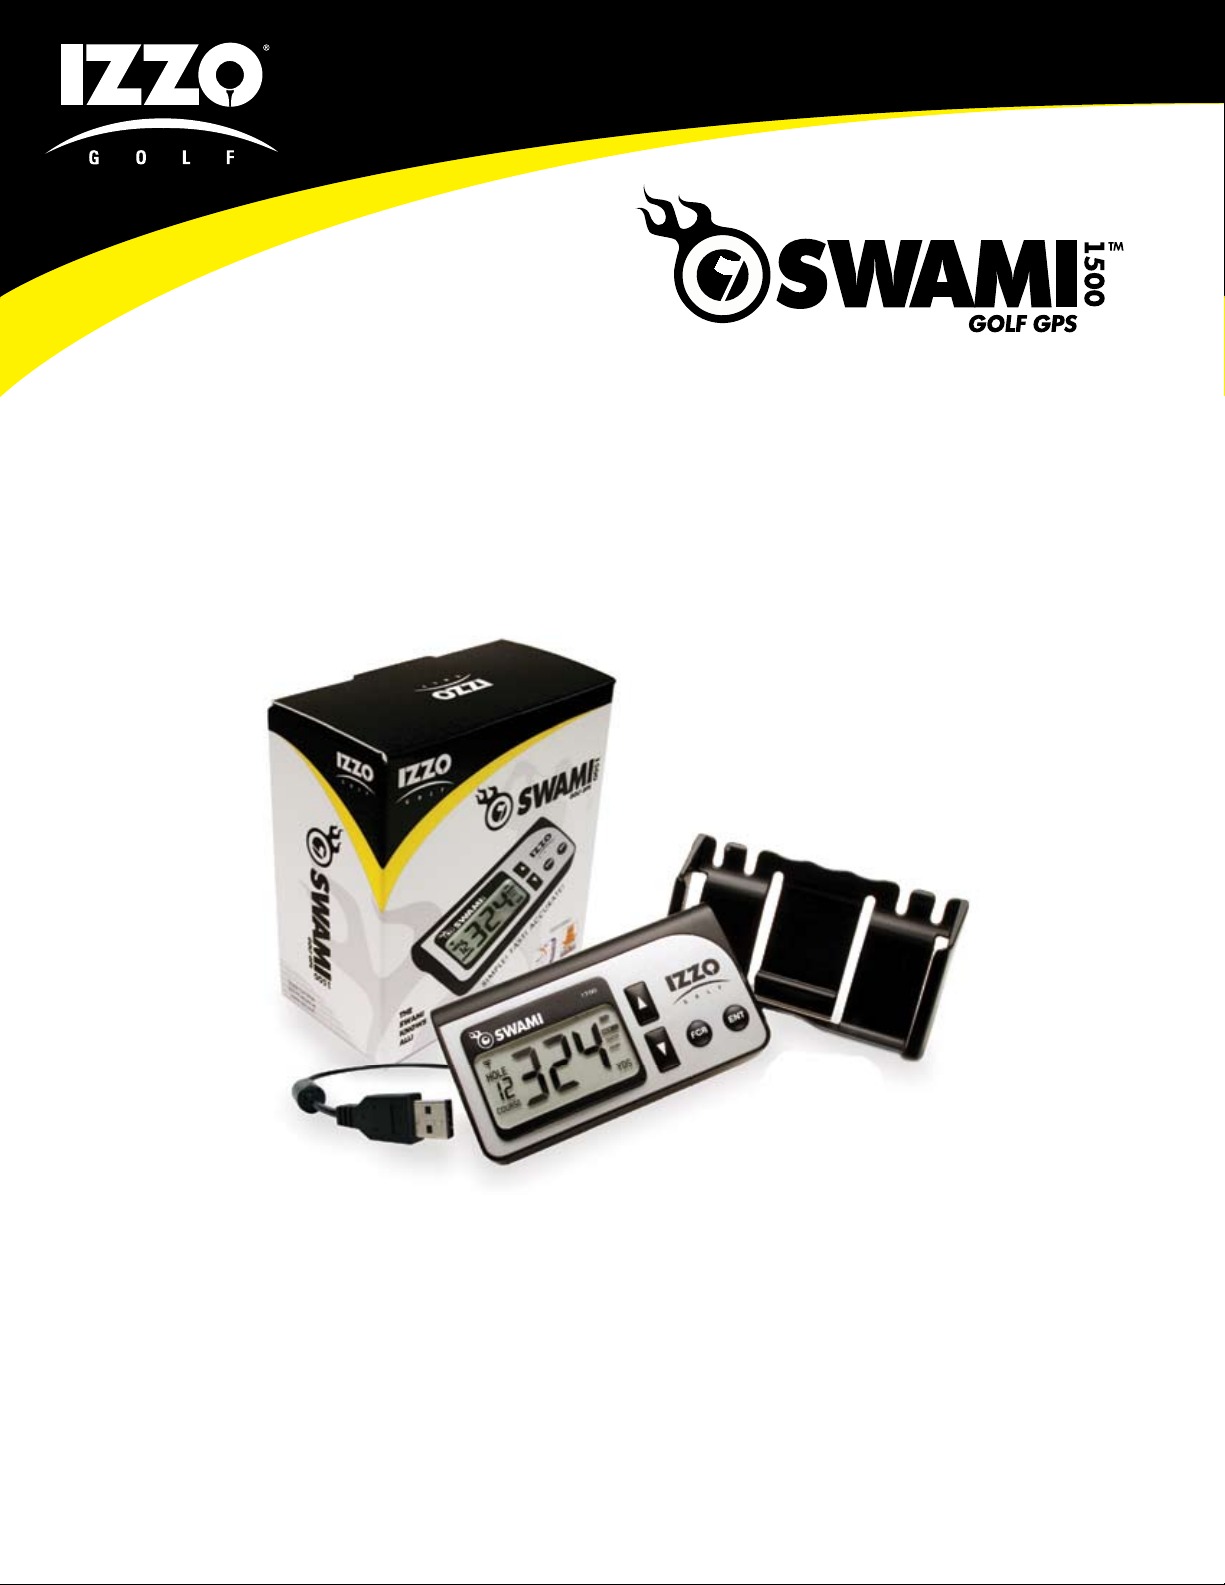
PACKAGE CONTENTS
SWAMI 1500 Golf GPS
•
Quick Start Guide
•
Belt Clip
•
USB Computer Cable
•
*Other SWAMI accessories available for purchase at www.izzo.com
COMPUTER SYSTEM REQUIREMENTS
Operating System of Windows: Vista, XP, 2000, 7
•
USB Port
•
High-Speed Internet Access/Connection
•
256 MB RAM
•
4 MB of available Hark Disk Space
•
Enable Cookies
•
3
©2010 IZZO Golf, Inc.
TO REGISTER & SET UP YOUR SWAMI,
TURN TO THE FOLLOWING PAGE OR
GO ONLINE TO:
www.izzo.com/swami-setup
and complete all steps of
the set-up process.
(We recommend reading through the entire
instructions prior to beginning installation).
CHARGING SWAMI
SWAMI contains a rechargeable Lithium Ion Battery. The battery should be fully charged prior to use. It
will take 2-4 hours to fully charge the battery. A fully charged battery will yield a minimum of 12 hours of
playing time under normal operating conditions.
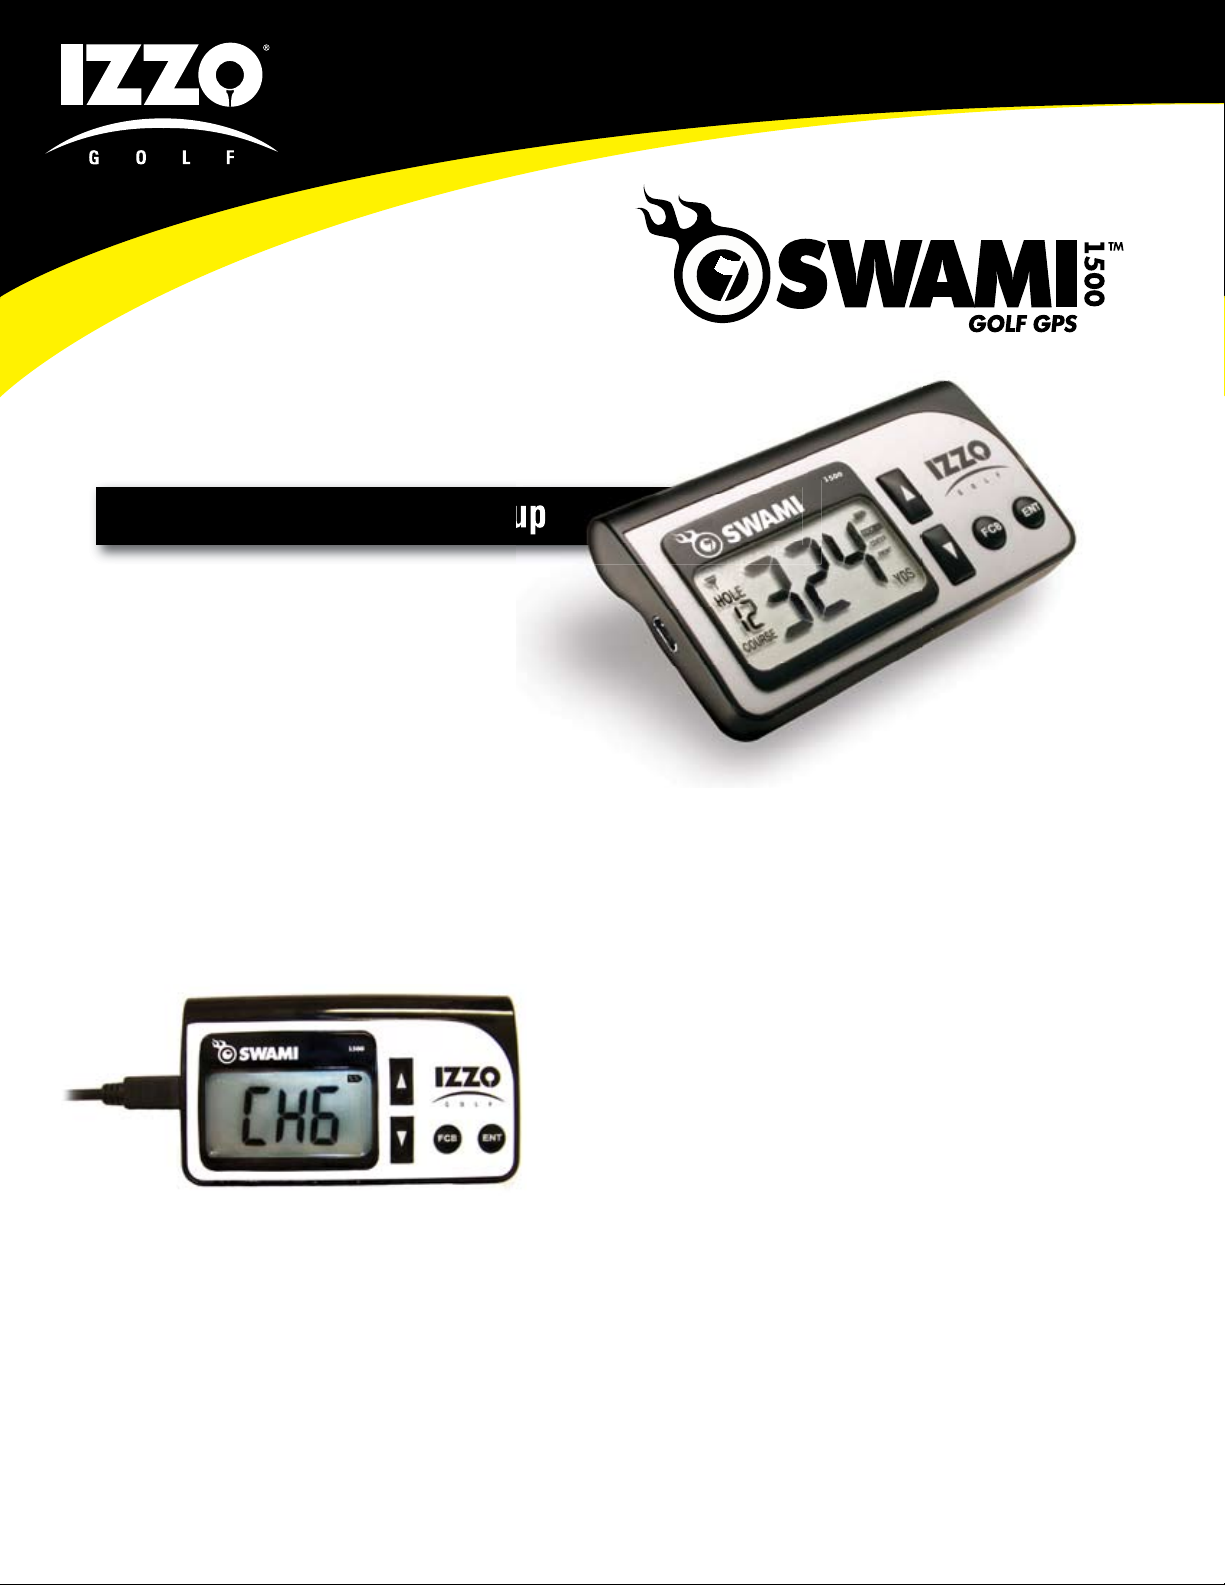
When charging SWAMI:
First open the SWAMI Map Manager program on your
computer before plugging SWAMI in. Attach SWAMI
to the computer by using the USB Cable provided.
(WARNING: Never turn the unit on while connected
to the computer). The letters CHG will appear on the
screen. (As shown to the left). The battery icon in the
upper right-hand corner will blink. Once fully charged,
the battery icon will be solid and no longer blinking.
(IMPORTANT: Please make sure that the computer
you are using is not set to go into sleep, hibernate,
standby or automatic turn off mode). This will cause
the charging to stop.
Remember to fully charge SWAMI before going
to the course for the fi rst time.
4
NOTE: If when disconnecting the SWAMI from your
computer you still notice CHG on the unit display, this
means your unit is “frozen” and will not function. This
is caused when turning on the unit while connected.
To reset the unit, hold down both arrow buttons and
the FCB button at the same time. (See pg. 12 for
instructions on how to reset your unit).
©2010 IZZO Golf, Inc.

IMPORTANT: DO NOT TURN SWAMI ON DURING THE
SET-UP, REGISTRATION OR MAP LOADING PROCESS
SWAMI SET-UP INSTRUCTIONS
Please complete all steps below to ensure that your Swami is properly set-up:
STEP 1–Download USB Drivers: RUN the installation*
* If you use Firefox as your browser you must first SAVE to your desktop and then start the Install
from there.
STEP 2–Download Swami Map Manager Program: Click here and RUN the installation*
* If you use Firefox as your browser you must first SAVE to your desktop and then start the Install
from there.
STEP 3–Launch Swami Map Manager from your desktop by double clicking the short-cut icon
STEP 4–Once Swami Map Manager is open, plug your Swami into a USB port with the cable
provided (Reminder - DO NOT Turn on Swami) At this time an automatic software update will
occur, please wait for it to finish – it may take up to a minute or two depending on your internet
connection.
STEP 5–The REGISTRATION page will appear, complete all information on this page.
STEP 6–Upon completion of all registration information the Annual Course Map Fee and any
Extended Warranty fees will appear in the shopping cart.
STEP 7–Complete all steps of the check out process.
STEP 8–When you reach the confirmation page of the checkout process click the NEXT button to
continue.
STEP 9–You will be taken to the My Course List page to search and load courses to your Swami
(Swami will hold up to 10 courses).
Congratulations! Your Swami is now ready to use on the course.
(Please note: Make sure your Swami is fully charged the first time you use it on the course, once fully
charged your Swami should last at least 3 full rounds)
5
©2010 IZZO Golf, Inc.

BUTTON LAYOUT & SCREEN LAYOUT
Primary Function Secondary Function
Button
1
ENT On/Off Select a different Course
2
Up/Down Arrows Move between holes Move between Courses
3
FCB Distance to Front,
Center, Back of Green
Screen Icon Descriptions
Icon Description
Battery Level – Shows remaining amount
Satellite Signal
(when in “Course” mode)
1
3
2
Hole # being played
Course # - Location number of Course in SWAMI (1-10) as appears
in your COURSE LIST in Map Manager
Front, Center, Back – Distances to the Green
Yardage Amount; Charging; Error Messages
Mini USB Port
Used with Cable for Charging the Battery and/or Connecting to a Computer
6
©2010 IZZO Golf, Inc.

SELECTING & DOWNLOADING COURSES
Search & Select the courses that you want on SWAMI. SWAMI can hold up to
10 courses at any one time.
For all following sessions with SWAMI Map Manager:
Make sure that you are connected to the internet to select and download
•
courses.
Launch SWAMI Map Manager by clicking the desktop shortcut
•
Plug in SWAMI and DO NOT turn SWAMI on. SWAMI Map Manger will
•
automatically recognize your unit and will take you to your Course List and
the Course Map Search & Selection Page
MAPPED COURSES ALREADY IN THE DATABASE
You can select a course that has a green and add it to ‘My Course List
1.
The course will be placed in ‘My Course List’
2.
You can remove a course by clicking the red from ‘My Course List’
3.
2
1
3
7
©2010 IZZO Golf, Inc.

LOADING SWAMI WITH SELECTED COURSES
Once you’ve settled on your list of courses, press the “Update SWAMI” button just above
•
“My Course List.”
When your Course List appears in the lower left pane under SWAMI Device, you have a
•
SWAMI with courses on it.
List Of Courses
currently loaded on
your SWAMI unit
You may add and delete from MY COURSE LIST and load SWAMI as many times as you want.
•
Always remember to click Update Swami anytime you change your “My Course List.”
To remove a course from the SWAMI, click on the red ‘x’ and click ‘Update Swami’ button. The
•
course will be removed from your SWAMI unit.
You are now ready to play golf the SWAMI way!
•
View My Course List on the IZZO Golf Website (optional)
You may access you personal list from the internet by going to www.izzo.com and entering your
•
login information. Navigate to GPS -> Course Maps
You can search and add/delete courses to MY COURSE LIST and download them to SWAMI at a
•
later date.
NOTE: You cannot load course maps without Map Manager open and your SWAMI plugged in.
•
You can navigate pages you have visited
within SWAMI Map Manager in the tool bar
on the top left.
Sync
SWAMI
Course
Selector
Page
Previous/Forward
Page
8
Print
Window
©2010 IZZO Golf, Inc.

LISTED COURSES THAT ARE NOT YET MAPPED: REQUESTING
If you’ve searched a course that has a yellow “+”, clicking on that will signal Izzo Golf that you have
•
requested a course map that we do not presently have in our database.
The course will be placed on your requested list
•
(located below the legend at the bottom of the page.)
Izzo Golf will map course within 5-10 business days.*
•
You will receive an email confirming your request.
•
You will be receiving an email advising you when the
•
course has been mapped.
Open Map Manager and plug in your SWAMI. Note
•
the green next to your requested course in
your Request List. Click on the green to add the
course to My Course List.
Click “Update SWAMI” to load course onto your unit
•
*Turnaround on mapping requests may vary
depending on availability of satellite imagery needed
to map couses.
COURSES NOT LISTED: NEW COURSE REQUEST
When searching for a course, please note the “less is more”
•
rule applies. All you need to enter is the first few letters of
the course name (plus the State/Province). Please note that if
you misspell the course name, it will appear the course isn’t
available even though it is. Try searching a few different ways
before requesting a “New” course map.
If you cannot find a listing of a course, click the associated
•
link under Golf Course Selecter at the top of the page and fill
in the required info (as indicated to the right) via the template
that appears.
NOTE: You may need to disable your pop-up blocker to see
•
this template. Simply hold down the CTRL key and click on
the link to temporarily disable your pop-up blocker.
You will receive an email confirming your request.
•
You will need to search the course again.
•
Izzo Golf will add the course name in our database which will
•
be listed with a yellow next to the course.
You must now request that course by following the steps
•
outlined in the section at the top of this page.
9
©2010 IZZO Golf, Inc.

PLAYING GOLF WITH SWAMI 1500
Turning SWAMI On/Distance to Green on Hole #1
Arrive at a golf course that you have loaded the map onto SWAMI
•
Stand under an open sky (No structure overhead blocking SWAMI)
•
Press the ENT button for about 4 seconds or until you see Digits on the
•
screen. Release the button.
SWAMI will count off time as it is acquiring satellite signals. In the
•
event that the satellite signals were not sufficient, this step may need
to be be repeated.
Once enough satellites are located, SWAMI knows where you are and
•
what course you are on! (Note tips below when at a location with
multiple courses).
SWAMI will automatically show you the distance in yards to the center of the green for hole #1.
•
Facilities that have more than 18 holes are discussed below
•
Using SWAMI
Press the up/down arrows to move from hole to hole. The hole number
•
appears on the left of the screen.
The default yardage is to the Center of the green for the hole that you have selected. By pressing
•
the FCB button, you can see the distance to the Front and Back as well. (Note the Front, Center &
Back Icons are on the right of the screen).
SWAMI Power-up Display
10
Turning SWAMI Off
Press and Hold the ENT button for about 5 seconds or until you see
•
three dashes appear on the screen. OR...
Hold down both Arrow buttons and FCB button at the same time
•
Facilities with More Than One Course
(Assuming all courses from that location are loaded onto SWAMI)
Wait to turn SWAMI on until you are at the First Tee of the course
•
SWAMI Power-down Display
that you are playing
SWAMI will by default, recognize the course with the least distance to the first green from where
•
you’re standing.
If that yardage is not correct:
•
- Press the ENT button once to switch the unit into “Course” mode. (The Course # will
be highlighted on the left of the Screen).
- Press the UP/DOWN arrows to change courses until you see the correct yardage for
the first hole you’re playing.
- Once you have found the right course, press the ENT button once and SWAMI will
have switched back to “Hole” mode on the course you are playing
©2010 IZZO Golf, Inc.

TROUBLESHOOTING & ERROR MESSAGES
Q: I tried to turn on SWAMI while connected to the
computer, and the unit froze. What should I do?
A: As instructed in the Quick Start Guide and User Manual,
you should not attempt to turn on your SWAMI while
connected to the computer. If you do so, the unit will freeze
and not function properly. To reset the SWAMI, disconnect
it from the computer and at the same time hold down both
Arrow buttons and the FCB button until the unit shuts
down. You can now reconnect your SWAMI to the computer
(do not turn it on) for charging and/or downloading courses
through SWAMI MapManager, as normal.
Q: While playing, my SWAMI is acting strange and
doesn’t seem to be performing correctly?
A: Simply reset your SWAMI and reboot. To reset the
SWAMI, at the same time hold down both Arrow buttons
and the FCB button until your unit shuts down. Restart the
SWAMI and allow it time to power up. It should lock on to
the course you’re playing (assuming the course has been
loaded onto your SWAMI) and display distance to the first
green. Depending on what hole you’re on, you may need
to advance to the correct hole via the Up or Down Arrow
button. (i.e. Shotgun start on a different hole than #1).
Q: In some instances while playing on the same course,
the yardage seems to vary from day-to-day. What causes
this and is my SWAMI defective?
A: All GPS systems can be affected by various conditions
that can cause interference in receiving signals from the
GPS satellites above. Overcast skies, rain, high humidity,
large objects (i.e. skyscrapers), dense tree cover, etc. can
affect performance on any given day, by minimizing the
number of satellites SWAMI is able to receive signals from.
Q: On one or more holes the distance to the green is
consistently off by 10+ yards? What should I do?
A: First of all, if a golf course has gone through recent
reconstruction – mainly moving a particular green – your
SWAMI map may be outdated. You can verify accuracy by
standing on the front of the green, pressing the FCB button
(select Front) and seeing if your distance reads zero or
close to it (note plus or minus 3 yard tolerance is normal).
If the SWAMI reads 10+ yards than there may be an issue
with the course map. This is a fairly easy fix – simply call
SWAMI Support at 800-777-7899 or email sales@izzo.com
to report the problem.
Q: My SWAMI is displaying an error message? What does
it mean?
A: Please note the following definitions of various error
messages:
E1- Current selected hole green is
•
greater than 999 yards away
E2- No course within SWAMI range
•
(Most likely course not on unit)
E3- No courses loaded on SWAMI
•
E4- Low battery on startup
•
(< 30 minutes of battery life expected)
E5- Hardware Issue Call SWAMI Support
•
at 1-800-777-7899
E6- Hardware Issue Call SWAMI Support
•
at 1-800-777-7899
E7- Hardware Issue Call SWAMI Support
•
at 1-800-777-7899
Other Troubleshooting:
1. “Device Not Found”
2. Don’t see My Course List
LEGAL DISCLAIMER
By using SWAMI 1500, you agree to not hold IZZO Golf, Inc.
legally responsible for damages or injury to you or any person
or property caused by the improper operation and/or poor
judgment while using the device.
11
©2010 IZZO Golf, Inc.

SWAMI HELPFUL HINTS
Charging Your SWAMI
For optimal charging, IZZO recommends that you charge your SWAMI directly through your computer using
the provided USB cable. (Wall and Car Charger accessories are available for purchase at www.izzo.com).
PLEASE NOTE: When charging through your computer, first make sure your SWAMI is turned OFF then
make sure SWAMI Map Manager is running before you plug it in. Also, make sure that your computer is
NOT set on Sleep or Hibernate mode (your SWAMI will not charge in these modes).
When the battery icon (upper right corner) stops blinking, your SWAMI is fully charged. It takes
approximately 2–4 hours to fully charge your Swami.
Unlocking Your SWAMI
Like many of today’s electronic products, SWAMI may lock or freeze up. To unlock your Swami simply press
the Up Arrow, Down Arrow and FCB buttons all at the same time.
Common Error Messages
Below are some common error messages that may show up on your SWAMI:
E1–Current hole green is greater than 999 yards away. (may also show up when battery is running low)
E2–No course within SWAMI range. (make sure the course(s) you want to play show up in the lower left
box in SWAMI Map manager)
E3–No courses loaded on SWAMI.
12
Searching for Courses in Map Manager
For best results while looking for courses in SWAMI Map Manager, fill in the state then type in the first few
letters of the course name you are interested in.
*Please refer to user manual for this process before calling us.
For any issues or questions you may have, please contact SWAMI Support at 1-800-777-7899.
©2010 IZZO Golf, Inc.
 Loading...