

www.sureflap.com support@sureflap.com 1-855-461-4740
Installation in:
Wooden Doors
Plastic Doors
Plasterboard Walls
Tools you will need:
Blu Tack
Crosshead Screwdriver
Drill
Jigsaw
Sharpened Pencil
Spirit Level
Ruler
DIY installation may involve the use of power tools or cut glass. Safety equipment (gloves, eye
protection, etc.) should be used and if in doubt consult a professional to carry out the installation.
Suitable Door Types
Instructions are provided for installation in all door types, including wooden, plastic, glass and metal. Before
installing in a door with unknown construction, please check for a metal plate in case a larger hole is required,
as described in the metal door installation section.
If you can only be sure of the construction of the door by drilling a hole in it, make a trial hole anywhere
covered by the proposed hole for the SureFlap Microchip Pet Door.
Note: a simple test for the presence of a steel plate in the door is with a magnet. If the magnet is attracted
to the door then there is a steel plate within, and you must follow the instructions for mounting in a metal
door. However, even if a magnet is not attracted to the door, still check for the presence of other metals,
such as aluminium, which require the same mounting conditions.
Pet Door Positioning
The ideal height of the SureFlap Microchip Pet Door is such that the base of the tunnel is the same height
above the ground as your pet’s stomach. In practice however, mounting is normally dictated by features
in the door into which the unit will be installed. In these circumstances, it is usual to mount the pet door
as low as possible.
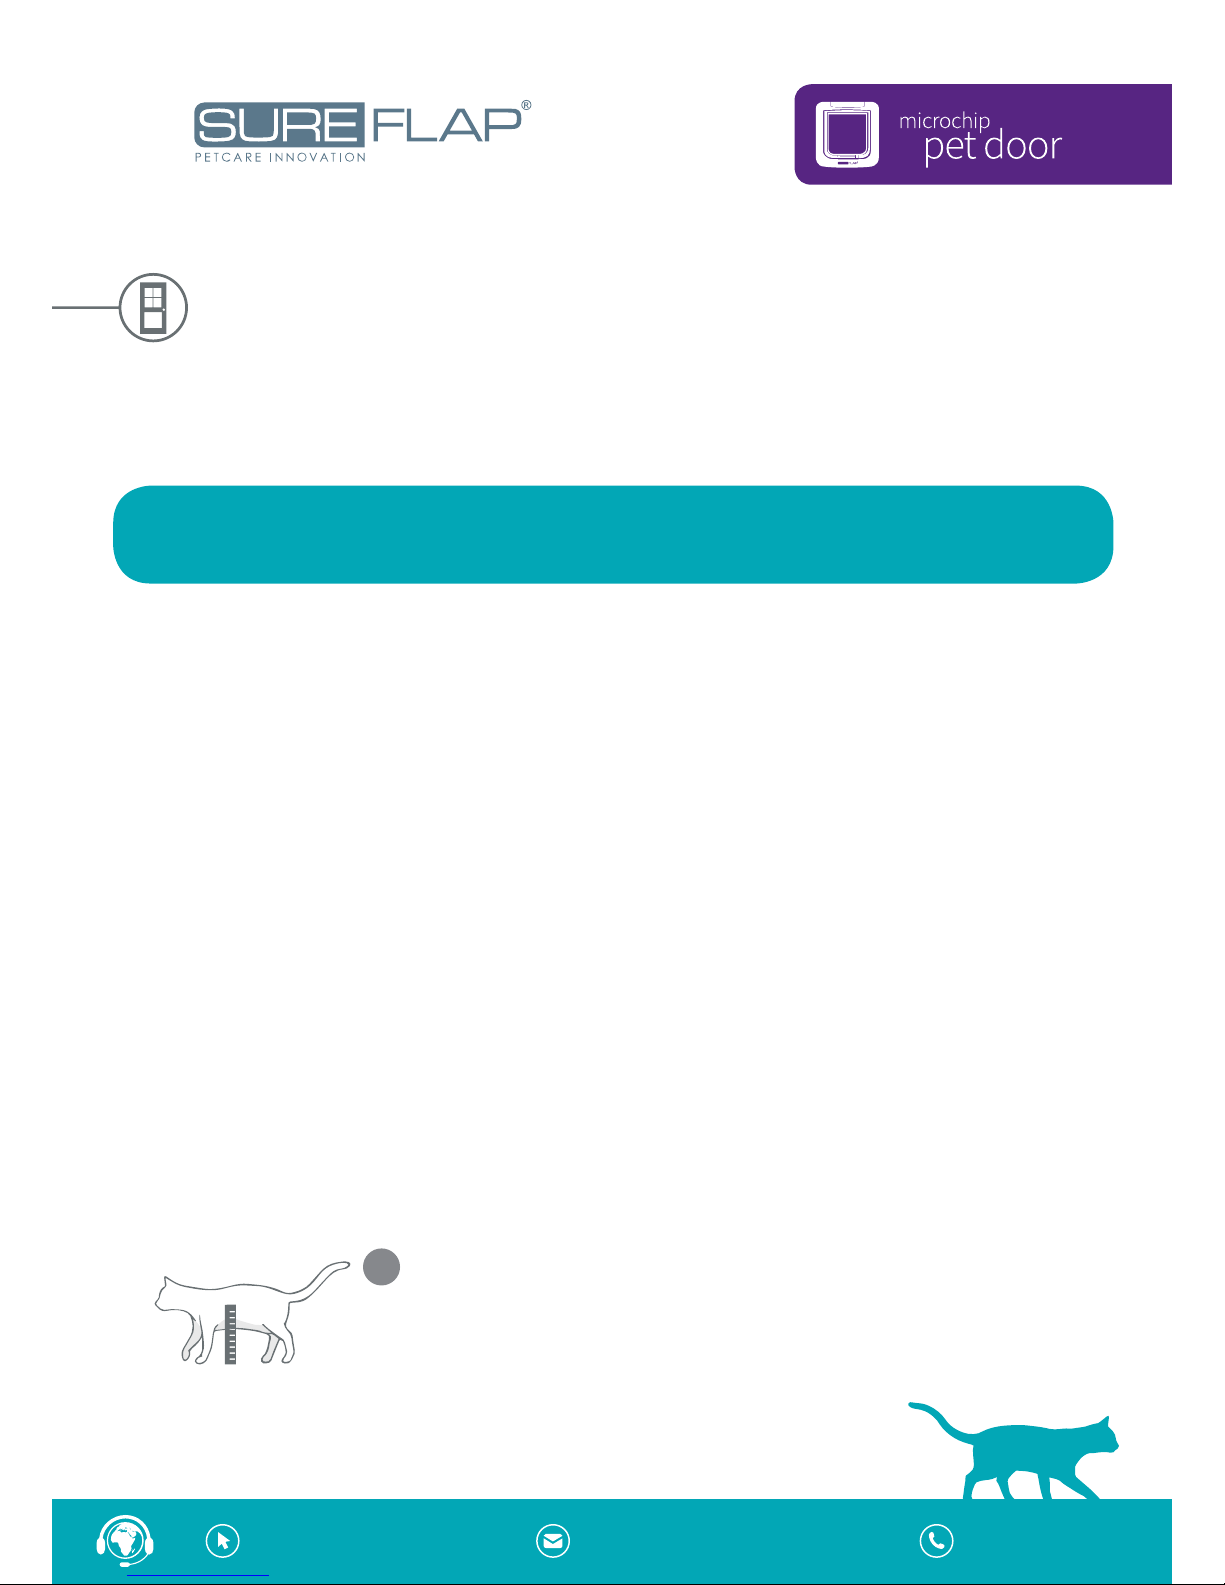
Measure the height of your pet’s stomach from the floor when your
pet is standing. This height is the level at which the bottom of the
hole should be cut through the door. Make a mark on the door at this
height. Note: If there is a large drop on the outside of the house you
will need to place a step outside for your pet to access the tunnel.
1
X

www.sureflap.com support@sureflap.com 1-855-461-4740
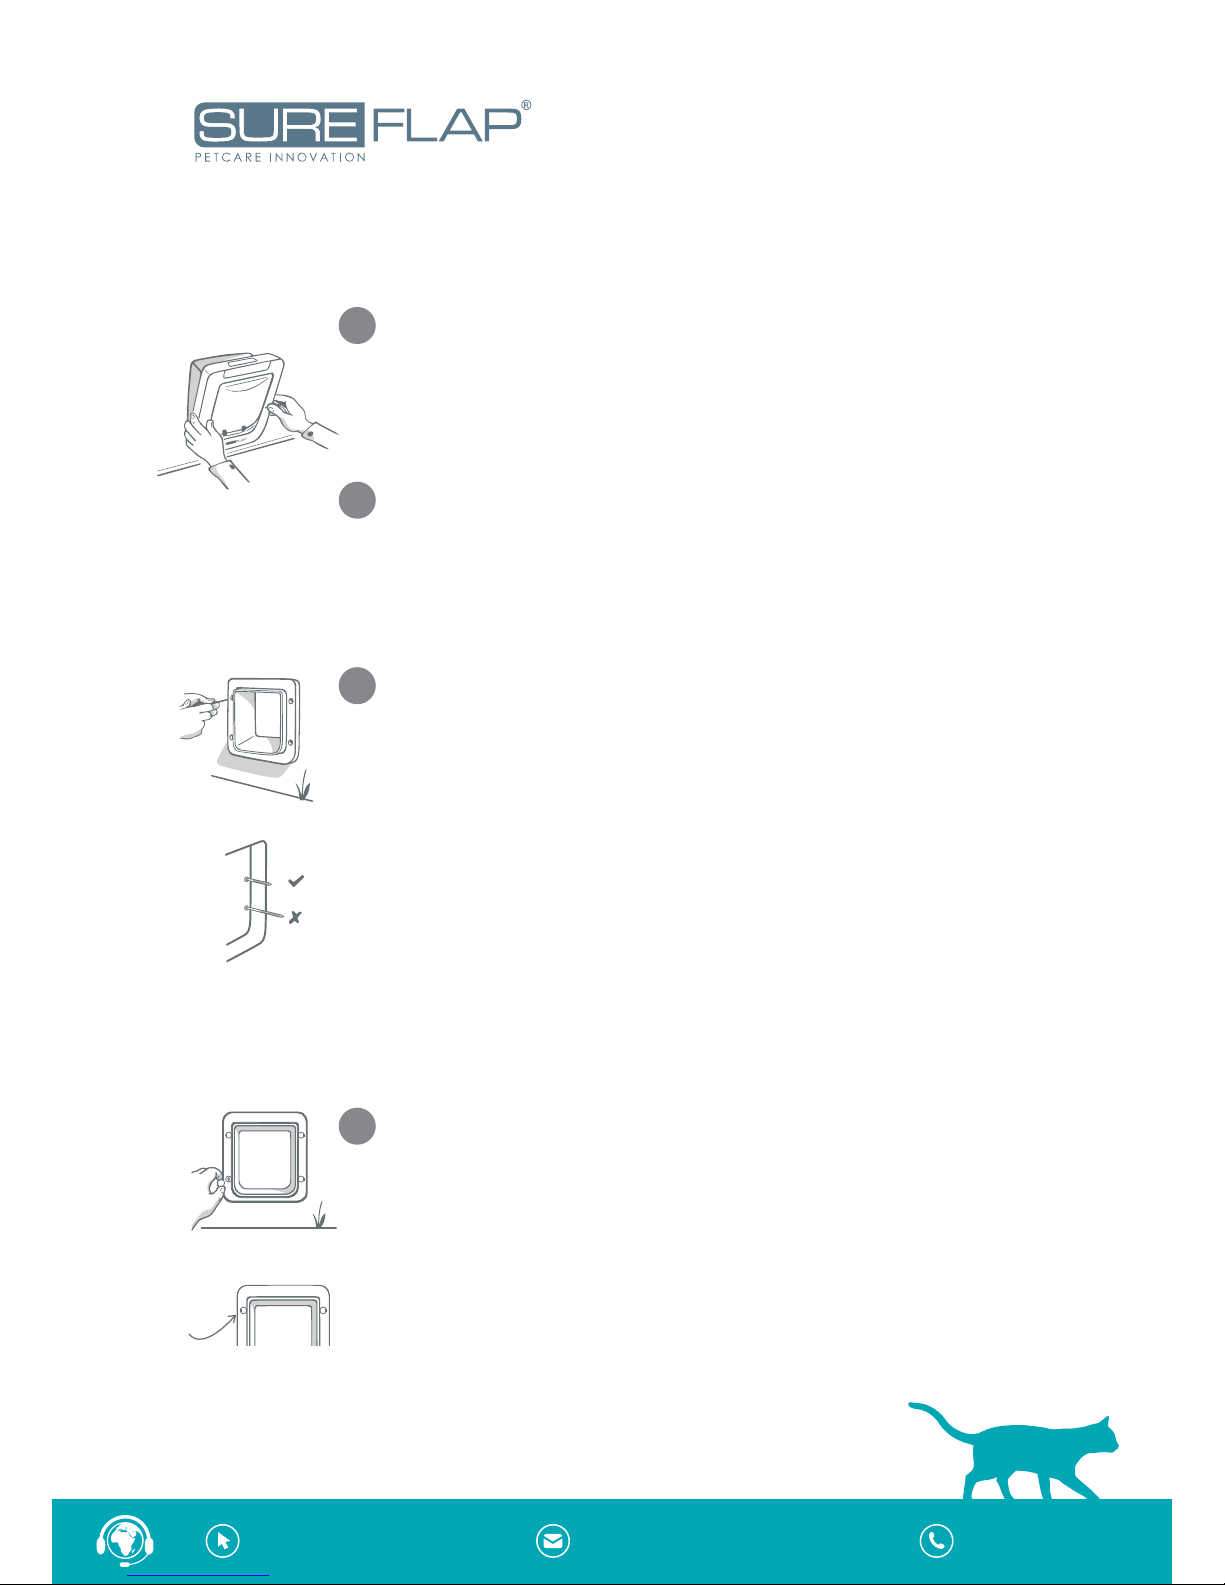
Choose the position on the door at which you want to mount the pet door
and stick the frame to the door. To ensure that it is level we recommend you
use a spirit level.
3
Run a sharpened pencil or pen around the inside edge of the frame where it
would touch the door and also mark the four screw holes. You need to make
a legible line as this will be used for cutting against.
4
Remove the frame from the door and check you have a solid line and dots
where the screw holes are. Using a drill with a 6mm (0.25”) diameter bit, drill
the holes for the screws. It is vital these holes are drilled straight to ensure
the two halves of the pet door connect properly.
5
Before you cut out the hole for the tunnel, drill holes in all the corners large
enough to allow your jigsaw blade through. Cut out the tunnel hole with
an electric jigsaw. Ensure you cut 2mm (0.078”) outside the line you have
marked for the hole to allow enough clearance for the tunnel. Make sure that
your jigsaw is sitting flat on the door at all times while cutting.
6
Place the external frame face down. Attach a ball of Blu Tack (or
similar adhesive putty) in each of the four corners. This should allow
you to stick the frame to most doors.
2
www.sureflap.com support@sureflap.com 1-855-461-4740
Mount the external frame on the outside of the house. Depending on the
thickness of the door, the tunnel will protrude through the frame by diering
amounts. Under no circumstances should you cut or drill through the tunnel
as this contains the microchip reader and will prevent the unit from working
properly. Three dierent lengths of screw have been provided for your use.
Choose the correct screw length to suit the thickness of your door. If you are
not sure, use the smallest first, if this is too short use the next size up. Take
care not to use a longer screw than needed, as this may damage the main
assembly front face. Screw the external frame to the main assembly.
9
When the pet door has been mounted correctly, place the screw caps over
the screw holes on the external frame. Align the screw caps with the slot
pointing outwards and push firmly into place. To remove the screw caps
slide a flat blade screwdriver into the side slot and lever the cap out of the
hole.
10
1
3
4
2
Clean o any loose debris, dust and dirt from the door before you install the
SureFlap Microchip Pet Door.
7
Mount the pet door in the hole with the main assembly (battery covers and
LCD screen) inside the house.
8

www.sureflap.com support@sureflap.com 1-855-461-4740
Installation in Metal Doors
The presence of a metal plate in a door can influence the performance of the SureFlap Microchip Pet Door,
reducing the range of the microchip reader. This includes the following:
• Metal skin doors
• Security doors
• Metal garage doors
• UPVC coated metal doors
For most situations you will not notice anything, as the read range will still be suicient for the majority of
microchips and collar tags. However, if you experience intermittent operation or failure to open for your pet,
first check for the presence of a metal plate in the door.
Note: UPVC coated metal doors oen look the same as standard UPVC doors and you may need to
look carefully where the panel has been cut. If a metal plate or thin metal foil is confirmed, follow the
instructions below for improved read range.
If there is metal present you will need to cut a larger hole in your door,
leaving a gap of 2-3cm (1-1.2”) between the tunnel of the pet door and the
metal in your door. To begin with, trace around the outer edge of the back
frame as a size guide. Now mark your cutting line 1cm (0.3”) inside the line
you have traced around the back frame, leaving the screw holes in place. Cut
this hole and reinstall the pet door.
If you still experience intermittent operation you will need to increase the
size of the hole again, in this case you will require the pet door mounting
adaptor. For details of where to purchase this adaptor see our website
www.sureflap.com.
First trace around the circumference of the mounting adaptor as a guide.
Now mark a circle approximately 2cm (0.078”) inside the line from the
mounting adaptor, again leaving the indentations for the screw holes. Cut
this hole and then reinstall the pet door again. This will extend the read
range further and should resolve any issues with mounting in a metal door.
1cm
2cm
 Loading...