

Supersonic KS-3398B Instruction Manual
SUPERSONIC
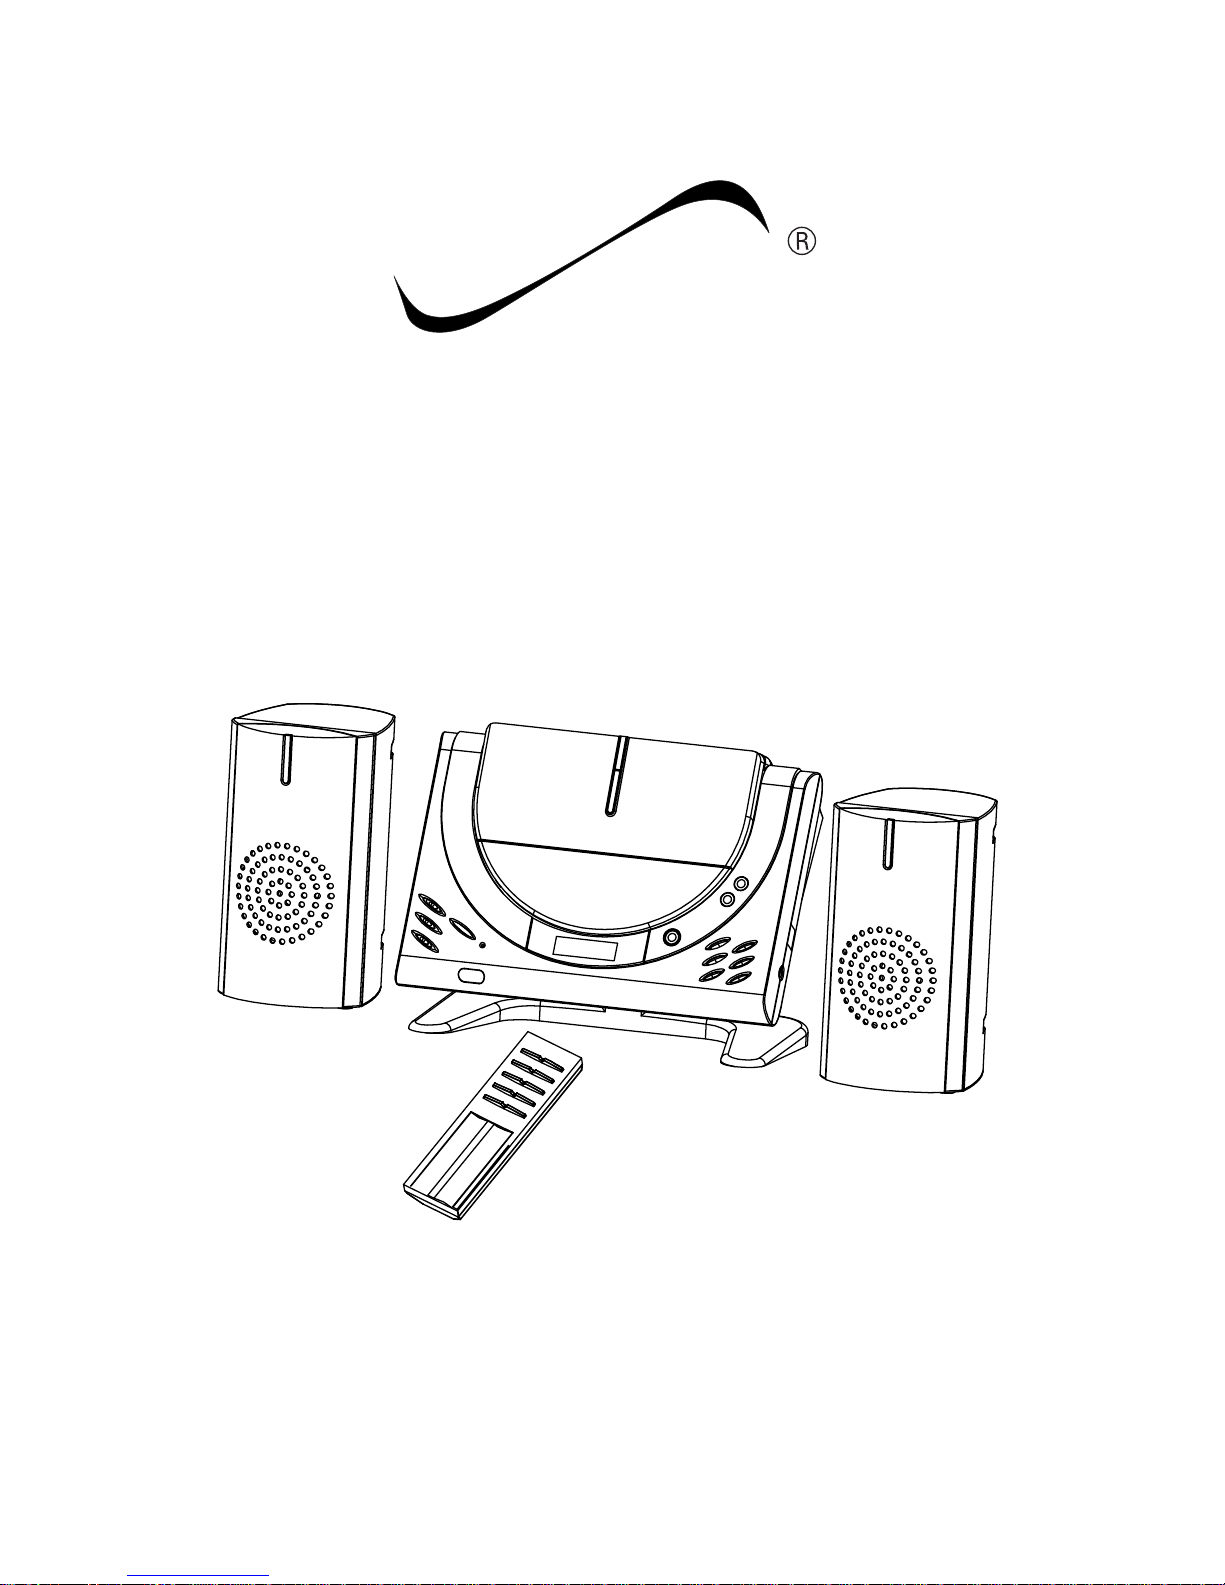
Home Audio BT System
INSTRUCTION MANUAL
CD Micro System with Bluetooth function
KS-3398B

E-1
Please read the Important Notes before you operate this product,
keep this information in a safe place for future use.
Avoid installing the unit in locations described below:
Please exposed to direct sunlight or close to heat radiating
appliances such as electric heaters.
On top of other stereo equipment that radiate too much heat.
Place locking ventilation or dusty places.
Places subject to constant vibration.
Humid or moist places.
Make sure not to obstruct the ventilation opening.
Before turning on the power for the first time, make certain
Store your tapes or CD in a cool area to avoid damage from
heat.
This product utilizes a laser.
Danger-invisible laser radiation is present when unit is opened
and interlock failed or defeated.
Caution-Use of the controls or adjustments of procedures other
than those specified herein may result in hazardous
radiation.
THE LASER COMPACT DISC PLAYER FUNCTION BY HELP
OF INVISIBLE LASER LIGHT AND IS EQUIPPED WITH
SAFETY SWITCHES TO AVOID EXPOSURE WHEN DOOR
IS OPEN AND SAFETY INTERLOCKS ARE DEFEATED. IT
IS DANGEROUS TO DEFEAT OR BY PASS SAFETY SWITCHES.
DANGER: INVISIBLE LASER RADIATION
WHEN OPEN AND INTERLOCK FAILED OR
DEFEATED. AVOID DIRECT EXPOSURE TO
BEAM. CAUTION: HAZARDOUS LASER
RADIATION WHEN OPEN AND INTERLOCK
DEFEATED.
the power cord is properly installed.
Operate turning controls and switches as instructed in the
manual.
IMPORTANT NOTES
For safety reasons,do not remove any covers or attempt to
gain access to the inside of the prodcut. Refer any servicing
to qualified personal.
Do not attempt to remove any screws, or open the casing of
the unit; there are no user serviceable parts inside, refer all
servicing to qualified service personal.
DANGEROUS VOLTAGE
ATTENTION
WARNING:TO PREVENT FIRE OR SHOCK HAZARD,DO
NOT EXPOSE THIS APPLIANCE TO DRIPPING
OR SPLASHING.
Note:
This unit will become warm when used for a long period of
time.This is normal and does not indicate a problem with the
unit.
This CD player includes micro-processors which may malfunction as result of external electrical interference or noice.
If the CD player is not working properly, discount the power
source and then reconnect it.
The owner’s manual contains important operating
and maintenance instructions,for your safety,it is
necessary to refer to the manual.
Conductor dangerous voltage, that may be of sufficient magnitude to constitute a risk of electric shock to
persons is present within this product’s enclosure.
CAUTION:TO REDUCE THE RISK OF ELECTRIC SHOCK
DO NOT REMOVE COVER (OR BACK),NO
USER SERVICEABLE PARTS INSIDE, REFER
SERVICING TO QUALIFIED SERVICE PERS ONAL.
E-2
1
2
3
4
5
6
7
8
9
10
11
12
13
14
15
16
17
18
19
20
21
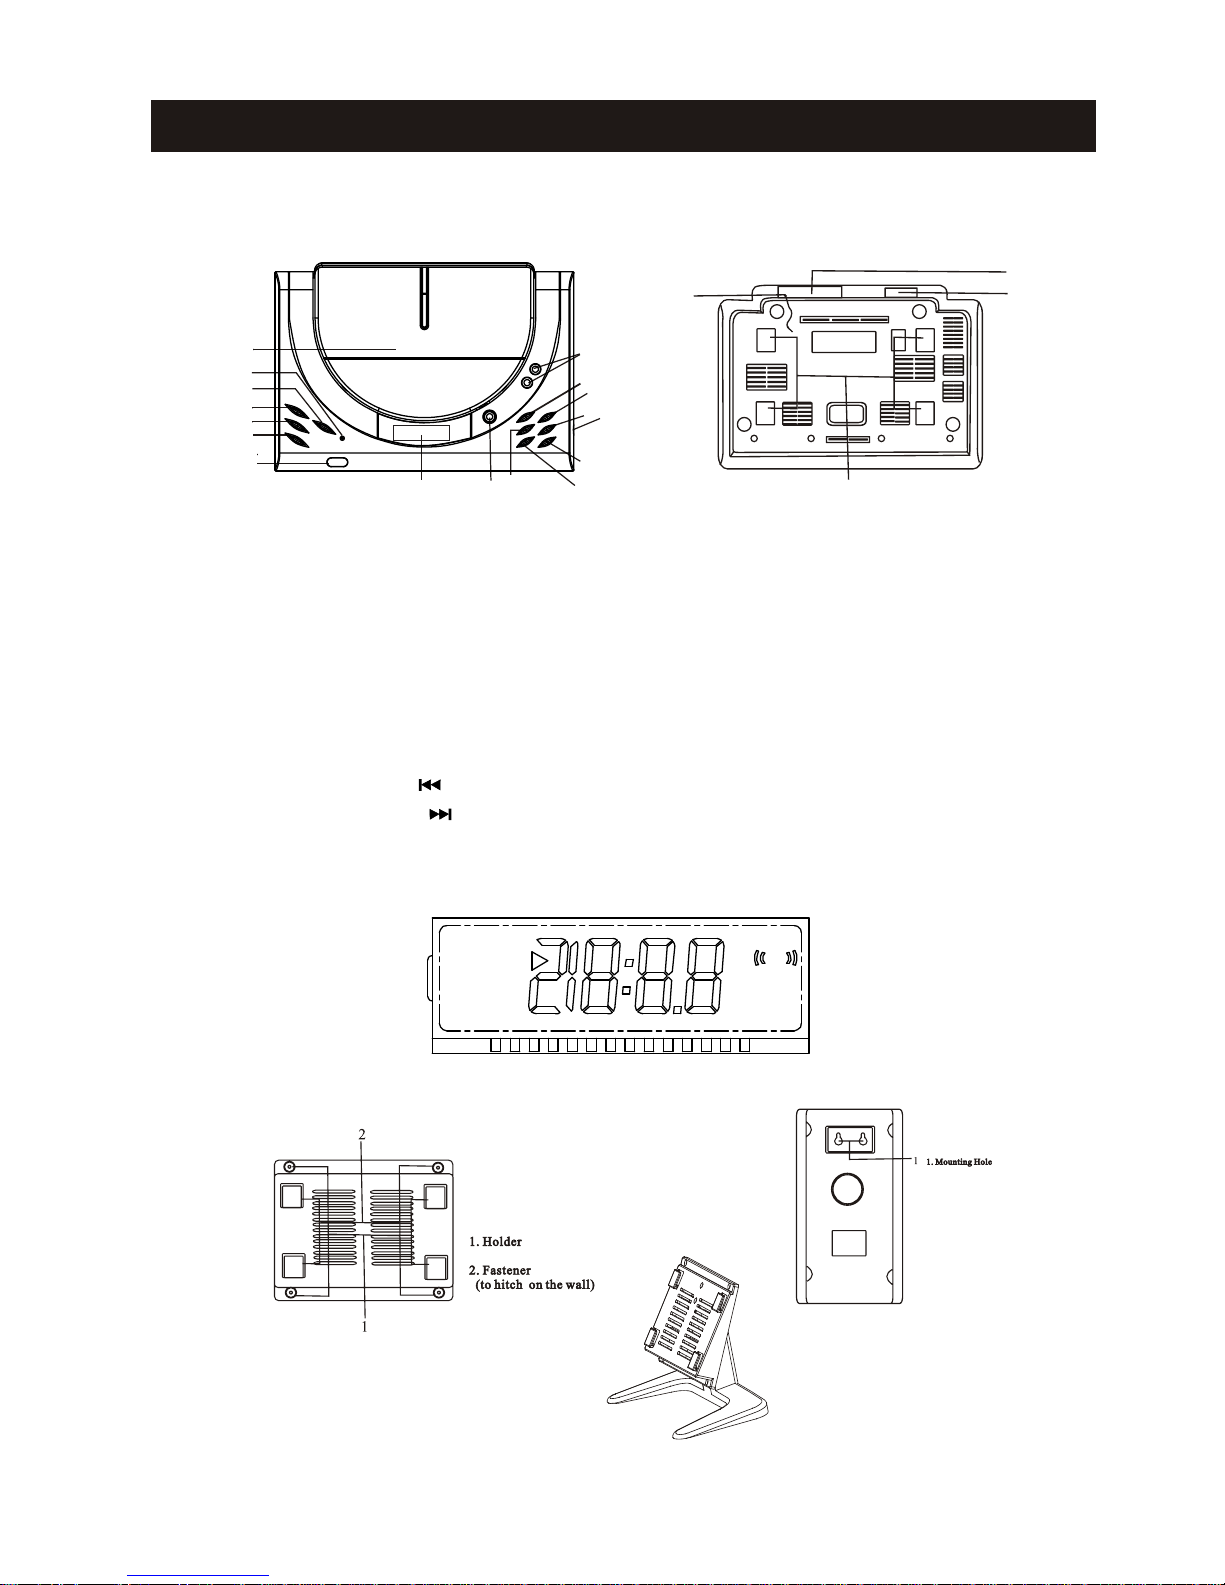
1. CD door
2.Standby/BT indicator
3.Standby button
4. Folder up/M + button
5.
7. Remote sensor
8. Volume+/- button
9. Skip button
10. Skip button
11. Play/Pause/FM ST button
12. AUX in jack
LOCATION OF CONTROLS
LCD display
R AN D OM
F M
A M
P RO G
A UX C D
A LB U M P M
R EP E A T
B T M H z
K HzM P 3
W M A
S T
PEDES TAL
SPEAKERS
Pedes tal with Mounting plate
13. Stop/Band(AM/FM) button
14. Program/Play-mode button
15. EQ button
16. Open button
17. LCD display
18. AC cord
19. Speaker jacks
20. Aerial
21. Mounting hole
6. Function Button(CD/MP3
/RADIO/AUX/BT)
MAIN UNIT
E-3

1. STANDBY
3. /FM ST
4. /BAND(AM/FM)
7. DN/REW
8. UP/FF
2. FUNCTION
5. FOLDER DN/M -
6. FOLDER UP/M +
9. VOLUME-
10. VOLUME+
To turn the unit on or off.
REMOTE CONTROL
To stop play;
AM and FM radio bands.
Press to cycle between
To start play or pause play temporarily; to receive FM Stereo stations.
To skip backward to desired tracks.
To skip forward to desired tracks.
To select CD/MP3
BT modes.
/RADIO/AUX/
To skip backward desired folder.
to cycle through preset stations.
To skip forward desired folder.
to cycle through preset stations.
To decrease the volume.
To increase the volume.
PUTTING BATTERIES INTO THE
REMOTE CONTROL UNIT
Press down of the compartment cover, and slide the cover off
open the compartment.
Place the two accessory (Um3),(AA),(R6)batteries in the
remote control according to the polarity markings(”+”and “-”)
inside the compartment and on the batteries.
Place the cover over the compartment, press down lightly, and
push it upward until it snaps on.
E-4
1
2
3
5
4
6
7
8
9
10
 Loading...