

SUPAIR TASKA User Manual

SUP’AIR _TASKA Page 1
glider user's manual TASKA
User’s manual
SUP’AIR - VLD
34 rue Adrastée
Parc Altaïs
74650 Annecy - Chavanod
FRANCE
45°54.024’N / 06°04.725’E
English
Revision index : 23/03/2017
TASKA
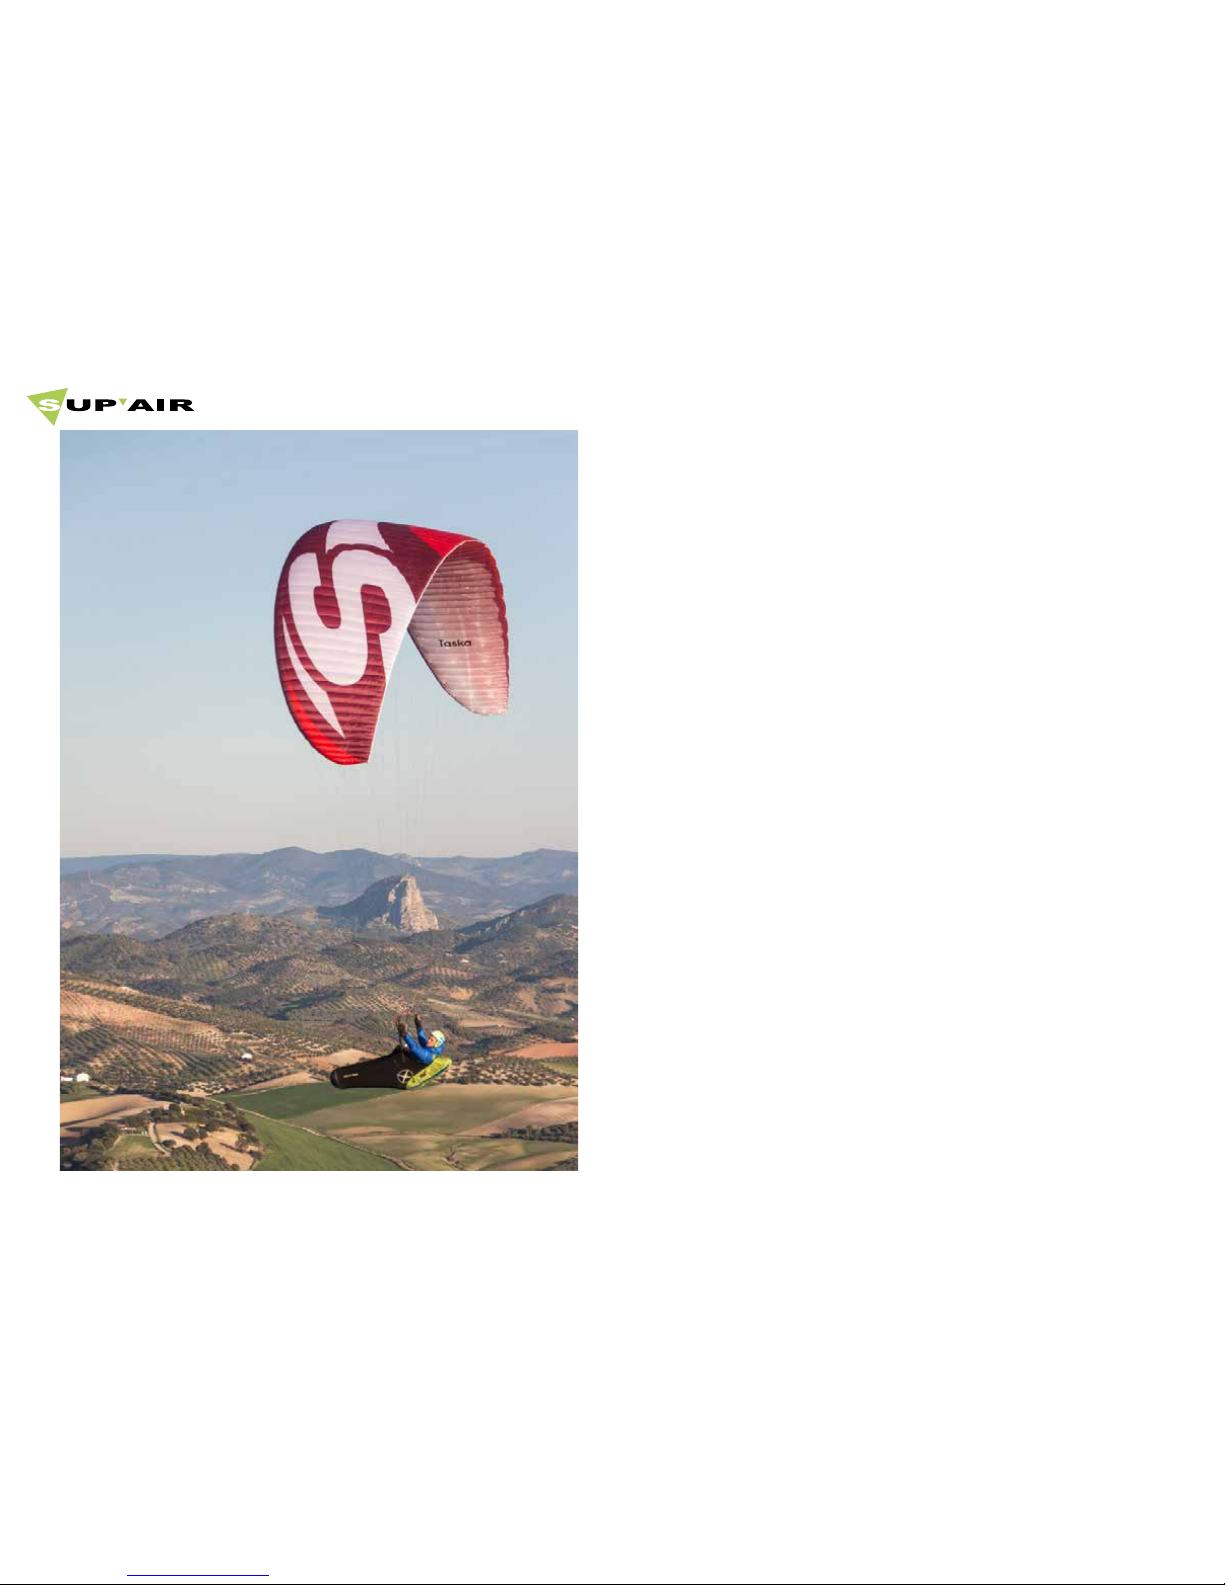
Photo : JM Ara
SUP’AIR _TASKA Page 2
glider user's manual TASKA
Thank you for choosing to fly our TASKA to paraglide with. We are delighted
to have you on-board to share our passion for paragliding.
SUP'AIR has been designing producing and selling accessories for free
flying activities since 1984. By choosing a SUP'AIR product you benefit from
almost thirty years of expertise, innovation and customer care. We pride
ourselves for our work ethics and customer care.
We hope you will find this user's manual comprehensive, explicit and hopefully enjoyable as well. We advise you to read it carefully.
You will find the latest information and updates on this product on our
website : www.supair.com. If however you have any further questions, do
not hesitate to ask one of our dealers.
Naturally the entire SUP'AIR team remains at your disposal at info@supair.
com
We wish you many safe and enjoyable flying hours and happy landings.
Team SUP’AIR
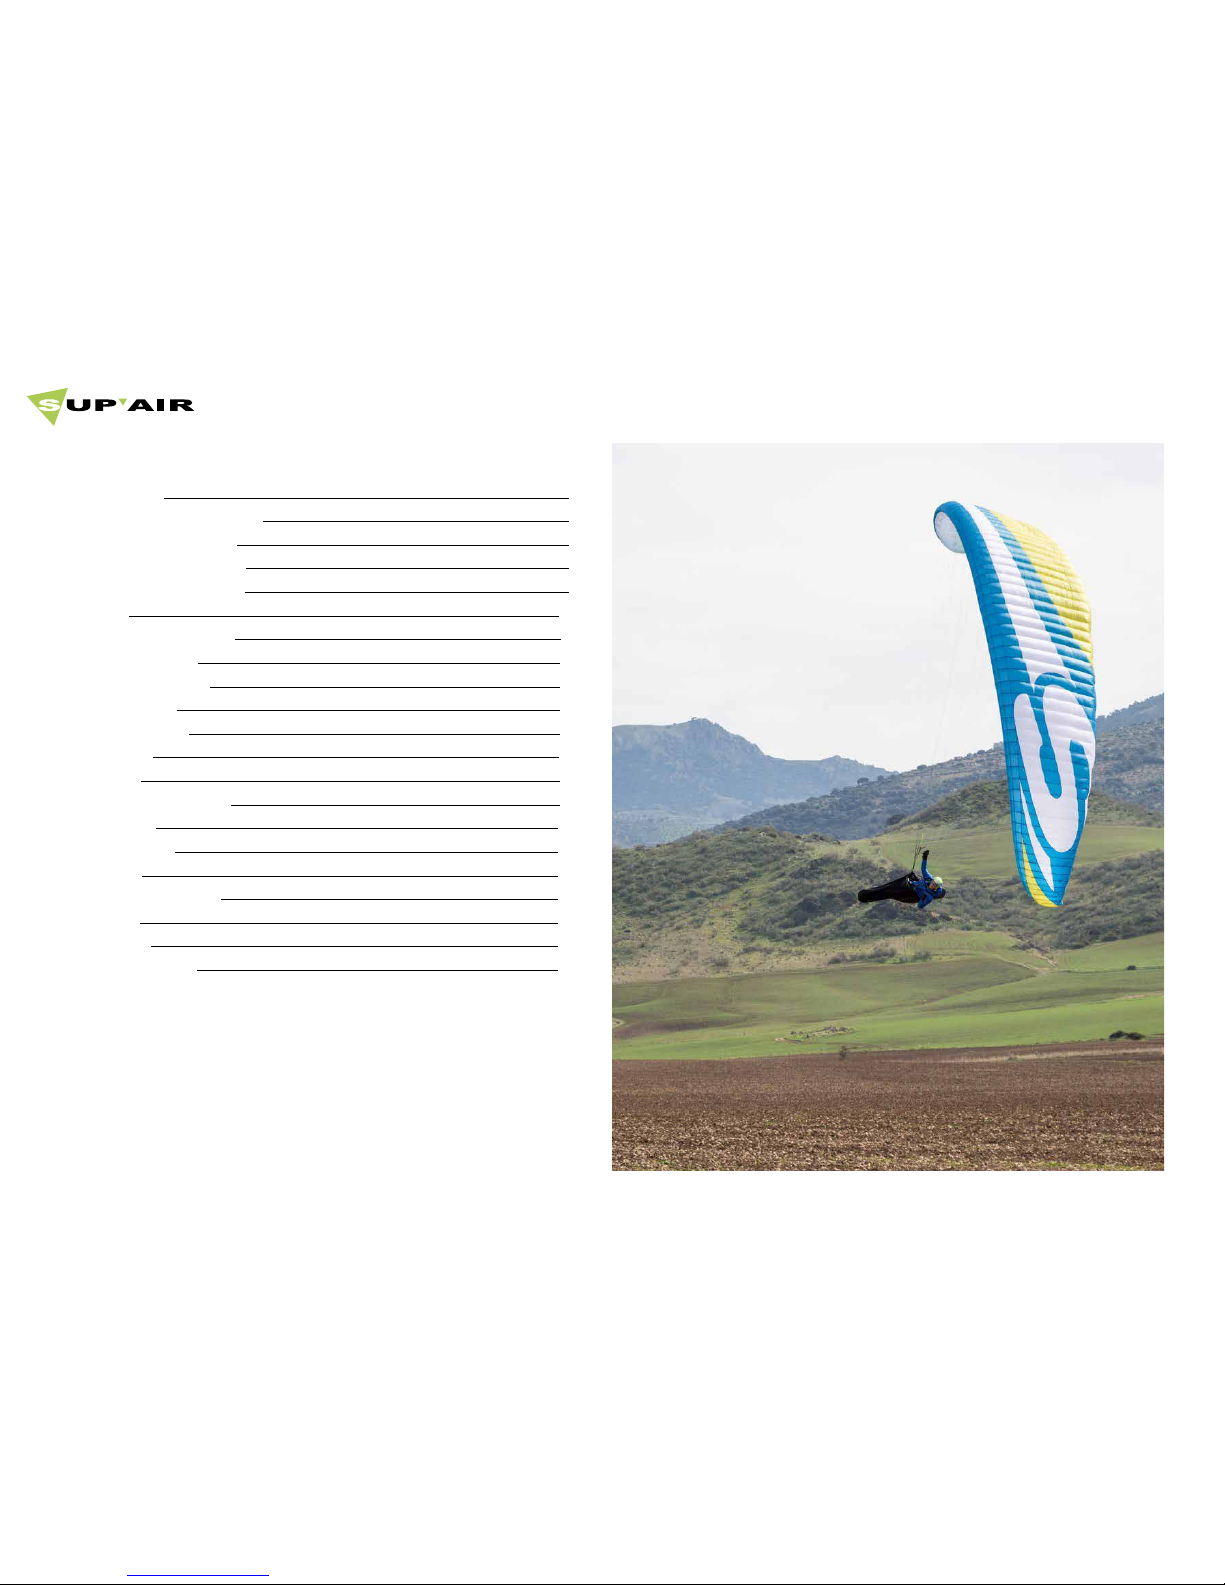
Photo : JM Ara
SUP’AIR _TASKA Page 3
glider user's manual TASKA
Introduction 4
Technical specifications 5
Equipment overview 6
Connecting the glider 7
Pre-flight preparation 9
Take-off 10
Flight characteristics 11
End of the flight 12
Specific practices 12
Fast descents 13
Flight incidents 15
Line layout 16
Materials 17
Measurement table 18
Certificates 22
Maintenance 26
Recycling 27
Mandatory checks 27
Warranty 27
Disclaimer 27
Pilot equipment 27
Contents
Photo : JM Ara
SUP’AIR _TASKA Page 4
glider user's manual TASKA
Introduction
Advice Caution ! Danger !!
Welcome to the world of free flying : a shared world of passion.
The TASKA meets all the sporting pilot's requirements whishing to fly under an accessible but yet powerful C glider. It was designed for
high performancel flying and will give the pilot maximum comfort to optimize long distance XC adventures.
The well though out design and choice of materials were guided by the same quality and longevity objectives.
The TASKA glider is EN EN 926 -1 : 2015 & 926 - 2 : 2013 Classe C. Certified.
This means that the paraglider in spite of good passive safety can react dynamically to over-piloting or in turbulence, and will have to be
handled accordingly to stabilize it.
It also means that it requires a skill level and experience compatible with the wings in that category.
It can be used with most harnesses found on the market today. For better inflight comfort and sensations we will advise you to choose
the SUP'AIR progression harness models.
After reading this manual we advise you to inflate & check your wing on a training hill first.
N.B. : The following three icons will help you to read this manual.

SUP’AIR _TASKA Page 5
glider user's manual TASKA
Technical data
Glider TASKA XS S M L
Cell number 67 67 67 67
Flat surface area (m²) 22,5 24,3 25,6 27,5
Span (m) 11,95 12,47 12,75 13,21
Chord (m) 2,33 2,43 2,48 2,57
Flat Aspect Ratio 6,35 6,35 6,35 6,35
Projected surface area (m²) 18,78 20,45 21,37 22,96
Projected span (m) 9,24 9,64 9,85 10,21
Projected aspect ratio 4,55 4,55 4,55 4,55
Glider weight (kg) 4,0 4,2 4,5 4,8
In-flight weight range (kg) 65 - 85 75 - 95 85 - 105 100 - 120
Certification
EN / LTF C
Riser number. 3 + 1
Trimmer no
Ocean Ruby Jungle

SUP’AIR _TASKA Page 6
glider user's manual TASKA
Equipment overview
8
13
Riser hook-up loop
14
15
16
1
Leading edge
2
Trailing edge
3
Stabilizer
4
5
A riser
6
B riser
7
C riser
10
Brake handle
9
Brake line
11
12
Brake holder
« A » split risers (for Big Ears)
Intrados
Extrados
Accelerator/Speedbar.
Accelerator/Speedbar Split-hook.
Accelerator/Speedbar bar.
17
Pocket with repair kit.
8
13
15
16
1
2
3
4
5
6
7
10
9
11
12
17
14
3
15
18
"C" steering ball.
19
"B-C" Recall Strap.
18
19
SUP’AIR _TASKA Page 7
glider user's manual TASKA
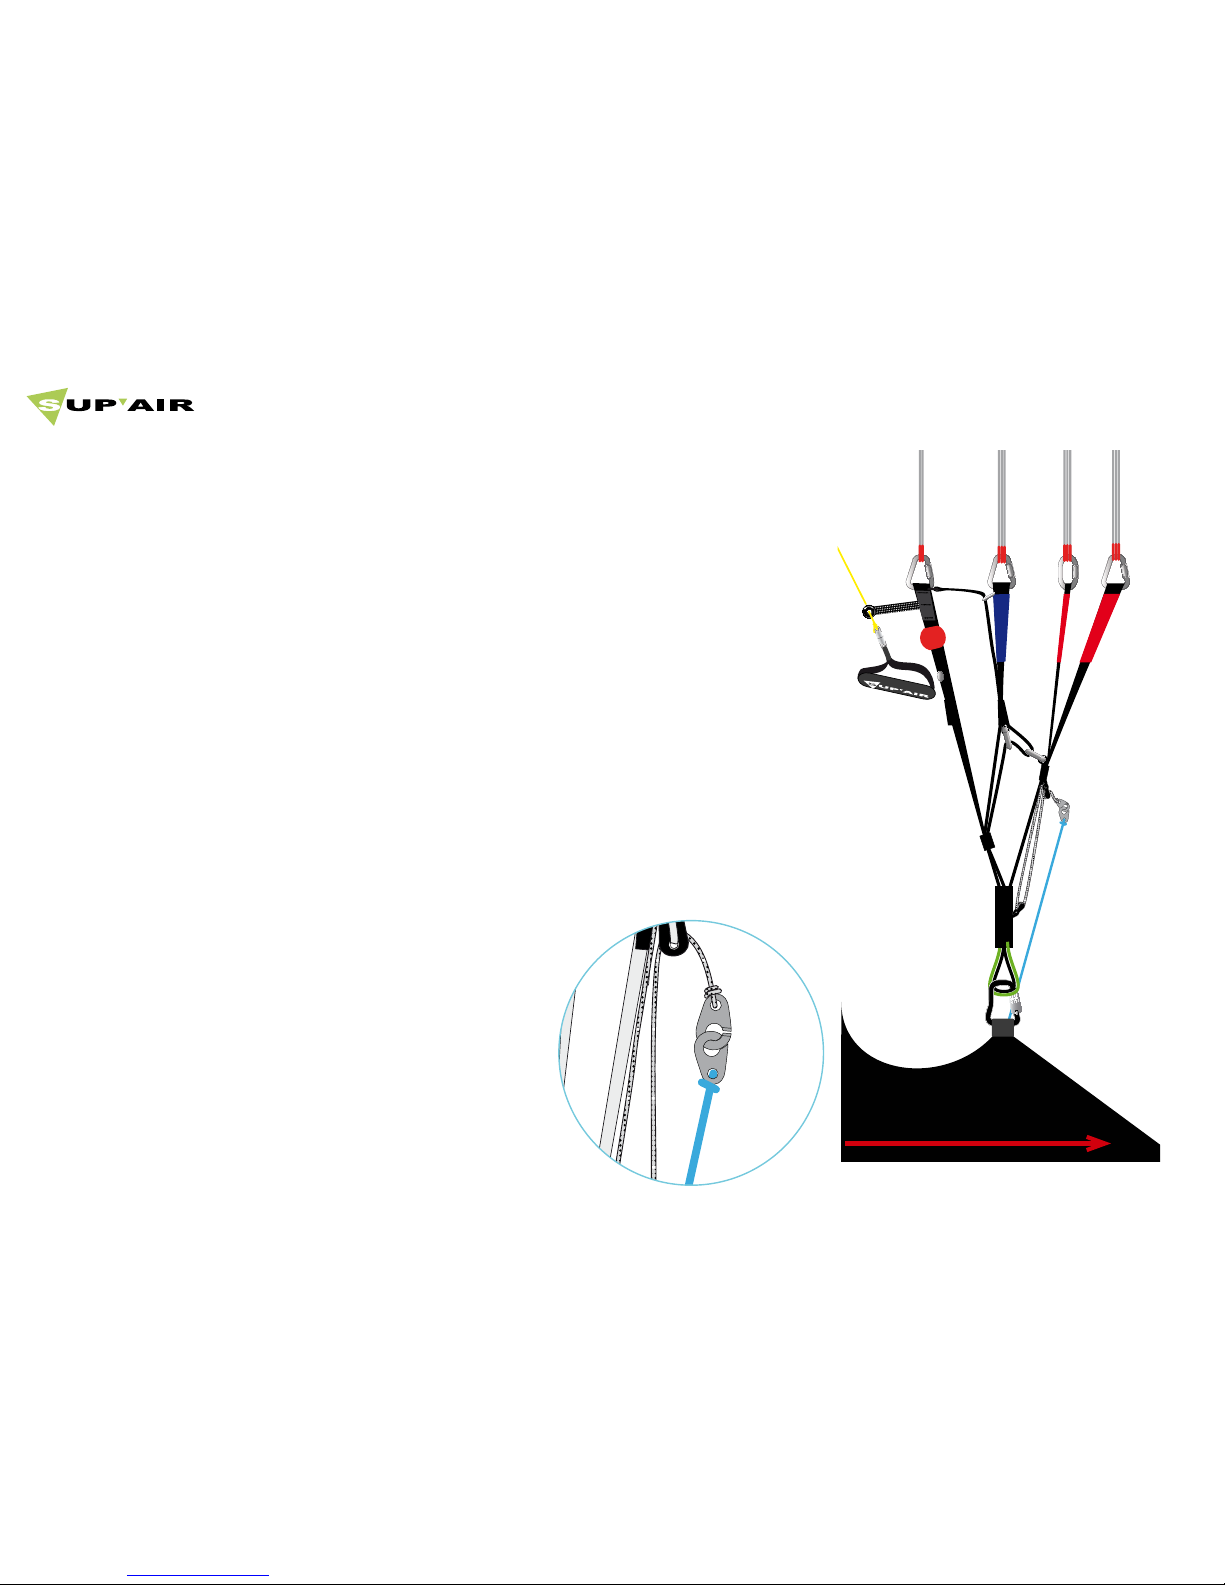
Connecting the glider
Opening the wing
Without twisting the risers, connect them to the harness connection loops using the selflocking carabiners.
Check for the risers to be properly positioned and untwisted. The "A" risers must be located at the front and facing the flight direction( see schematic ).
Lastly, check for the main self-locking carabiners to be fully closed and locked in place.
Risers
Self-locking
Carabiners
Harness :
Flight direction
Choosing an adapted harness.
It is advised to adjust the harness's chest strap width based on your wing size :
42 cm for an TASKA size XS
43 cm for an TASKA size S
44 cm for an TASKA size M
45 cm pour une TASKA taille L
Install the accelerator according to your harness
manufacturer's recommendations.
Connect it to the wing using the split hooks.
Once the accelerator/speedbar is connected,
adjust its length according to your measurements.
For correct use, there must not be any tension at
the split-hook level when the accelerator/speedbar line is relaxed.
Choose a flat or lightly angled training hill without obstacles or wind.
Open your wing and arrange it in a crescent shape.
Check the fabric and the lines for any sign of wear or damage. Check for the links
connecting the lines to the risers to be fully closed. Identify, separate and arrange the
A,B.C, risers as well as the brake lines neatly. Knots or tangles can not be present.
The TASKA glider was certified EN C with a EN1651 & LTF certified harness and hence can
be flown with most harnesses models found on the market today. Meaning that it can
be flown with most harnesses models found on the market today.We wil advise you to
choose a EN1651 and or LTF certified harness with a built-in dorsal protection system.
Connecting the wing to the harness.
Harness chest strap spacing
Installing the accelerator
SUP’AIR _TASKA Page 8
glider user's manual TASKA
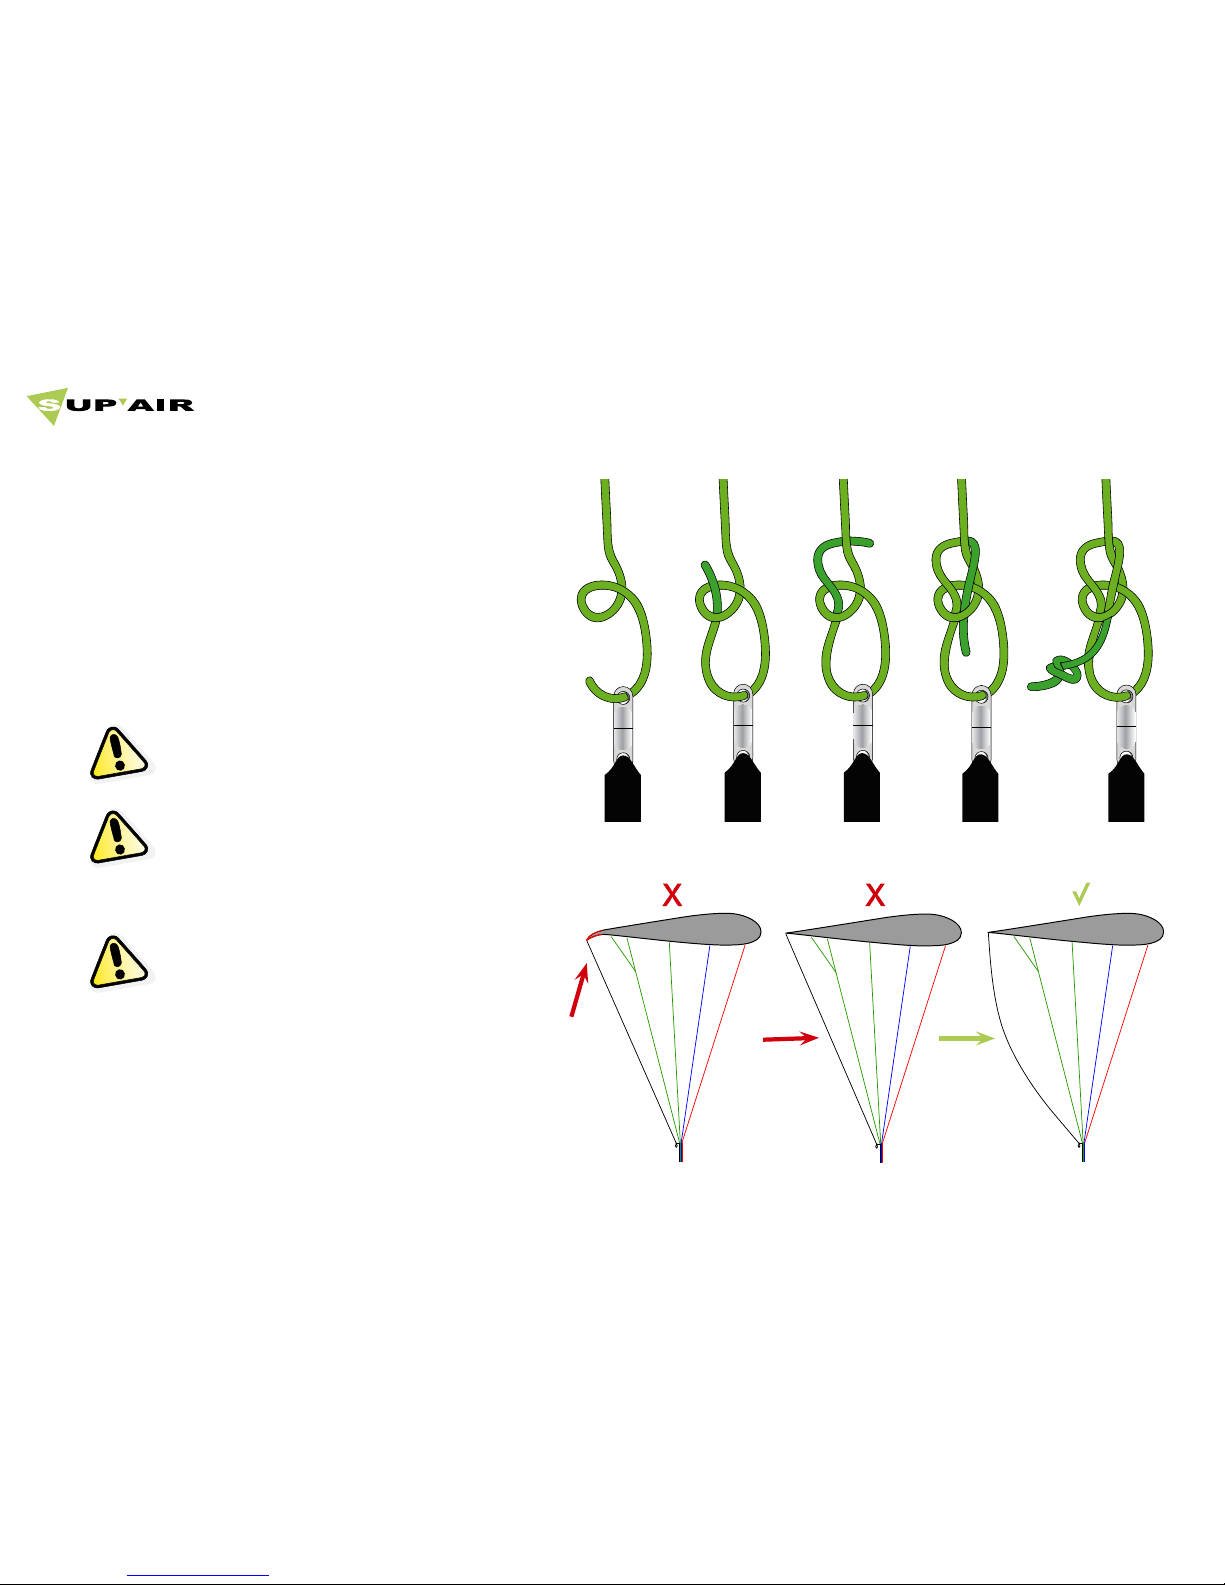
Brake line length
fisherman's knot
Connecting the glider
Garde
Be certain to adjust and leave a small amount of
line slack to keep steering toggle play, prevent wing
profile deformation and hinder the accelerator functionality.
During acceleration, the glider's trailing edge must
not be deformed.
If you modify the original default setting, have it
inspected and approved by a professional before
flying..
The default factory maximum brake line length is :
55.5 cm cm for an TASKA size XS
54 cm cm for an TASKA size S
59 cm cm for an TASKA size M
54 cm cm pour une TASKA taille L
Brake line lengths are set at the factory to allow
optimal glider control. However, if they do not suit you
they can be adjusted to your liking.
We will advise using a fisherman's knot and to keep
your length changes to a minimum (approx 5cm
maximum).
Margin
SUP’AIR _TASKA Page 9
glider user's manual TASKA
PRE-FLIGHT PREPARATION
Unfold the glider and place it on its upper surface in an arc.
Separate the A,B,C risers and the brakes, be certain for the risers and lines not to have any twists or knots or be hooked to a branch,
stone etc...
The TASKA wing was designed for cross-country flying pilots,.
To discover your new wing, we will advise you to conduct your first small flights in calm conditions on a school training hill or a familiar
site you are used to flying with your own harness.
Caution !
It vital to conduct a thorough pre-flight check and have the harness properly connected to the glider prior each takeoff.
Run through the following procedure prior each takeoff:
- harness or carabiners do not show signs of wear and tear.
- the reserve parachute container is correctly closed and that the handle is in the correct position
- your personal settings have not been changed
- The wing is properly connected to the risers with all links securely tightened and locked in place.
- The wing is properly connected to the harness without any riser twist.
- You are securely connected to the harness with the leg and chest strap buckles closed, self-locking carabiners locked.
- Your are wearing your helmet and it is properly fastened.
 Loading...