

Page 1
Sunnex HS Series Lights
SHADE REMOVAL FOR HS SERIES BULB REPLACEMENT
ON LAMPS PURCHASED AFTER 7/1/2007
**BE SURE THAT LAMP HAS COOLED SUFFICIENTLY
PRIOR TO PERFORMING BULB REPLACEMENT**
1) Before changing light bulb, set switch to off position and/or unplug lamp cord from wall
socket. Let lamp cool off before starting.
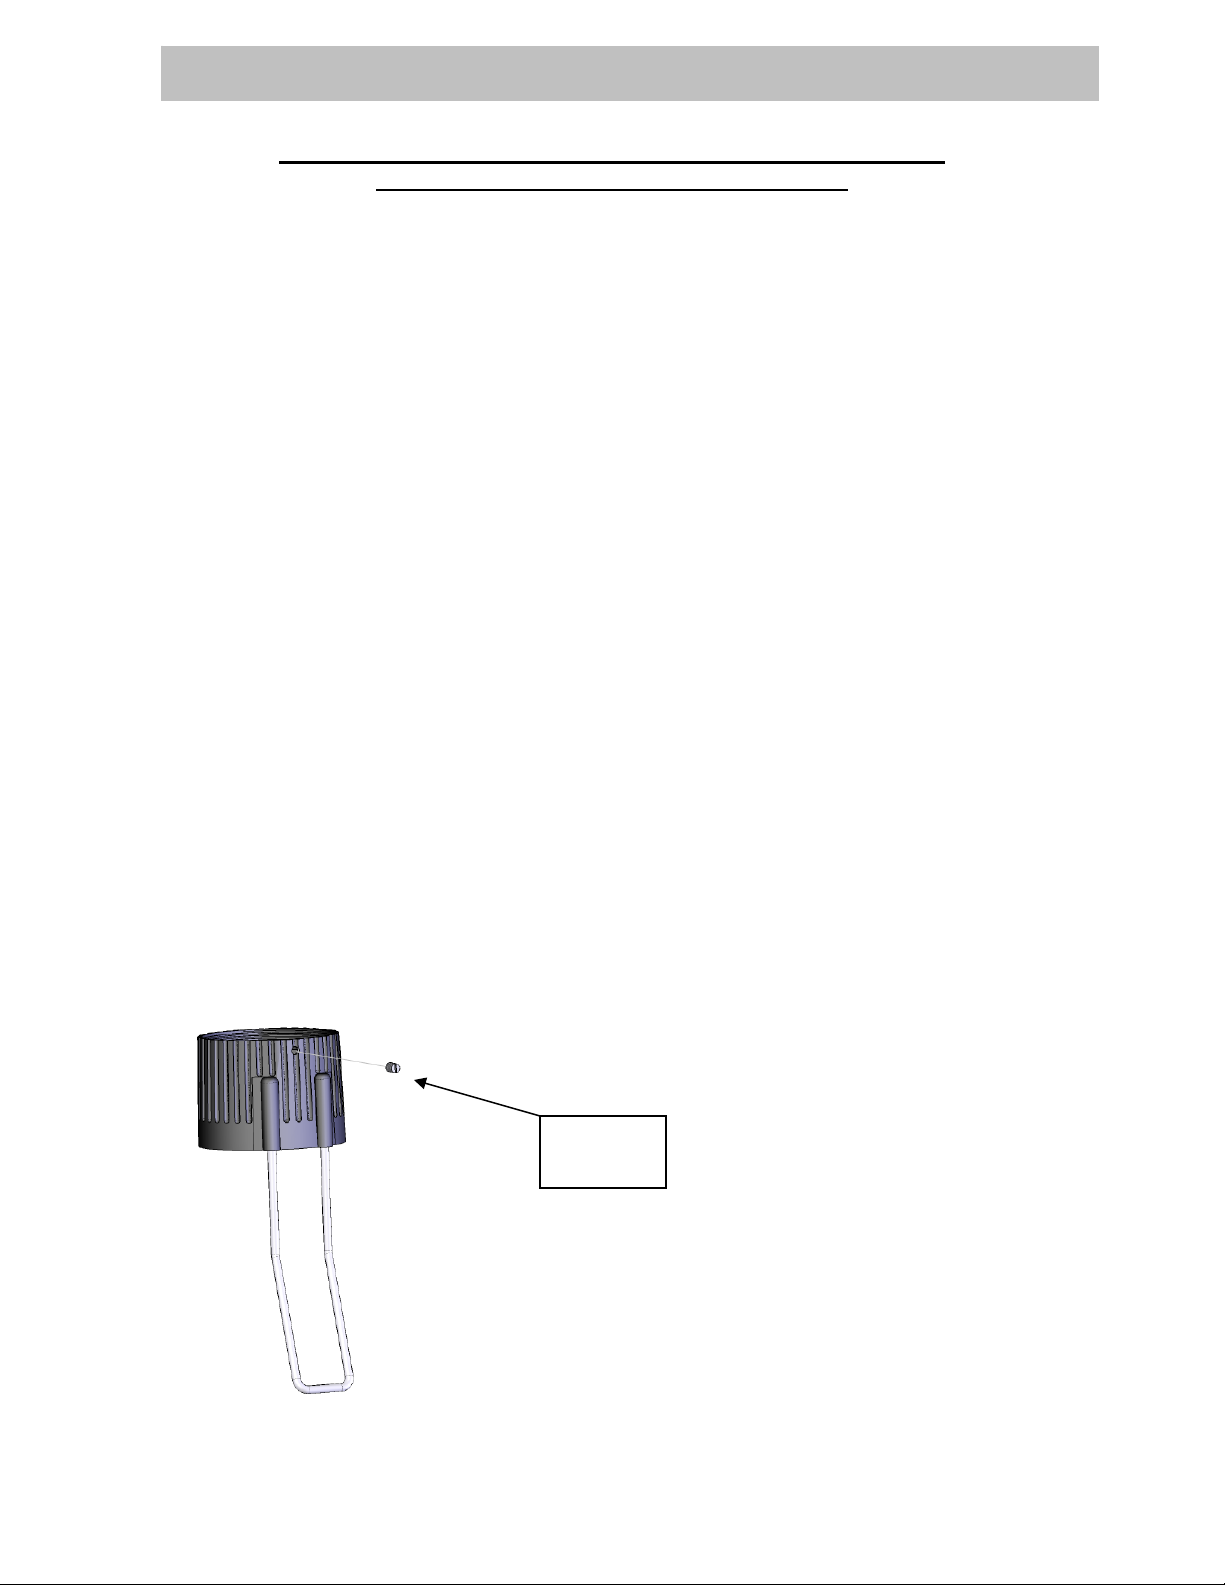
2) Locate the set screw, that secures the lamp shade to the lamp housing (it is a small flat
slotted screw found at the top edge of the shade between the ribs holding the arc / finger
guard)
3) Unscrew the set screw (counter clockwise) using a small slotted
screwdriver.
4) Gently grasp the bottom portion of the shade, and rotate counter clockwise to unscrew
the lamp shade from the lamp housing. This will expose the bulb.
5) Gently pull the bulb forward releasing it from the socket.
6) Use plastic wrapper or tissue paper as protection for the new bulb when replacing. (Oils
or impurities from fingers can adversely affect the life of Quartz halogen bulbs) The lamp
is furnished with a 12 Volt-20 Watt Halogen bulb G4 Pin Base (OSRAM #64425 or
Phillips #12452G4 or equivalent)
7) Insert the pins of the new bulb into the corresponding holes of the socket, and push firmly
to seat the replacement bulb.
8) Replace the lamp shade, by assuring the bulb is inserted into the hole of the bulb
reflector and screwing the shade clockwise until it stops. *DO NOT OVER TIGHTEN- as
this may cause damage to the threads of the lamp housing*
9) Replace the set screw, by re-inserting it into the corresponding hole, and securing it
(clockwise) with a small slotted screwdriver.
10) Your lamp is now operational.
Sunnex Inc. is ISO 9001-2000 certified
SET
SCREW
 Loading...