

Page 1
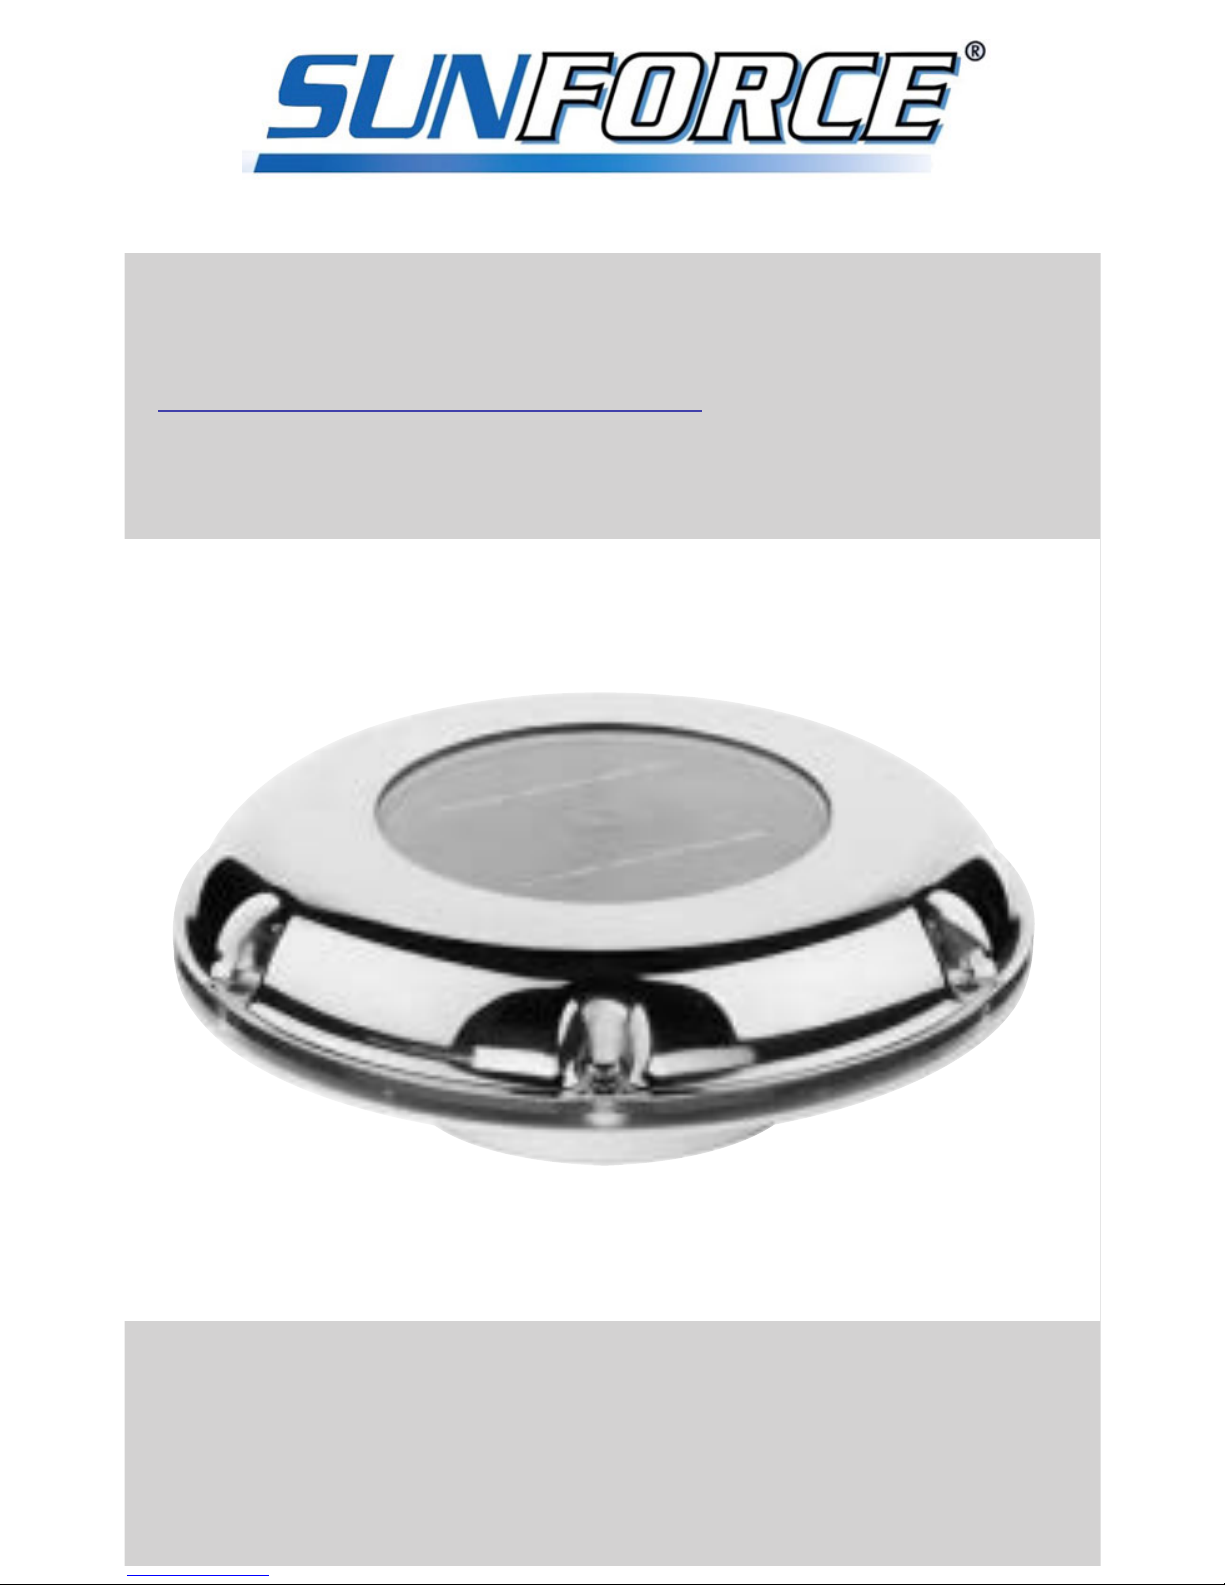
smartvent
daylight powered ventilator
model numbers: 100 / 200 / 300
Page 2
3. OPERATION
The SmartVent is supplied in the open position, however you can
close the SmartVent to waterproof the product in severe weather
conditions. To fully close the SmartVent hold the centre ellipse area,
twist anticlockwise and pull towards you until it locks into position.
To open again, twist clockwise and push in until it locks into
position. The SmartVent is operated using the switches as
described below.
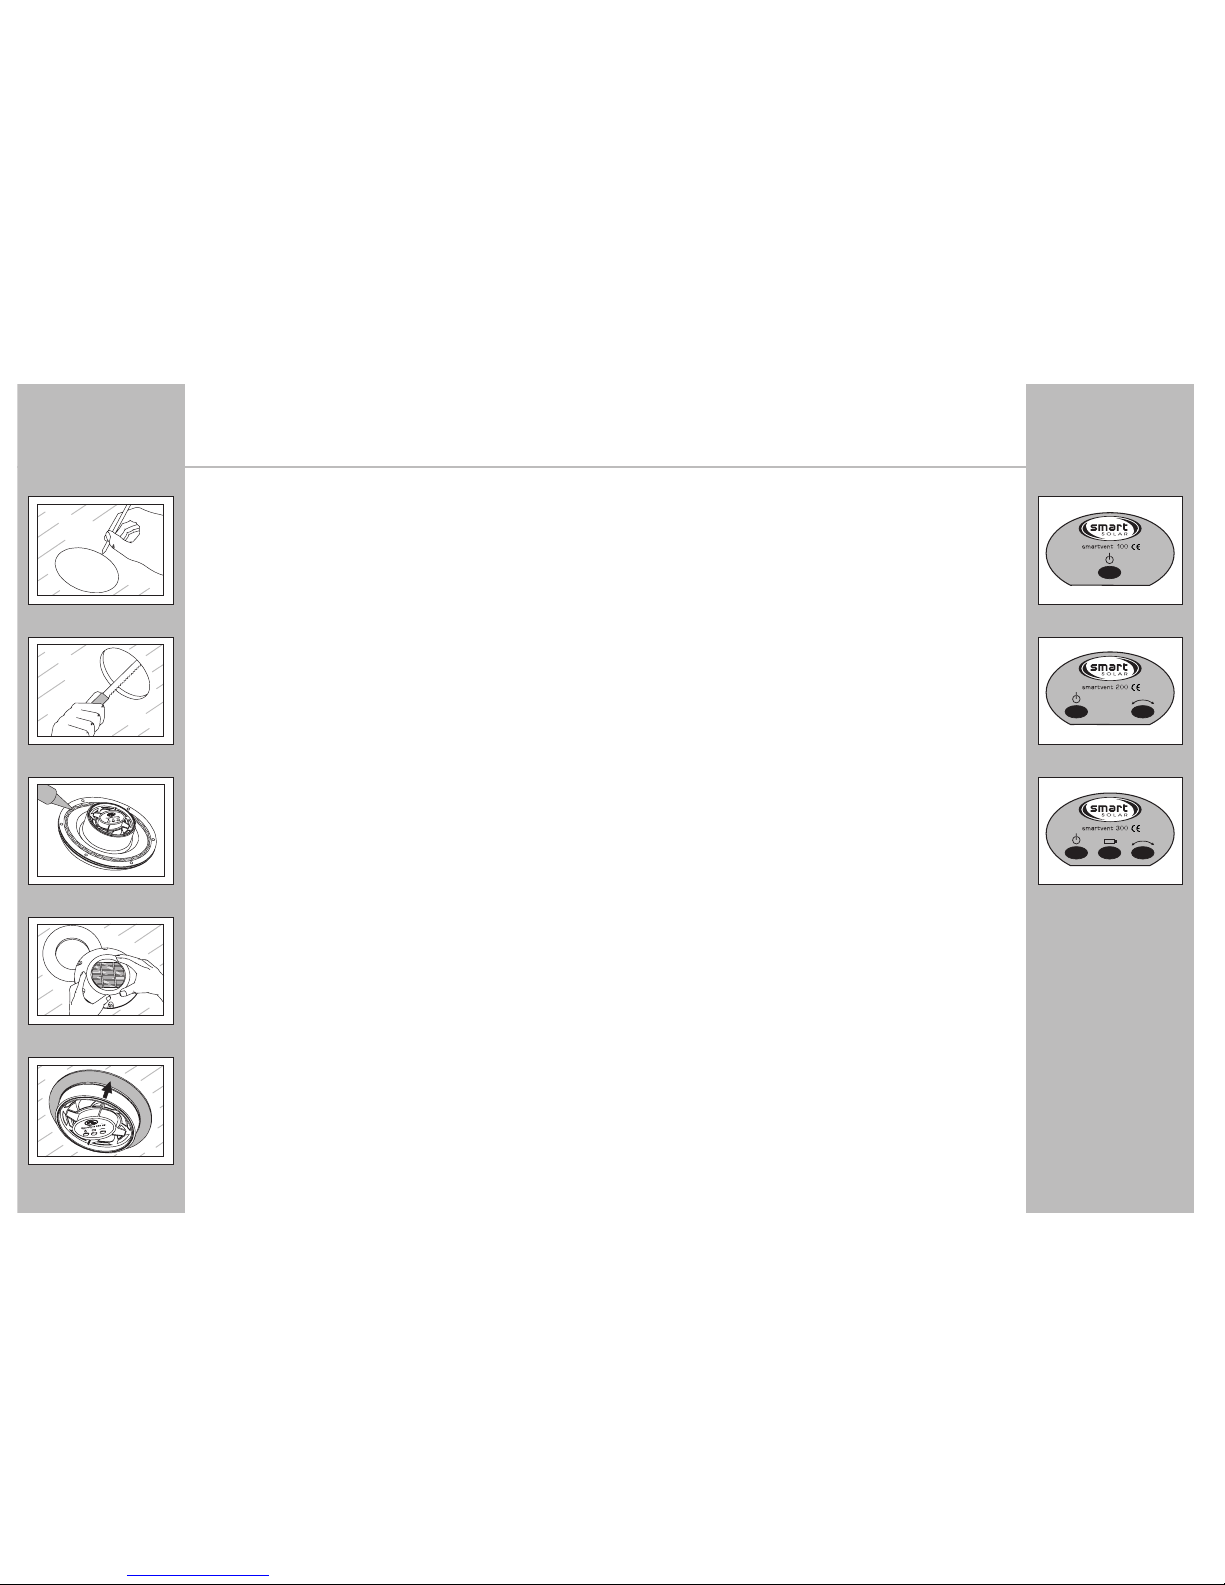
SmartVent 100:
To switch on, push the switch down into the on position, to switch
off, push the switch again and it will release to the off position.
In the on position the SmartVent will extract air when sufficient
daylight hits the solar cell.
SmartVent 200:
The SmartVent 200 has 2 switches, on/off and in/out. The on/off
switch works as described above. When the in/out switch is pushed
down the ventilator will draw air in, when it is released the
ventilator will extract air.
SmartVent 300:
The SmartVent 300 has 3 switches, on/off, in/out and boost.
The on/off and in/out switches work as described above. The boost
switch enables you to operate the ventilator at night or during
overcast conditions. The SmartVent 300 diverts some of the power
generated during daylight to charge an internal battery. The power
stored in this battery is then used to operate the boost function.
When the boost switch is pressed the ventilator operates for
approximately 10 minutes, if the switch is pressed again within the
10 minute operation time the ventilator will turn off. The number
of boost operations possible depends on the amount of power
stored during the day. When the on/off switch is in the off position
power generated by the solar cell is used to charge the battery. This
can be useful if you want to ensure the battery is fully charged for
night time or weekend use and you do not need the SmartVent
working during the day.
SMARTVENT Instruction Manual
CONTENTS
SmartVent (main unit)
Fixing ring
Foam gasket
Thank you for purchasing the SmartVent, a high quality solar
powered ventilator from Smart Solar. The SmartVent can be
used in a variety of locations including boats, conservatories,
green houses and garden sheds. It can be installed in wood,
glass, metal, polycarbonate or similar materials.
1. LOCATION
It is important to locate your SmartVent so that it receives the
maximum amount of sunlight possible, ideally facing the midday
sun and not in any shade
.
2. INSTALLATION
If unsure how to fit the SmartVent yourself, consult a professional
installation expert.
1. Remove the fixing ring and gasket from the barrel.
2. Draw a line around the template in the packaging with
a marker.
3. Cut out the hole, diameter 115mm/4.5”, using a suitable tool.
4. For added security apply mastic sealant between the guidelines
on the underside of your SmartVent. NB In glass we recommend
use of the large foam gasket without using sealant.
5. Place the product through the hole from the outside. In wood
or metal screw SmartVent to the surface with suitable No. 8 or
similar weatherproof screws.
6. Push the fixing ring up the barrel from the inside.
7. If sealant has been used wipe away any excess and leave to dry.
Your SmartVent should now be securely installed
SmartVent 1002 2
2 3
2 4
2 5
2 6
SmartVent 200
SmartVent 300
Page 3
6. FULL 24 MONTH WARRANTY
If within twenty four (24) months from the date of purchase this
product fails due to a defect in material or workmanship, you may
exchange it by returning it to the original place of purchase with
proof of purchase. Alternatively, customers can contact Smart Solar
using one of the contact methods on the back of this leaflet. The
warranty does not apply to:
●
Damage caused by accident, abuse or poor handling;
●
Units which have been subject to unauthorised repair
or modification;
●
Units not used in accordance with the company’s instructions
before, during or after installation;
●
Any parts subject to wear and tear.
●
Batteries
SMARTVENT Instruction Manual
4. BATTERY REPLACEMENT (300 ONLY)
The internal rechargeable battery operates efficiently for up to 500
discharge cycles after which the capacity reduces and operation
becomes less efficient. In these circumstances we recommend that
you change the internal battery as follows:
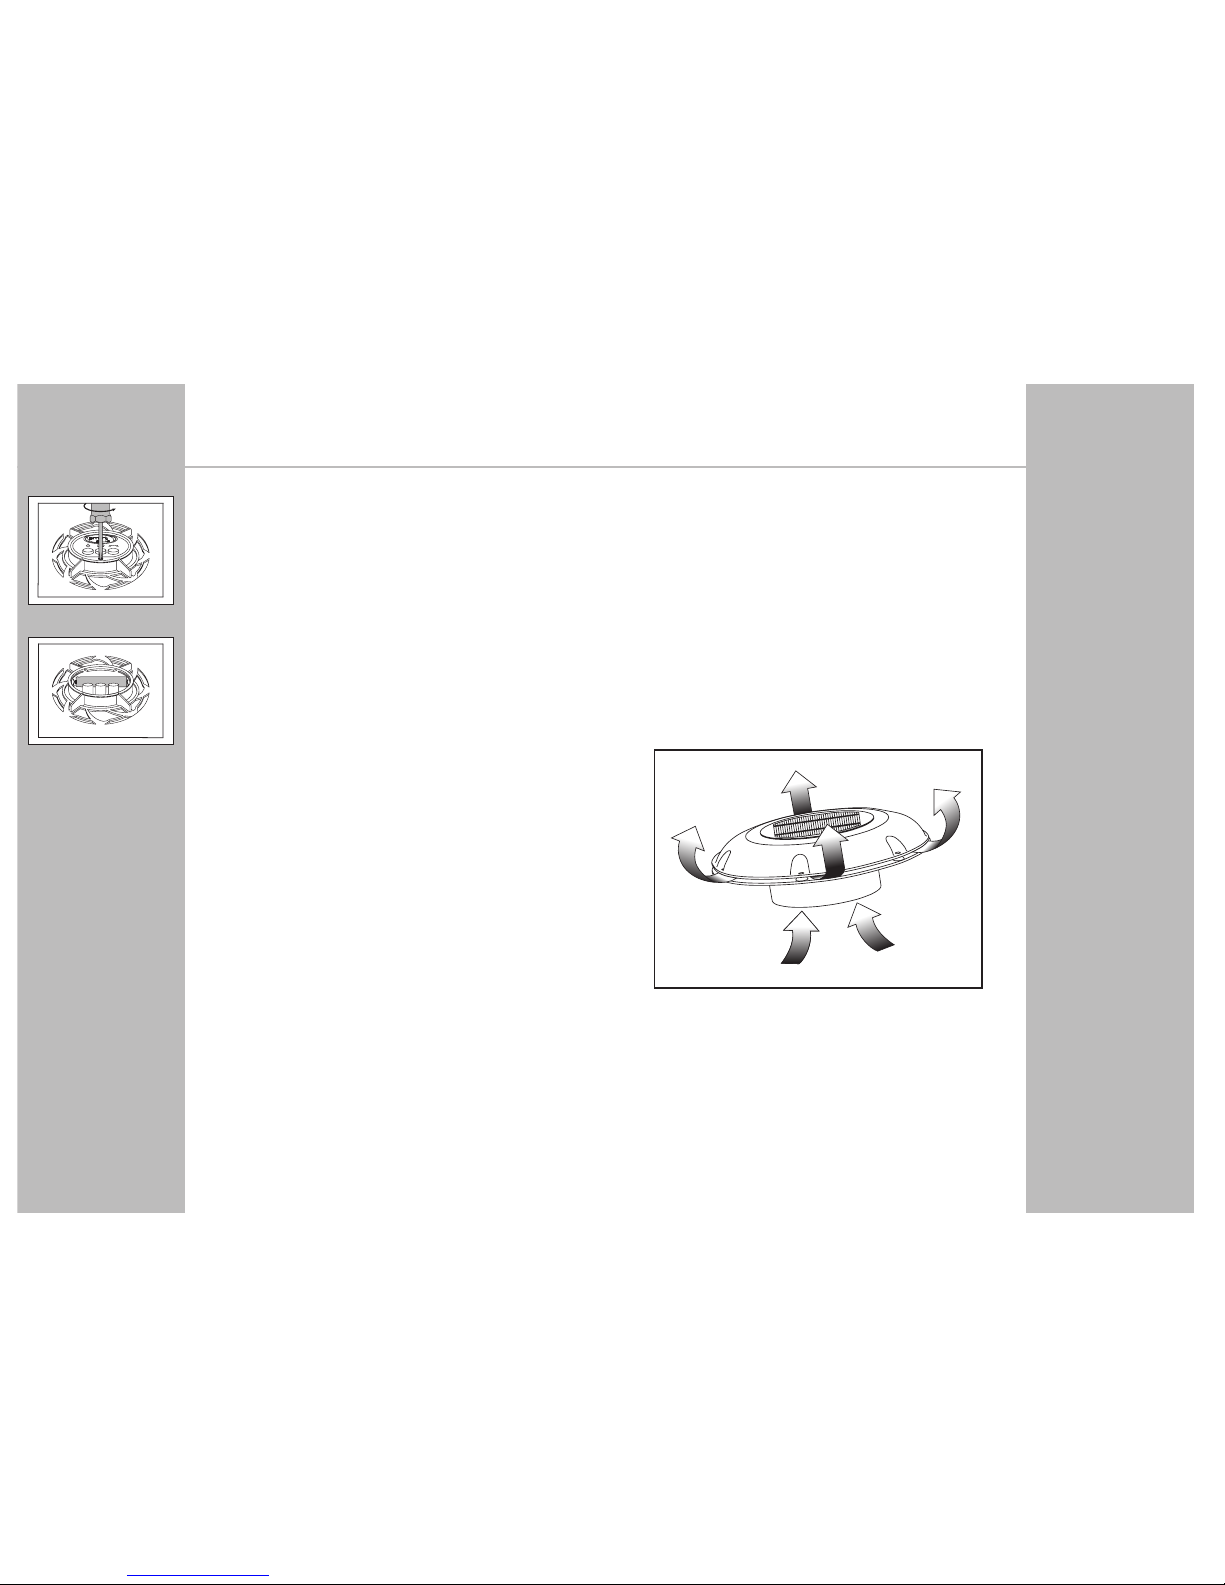
1. Ensure the unit is switched off.
2. Remove the battery cover which is located in the centre of
the ellipse.
3. Remove the AAA battery and replace with a suitable
alternative*.
4. Replace the battery cover.
*Contact customer services for replacement batteries.
Battery specification 1.2V 600mAh NiMh AAA size.
Ensure the batteries are recycled or disposed of in accordance
with local regulations.
DO NOT dispose of battery in fire.
5. TROUBLE SHOOTING
If your SmartVent is not functioning properly, make sure you have
followed the above instructions. If the unit is still not operating
after that then take the following steps:
●
Ensure that the top surface of the unit, above the solar cell, is
clean. We recommend that you periodically clean the top
surface to ensure optimum performance of your SmartVent.
●
Ensure that all switches are in the correct positions as described
in the operation instructions.
●
Ensure that there is no debris or obstructions in the SmartVent
that prevent the impeller from rotating. If necessary the finger
guard can be removed by unscrewing the 2 screws either side
of the ellipse and pulling the guard towards you. The guard is
held in by 4 flexible location tabs, take care not to damage or
break these tabs when removing or replacing the finger guard.
●
If the boost function does not operate ensure the battery is
working and securely in place in the battery holder (300 only),
replace if necessary.
4 2
4 3
 Loading...