

Sunfire Cinema Grand 200 Owners manual

Four Hundr
Cinema Grand
Signature 400 ~ seven
and 200 ~ seven
Cin
em
a
Gran
Power
0
L
o
a
d
I
n
v
a
r
ia
n
t H
S
ig
n
a
tu
r
e
4
0
0
~
s
e
v
e
n
ed
Watt
s
per
C
hannel b
y Seven C
hannels
ig
d
S
upply
Energy
2
0
0
0
3
0
0
1
0
4
0
0
5
0
JOULES
0
h
F
id
e
lity
S
u
p
e
r
D
e
fin
itio
n
P
o
w
e
r
A
m
p
lifie
r
Su
n
fire
seven
SAFETY
Safety
In struc tions
1. Read In struc tions -– All the safe ty
and op er a tion instructions should be
read before the SunÞ re Com po nent is
operated.
2. Retain Instructions — The safety
and operating in struc tions should be
kept for future reference.
3. Heed Warnings — All warnings on
the Com po nent and in these op er at ing
in struc tions should be followed.
4. Follow Instructions — All operating and other in struc tions should be
followed.
5. Water and Moisture — The
Component should not be used near
water - for example, near a bathtub,
wash bowl, kitchen sink, laundry tub, in
a wet base ment, or near a swim ming
pool, etc.
6. Ventilation — The Component
should be situated so that its location
or position does not interfere with its
proper ven ti la tion. For example, the
Component should not be situated on
a bed, sofa, rug, or similar surface that
may block any ven ti la tion open ings; or
placed in a built-in installation such as
a bookcase, cabinet, or closed equipment rack that may impede the ß ow of
air through ven ti la tion openings.
8. Power Sources — The Com po nent
should be con nect ed to a power supply only of the type de scribed in these
op er a tion in struc tions or as marked on
the Com po nent.
9. Power Cord Protection — Powersupply cords should be routed so that
they are not likely to be walked upon
or pinched by items placed upon or
against them, paying particular at ten tion to cords at plugs, con ve nience
re cep tacles, and the point where they
exit the Com po nent.
10. Cleaning — The Com po nent should be cleaned only as
recommended in this manual.
11. Non-use Pe ri ods—The pow er
cord of the Com po nent should be un plugged from the outlet when unused
for a long pe ri od of time.
12. Ob ject and Liq uid En try — Care
should be taken so that objects do not
fall into and liquids are not spilled into
the inside of the Component.
13. Damage Re quir ing Service
— The Com po nent should be serviced
only by qualiÞ ed service per son nel
when:
A. The power-supply cord or the plug
has been dam aged; or
B. Objects have fallen, or liquid has
spilled into the Component; or
C. The Com po nent has been exposed
to rain; or
D. The Com po nent does not appear to
operate normally
or exhibits a marked change in per for mance; or
E. The Component has been dropped,
or its cabinet dam aged.
14. Servicing — The user should not
attempt to service the Component
beyond those means de scribed in this
operating manual. All other servicing
should be referred to qualiÞ ed service
personnel.
7. Heat — The Com po nent should be
situated away from heat sources such
as radiators, or other devices which
produce heat.
2
User's Manual
SAFETY
15. To prevent electric shock, do not
use this polarized plug with an ex ten sion cord, receptacle or other outlet
unless the blades can be fully inserted
to prevent blade ex po sure.
Pour préevenir les chocs électriques
ne pas utiliser cette Þ che polariseé
avec un prolongateur, un prise de
courant ou une autre sortie de courant, sauf si les lames peuvent être
insérées à fond sans laisser aucune
parIIIe à découvert.
WARNING – TO REDUCE THE RISK OF FIRE OR ELECTRIC SHOCK,
DO NOT EXPOSE THIS AP PLI ANCE TO RAIN OR MOIS TURE.
CAUTION: TO PREVENT ELECTRIC SHOCK, MATCH WIDE BLADE
ATTENTION: POUR
DUIRE LA LAME LA PLUS LARGE DE LA FICHE DANS LA BORNE
CORRESPONDANTE DE LA PRISE ET POUSSER JUSQU’AU FOND.
16. Grounding or Po lari za tion —
Pre cau tions should be taken so that
the grounding or polarization means
of the Com po nent is not defeated.
This apparatus does not exceed the
Class A/Class B (which ev er is ap pli ca ble) limits for radio noise emis sions
from digital apparatus as set out in the
radio interference regulations of the Canadian Department of Com mu ni ca tions.
OF PLUG TO WIDE SLOT, FULLY INSERT.
ÉVITER LES CHOCS ÉLECTRIQUES, INTRO-
ATTENTION — Le présent appareil numérique n'émet pas de bruits
radioélectriques dépassant las limites
applicables aux appareils numériques
de class A/de class B (selon le cas)
prescrites dans le règlement sur le
brouillage radioélectrique édicté par
les ministere des com mu ni ca tions du
Canada.
Contents
Safety Instructions................................... 2-3
Chapter 1: Introduction ...............................4
Cinema Grand Editions ..............................5
Unpacking and Installation .........................6
Front Panel Features..................................7
Rear Panel Features ..................................8
Chapter 2: System ConÞ gurations ...........10
Appendix:
Series and Parallel ...................................15
Troubleshooting Guide .............................16
SpeciÞ cations ...........................................18
Limited Warranty ......................................19
Service Assistance ...................................19
Please read the Safety Instructions
carefully before connecting and
using your SunÞ re AmpliÞ er.
Chapter 1 is a general introduction
to the features, details and installation of your ampliÞ er.
Chapter 2 shows some typical con-
nections to a preampliÞ er and
speakers.
The Appendix shows some addition-
al information, including a troubleshooting guide, the Warranty, and
service assistance details.
To Þ nd out more about this and other
SunÞ re products, please visit our
website: www.sunÞ re.com
User's Manual
3
CHAPTER 1
Introduction
Dear Friend,
Thank you for purchasing my SunÞ re Cinema Grand seven channel power ampliÞ er. I hope you en-
joy it and the music it makes as much as I have enjoyed creating it for you.
This magniÞ cent ampliÞ er represents my very latest thinking - and my best ampliÞ er design ever.
I’ve spent over twenty years developing it, and cannot imagine how I could make it any better, or
reÞ ne it any further. No matter what, its performance is, at Þ rst, somewhat difÞ cult to believe.
The Signature 400~seven can pro duce 400 watts rms per channel into 8 ohms and 800 watts
rms into 4 ohms.
Bob Carv er, AmpliÞ er De sign er, Physicist
The 200~seven can pro duce 200 watts rms per channel into 8 ohms, and 400 watts rms into 4
ohms.
The big breakthrough feature of the Cinema Grand is its uncanny tracking downconverter, which
uses 18 Herculean Mosfets in the Signature 400~seven and 12 in the 200~seven. This allows the
Cinema Grand to produce phenominal power output, without the heat generated by conventional
designs.
The circuit boards are heavy glass epoxy, double sided, with a Faraday shield on the back side.
All resistors in the signal path are 1% tolerance, metal-Þ lm. Critical ca pac i tors are Þ lm devices with
high dielectric strength and ultra low absorption characteristics. An enor mous Cinema Grand power
source built around a massive power transformer provides the ultimate muscle for limitless dynamics.
I could go on and on, but here’s the best part: I’ve included two kinds of outputs on the front left
and front right channels:
(1) a standard voltage-source (i.e., near zero im ped ance) output for all typical applications and:
(2) a higher-impedance current-source output, which many prefer for electrostatic, planar
mag net ic, or ribbon speakers. Or you can biwire your system with the voltage source driving
the woofer(s) and the current source driving the upper part of the system. In many cases this
provides by far the best possible in ter face between the ampliÞ er and the speaker system.
Whichever way you decide to hook up the SunÞ re Cinema Grand, it will create a multilayered
sound stage that is deep, wide, three-di men sion al, and utterly be liev able. The optional cur rent-source
output can coax forth a sen su ous, delicately detailed musical voice long associated with low-powered
classic tube ampliÞ ers. (The current-source char ac ter is tic of vacuum tubes is the dominant factor in
the sound stage delivery of classic tube ampliÞ ers).
4
User's Manual
Cinema Grand Editions
CHAPTER 1
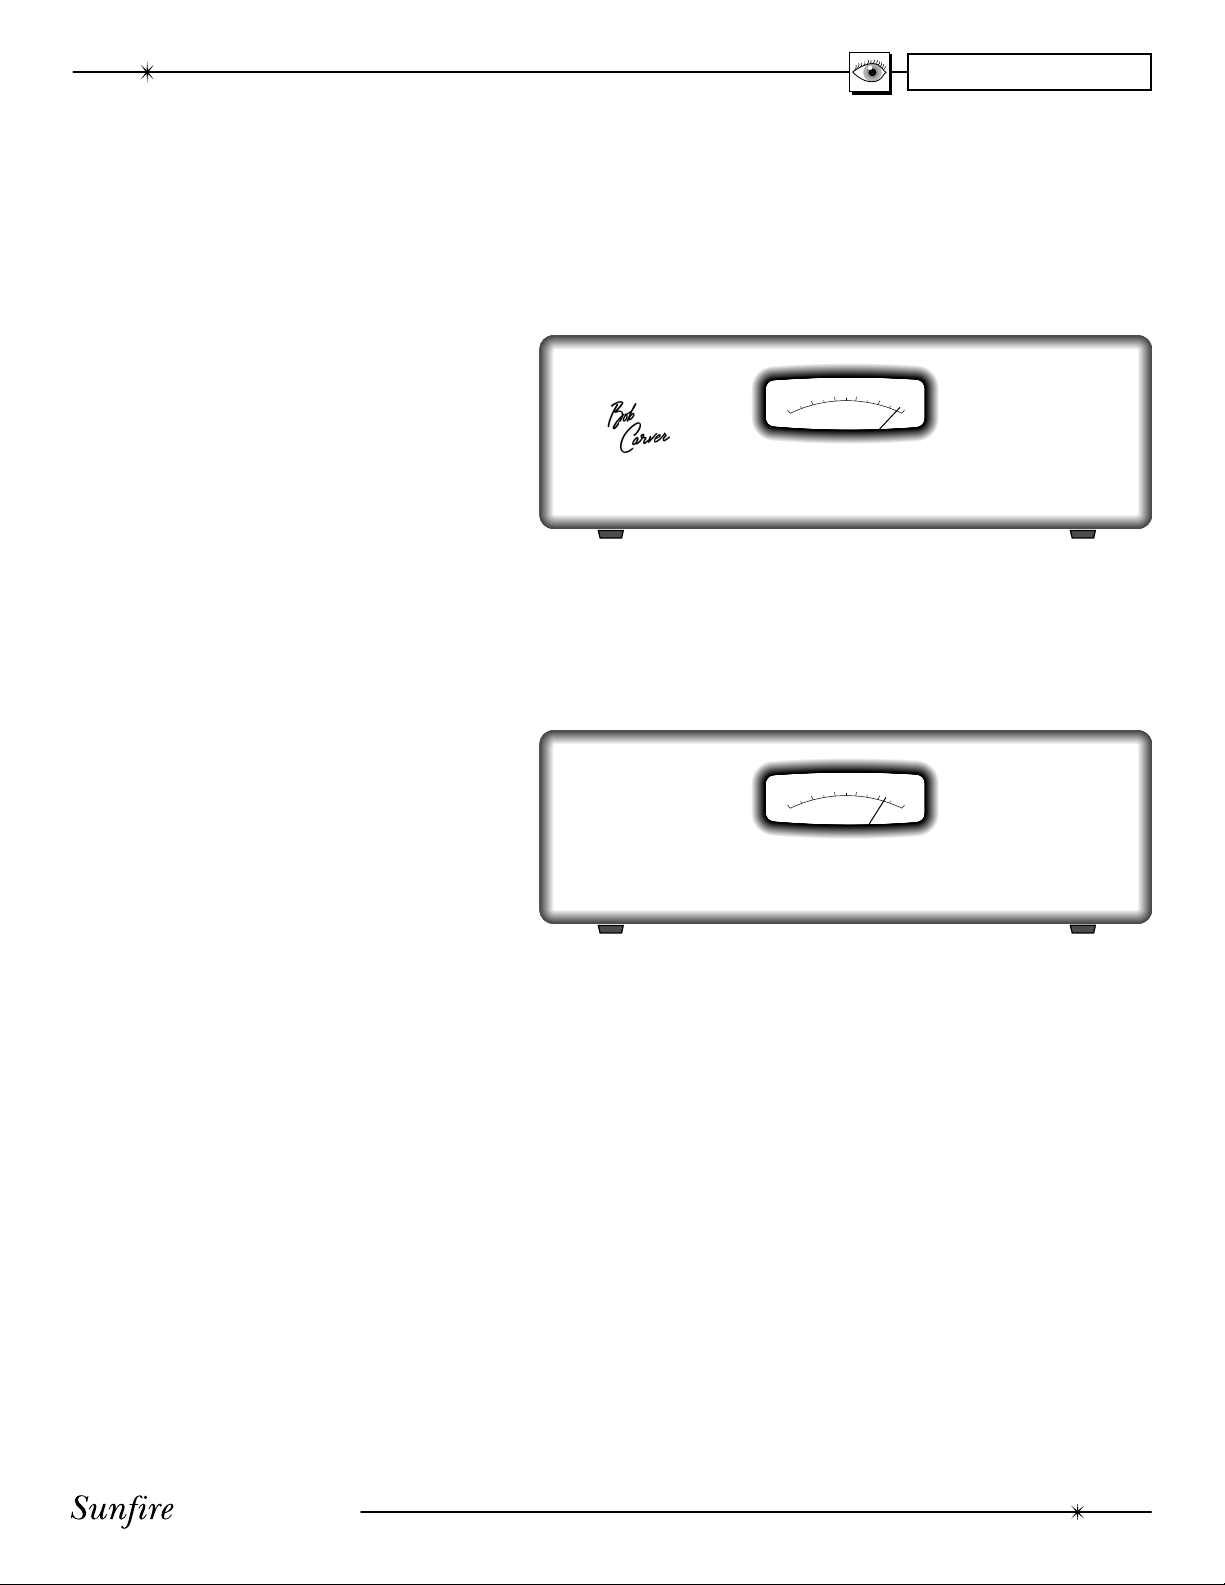
The Cinema Grand seven channel power ampliÞ er is available in two
editions:
• Signature 400~seven
• 200~seven
The Sig na ture 400~seven has twice
the power output, and uses heavier
output ter mi nals com pared to the
200~seven. Each Signature 400~seven is personally signed on the front
panel by Bob Carver.
This manual uses illustrations of the
Sig na ture 400~seven. The operational
details, features, and con nec tions to
loud speak ers and pream pli Þ ers are
the same for both models.
Signature 400~seven
400 Watts per channel into 8 Ω
800 Watts per channel into 4 Ω
Signature 400 ~ seven
Four Hundred Watts per Channel by Seven Channels
200~seven
200 Watts per channel into 8 Ω
400 Watts per channel into 4 Ω
Cinema Grand
Power Supply Energy
3
0
0
0
0
2
4
JOULES
0
0
5
0
0
0
0
1
0
Load Invariant High Fidelity Super Definition Power Amplifier
Sunfire
Cinema Grand
Power Supply Energy
3
0
0
0
0
2
4
JOULES
0
0
5
0
0
0
0
1
0
200 ~ seven
Four Hundred Watts per Channel by Seven Channels
Load Invariant High Fidelity Super Definition Power Amplifier
Sunfire
User's Manual
5
CHAPTER 1
Unpacking
Your SunÞ re AmpliÞ er should reach
you in perfect con di tion. If you do
notice any shipping damage, please
contact your SunÞ re Dealer immedi-
ately.
Gently lift out the unit and remove
all the packing material and ac ces so ries. It is im por tant to save all the
packing ma te ri als and the box in case
your ampliÞ er ever needs to be moved
or shipped for repair.
Make sure that you keep your sales
receipt. It is the only way to establish
the duration of your Limited Warranty
and it may come in useful for insurance pur pos es.
Please take a moment to Þ ll out and
mail the SunÞ re Customer Response
card. Also read the serial num ber
located on the rear panel or the underside of the chassis, and record it here:
Serial #:
___________________________
Purchased at:
___________________________
___________________________
___________________________
___________________________
Date: _______________________
Installation
Read and follow all safety instruc-
tions shown on pages 2 and 3.
Observe the fol low ing pre cau tions
when choos ing a location for your
Cinema Grand Am pli Þ er:
• Protect it from prolonged
ex po sure to direct sunlight and
other direct sources of heat,
such as heating vents and
ra di a tors.
• Do not expose the unit to rain
or moisture. If ß uid or a for-
eign object should enter the
unit, immediately turn off the
power and contact your SunÞ re
Dealer.
• Avoid excessive exposure to
extreme cold or dust.
• Do not place heavy objects on
top of the unit.
• Allow adequate ventilation
around the ampliÞ er; do not
cover the ventilation slots.
AC Power Considerations
Ensure that the unit is plugged into
an outlet capable of supplying the correct voltage speciÞ ed for your model.
The outlet should be capable of supplying 15 amps for the 120 V model,
8 amps for the 230 V model.
Care
If you need to clean the front surface, Þ rst turn off the power and then
use a dry soft cloth, rubbing with the
grain. Be careful not to scratch the
display window.
Connection Tips
Before setting up your new system,
please consider the following :
Always make sure that your
com po nents are all turned
OFF before making or
changing connec tions.
• Make sure that the power
cords of all your components
are attached to the same outlet
or at least to the same circuit.
This will reduce the possibility
of a ground loop in the sys tem.
Make sure that the total current draw does not exceed
the current rating of your AC
outlet or power strip.
• Use the XLR inputs if your
pream pli Þ er has XLR outputs.
These balanced connections
provide superior noise re jec tion.
• Whenever possible, keep the
power cords away from the
signal cables or speaker wires
to pre vent any hum or audio
interference being heard in the
speakers.
• Choose reliable hookup cables,
also called patch cords or RCA
cables. They should be fully
shield ed and as short as pos si ble for the job.
• Some patch cords can be a
very tight Þ t and there is usu-
ally a preferred method of getting them off. Some have to be
removed with a twisting action.
Be gentle or you may dam age
the jacks of the ampliÞ er or
your other components.
• Some special patch cords
can only be hooked up in one
direction, these are usually
marked with arrows.
• It is usual for the right patch
cord plugs to be red and the
left con nec tions to be white,
grey or black. Video connections are usually yellow.
6
User's Manual
 Loading...