

Page 1
User’s Manual
Single Door Refrigerator
Model: SSR8SMWBW
PTT060507
Page 2

SAFETY INFORMATION
READ ALL SAFETY INSTRUCTIONS BEFORE USING THIS REFRIGERATOR
When using an electrical appliance, basic precautions should always be followed, including the
following:
Do not use if power cord is damaged. If damaged, the power cord must be replaced by the
•
manufacturer or a similarly qualifi ed person to avoid hazard.
This refrigerator is not intended to be used by young children without supervision.
•
Ensure the refrigerator is unplugged before cleaning.
•
To clean the refrigerator, use only mild detergents or glass cleaning products.
•
It is not recommended to use this refrigerator with an extension cord or power strip.
•
When positioning the refrigerator, ensure there is at least 5” space on each side for adequate
•
ventilation.
Do not place hot food or drink in the refrigerator before it cools to room temperature.
•
Close the door immediately after putting items in the refrigerator so the inside temperature does not
•
rise dramatically.
Keep the refrigerator away from any heat source or direct sunlight.
•
To make stable, the refrigerator must be placed on a fl at and solid surface. It should not be on any
•
soft material.
Do not place any other appliance on top of the refrigerator.
•
This refrigerator is an electrical appliance. To avoid injury or death from electrical shock, do not
•
operate with wet hands, while standing on a wet surface, or while standing in water.
Do not use outdoors or in wet conditions.
•
When positioning or moving the appliance, ensure it is not set horizontally or declined less than 45°
•
or turned upside-down.
Never pull the cord to disconnect from the outlet. Grasp the plug and pull it from the outlet.
•
Keep the power cord away from heated surfaces.
•
Do not plug into the power socket before setup is complete.
•
An empty refrigerator can be a dangerous attraction to children. If disposing the refrigerator,
•
remove gaskets, latches, lids, or the entire door from your appliance, or take other actions to ensure
the refrigerator is harmless.
2
Page 3

TABLE OF CONTENTS
SAFETY INFORMATION 2
PARTS DIAGRAM 4
UNPACKING THE UNIT 4
INSTALLATION 4
ELECTRICAL INFORMATION 5
TEMPERATURE CONTROL 5
DEFROSTING THE FREEZER 6
CLEANING INSTRUCTIONS 6
ENERGY SAVING TIPS 7
REVERSING THE DOOR 7
TROUBLESHOOTING 8
Page 4

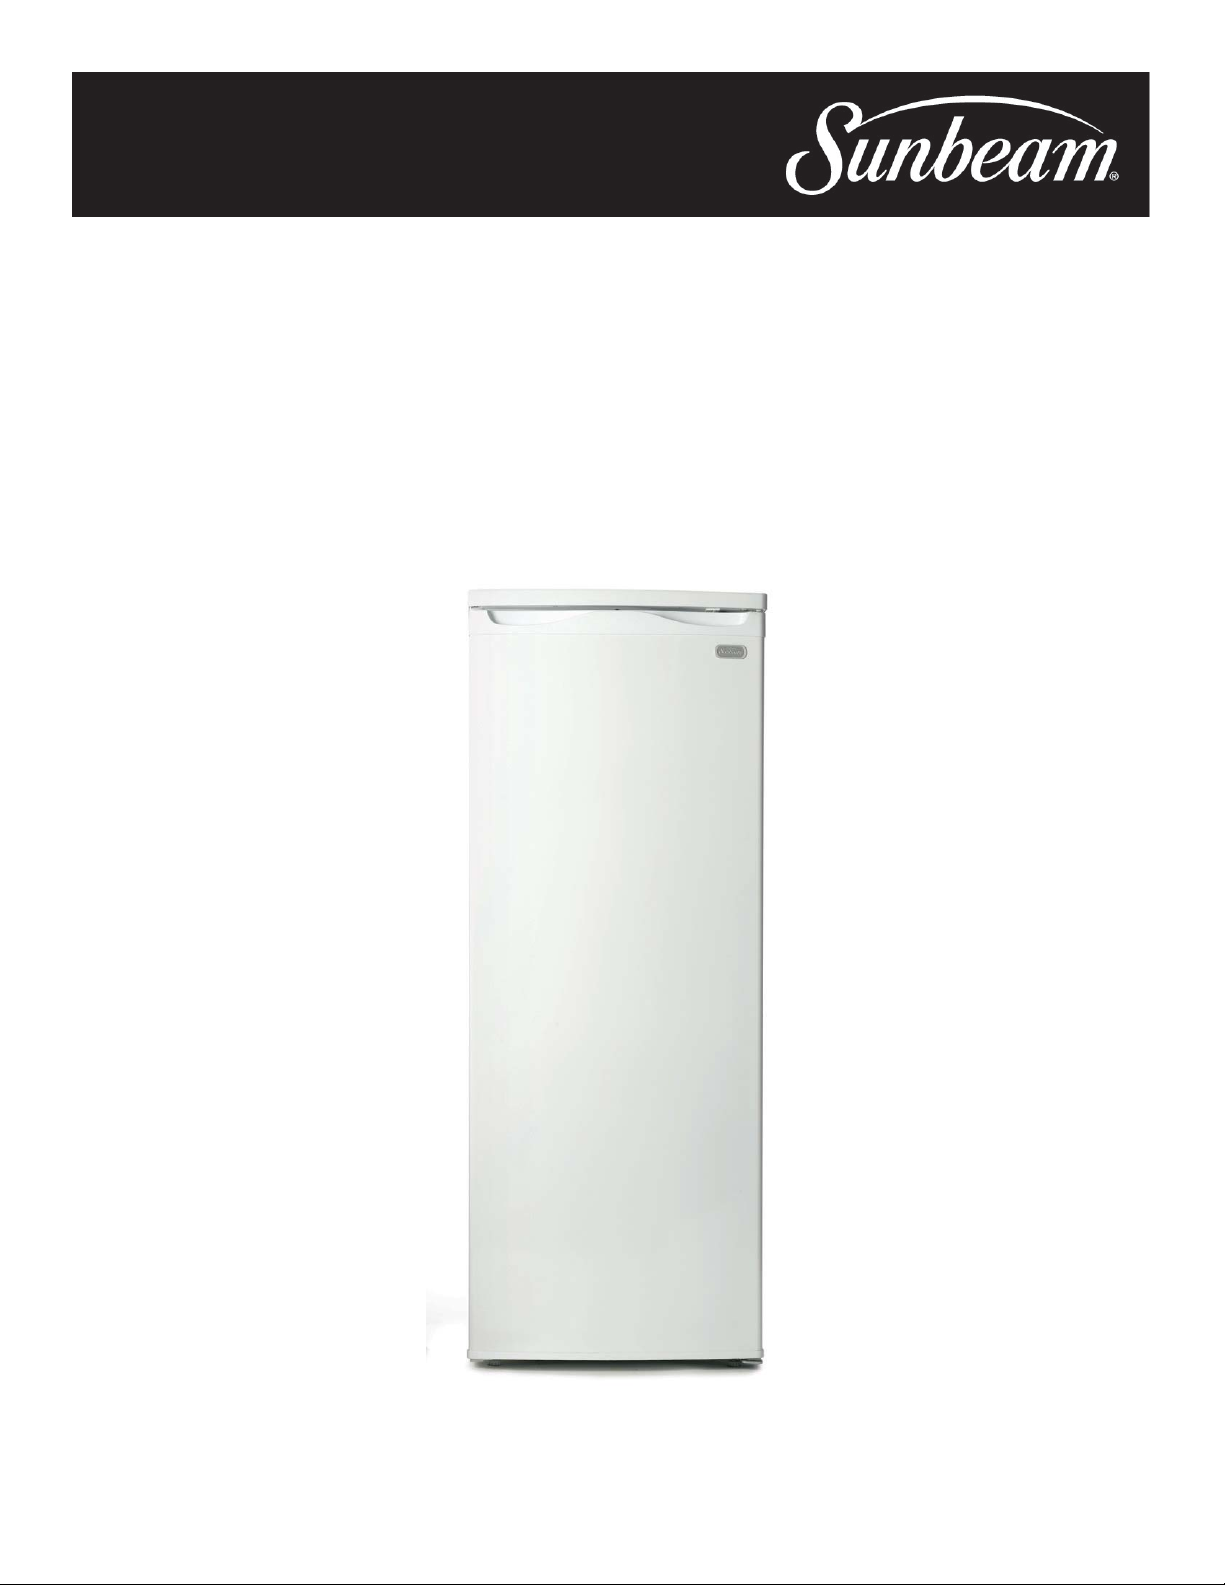
PARTS DIAGRAM
Freezer Compartment
1.
Temperature Control
2.
and Light
Refrigerator Shelves
3.
Glass Crisper Cover
4.
Vegetable Crisper
5.
Leveling Legs
6.
Egg Trays
7.
Door Bins
8.
Bottle Rack
9.
Bottle Door Bin
10.
UNPACKING THE UNIT
Remove the exterior and interior packing.
1.
Before connecting the chest freezer to the power source, let the unit stand upright for approximately
2.
2 hours. This will reduce the chances of a cooling malfunction after transporting.
Clean the interior surface with lukewarm water using a soft cloth.
3.
INSTALLATION
Place your refrigerator on a fl oor that is stable enough to support it when fully loaded.
•
Allow 5” (15cm) of space between the back and sides of the refrigerator to allow proper air
•
circulation.
Locate the refrigerator away from direct sunlight and heated sources. Extreme cold ambient
•
temperatures may also cause the freezer to poorly preform.
Avoid locating the refrigerator in moist areas.
•
4
Page 5

ELECTRICAL INFORMATION
This refrigerator should be properly grounded for your safety. The power cord of is equipped with a
•
three-prong plug to minimize the possibility of electrical shock.
Do not under any circumstances cut or remove the third ground prong from the power cord
•
supplied.
Plug the refrigerator into an exclusive properly installed-grounded wall outlet.
•
Use of extension cords is not recommended.
•
This refrigerator requires a standard 115/120-volt, 60Hz electrical outlet with a three-prong ground.
•
The cord should be secured behind the appliance and not left exposed or dangling to prevent accidental
•
injury.
TEMPERATURE CONTROL
Your refrigerator has only one control for regulating the temperature in the fresh food and the freezer
•
compartment. The temperature control is located on the upper right hand side of the fresh food
section.
The temperature control ranges from 0 (warmest) to 5 (coldest).
•
The fi rst time you turn the unit on set the temperature control to 5 to allow the cavity to cool. After
•
24 to 48 hours, adjust the temperature control to the setting that best suites your needs - a setting of
3 is standard.
To turn the thermostat off, turn the temperature control to 0.
•
NOTE:
Turning the temperature control to 0 stops the cooling cycle but does not shut off the power to the
•
appliance.
If the unit is unplugged, power lost, or turned off, you must wait 3 to 5 minutes before restarting the
•
unit. If you attempt to restart before this time delay, the refrigerator will not start.
5
Page 6

DEFROSTING THE FREEZER
For the most effi cient operation and minimum energy consumption, defrost the freezer when
•
the frost on the freezer walls is excessive of 5-10mm thick. The refrigerator does not need to be
defrosted, as any frost build-up will defrost automatically.
Choose a time when the stock of frozen food is low.
•
CAUTION: do not use boiling water to defrost the freezer. This may damage the plastic parts. In
•
addition, never use a sharp or metallic instrument to remove frost, as it may damage the cooling
coils. Use the included plastic scraper.
Defrosting usually takes a few hours. Leaving the door open will speed up the process.
•
To Defrost:
Remove the frozen food from the freezer and place it in a cooler or another freezer to prevent from
1.
defrosting.
Turn the thermostat knob to OFF and unplug the freezer. Leave the door open so you can scrape the
2.
defrosting frost (with a plastic scraper).
Clean the interior of the freezer.
3.
Reset the thermostat to the desired temperature and allow the cavity to cool for one hour.
4.
Once the freezer has had a chance to cool, replace food in freezer.
5.
CLEANING INSTRUCTIONS
It is recommended to clean the refrigerator before using.
•
If the refrigerator or freezer is full, turn the thermostat OFF, unplug the unit, remove food before
•
cleaning.
Wash the inside cavity with a damp warm cloth and a baking soda/water solution. (2 Tbsp baking
•
soda per 1 quart water)
Be sure to keep the door seal clean to keep the refrigerator running effi ciently.
•
The outside of the refrigerator should be cleaned with a mild detergent and warm water.
•
Dry the interior and exterior with a soft cloth.
•
The condenser coils should be vacuumed when dusty or dirty.
•
It is recommended the freezer be cleaned each time it is defrosted to help keep it odor-free and
•
running effi ciently.
6
Page 7

ENERGY SAVING TIPS
The refrigerator should be located in the coolest area of the room, away from heat-producing
•
appliances or heating ducts, and out of direct sunlight.
Let hot foods cool to room temperature before placing in the refrigerator.
•
Be sure to wrap foods properly and wipe containers dry before placing them in the refrigerator.
•
Organize and label food to reduce opening the door for extended periods of time. Remove as many
•
items as needed at once and close the door as soon as possible.
If you will be gone for more than three weeks, remove all food and unplug the refrigerator. Clean
•
and dry the interior thoroughly. To prevent odor and mold growth, leave the door open slightly,
blocking it if necessary or remove completely.
REVERSING THE DOOR
This refrigerator has the capability to either open from the right or left side. Should you wish to reverse
the opening direction, follow the directions below.
Note: All removed parts must be saved to reinstall the door.
Before reversing the door:
Unplug the refrigerator from the power source.
•
Empty the refrigerator contents, including shelves.
•
To reverse the door:
Carefully set the refrigerator on its back, with the door up for access.
1.
Unscrew the lower hinge pin. Lift up the door and slide it off the top pin. Set aside.
2.
To remove the lower hinge, remove the four screws. Re-attach to the opposite side of the refrigerator
3.
bottom.
Unscrew the upper hinges on each side of the refrigerator.
4.
Replace the upper hinges, placing the hinge without the top pin on the side from which you want the
5.
door to open.
Remove the hinge pin hole plug from the top of the refrigerator door and replace it on the opposite
6.
side.
Slide the door on to the top pin, now located on the opposite side of the top of the refrigerator.
7.
Replace the lower hinge pin.
8.
Your refrigerator should now open from the opposite side.
9.
7
Page 8

TROUBLESHOOTING
Before asking for service, please check each item below if you have trouble with your refrigerator.
SYMPTOM POSSIBLE CAUSE
The unit is not plugged in
Refrigerator does not operate
Compressor turns on and off frequently
•
The circuit breaker tripped or blew a fuse
•
The room temperature is hotter than normal
•
A large amount of food has been added to the
•
refrigerator
The door is left open too often
•
The door is not completely closed
•
The temperature control is not set correctly
•
The door gasket does not seal properly
•
The refrigerator does not have correct clearances
•
The refrigerator has recently been unplugged for
•
a period of time; 4 hours are required for the
refrigerator to completely cool
Light does not work
Vibrations
The refrigerator makes too much noise
The circuit breaker tripped or blew a fuse
•
The refrigerator is unplugged
•
The bulb has burned out
•
Check to ensure the refrigerator is level
•
The fl oor is weak or uneven; refrigerator rocks on
•
the fl oor when the fl oor is slightly moved; be sure
the fl oor can adequately support the refrigerator;
level the refrigerator by putting wood or metal
shims under parts of the refrigerator
The refrigerator is touching the wall; re-level the
•
refrigerator and move it away from the wall
The rattling noise may come from the fl ow of the
•
refrigerant; this is normal
As each cycle ends, you may hear gurgling sounds
•
caused by the fl ow of the refrigerant in the
refrigerator; this is normal
Contraction and expansion of inside walls
•
may cause popping and crackling noises; this is
normal
The refrigerator is not level
•
The door will not close properly
The refrigerator is not level
•
The gasket is dirty
•
8
Page 9

© 2007 Sunbeam Products, Inc. doing business as Jarden Consumer Solutions. All rights reserved.
Sunbeam
®
is a registered trademark of Sunbeam Products, Inc. used under license.
Distributed by Petters Consumer Brands, LLC. 4400 Baker Road, Minnetonka, MN 55343.
For service, support and warranty information, visit www.sunbeammajorappliances.com or in the US call 1-866-866-6283.
 Loading...