

Page 1
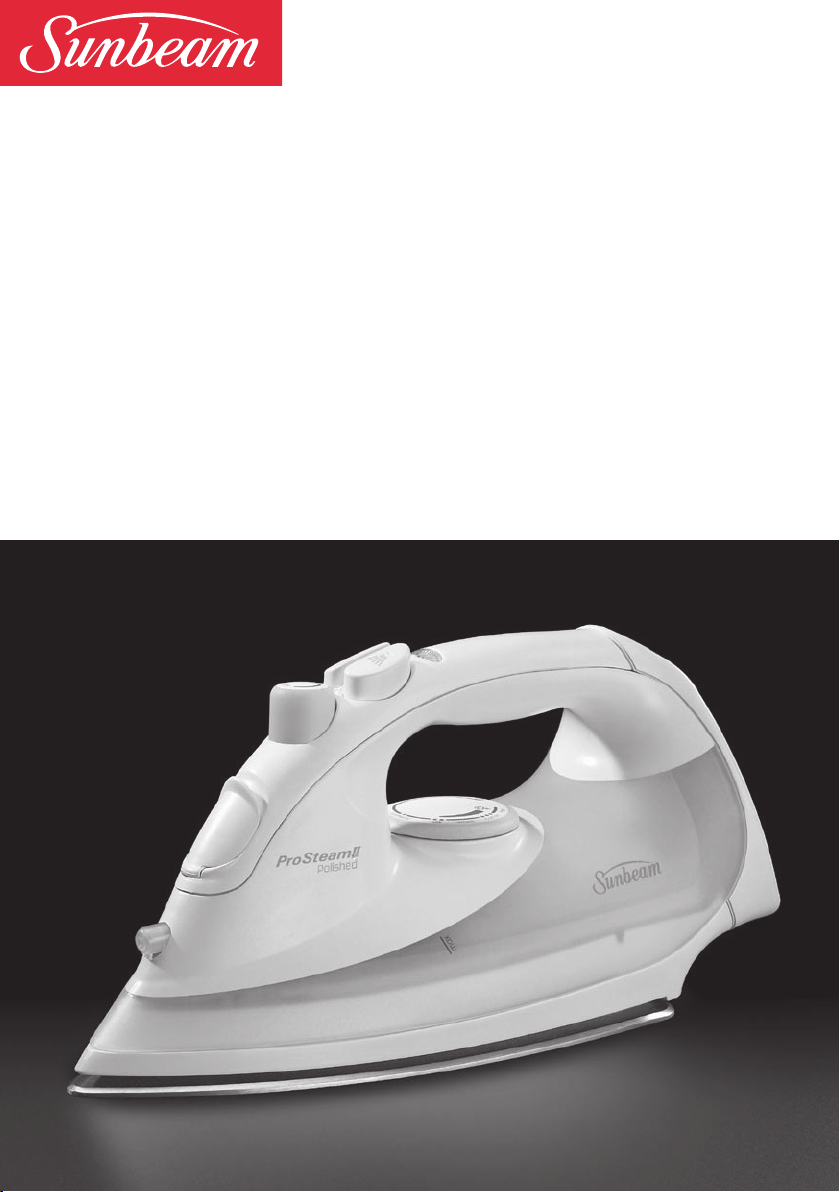
Pro Steam I I
Instruction Booklet
This book covers the use and care of the following Sunbeam Irons:
SR3100 Pro Steam I I 3100 Polished shot and spray iron
SR3200 Pro Steam I I 3200 Teflon® shot and spray iron
Please read these instructions carefully
and retain for future reference.
Page 2

Contents
Contents
Sunbeam’s Safety Precautions 3
Features of your Pro Steam I I Iron 4
Using your Pro Steam I I Iron 6
Care and Cleaning 7
Important instructions – retain for
future use.
Page 3

Sunbeam’s Safety Precautions
Sunbeam’s Safety Precautions
SAFETY PRECAUTIONS FOR YOUR IRON
• Do not leave a hot iron within reach of
children. If they come into contact with a hot
iron it could lead to serious burns.
• Iron only on an ironing board.
• An iron takes approximately 30 minutes to
cool down. Allow the iron to cool completely
before storing.
Sunbeam are very safety conscious when
designing and manufacturing consumer
products, but it is essential that the product
user also exercise care when using an
electrical appliance. Listed below are
precautions which are essential for the safe
use of an electrical appliance:
•
Read carefully and save all the instructions
provided with an appliance.
• Always turn the power off at the power outlet
before you insert or remove a plug. Remove by
grasping the plug – do not pull on the cord.
• Turn the power off and remove the plug
when the appliance is not in use and before
cleaning.
• Do not use your appliance with an extension
cord unless this cord has been checked and
tested by a qualified technician or service
person.
• Always use your appliance from a power outlet
of the voltage (A.C. only) marked on the
appliance.
• This appliance is not intended for use by young
children or infirm persons unless they have been
adequately supervised by a responsible adult to
ensure that they can use the appliance safely.
• Never leave an appliance unattended while in
use.
• Young children should be supervised to ensure
that they do not play with the appliance.
• Do not wind the cord around the soleplate
while the iron is still hot.
• Do not leave the iron unattended while it is
plugged into the power outlet.
• Always unplug the iron from the power outlet
before filling or emptying the water tank.
• Do not use an appliance for any purpose other
than its intended use.
• Do not place an appliance on or near a hot
gas flame, electric element or on a heated
oven. Do not place on top of any other
appliance.
• Do not let the power cord of an appliance
hang over the edge of a table or bench top or
touch any hot surface.
• For safety reasons and to avoid maintenance
by unskilled persons, some appliances are
‘sealed’ using tamperproof screws. Such
appliances should always be returned to the
nearest Sunbeam Appointed Service Centre for
adjustment or repair if required.
• Do not operate any electrical appliance with
a damaged cord or after the appliance has
been dropped or damaged in any manner. If
damage is suspected, return the appliance
to the nearest Sunbeam Appointed Service
Centre for examination, repair or adjustment.
• For additional protection, Sunbeam
recommend the use of a residual current
device (RCD) with a tripping current not
exceeding 30mA in the electrical circuit
supplying power to your appliances.
• Do not immerse the appliance in water or any
other liquid unless recommended.
If you have any concerns regarding the performance and use of your appliance,
please visit www.sunbeam.com.au or contact the Sunbeam Consumer Service Line.
Ensure the above safety precautions are understood.
3
3
Page 4

Powerful shot of steam
Pressing the shot of steam button instantly
produces a powerful shot of steam to remove
stubborn wrinkles.
Vertical shot of steam
Pressing the shot of steam button with the iron
in an upright position produces a vertical shot
of steam, which is ideal for steaming curtains
and suits, and removing creases from delicate
fabrics.
Variable steam
The steam dial allows you to select the desired
steam output for each garment. Alternatively,
select the DRY setting to iron without steam.
Removable steam valve
The steam valve is connected to the steam
dial and is removable to allow for easy
cleaning. Cleaning it regularly removes scale
build-up that can affect its performance.
For instructions on how to clean the steam
valve see the Care and Cleaning section on
page 7.
Water inlet cover
The water inlet allows for easy filling, without
bubbling or spilling.
Full length button groove
For ironing around buttons.
4
Page 5

Fine spray mist
Pressing the spray button provides a fine
mist spray to dampen hard-to-iron fabrics.
Thermostat light
Illuminates to indicate that the iron
is heating and goes out when it has
reached the temperature selected on the
temperature dial. The thermostat light
cycles on and off during ironing as the
iron maintains the selected temperature.
Long cord with swivel cord outlet
The swivel cord outlet is ideal for left
or right hand use, and provides greater
versatility and ease of movement when
ironing. The flexible grommet protects the
cord from fraying.
Temperature indicator
Align the desired setting with the
temperature indicator.
Stable heel rest
Large heel rest keeps the iron stable on
the ironing board.
Temperature dial
Allows you to select the desired
temperature for each garment. The
adjustable temperature dial also
indicates the amount of steam
recommended for use on each
temperature setting.
Cord wrap facility
The built-in cord wrap facility allows you
to wind the cord around the heel for neat
and tidy storage of the cord when the iron
is not in use.
Maximum water level indicator
Indicates the maximum water level.
5
Page 6

Using your Sunbeam Pro Steam II Iron
Before first use
Remove any adhesive stickers, plastic covers
or cardboard sleeves from the soleplate.
Ensure that all adhesive is removed by
rubbing the soleplate with a cloth dampened
with methylated spirits.
Fill the water tank and empty the water. This
will rinse out any foreign particles remaining
in the water tank from the manufacturing
process.
NOTE: When turned on for the first time, your
new iron may give off vapours for up to 10
minutes. This is due to the initial heating of
the materials used. It is safe, not detrimental
to the performance of the iron, and will not
reoccur.
Filling the iron with water
Before filling the iron with water ensure the
power is turned off and the plug is removed
from the power outlet. The iron can be filled
with water while it is hot.
1. Turn the STEAM/DRY dial to DRY.
2. Place the iron on its heel and hold it at a
45 degree angle. (Refer to figure 2 below).
Open the water inlet cover.
3.Slowly pour water into the water inlet
until the maximum water level is reached.
Do not exceed the maximum water level
indicator. Push the water inlet cover firmly
to close.
For best performance, we recommend the use
of Sunbeam Water Demineraliser, available
from Sunbeam Service Centres and selected
retailers. This will produce up to 30 litres of
demineralised water.
Do not fill the iron with fabric conditioner,
starches or any other solution as these will
damage the steam mechanism. Do not use
contaminated water.
Using your iron
1. Insert the 3 pin plug into a 230/240 volt
power outlet and turn the power on.
2. Turn the temperature dial to the desired
setting by aligning the setting on the
dial with the temperature indicator. The
thermostat light (positioned on the top
of the handle) will illuminate to indicate
that the iron is heating to the selected
temperature. When the thermostat light
goes out the iron has reached the selected
temperature and is ready to iron.
NOTE: When the temperature dial is changed
from a high setting to a lower temperature
setting during ironing, the thermostat light
will go out immediately. This indicates
that the iron is cooling to the selected
temperature. To ensure that the iron has
reached the selected temperature and is not
too hot, wait until the thermostat light comes
on again and then goes out before ironing.
Dry ironing
Follow steps 1 and 2 above.
3. Select DRY on the STEAM/DRY dial. This
will cut off the steam flow if there is water
in the tank.
Figure 2
NOTE: The special soleplate design allows you
to use tap water with your Pro Steam II iron
without affecting the steam performance.
However in very hard water areas, Sunbeam
recommend the use of distilled water, or
water which has been demineralised.
6
Steam ironing
Follow steps 1 and 2 above.
NOTE: When steam ironing, ensure that the
temperature dial is set to any temperature
within the steam band and that the tank is at
least ¼ full of water.
3. Turn the STEAM/DRY dial to the desired
steam setting.
Page 7

Using your Sunbeam Pro Steam II Iron (continued)
Using the shot of steam
The shot of steam can be used whether DRY
or STEAM ironing when the temperature dial
is set to any temperature above the two dot
(••) setting.
1. Ensure the tank is at least ¼ full of
water.
2. Select the desired temperature and wait
until the thermostat light goes out.
3. Press the shot of steam button several
times with the iron on the soleplate to
prime the pump.
After each use
1. Turn the STEAM/DRY dial to DRY.
2. Turn the power off and remove the plug
from the power outlet.
3. Empty any remaining water from the
water tank.
4. Allow the iron to cool before winding the
cord around the built-in cord wrap.
Storage
Always store the iron on its heel rest.
NOTE: Do not store the iron with the soleplate
facing down, or in the carton.
Cleaning
To clean the exterior of your iron, wipe over
with a damp soft cloth and wipe dry.
Caution: Do not use harsh abrasives, chemical
cleaners or solvents to clean the exterior of
your iron as these will damage the surface.
NOTE: If the tank has run dry, it may be
necessary to re-prime the pump after filling
the iron with water.
Using the spray mist
The spray mist can be used whether dry
or steam ironing to pre-dampen hard to
iron fabrics.
1. Ensure the tank is at least ¼ full of
water.
2. Press the spray button during ironing to
release a fine mist from the spray nozzle.
Cleaning the removable steam valve
To remove the steam valve, turn the STEAM/
DRY dial to (•), so that the steam valve pops
up. Gently scrub the tip of the valve with a
steel wool soap pad moistened in warm water.
Rinse and dry with a clean cloth. Replace the
steam valve and turn clockwise to lock into
positon.
To clean the steam holes
To remove build up from the steam holes which
may affect steam performance, use a cotton
wool tip moistened in methylated spirits.
Cleaning the Teflon® Select non-stick soleplate
(SR3200)
The non-stick coating reduces sticking of
fabrics and starches to the soleplate. Do not
iron over sharp objects such as buttons, studs
and zippers, as these will scratch the surface.
Wipe the soleplate with a damp soft cloth
after each use. If polyester has burnt to the
soleplate, iron a damp cotton cloth while hot.
Caution: Do not use scouring pads, abrasives
or harsh cleaners to clean your Teflon® Select
non-stick soleplate, as these will scratch and
damage the surface.
Cleaning the Polished Aluminium soleplate
(SR3100)
Rub gently with a stainless steel soap pad
moistened in warm water. Wipe dry.
7
Page 8

Consumer Hotline
Australia
1800 025 059
New Zealand
0800 786 232
www.sunbeam.com.au
is a registered Trademark of Sunbeam
Corporation Limited. ABN 45 000 006 771.
© Sunbeam Corporation Limited 2005.
‘Sunbeam’ and ‘Pro Steam’ are registered trademarks of Sunbeam
Corporation. Teflon is a registered trademark of DuPont. Made in China
to Sunbeam’s specification. Due to minor changes in design or otherwise,
the product may differ from the one shown in this leaflet. Backed by
Sunbeam’s 2 Year Replacement Guarantee and National Service Network.
© Copyright. SUNBEAM CORPORATION LIMITED 2005.
ABN 45 000 006 771
Sunbeam Corporation is a division of GUD Holdings Ltd.
For more information or advice on this or any other Sunbeam appliance,
visit www.sunbeam.com.au or contact the Sunbeam Consumer Service Line.
Australia 1800 025 059
New Zealand 0800 786 232
09/05
 Loading...