

Page 1
User’s Manual
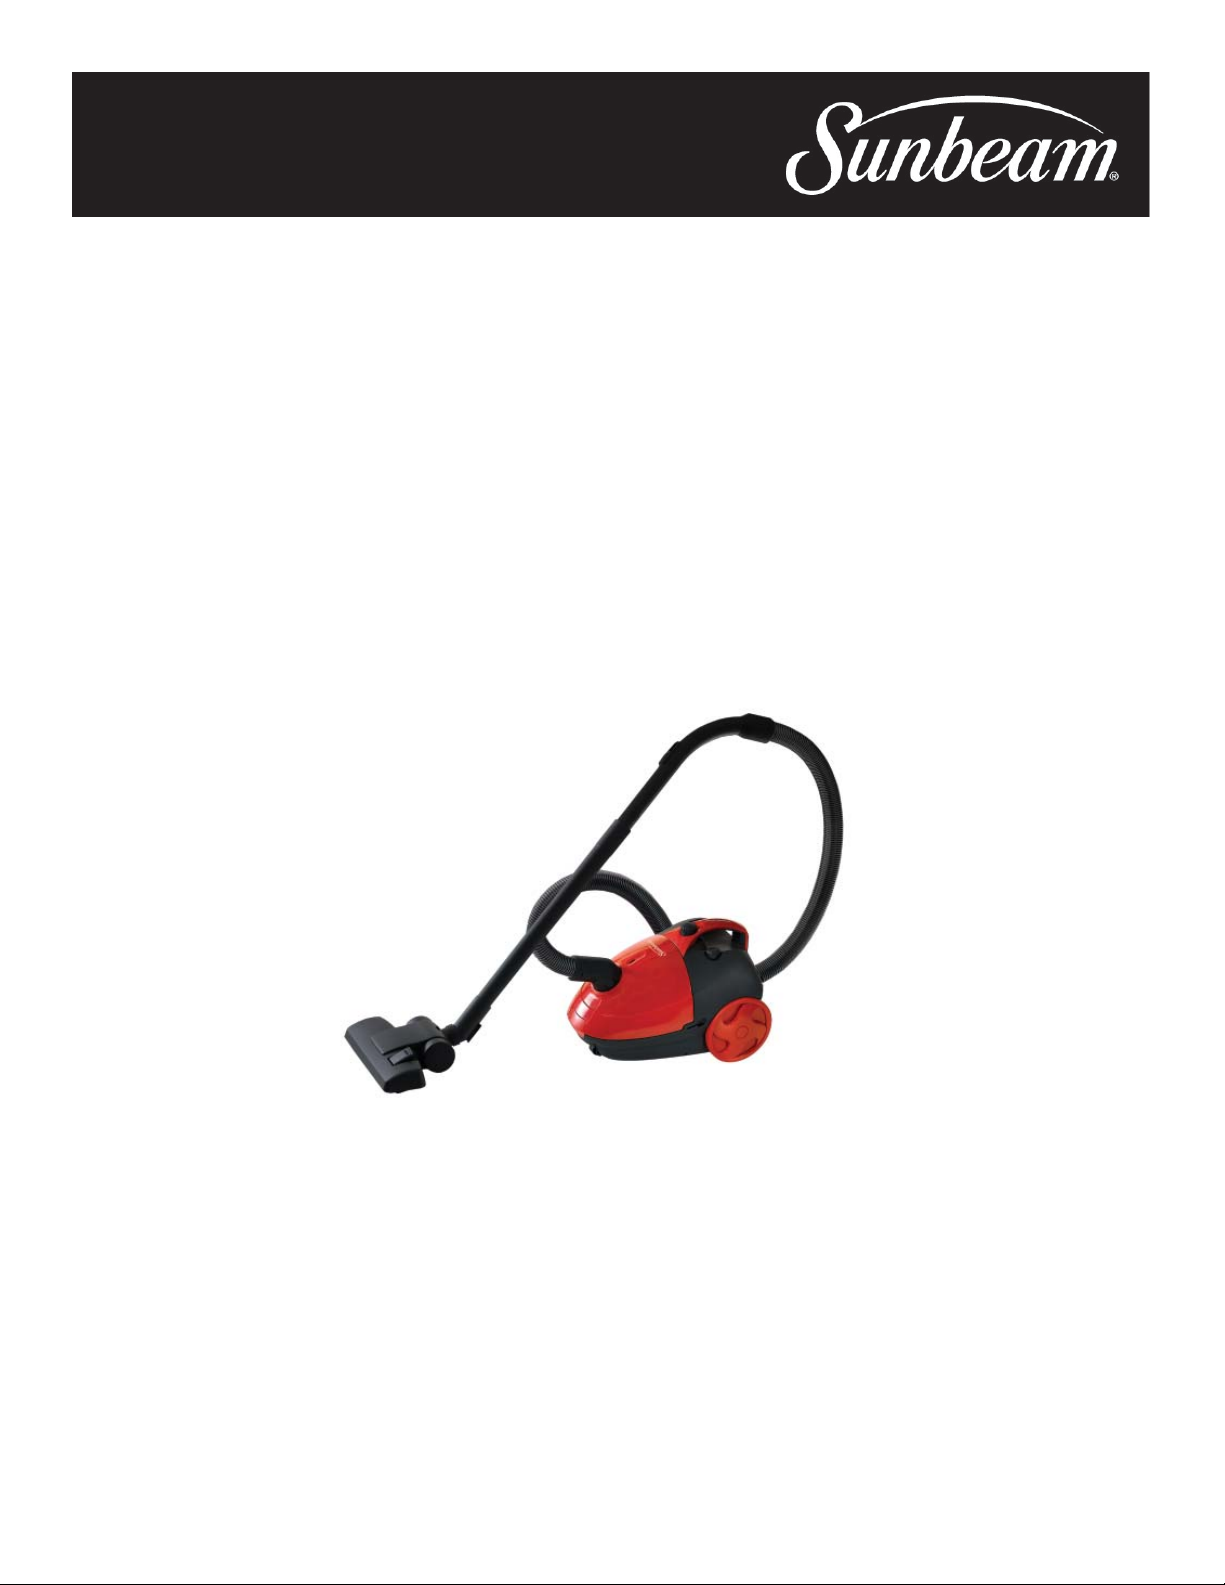
11.5 AMP Canister Vacuum Cleaner
Model: SNV11CBRB
PTT040606
Page 2

TABLE OF CONTENTS
SAFETY PRECAUTIONS 3
DESCRIPTION AND OPERATION 4
CLEANING THE FILTER 7
CHANGING THE DUST BAG 8
USING THE VACUUM IN SHOULDER MODE 9
BEFORE ASKING FOR SERVICE 9
Page 3

SAFETY PRECAUTIONS
This vacuum cleaner should only be used for normal dry household dust and dirt.
•
The manufacturer cannot be held responsible for any damage caused by use of operation of the
•
cleaner contrary to these instructions.
If the cleaner is wrongly operated for a purpose other than that for which it is intended, no liability
•
can be accepted for any possible damage.
Do not vacuum areas which contain moisture or water and infl ammable matter, needles, pins, razor
•
blades, matches, cigarette-ends, etc., since they may damage the cleaner or dust bag, or cause a fi re.
When rewinding the cord, hold the plug body before pressing the cord rewind button to prevent
•
whipping.
Do not pull the power cord out beyond the specifi ed length.
•
Make sure a dust bag and motor protection fi lter are always inserted.
•
This product includes a cable which, if damages, must be replaced by a repair shop authorized by
•
the manufacturer since special tools are required.
3
Page 4

DESCRIPTION AND OPERATION
HOSE CONNECTION
Connecting the hose: insert hose fi rmly into the hose inlet. You
will hear it click into place.
Disconnecting the hose: press the button and pull the hose out
of the vacuum cleaner.
SUCTION CONTROL
The suction control at the hand grip enables you to control
suction power.
PIPE CONNECTION
Connecting the nozzle: holding the tubes and handle, insert the
narrowed section into the wide section.
WIDE SUCTION NOZZLE
Use the vacuum head for cleaning both carpeted and uncarpeted fl oor.
4
Page 5

DESCRIPTION AND OPERATION
ON/OFF SWITCH
Press the ON/OFF switch to power on or off.
CORD REWIND BUTTON
Press the cord rewind button to rewind the power cord.
DUST METER
Change the dust bag when the dust meter displays RED.
CREVICE NOZZLE
Attach crevice nozzle to the end of the hose for detail cleaning.
5
Page 6

DESCRIPTION AND OPERATION
STORAGE
Hook the vacuum head to the body using the built-in clip to
store the cleaner.
PRACTICAL PARKING
Hook the vacuum head to the body using the built-in clip when
you temporarily stop vacuuming.
6
Page 7

CLEANING THE FILTER
1 2
Turn off the cleaner.
Remove the fi lter.
Open the cover.
43
Shake the dust out of the fi lter.
65
Replace the fi lter. Close the cover.
7
Page 8

CHANGING THE DUST BAG
1
Turn off the cleaner and open the cover.
2
Hold the cover while removing the dust bag from the dust bag
holder.
3
Insert the new dust bag into the dust bag holder properly, as shown
in the picture.
Note: If no dust bag has been placed into the dust bag holder, the cover can not be closed.
8
Page 9

USING THE VACUUM IN THE SHOULDER MODE
12
Assemble the clips.
Vacuum.
BEFORE ASKING FOR SERVICE
Before asking for service, please check each item below if you have trouble with your cleaner.
PROBLEM CHECK POINT MEASURE
Suction power is weak.
Dust bag
Pipe or hose
If dirt bag is dirty, replace it.
If clogged or blocked, remove object.
The cleaner does not work.
Power cord does not rewind. Power cord
Power cord
ON/OFF switch
Check if power cord is plugged in.
Check if the power is turned on.
Pull the power cord out a little and press
the cord rewind button.
9
Page 10

© 2006 Sunbeam Products, Inc. doing business as Jarden Consumer Solutions. All rights reserved.
Sunbeam
®
is a registered trademark of Sunbeam Products, Inc. used under license.
Distributed by Petters Consumer Brands, LLC. 4400 Baker Road, Minnetonka, MN 55343.
For service, support and warranty information, visit www.sunbeammajorappliances.com or in the US call 1-866-866-6283.
 Loading...