

Page 1
1
Page 2

Table of Contents
A. Introduction..........................................................................................................3
B. System Requirement............................................................................................3
C. Install TV Player Software and Device Driver..................................................4
D. Equipment Connection......................................................................................12
E. Uninstall Device Driver .....................................................................................14
F. Channel Scan......................................................................................................15
G. Remote Control Function..................................................................................19
H. Keyboard Shortcuts...........................................................................................23
I. How to use Online Help.....................................................................................24
Appendix ASoftware Update .................................................................................27
2
Page 3

A. Introduction
The DVB-T PenType USB Receiver is fully compatible with DVB-T protocol for your desktop PC
or laptop use. Its tiny size design with high speed USB2.0 interface let you enjoy digital TV
programs anywhere!
It is also a Digital Video Recorder that you may record your favorite DVB TV programs on your
hard disc either real time or scheduling. Quick setup makes you easy to use. It provides you an
immediate personal access with lots useful functions such as Channel Auto Scan, Teletext,
Electronic Program Guide, Favorite List…etc. Yet, there is no need extra power supply.
B. System Requirement
IBM compatible computer operating system:
! Microsoft Windows 2000 (SP4) / Windows XP (SP1) or above
! P4 1.7 GHz or above
! 512MB DDR RAM recommended
! Microsoft DirectX 9 or above
! 32MB Video memory with DirectX 3D support recommended
! Time-shifting and MPEG-2 capturing requires P4 2.0 GHz processor (or higher or
equivalent)
! USB 2.0 port
! 200 MB free space on HDD required for driver and software installation.
3
Page 4
C. Install TV Player Software and Device Driver
IMPORTANT NOTICE!!
Do not connect the SRT 101 USB to your laptop or desktop computer before installing
the software.
Please close all applications running before installation process.
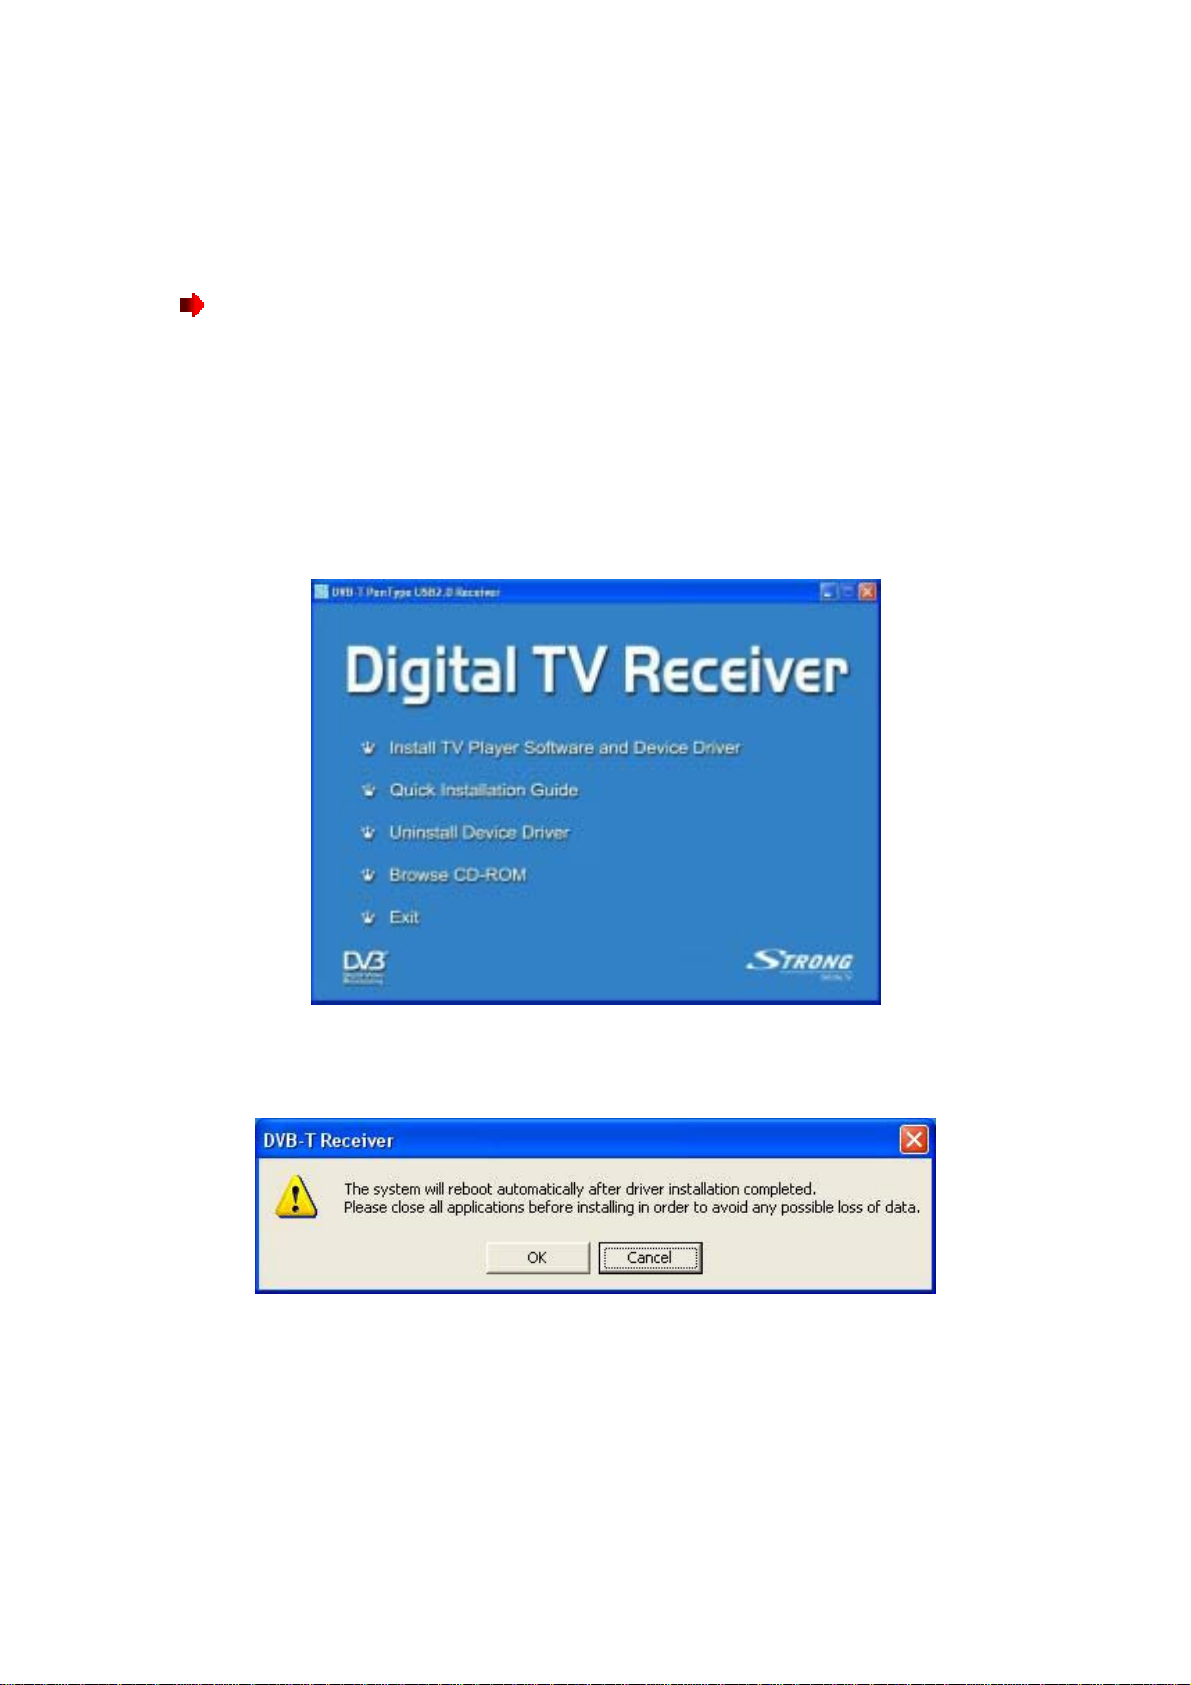
1. Insert the software CD into the CD-ROM drive and the setup window will launch
automatically. Press “Install TV Player Software and Device Driver” button on menu.
2. The warning messag e will pop out. Click "OK" to begin installation and click "Cancel" to
exit. (Please close all applications running before installation.)
4
Page 5
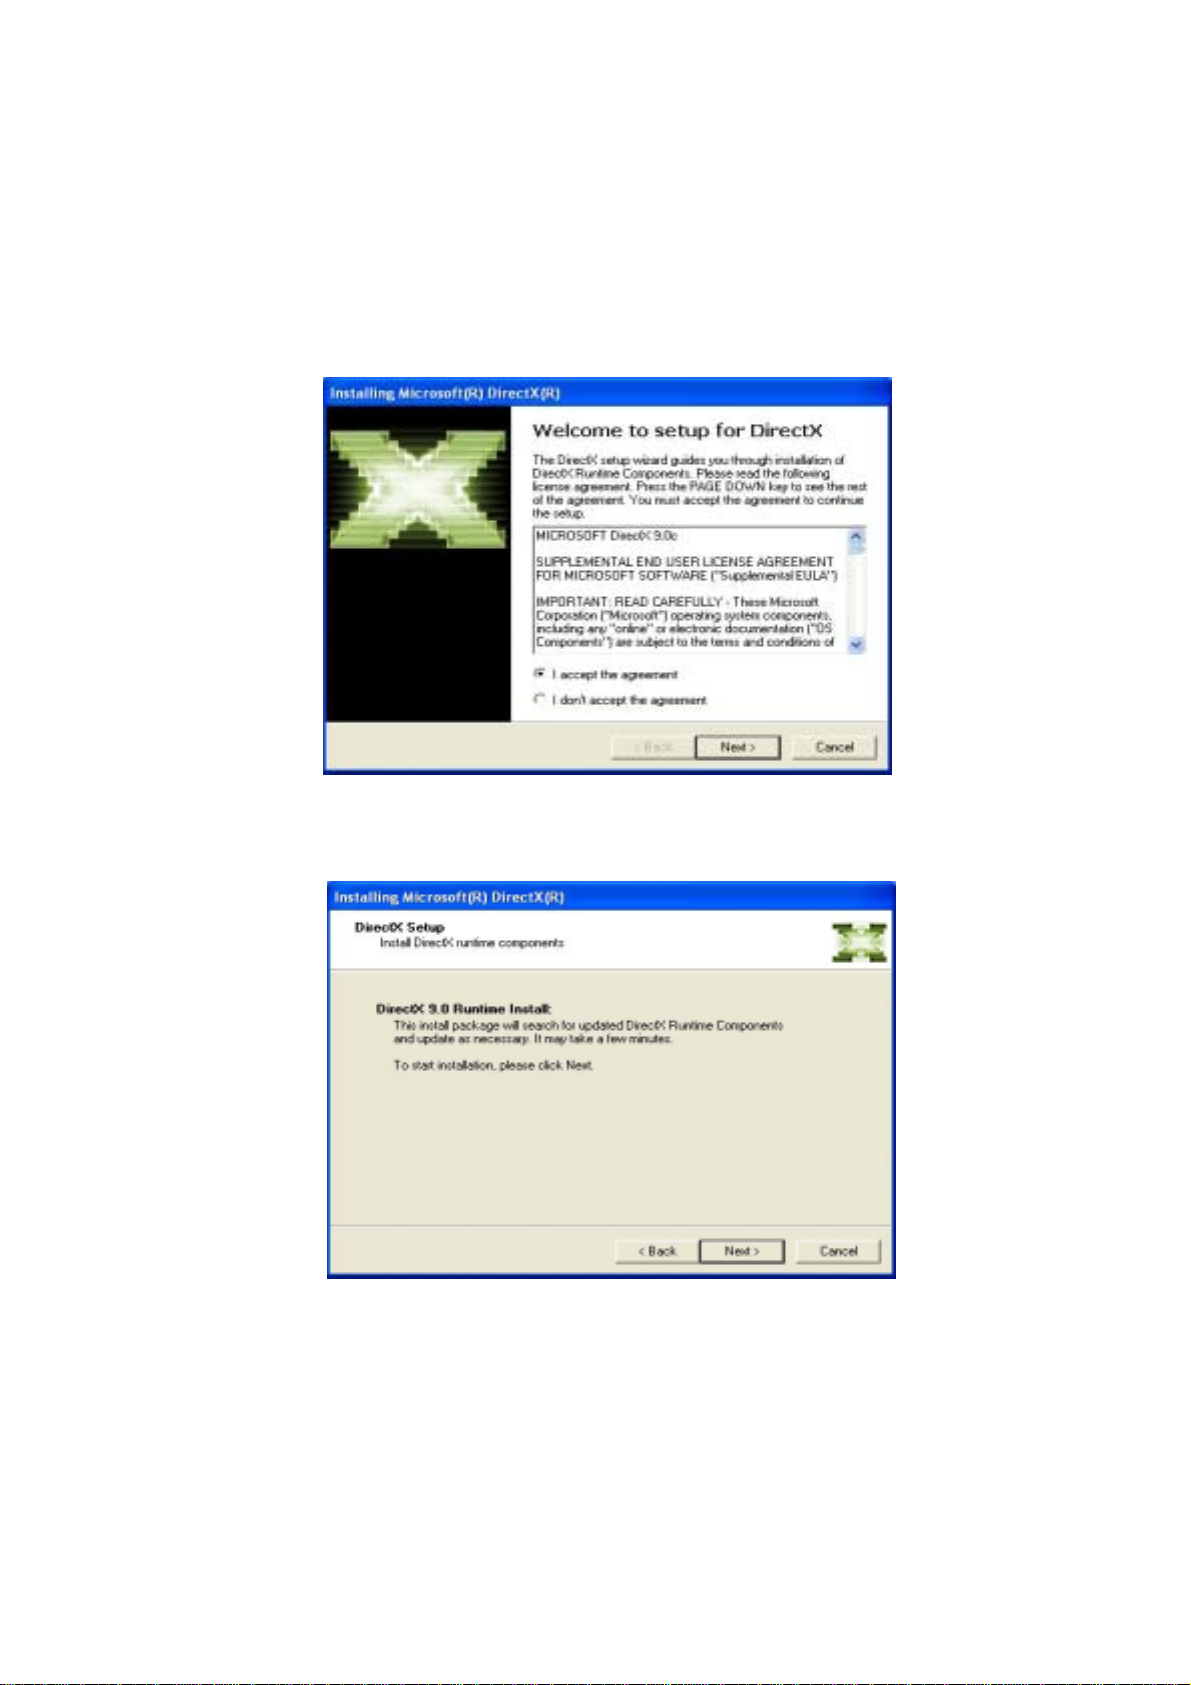
3. Please read the license agreement carefully then select “I agree the agreement”. Click
“Next” to begin install Microsoft Dire ctX9.0c.
Note: If you are using Windows XP SP2, Microsoft DirctX9.0c is pre-installed. Please go
to step 6.
4. Click “Next” to continue.
5
Page 6
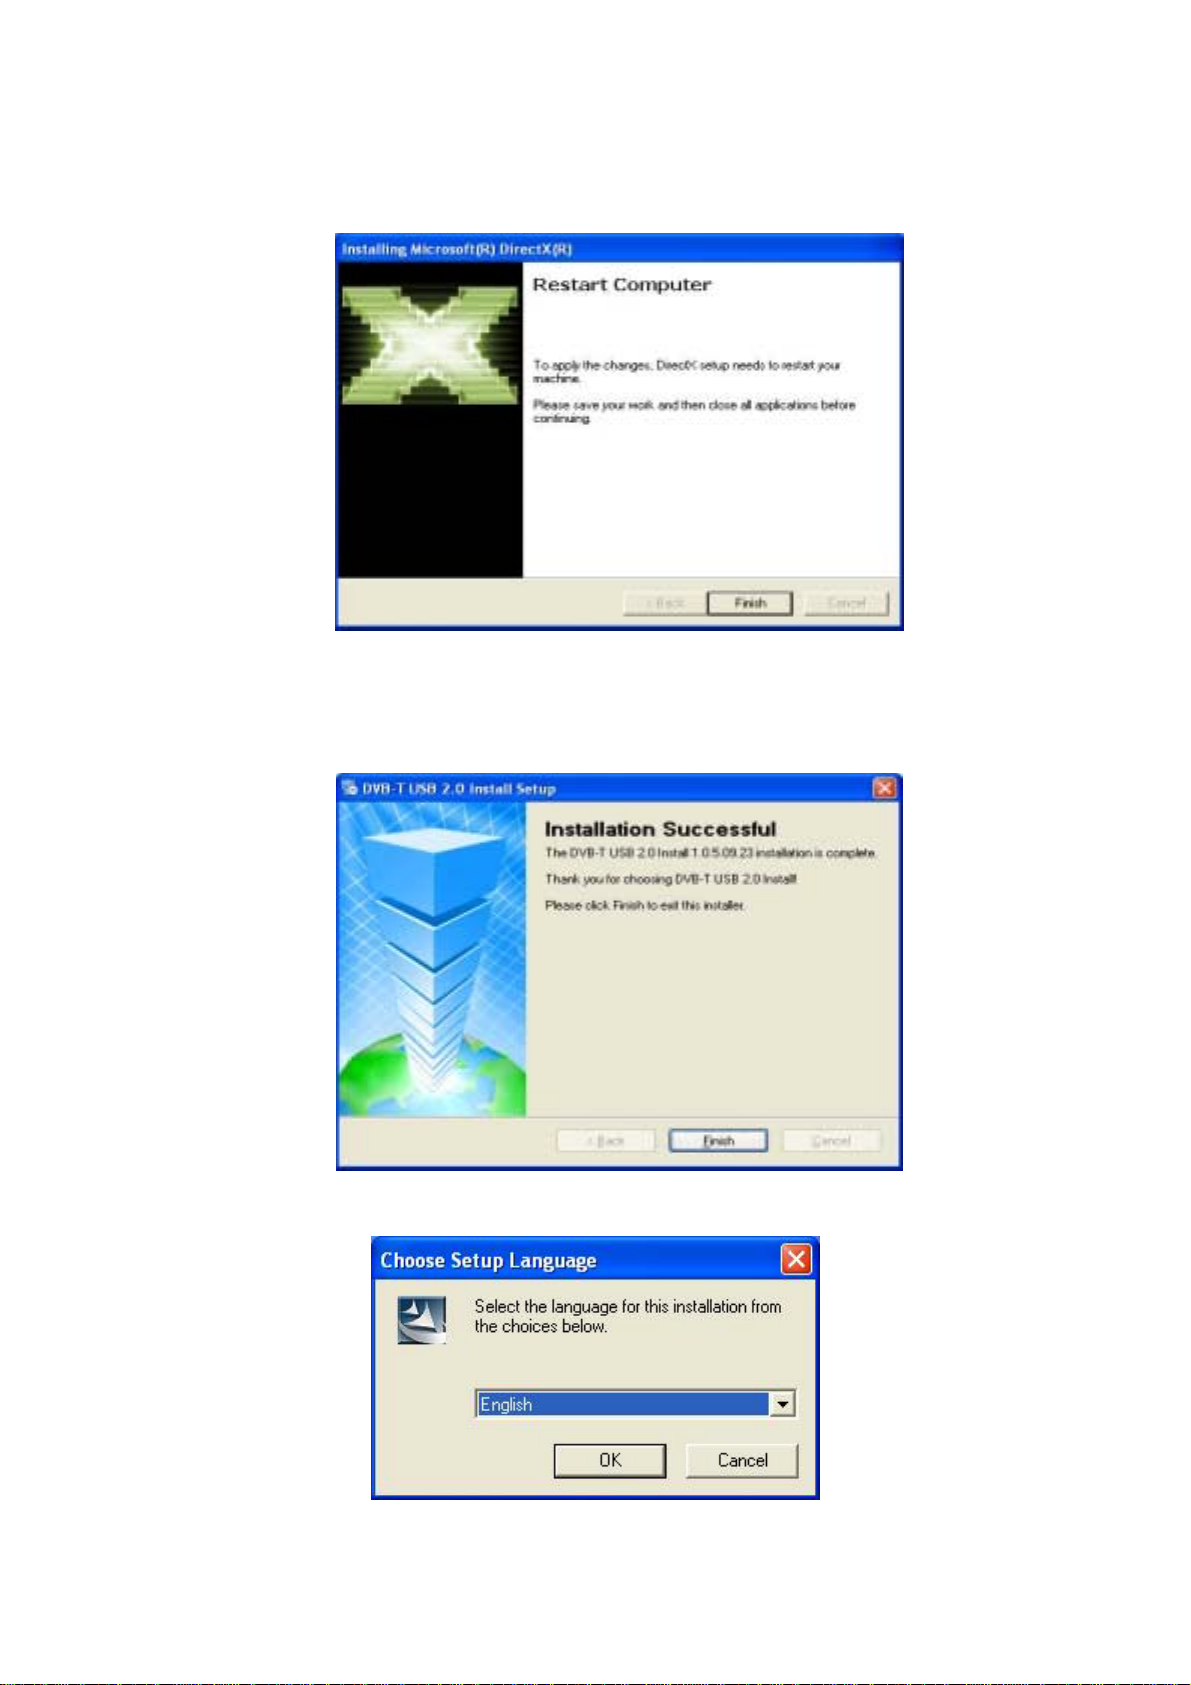
5. Click “Finish” and system will reboot automatically.
6. Driver is automatically installed to your computer after system reboot. Please click “Finish”
to begin TV Player Software installation.
7. Choose Setup Language then click “OK” to continue
6
Page 7
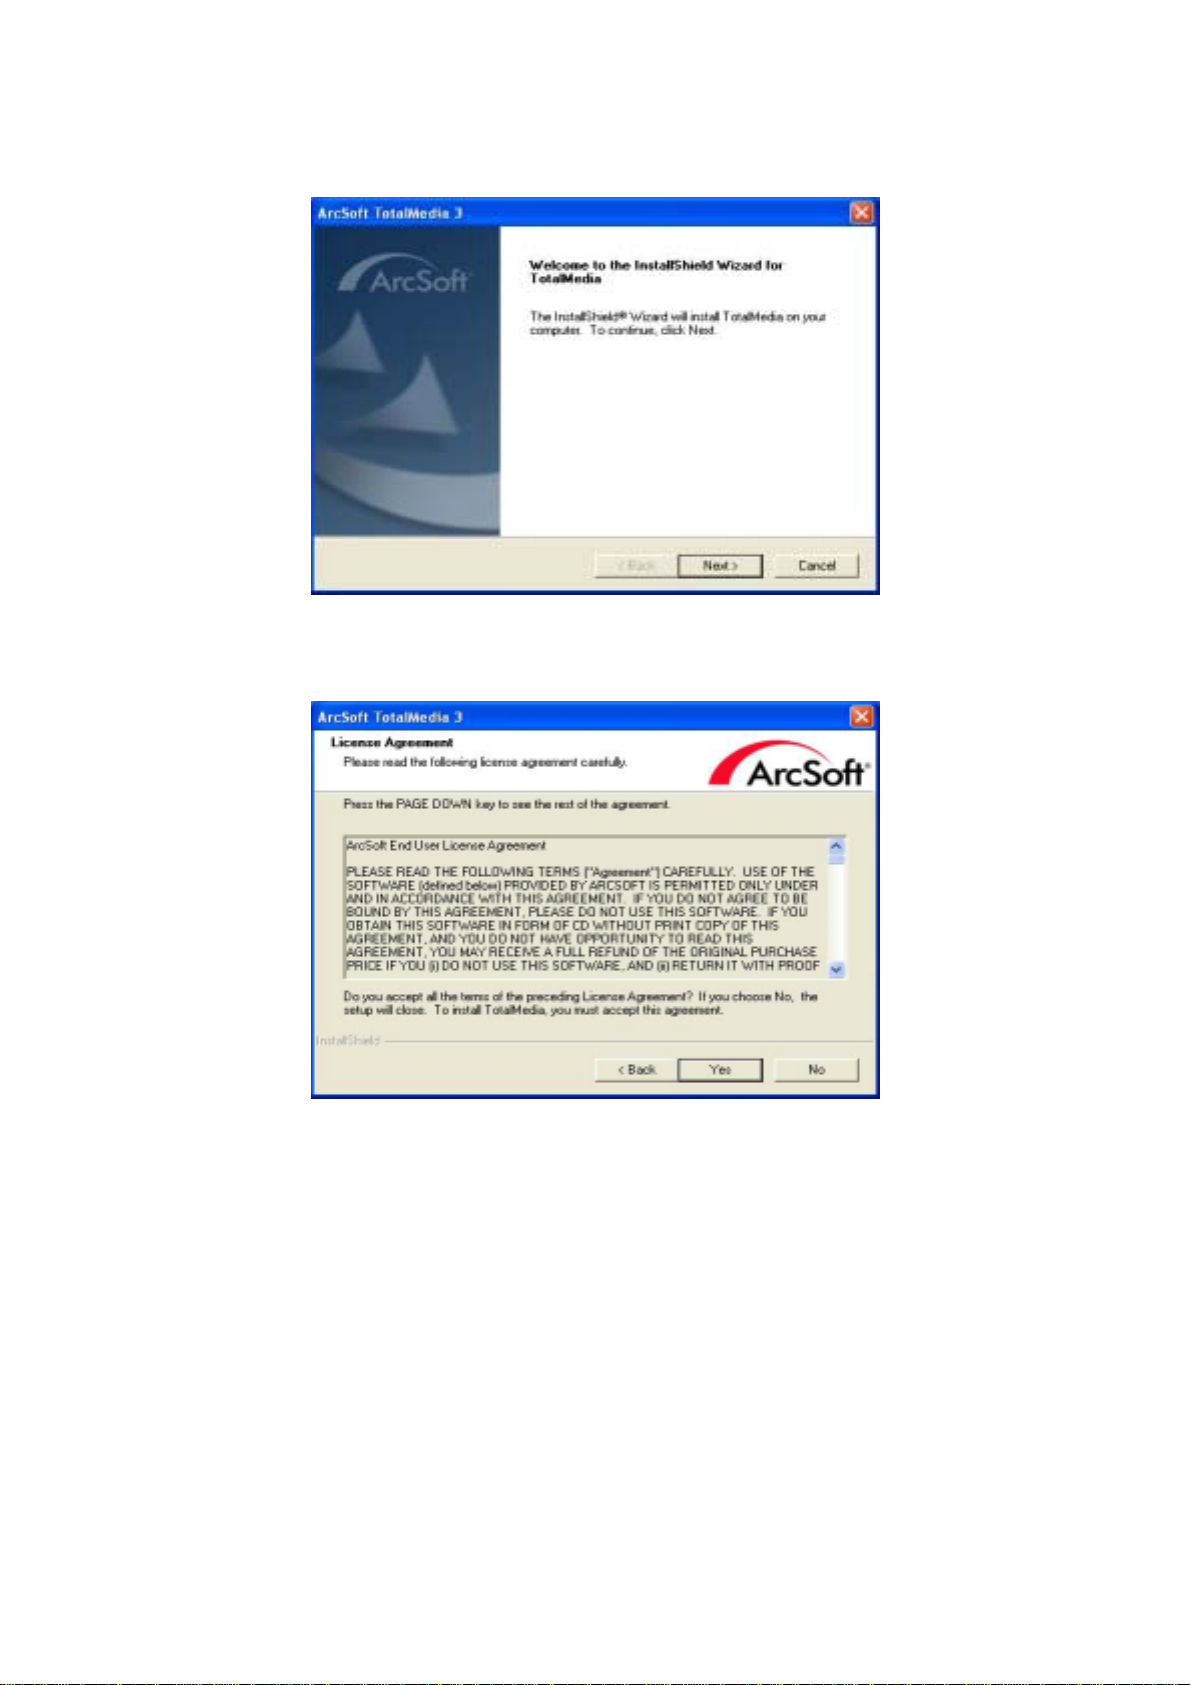
8. Click “Next” to continue
9. Please read the license agreement carefully then click “Yes” to continue
7
Page 8

10. Application will be saved to the default folder, C:\Program Files\ArcSoft\TotalMedia 3.
You may change it by pressing “Browse” and choose where you would like to save the
application.
11. Default setting for Application shortcut folder name is ArcSoft TotalMedia 3. You may
change it and type folder name in blank field. Click “Next” to continue.
8
Page 9
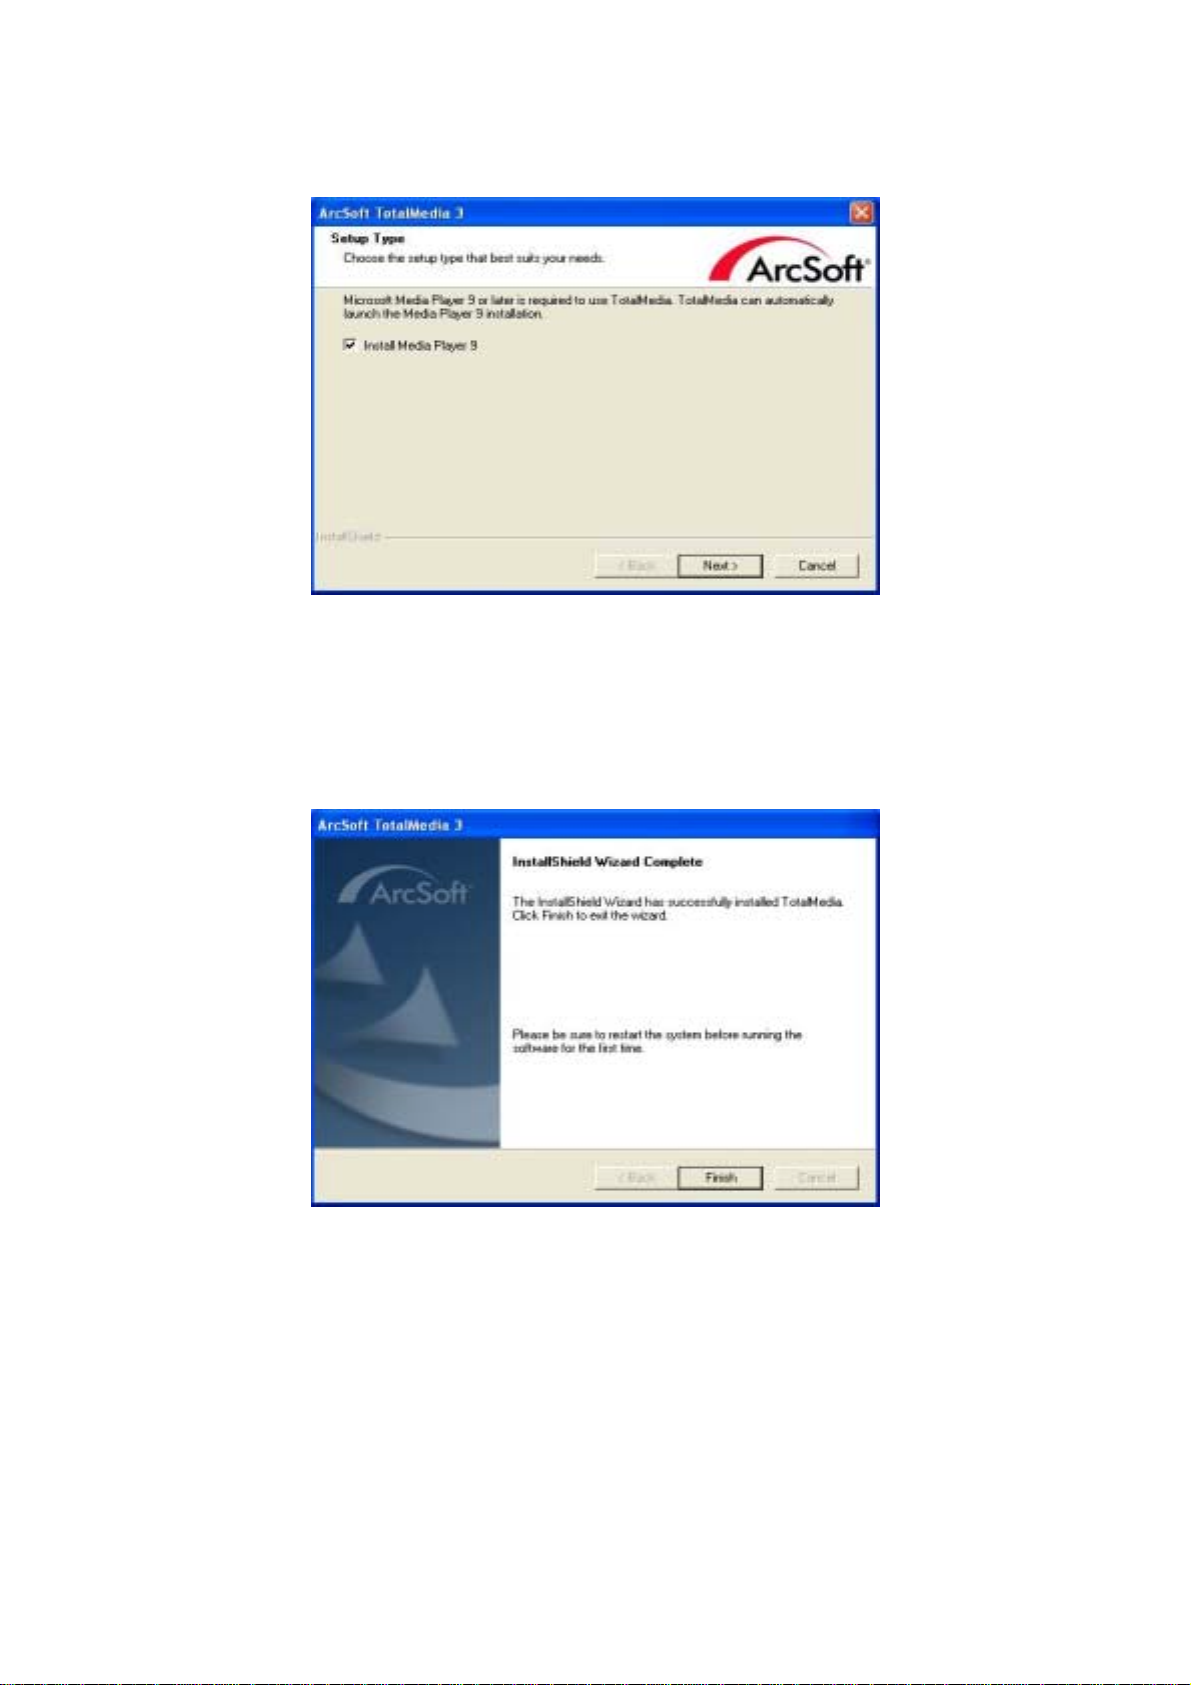
12. Please check “Install Media Player 9” and click “Next” to continue.
Note: If you are using Windows XP SP2, Windows Media Player 9 is pre-inst alled. Please
click “Finish” and reboot your system to complete installation.
13. Please Click “Finish”, and reboot your system to complete installation
Note: If you are using the Windows XP SP2, the installation of ArcSoft has been completed. If
not, please continue to install below steps.
9
Page 10

14. Install the Windows XP update program, please click “Next” to continue.
15. Please read the license agreement carefully then select “I Agree”. Click “Next” to
continue.
10
Page 11

16. Please click “Finish” then reboot your system to complete the installation
11
Page 12

D. Equipment Connection
1. Connecting IEC connector to antenna.
2. Connecting antenna to PenType Receiver
3. Connecting PenType Receiver to USB interface on your computer.
12
Page 13

4. (option) You may need longer USB cable for the connection between PenType Receiver
and USB interface on your computer.
5. You may check if driver installed completely. Please go to Device Manager and click
“Sound, video and game controllers” and you’ll see “USB Digital TV Receiv er” on the
list. If you don’t see it, please install driver again.
13
Page 14

E. Uninstall Device Driver
If you would like to remove the driver, please p ress “Uninstall Device Driver” button on menu.
Click “Finish” to remove the driver installed on your computer.
14
Page 15

F. Channel Scan
Y ou need to scan the channels when yo u use the Digital PenT ype USB Receiver at the first time.
1. Double click the
2. Please select “TV” to continue.
icon, then select “Setup” to continue.
3. Please click “Next” to continue.
15
Page 16

4. You may choose the location where you are.
16
Page 17

5. Please click “Start” to scan channels.
17
Page 18

6. Select Digital EPG (Default setting is NO)
7. Please click “Finish” to exit.
18
Page 19

G. Remote Control Function
19
Page 20

Important Notice:
If your computer has installed the Intel® express chi p set, the MobiDTV remote control may not
work properly, please follow the below instructions to solve this problem.
(1). Please click the right button of the mouse on the desktop. Then click “Properties” to
continue.
(2). Please click “Advanced” from “Settings” t ab.
20
Page 21

(3). Please click “Graphics Properties” from “Intel® Extreme Graphics 2” ta b.
(4). Please click “Hot Keys” to continue.
21
Page 22

(5). Please choose the “Disable” on the “Open Graphics Property Application”, then click
“OK” to finish. Please reboot your system to complete installation.
22
Page 23

H. Keyboard Shortcuts
Keyboard Description
F1
F2
F4
F5
F6
F8
F9
F10
F11
Ctrl+(+)
Ctrl+(-)
Ctrl+Alt+F12
Ctrl+T
Ctrl+M
Ctrl+I
Ctrl+A
Description
Time Shift
Source
Snapshot
Multichannel Television Sound
Mute
Volume Volume +
Jump
Channel +
Channel Power
Live TV
Music
Picture
Radio
Ctrl+E
Alt+Enter
Video
Full Screen Display
23
Page 24

I. How to use Online Help
1. Double click the icon created on desktop.
2. Choose a category.
3. Please click on the “ ” on the right top corner.
24
Page 25

4. Click “Yes” to continue.
5. Y ou may click on any topic you would like to learn more on the list. The det ail ed instruction
will show on right page.
25
Page 26

6. You may also search by keyword.
26
Page 27

Appendix ASoftware Update
Now you can easily and quickly update the most information software. Please follow below step s
to download.
1. Double click the icon on the desktop.
2. Please click “Setup” to continue.
3. Please click “General” to continue.
27
Page 28

4. Please click “About TotalMedia” to continue.
5. you can see the current version of T otal Media software. Please click “Update” to download.
28
Page 29

6. Please click “Autodetect (Recommended)” to continue.
7. Please click “OK” to continue.
29
Page 30

8. Please click “Yes, I want to restart my computer now” to continue.
9. Please repeat step1-step4, you can see the new version of the T otalMedia softwa re, please
click “Done” to finish.
30
 Loading...