

STIEBEL ELTRON SBB 401 WP SOL, SBB 501 WP SOL, SBB 302 WP, SBB 301 WP Operation And Installation
BEDIENUNG UND INSTALLATION
OPERATION AND INSTALLATION
UTILISATION ET INSTALLATION
BEDIENING EN INSTALLATIE
USO E INSTALLAZIONE
OBSLUHA A INSTALACE
ЭКСПЛУАТАЦИЯ И МОНТАЖ
KÄYTTÖ JA ASENNUS
BETJENING OG INSTALLATION
VALDYMAS IR MONTAVIMAS
Warmwasser-Standspeicher| Floorstanding DHW cylinder| Ballon d’eau chaude
sanitaire sur socle| Staande warmwaterboiler| Acqua calda - Caldaia verticale|
Stacionární zásobník teplé vody| Вертикальный бойлер| Lattiamallinen käyttövesivaraaja|
Fritstående varmtvandsbeholder| Pastatomas tūrinis vandens šildytuvas
» SBB 301 WP
» SBB 302 WP
» SBB 401 WP SOL
» SBB 501 WP SOL
14 | SBB 301-501 WP SOL www.stiebel-eltron.com
CONTENTS | OPERATION
General information
OPERATION
1. General information ��������������������������������������� 14
1.1 Safety instructions ���������������������������������������������� 14
1.2 Other symbols in this documentation ���������������������� 15
1.3 Units of measurement ����������������������������������������� 15
2. Safety �������������������������������������������������������� 15
2.1 Intended use ����������������������������������������������������� 15
2.2 Safety instructions ���������������������������������������������� 15
2.3 Prüfzeichen ������������������������������������������������������ 15
3. Appliance description ������������������������������������� 15
4. Cleaning, care and maintenance ������������������������� 16
4.1 Signal anode consumption indicator �����������������������16
4.2 Scaling ������������������������������������������������������������ 16
5. Troubleshooting �������������������������������������������� 16
INSTALLATION
6. Safety �������������������������������������������������������� 17
6.1 General safety instructions ����������������������������������� 17
6.2 Regulations, standards and instructions ������������������� 17
6.3 Water installation ����������������������������������������������� 17
7. Appliance description ������������������������������������� 17
7.1 Standard delivery ����������������������������������������������� 17
7.2 Accessories ������������������������������������������������������� 17
8. Preparations ������������������������������������������������ 17
8.1 Installation site �������������������������������������������������� 17
8.2 Transport ��������������������������������������������������������� 18
9. Preparing for installation ��������������������������������� 18
9.1 Removing / fitting the cylinder casing ��������������������� 18
9.2 Checking the signal anode ������������������������������������ 18
9.3 Heating installation �������������������������������������������� 18
9.4 Fitting the water connection and the safety assembly �� 19
9.5 Fitting the thermometer and DHW sensor ����������������� 19
10. Commissioning ��������������������������������������������� 19
10.1 Appliance handover �������������������������������������������� 19
11. Shutting down ���������������������������������������������� 19
12. Troubleshooting �������������������������������������������� 19
12.1 Fault table �������������������������������������������������������� 19
13. Maintenance ������������������������������������������������ 20
13.1 Checking the safety valve ������������������������������������� 20
13.2 Draining the appliance ���������������������������������������� 20
13.3 Replacing the signal anode ����������������������������������� 20
13.4 Cleaning and descaling the appliance ���������������������� 20
14. Specification ������������������������������������������������ 20
14.1 Dimensions and connections ��������������������������������� 20
14.2 Details on energy consumption ������������������������������ 24
14.3 Specification ����������������������������������������������������� 24
GUARANTEE
ENVIRONMENT AND RECYCLING
OPERATION
1. General information
The chapter “Operation” is intended for appliance users and heating contractors.
The chapter “Installation” is intended for heating contractors.
Note
Read these instructions carefully before using the appliance and retain them for future reference.
Pass on the instructions to a new user if required.
1.1 Safety instructions
1.1.1 Structure of safety instructions
!
KEYWORD Type of risk
Here, possible consequences are listed that may result
from failure to observe the safety instructions.
Steps to prevent the risk are listed.
1.1.2 Symbols, type of risk
Symbol Type of risk
Injury
Electrocution
Burns
(burns, scalding)
1.1.3 Keywords
KEYWORD Meaning
DANGER Failure to observe this information will result in serious
injury or death.
WARNING Failure to observe this information may result in serious
injury or death.
CAUTION Failure to observe this information may result in non-
serious or minor injury.
!
OPERATION
Safety
ENGLISH
www.stiebel-eltron.com SBB 301-501 WP SOL | 15
1.2 Other symbols in this documentation
Note
General information is identified by the symbol shown
on the left.
Read these texts carefully.
Symbol Meaning
Material losses
(appliance, consequential, environment)
Appliance disposal
This symbol indicates that you have to do something. The ac-
tion you need to take is described step by step.
1.3 Units of measurement
Note
All measurements are given in mm unless stated otherwise.
2. Safety
2.1 Intended use
The appliance is specifically designed for heating DHW with heat
pumps.
Any other use beyond that described shall be deemed inappropriate. Observation of these instructions is also part of the correct
use of this appliance. Any modifications or conversions to the
appliance void all warranty rights.
2.2 Safety instructions
WARNING Burns
There is a risk of scalding at outlet temperatures in excess of 43 °C.
!
WARNING Injury
The appliance may be used by children aged 8 and up
and persons with reduced physical, sensory or mental
capabilities or a lack of experience provided that they
are supervised or they have been instructed on how to
use the appliance safely and have understood the resulting risks. Children must never play with the appliance.
Children must never clean the appliance or perform user
maintenance unless they are supervised.
Note
The appliance is under pressure.
During the heating process, expansion water will drip
from the safety valve. If water continues to drip when
heating is completed, please inform your heating contractor.
2.3 Prüfzeichen
See type plate on the appliance.
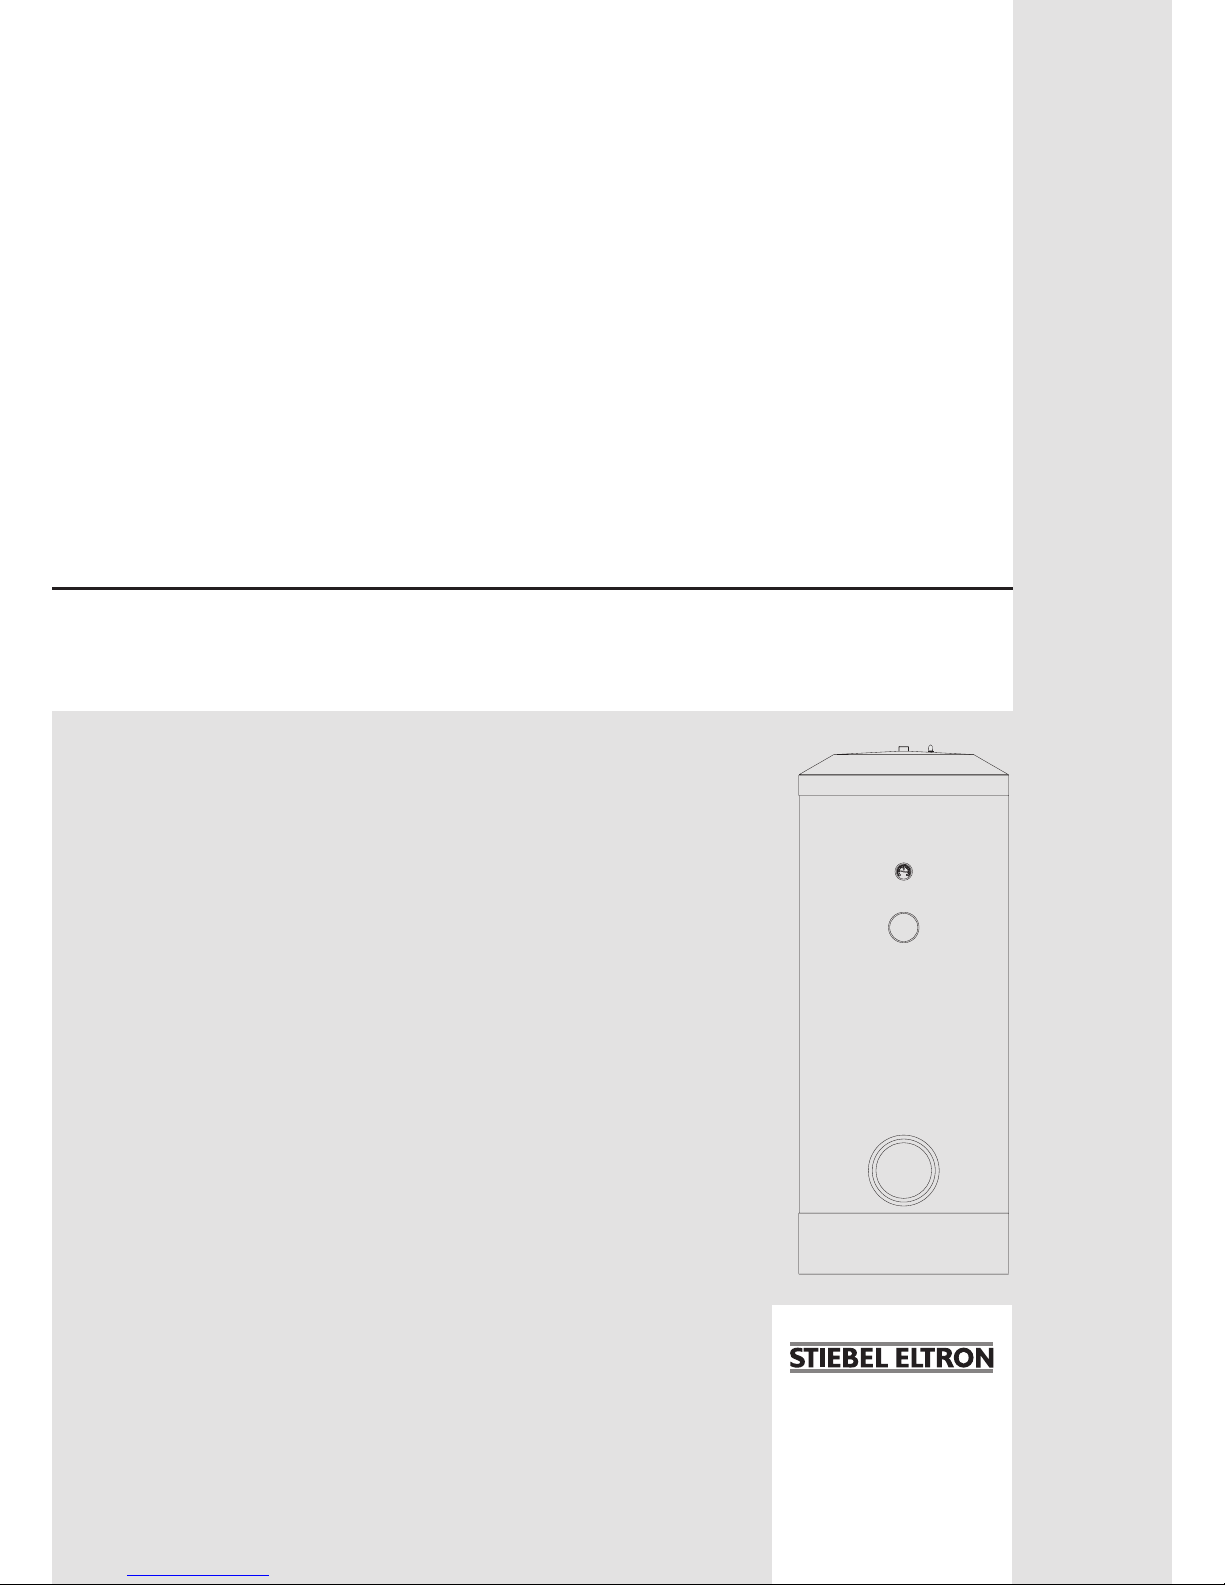
3. Appliance description
The heat from the heat pump‘s heating water is transferred to the
DHW by smooth-tube indirect coil.
The internal steel cylinder is coated in “anticor
®
” enamel and
is equipped with a thermometer and a signal anode. The anode
with consumption indicator protects the internal cylinder from
corrosion.
SBB 401 WP SOL | SBB 501 WP SOL
These appliances are also equipped with a second indirect coil for
DHW heating with solar energy.
!
OPERATION
Cleaning, care and maintenance
16 | SBB 301-501 WP SOL www.stiebel-eltron.com
4. Cleaning, care and maintenance
Have the function of the safety assembly and electrical safety
of the fitted accessories regularly checked by a qualified
contractor.
Never use abrasive or corrosive cleaning agents. A damp
cloth is sufficient for cleaning the appliance.
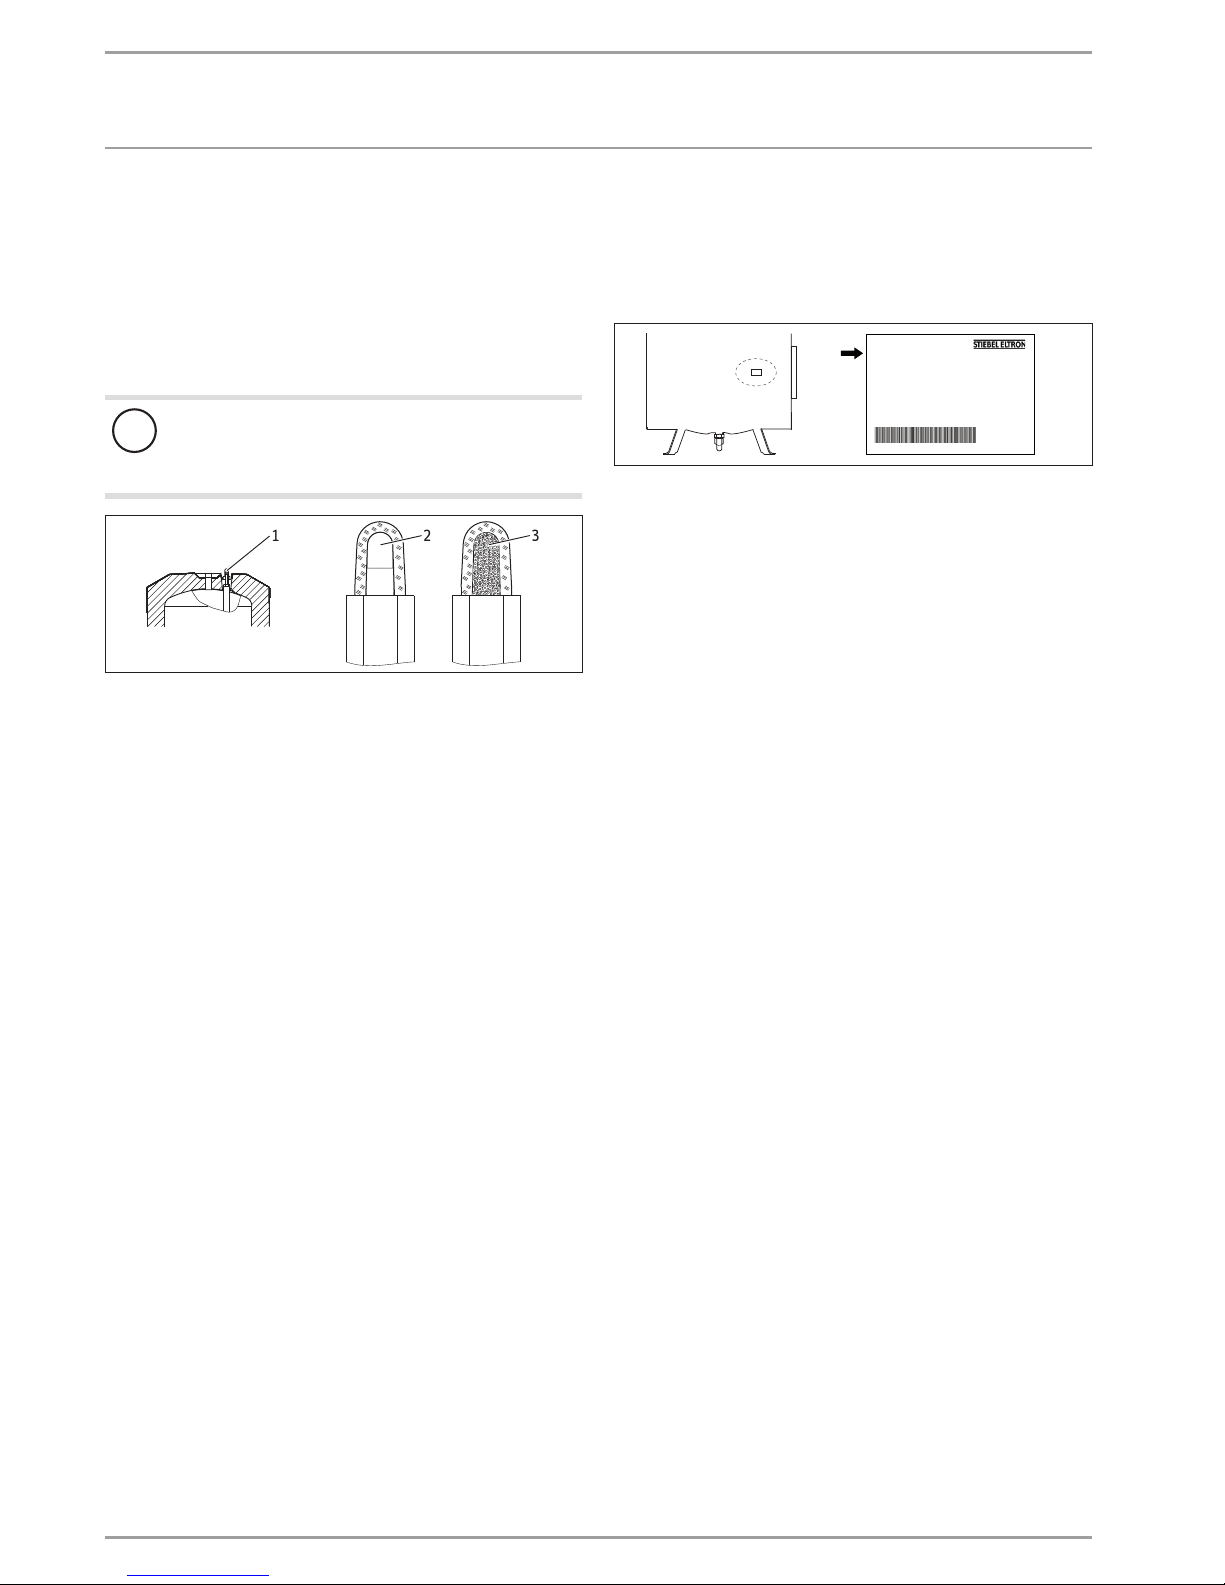
4.1 Signal anode consumption indicator
!
Material losses
If the consumption indicator changes colour from white to
red, have the signal anode checked by a heating contractor and if necessary replaced.
26�03�20�0001
2
3
1
1 Signal anode consumption indicator
2 white = anode OK
3 Red = check by heating contractor required
4.2 Scaling
Almost every type of water deposits limescale at high tem-
peratures. This settles inside the appliance and affects both
the performance and service life. If a flanged immersion
heater is installed, the heating elements must be descaled
from time to time. A heating contractor who knows the local
water quality will tell you when the next service is due.
Check the taps/valves regularly. You can remove limescale
deposits at the tap outlets using commercially available descaling agents.
5. Troubleshooting
Telephone your contractor.
To facilitate and speed up your enquiry, please provide the serial
number from the type plate (000000-0000-000000):
Nr.: 000000 - 0000 - 000000
Made in Germany
26�03�20�0002
 Loading...